Log in to join the conversation.
Nemesis Retaliation Minimal Insert for Core Box
Please support Hydrofavridus by Liking/Boosting their Print on MakerWorld.
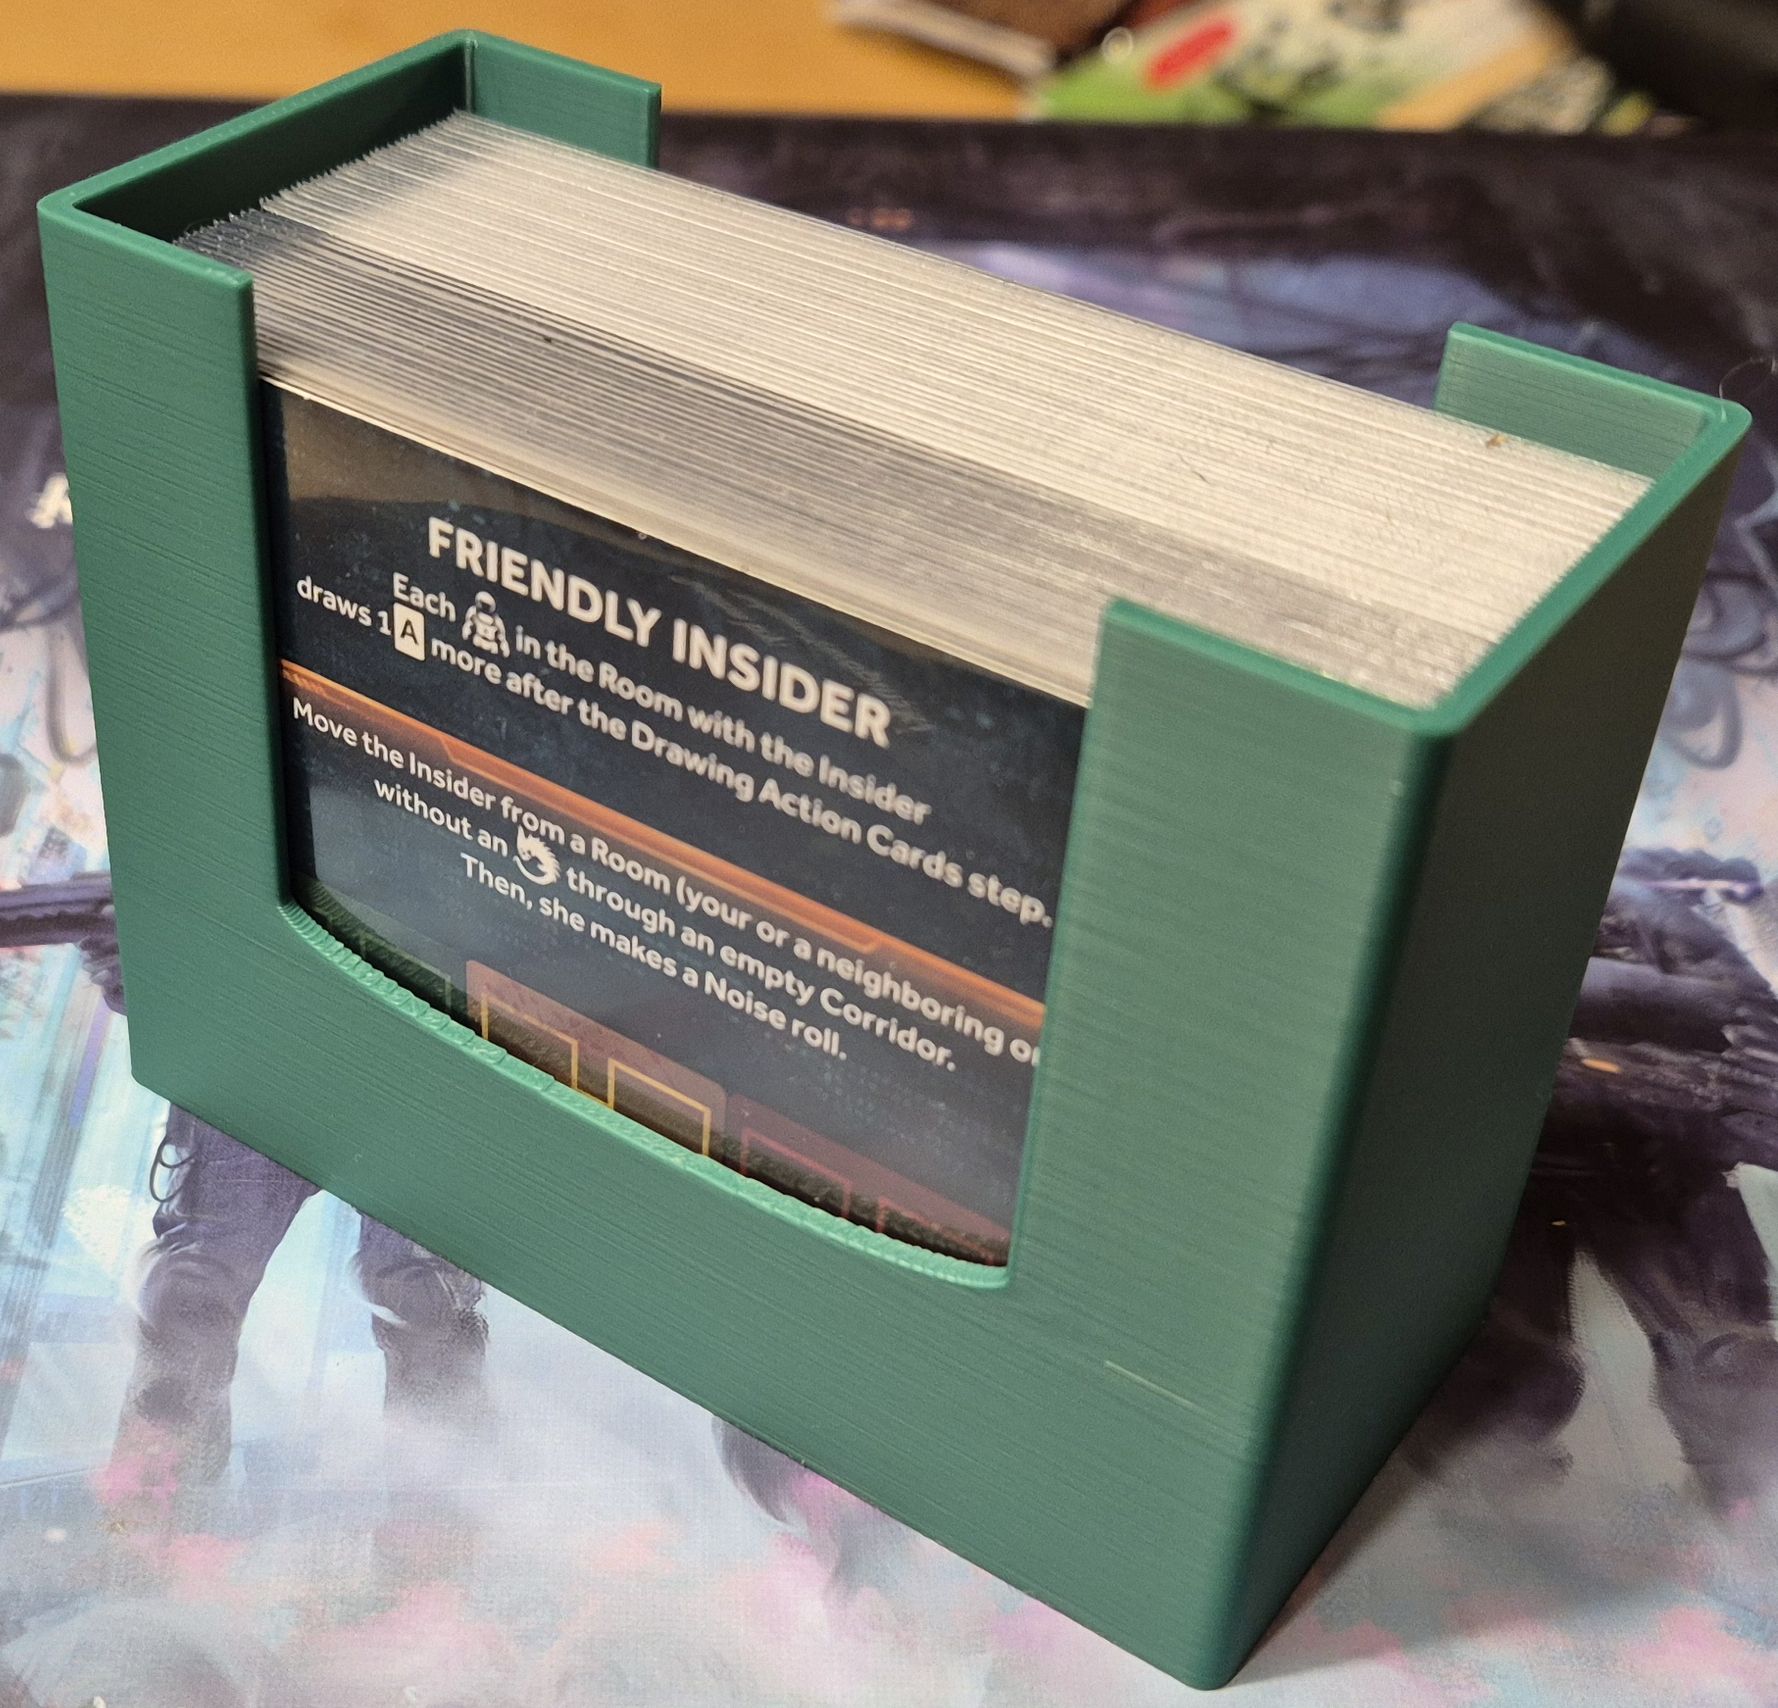
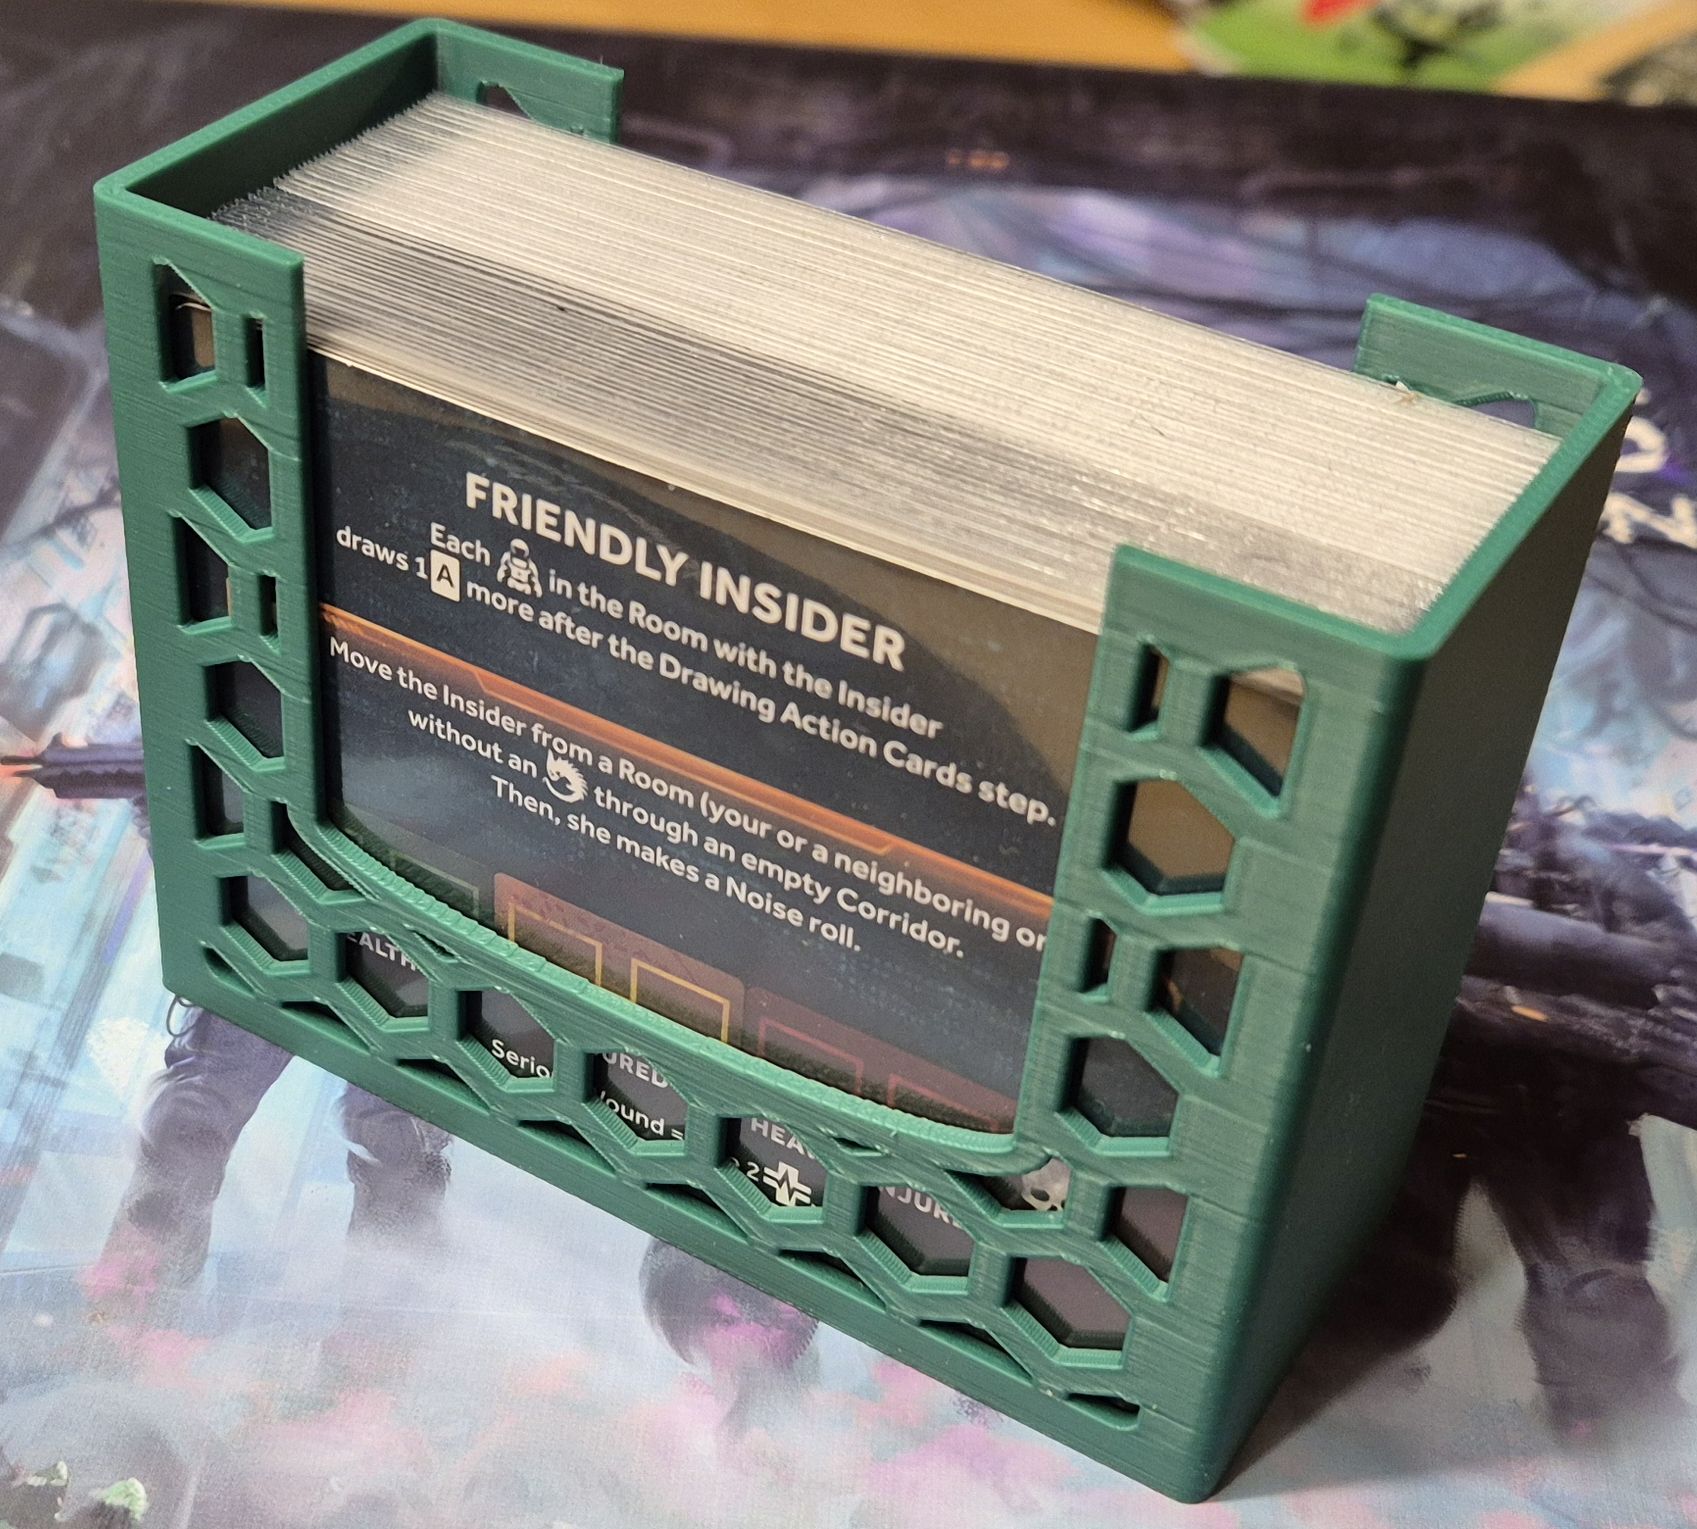
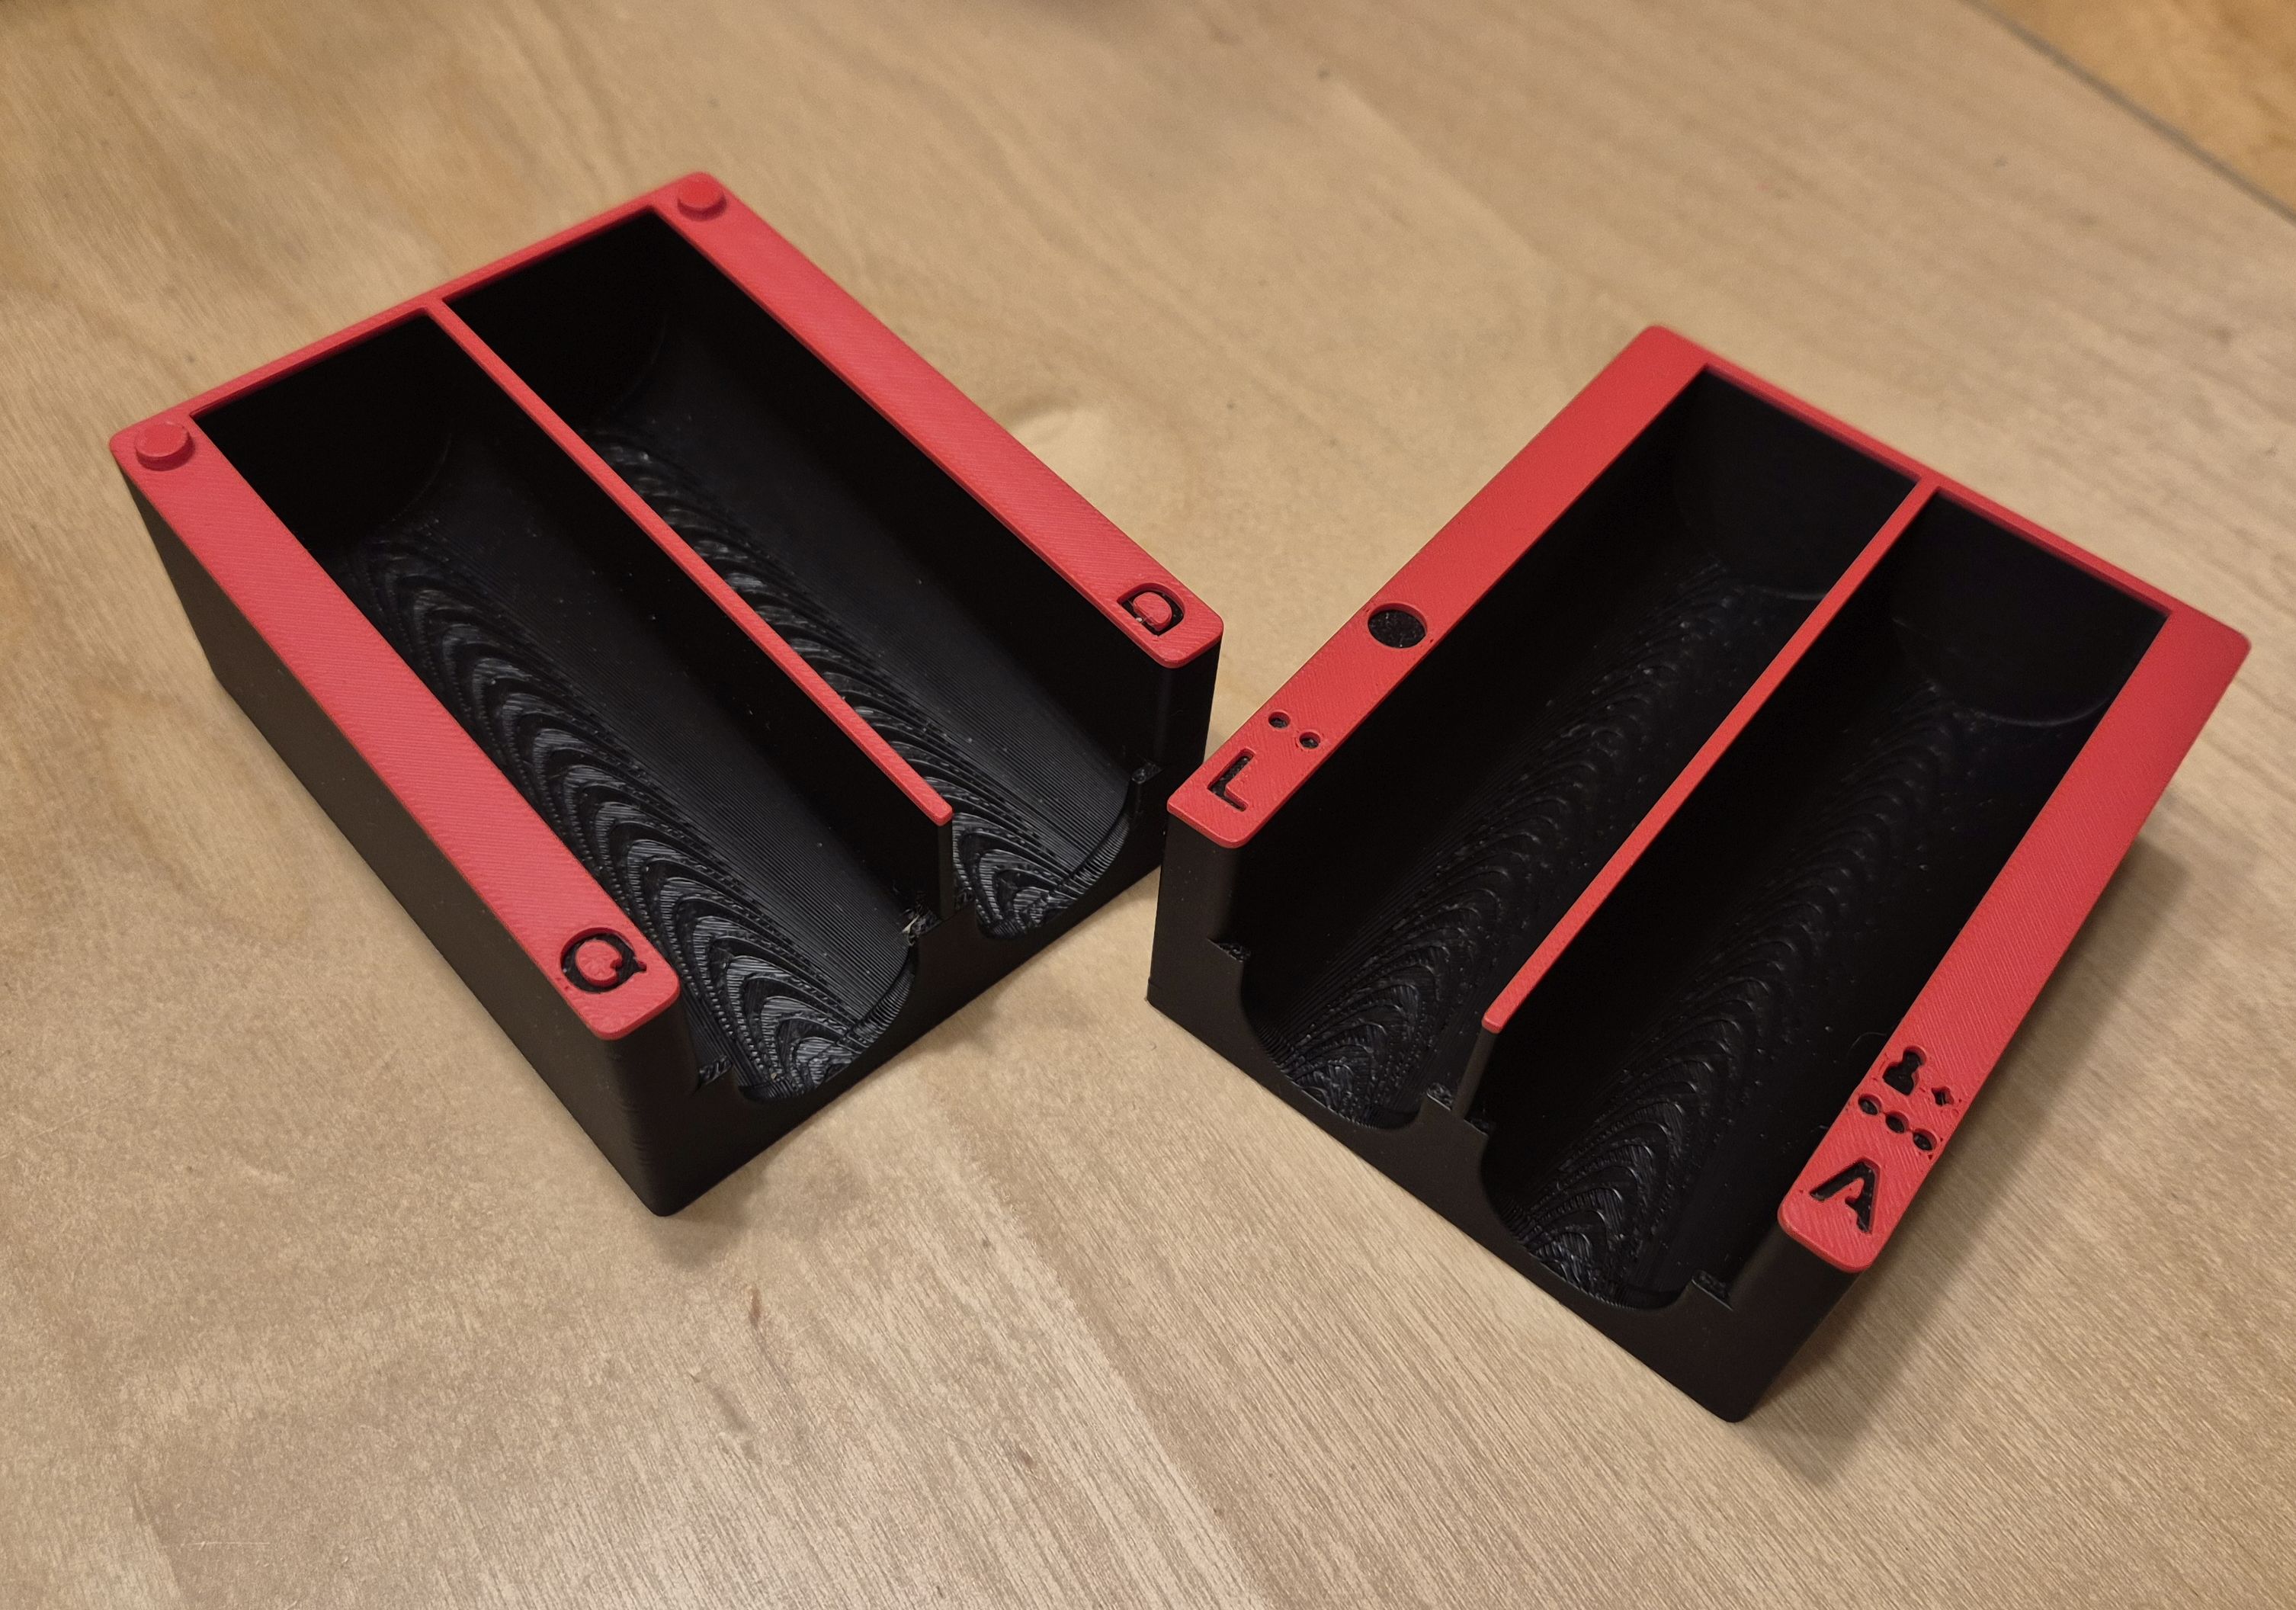
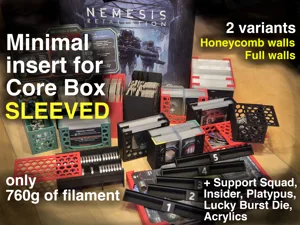
Minimal Insert for Nemesis Retaliation (Core Box) with UNSLEEVED cards.
(for sleeved cards, use https://makerworld.com/en/models/1945168-nemesis-retaliation-minimal-insert-sleeved#profileId-2089496)
This insert replaces the original trays that hold cards and player boards, while keeping the stock organizer for tokens and minis. With clear color-coded compartments, setup and cleanup become faster and more intuitive.
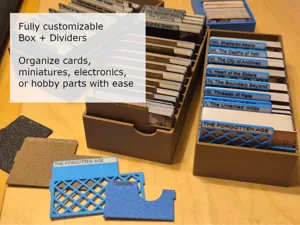
Designed mostly with CardNest: https://makerworld.com/en/models/1582189-cardnest-highly-customizable-box-with-dividers#profileId-1725781
Boost Me Personal Objective: Boost this insert and Escape from the Facility 😉
• Entire core box with original unsleeved cards
• Acrylic intruder tokens, cardboard tokens with coin capsules, or just original cardboard tokens
• Support Squad
• Stretch Goals box content except Neoflesh (it stores Insider, Contractor cards, Perry the Platypus, Lucky Burst Die)
Two variants are available:
• Choose your preferred variant and print the matching profile. Both are also printable on A1 mini.
• For the Tray for intruder tokens print profile, select the plate that matches your tokens:
• Cardboard tokens
• Acrylic tokens
• Cardboard tokens with coin capsules (tested with inexpensive 25 mm coin capsules from AliExpress, outer diameter 28.75 mm)
• black - components used directly during gameplay
• red - components for game setup
• green - add-ons: Insider, Support Squad + Bioenhancement Expert minis, Perry the Platypus :)
Start by placing the components into the trays as shown in the photo. For now, put only 4 backpacks into the tray, with the first number facing down:
Then follow this step-by-step guide to load the trays into the box. It’s quick and easy.
Here is a short video:
•
BOTTOM-LEFT In the bottom-left corner of the empty box, assemble the player boards holder. Place the boards face-up, alternating orientation (first one with the air wheel up).
Note: this component is meant to stay in the box.
•
LEFT On the left side, from bottom up, place rooms , characters+scanner and add-on minis on top of player boards. Last goes storage for backpacks , which can hold 4 backpacks. Orient last two storages with the raised end towards the box wall.
•
BOTTOM Add token trays with intruder tokens - they are stackable, with larva + adults on top. You can also use the larva compartment to store the Lucky Burst Die . Next to these goes the corridors tray , which also includes an integrated help sheet stand along one edge.
•
RIGHT Fill the top-right corner with red cards trays in any order. Place the Black cards trays together with green cards tray in the middle section.
•
CENTER In the center, stack two trays: door tray and a closable tray for additional tokens (life support, artillery, suffocation).
•
The gap between token trays and rooms could be used for the fifth backpack . Cover the token trays/black cards area with the intruder bag then place few border pieces along the bottom box edge. Put the original token organizer in the top right corner.
• Finally, place the original minis organizer and any remaining components on top. Then close the box.
As a reference, you can also print this layout sheet:
/pic9308772.jpg)
/pic9009913.jpg)
/pic7900166.jpg)
/pic7900167.jpg)
/pic7899549.jpg)
More by Hydrofavridus