Log in to join the conversation.
The Isofarian Guard Player Board (2 parts)
Plate Details (2)
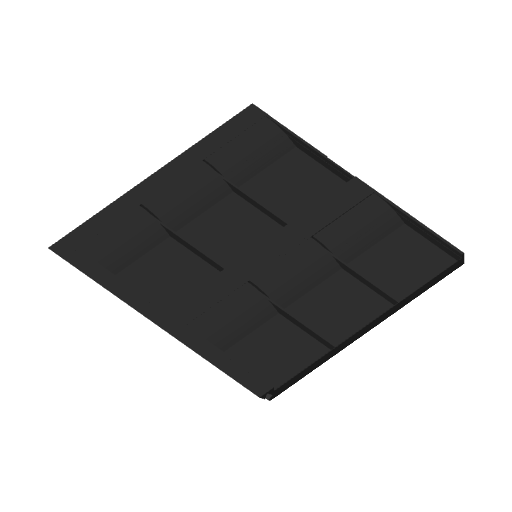
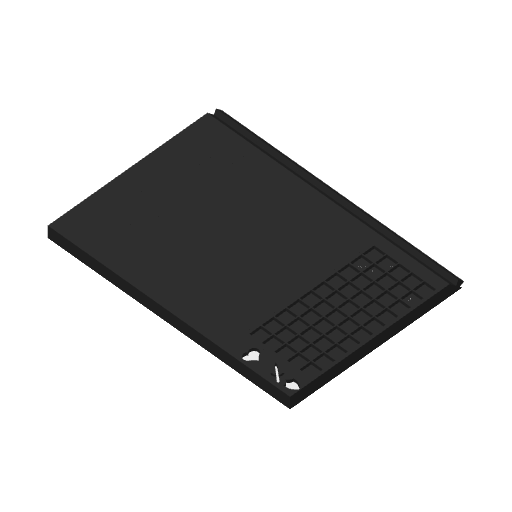
IMPORTANT: I didn't know that Maker World automatically creates STL files from the 3MF file I uploaded. The STL files do not have the negative parts included when it automatically created them. I'm unable to remove them, as far as I see. So, only use the 3MF file if you want to slice/print this model. I've tried to manually create STL files that merge the negative parts, but those also do not work. I guess we will need to wait for a new version of the app that will merge these if you want the STL file format.
Credit: Thank you Darkwolflink101 for your player board design! I used a few parts from your model to create my version. I also used Fusion 360 to make the health, attack, and defense tracker part. I don't know how to use Fusion 360 that well, so the curved bottoms of the card holders are awesome and I basically cut/pasted them to piecemeal this model together. I also used a lot of negative primitive parts. Hopefully everything stays together for you all when you open the 3MF file.
This is a 2 piece player board for The Isofarian Guard board game. It assembles via a dovetail joint. I've printed it in PETG, but you can use any filament. You may need to adjust the dovetail joint if you use different filament or settings.
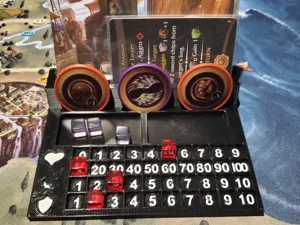
The left-side part of the player board holds the inventory cards, has trackers for health (1-30), attack (1-10), and defense (1-10), and has space for action cubes. To keep the board smaller, 4 cards can be placed horizontally so that you can place chips or cubes on those cards. Other cards, like the ones you keep in your satchel, are placed upright. Those are held at a 30 degree angle, so they are easier to read and have slots wide enough that you could store multiple cards in any of the slots, if you want to organize things that way. But, there are 8 slots, more than enough.
The right-side part of the player board holds the character's bust (upright at 30 degree angle), 6 ability card slots and corresponding “Speaking Stone Gem” slots to track when the gem is ready or on cooldown.
There aren't any bespoke placeholders for the “Green” and “Red” chips. Nor for your discarded chips. But, I'm sure you will find what works best for you to track those chips.
Hope this helps you get the game to the table more often! It's been really great to play, but I did not enjoy how difficult it was to flip over sleeved cards in the original boards. I also wanted a smaller footprint. This is basically the size of one of the boards. So, it halves the player boards' footprint.
PRINT SETTINGS:
I used Bambu Labs' default settings for 0.30mm Strength @BBL X1C 0.6 nozzle template. Only changes are under the Support tab: Checkmark Enable support box, set type to tree(auto). I printed on the Engineering Plate at 70C bed temp.
The supports are easier to remove while the print is still warm. But, using a pair of pliers made easy work of them if they are cooled.
I've included an image of the dovetail settings that I used in case you need to modify yours. You can always add a new primitive cube, resize it and merge with the model to “delete” the current dovetail. Then you can merge the models together again to redo the “cut with connectors.”

/pic8805771.jpg)