Log in to join the conversation.
Carcassonne (and Karak) Magnetic Tile
Plate Details (3)
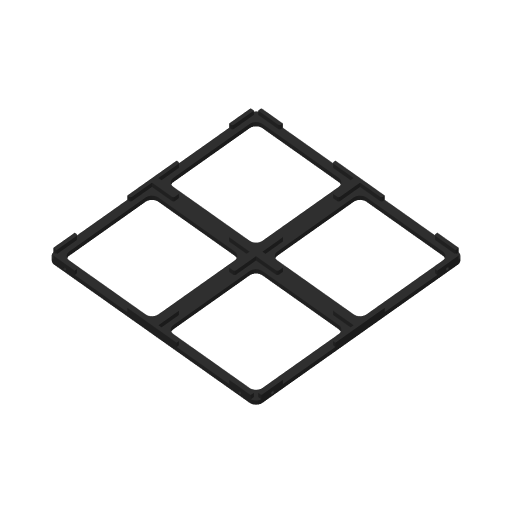
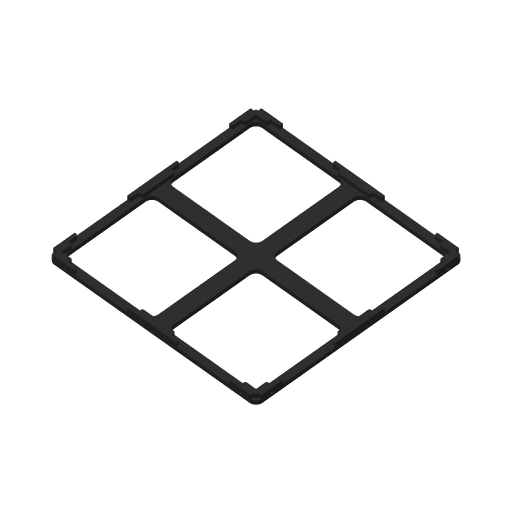
In the past, I have printed 3x3 grids assembled together like puzzles.
But it became complicated to bind depending on the printing quality.
Additionally, 3x3 becomes restrictive depending on the size of the table.
This is why I preferred to make 2x2s and add small magnets on each side to keep them connected.
It works perfectly, so I'll provide you with all that.
REQUIREMENT
- 4x Round neodymium magnet 1x1mm
- Glue (superglue for me)
- Permanent marker
- Tweezers
INSTRUCTIONS
- Stick a first magnet (flat face) in one of the holes
- Once the glue is dry, put a magnet on the one already glued
- Use the marker on the flat side to know the direction of polarization
- Retrieve this magnet
- Stick it in the second hole (same side of the grid), so that the marked side is not visible
For the next side of the grid, repeat the steps to mark a magnet. Each face must keep the same polarity on the top hole, the same for the bottom holes.
This means that the magnet marked on the top one must be placed marked face up on the top hole of the next face of the grid. Without this, the different grids will not attract each other (on the contrary).
With superglue, it is best to put the magnet on first, before applying the glue to it. For slow setting glues, it is preferable to do the opposite.
HELPER
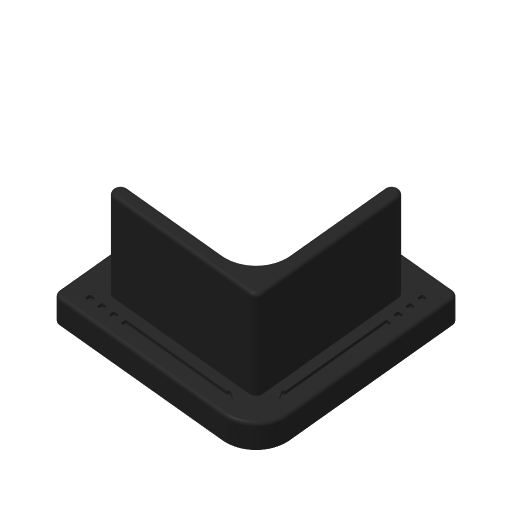
I'm adding a small printable part to the project to help place the magnets. So you just have to glue a magnet in each of the two holes (one way N and the other way S). To use it, put super glue in one of the holes of the grid, put a magnet on the helper tool, then align the two so that the magnet fits into the hole of the grid. You probably have to wait a bit for it to dry (to prevent the magnet from rotating in the hole), then slide the two pieces against each other to separate the two magnets.
I didn't have time to try this model, so don't hesitate to ask me for modifications.

/pic6975432.jpg)
/pic6946602.jpg)