Table Talk
Nothing here yet. Love this design? Say so - the designer might see it.

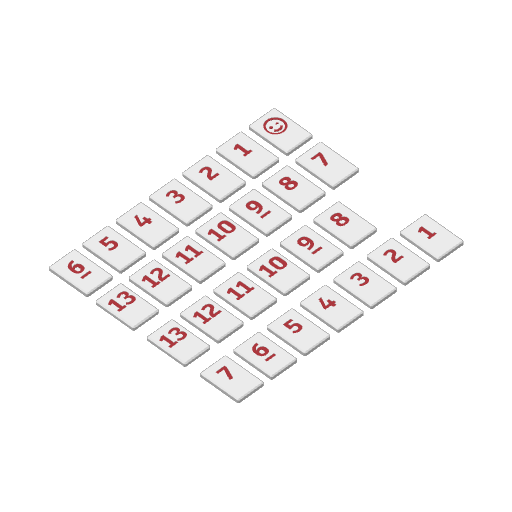
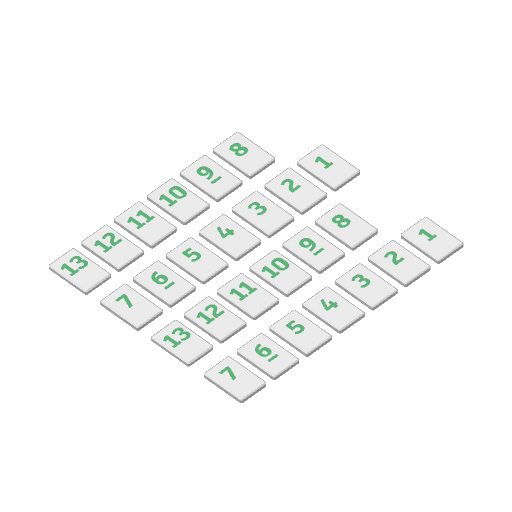
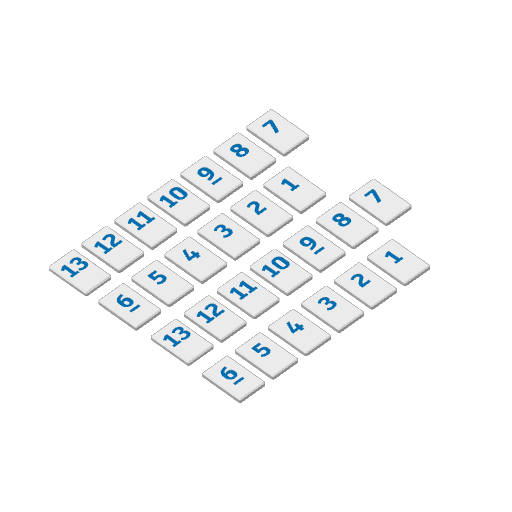
minirummi | Travel-Sized Rummikub Set
Miniatures Free
Plan Your Print
Needs about 445 g From the designer's print profile
Print Profile (6)
Recessed labels
5 plates 11h 27m 445 g PLA
P1S, A1, X1 Carbon, H2D, X1E, P1P, X1, H2D Pro, H2S, P2S, H2C, X2D, A2L
Plate Details (5)
0.4 mm nozzle, all plates
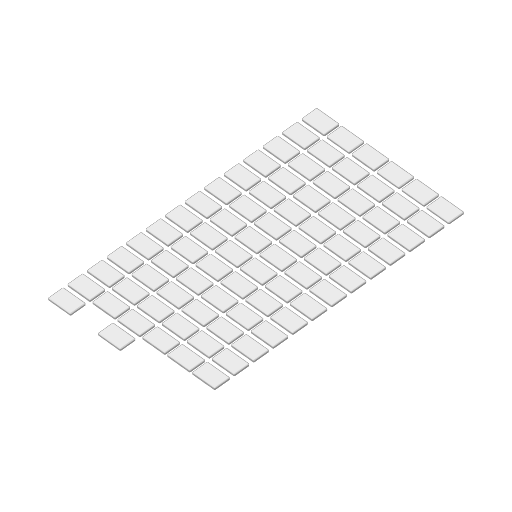
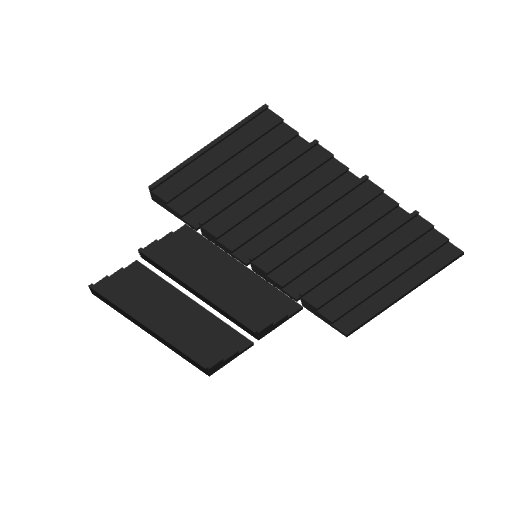
Plate 1 · tiles pt 1
2h 43m 76 g PLA · 71 g PLA · 1 g PLA · 2 g PLA · 2 g
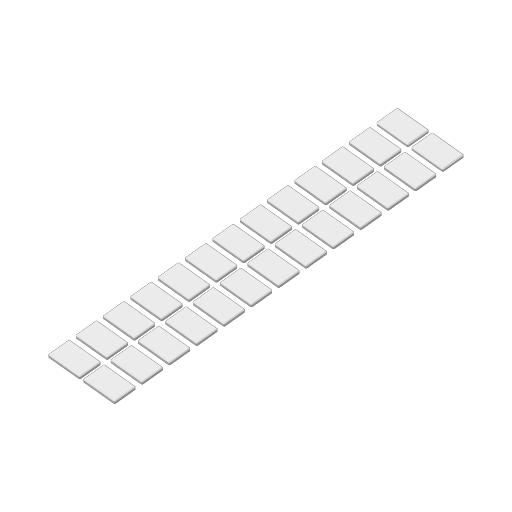
Plate 2 · tiles pt 2
58m 25 g PLA · 24 g PLA · 1 g
Plate 3 · lid
1h 7m 51 g PLA · 49 g PLA · 2 g
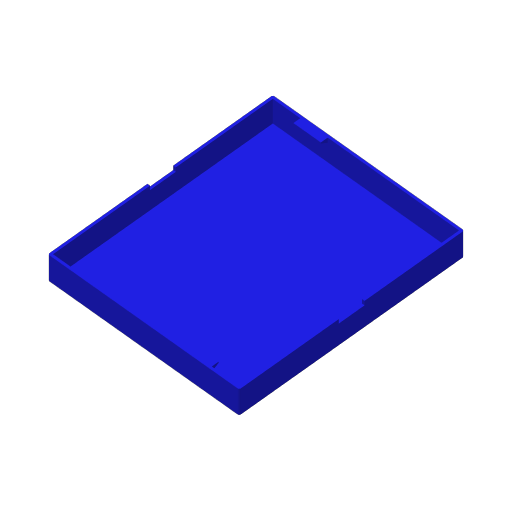
Plate 4 · boxes
3h 19m 149 g PLA · 149 g
Plate 5
3h 20m 144 g PLA · 144 g
Tile Labels Against Plate
5 plates 11h 6m 412 g PLA
P1S, P1P, X1, X1 Carbon, X1E, A1, H2D, H2D Pro, H2S, P2S, H2C, X2D, A2L
Prints with the tiles face down against the bed with a flat top and bottom surface
Plate Details (5)
0.4 mm nozzle, all plates
Plate 1 · Tiles part 1
2h 39m 76 g PLA · 1 g PLA · 72 g PLA · 2 g PLA · 1 g
Plate 2 · Tiles part 2
59m 27 g PLA · 2 g PLA · 25 g
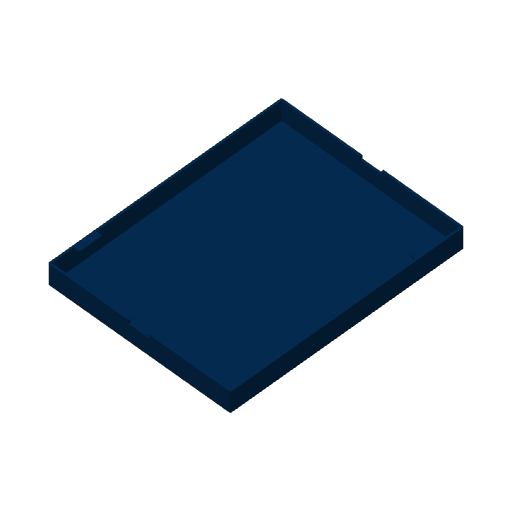
Plate 3 · Tile tray
1h 2m 44 g PLA · 44 g
Plate 4 · Stands
3h 120 g PLA · 120 g
Plate 5 · Box
3h 27m 145 g PLA · 144 g PLA · 1 g
No AMS
4 plates 10h 40m 401 g PLA
P1S, P1P, X1, X1 Carbon, X1E, A1, H2D, H2D Pro, H2S, P2S, H2C, X2D, A2L
No AMS required, instead use a paint pen or similar to color in the tiles!
Plate Details (4)
0.4 mm nozzle, all plates
Plate 1 · Tiles
3h 15m 93 g PLA · 93 g
Plate 2 · Tile tray
1h 2m 44 g PLA · 44 g
Plate 3 · Stands
3h 120 g PLA · 120 g
Plate 4 · Box
3h 23m 144 g PLA · 144 g
Individual Tiles (A1 Mini compatible)
3 plates 1h 59m 37 g PLA
A1 mini, H2D, P1P, P1S, X1E, X1 Carbon, A1, X1, H2D Pro, H2S, P2S, H2C, X2D, A2L
Each tile a separate part to print as needed. Same print settings as the original.
Plate Details (3)
0.4 mm nozzle, all plates
Plate 1 · Individual Tiles
39m 12 g PLA · 11 g PLA · 1 g
Plate 2 · Combined Tiles
1h 7m 23 g PLA · 21 g PLA · 2 g
Plate 3 · Joker Only
13m 2 g PLA · 1 g PLA · 1 g
0.2mm layer, 4 walls, 15% infill
9 plates 12h 54m 394 g PLA
A1 mini, H2C, H2D Pro, P1P, P1S, A1, X1E, H2D, X1, P2S, X1 Carbon, H2S, X2D, A2L
Fully A1 Mini Compatible Print Profile
Plate Details (9)
0.4 mm nozzle, all plates
Plate 1 · Black Tiles
1h 7m 25 g PLA · 24 g PLA · 1 g
Plate 2 · Red Tiles
1h 7m 25 g PLA · 24 g PLA · 1 g
Plate 3 · Green Tiles
1h 4m 24 g PLA · 23 g PLA · 1 g
Plate 4 · Blue Tiles
1h 5m 24 g PLA · 23 g PLA · 1 g
Plate 5 · Box
2h 30m 94 g PLA · 94 g
Plate 6 · Tile Tray
1h 7m 43 g PLA · 43 g
Plate 7 · Lid
1h 17m 43 g PLA · 42 g PLA · 1 g
Plate 8 · Trays
1h 49m 58 g PLA · 58 g
Plate 9 · Trays
1h 49m 58 g PLA · 58 g
minirummi XP • for 6 players
6 plates 15h 38m 634 g PLA
P1S, H2D, P1P, H2S, H2D Pro, X1, X1 Carbon, X1E, A1, P2S, H2C, X2D, A2L
• enlarged box, • +2 player stands, • 3 sets of tiles of each color + 4x joker
Plate Details (6)
0.4 mm nozzle, all plates
Plate 1 · tiles pt 1
2h 39m 74 g PLA · 71 g PLA · 1 g PLA · 2 g
Plate 2 · tiles pt 2
2h 39m 74 g PLA · 71 g PLA · 2 g PLA · 1 g
Plate 3 · lid
1h 19m 71 g PLA · 71 g
Plate 4 · box
2h 44m 136 g PLA · 136 g
Plate 5 · stands
4h 57m 216 g PLA · 216 g
Plate 6 · tray
1h 20m 63 g PLA · 63 g
As sliced by the designer. Your printer, filament, and settings may change these numbers.
Model Description
minirummi: Travel-Sized Rummikub

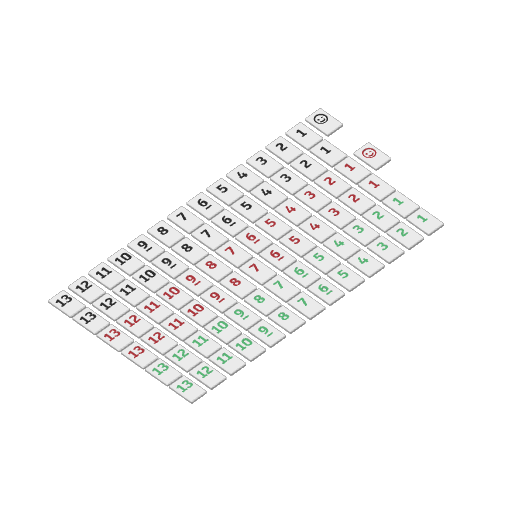
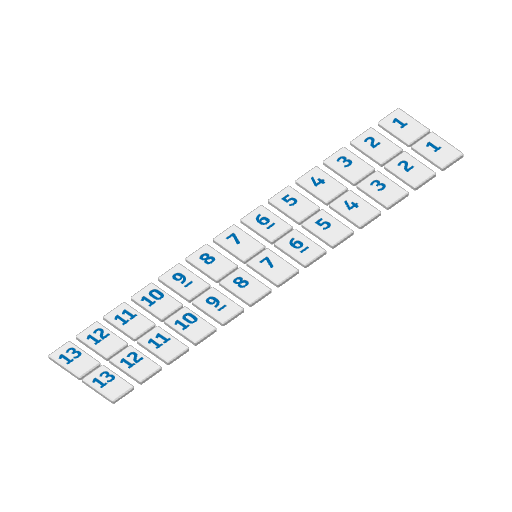
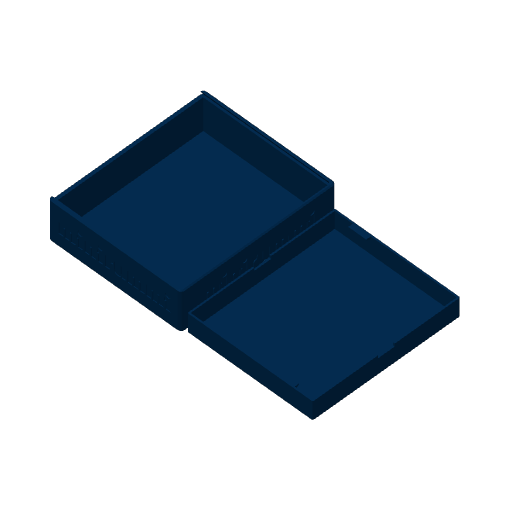
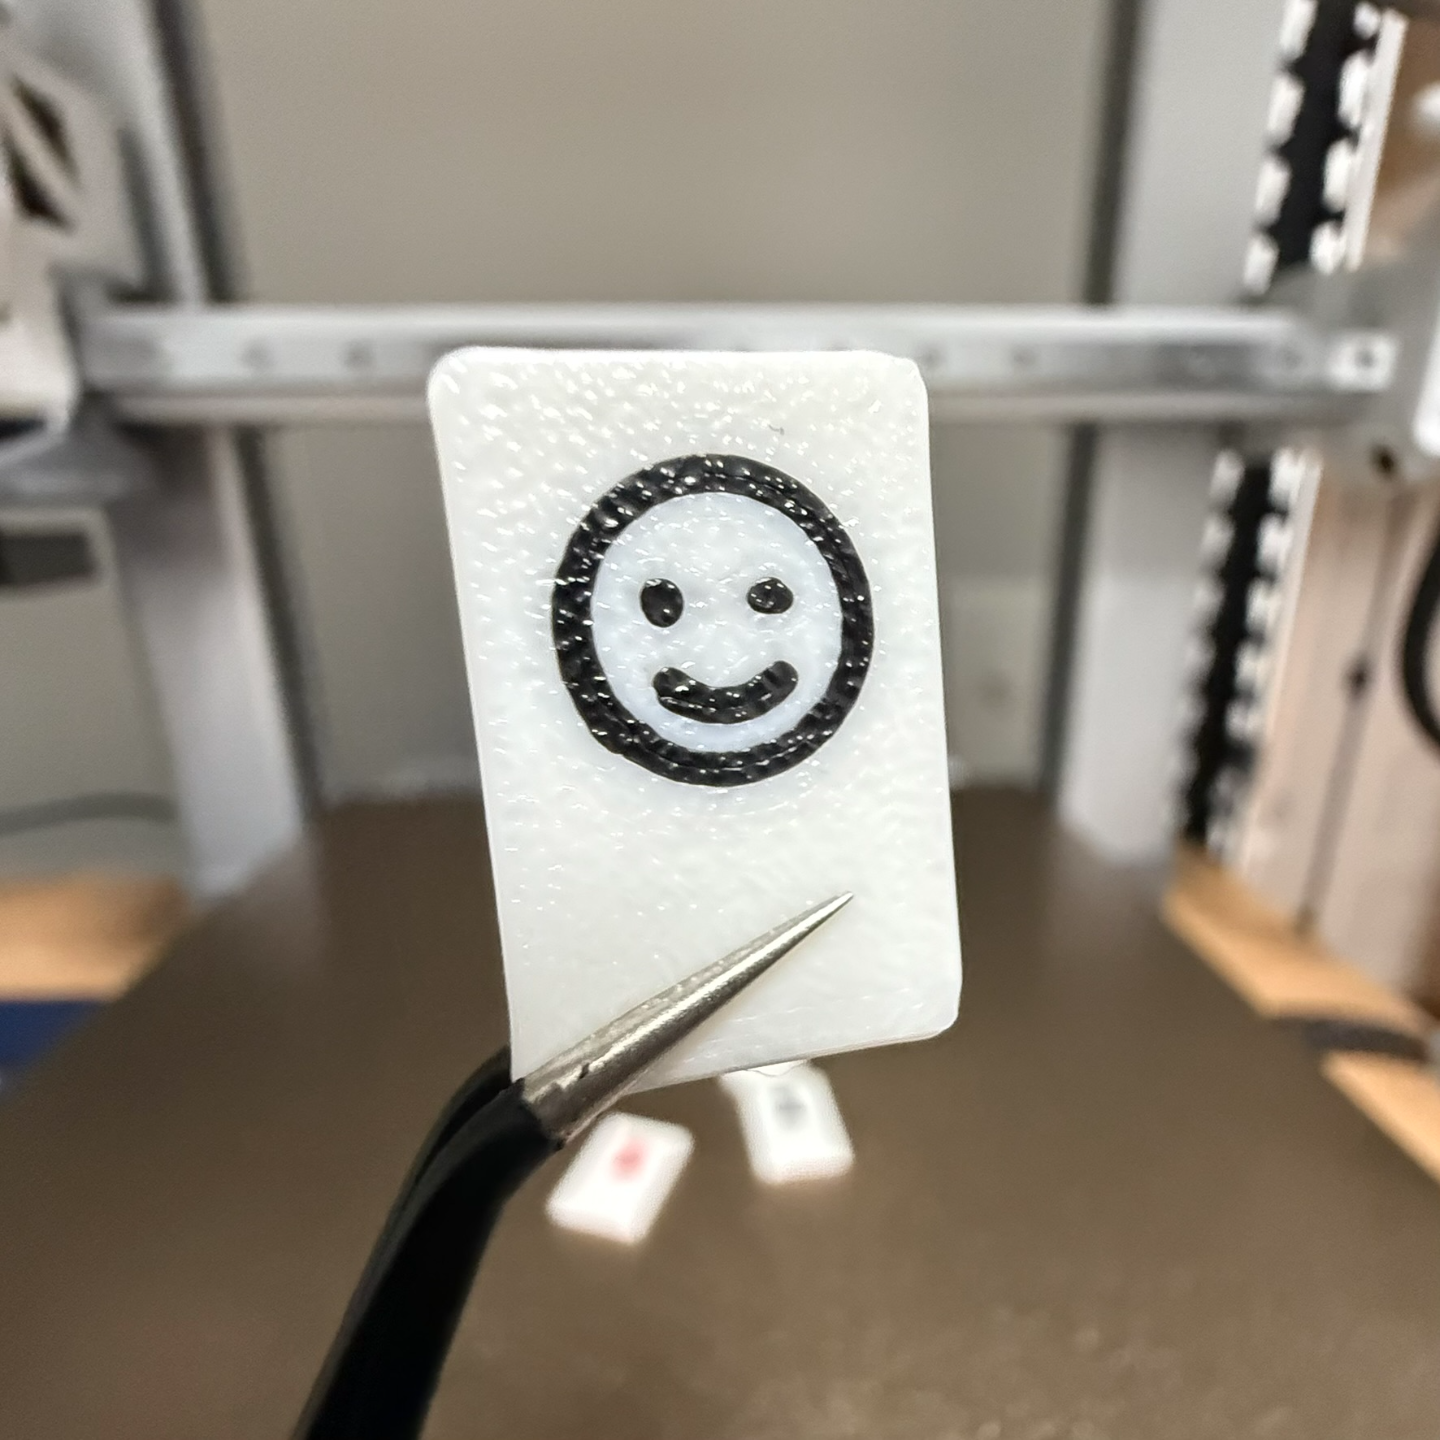
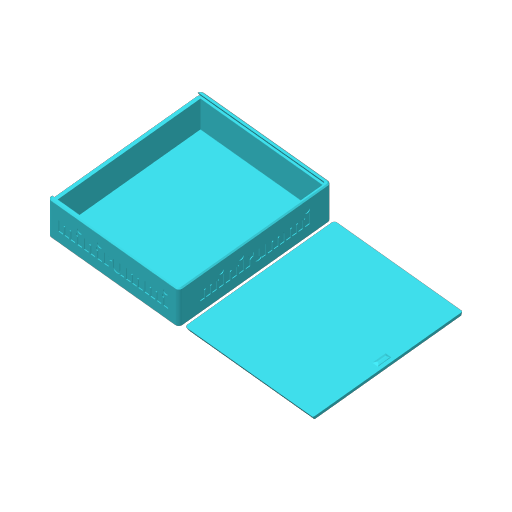
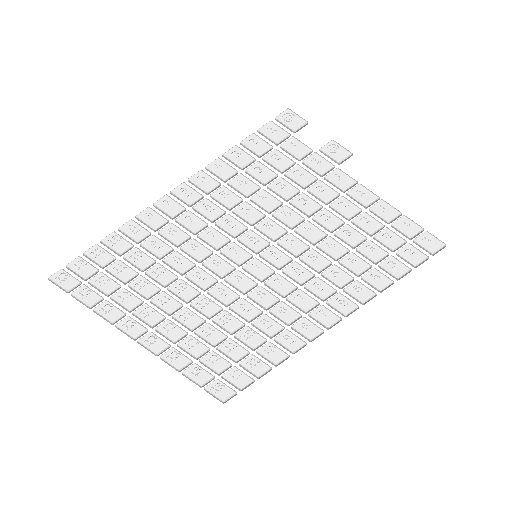
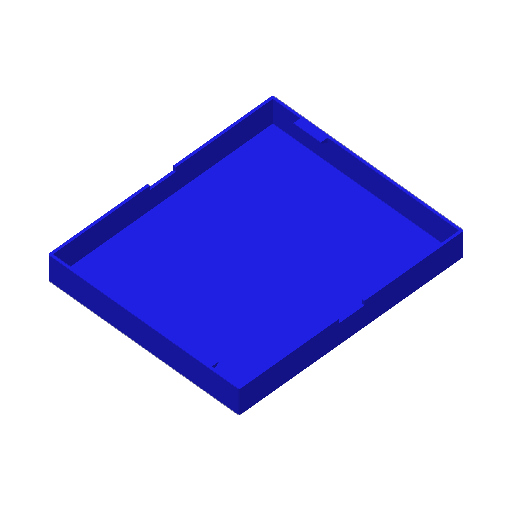
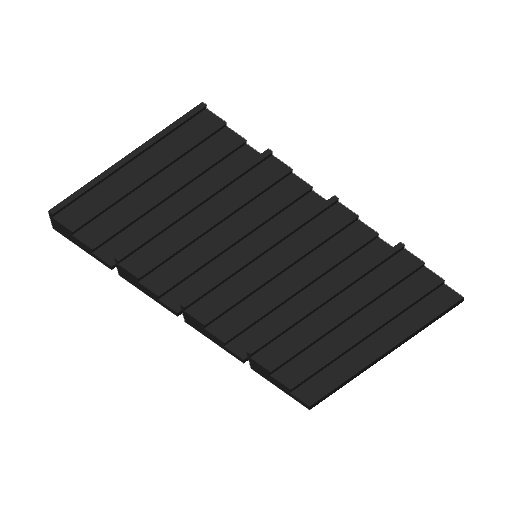
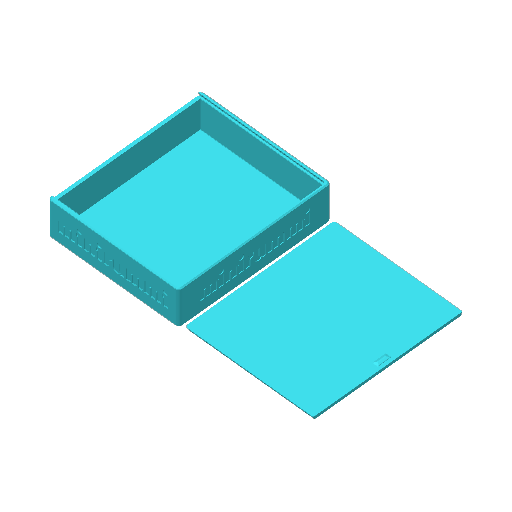
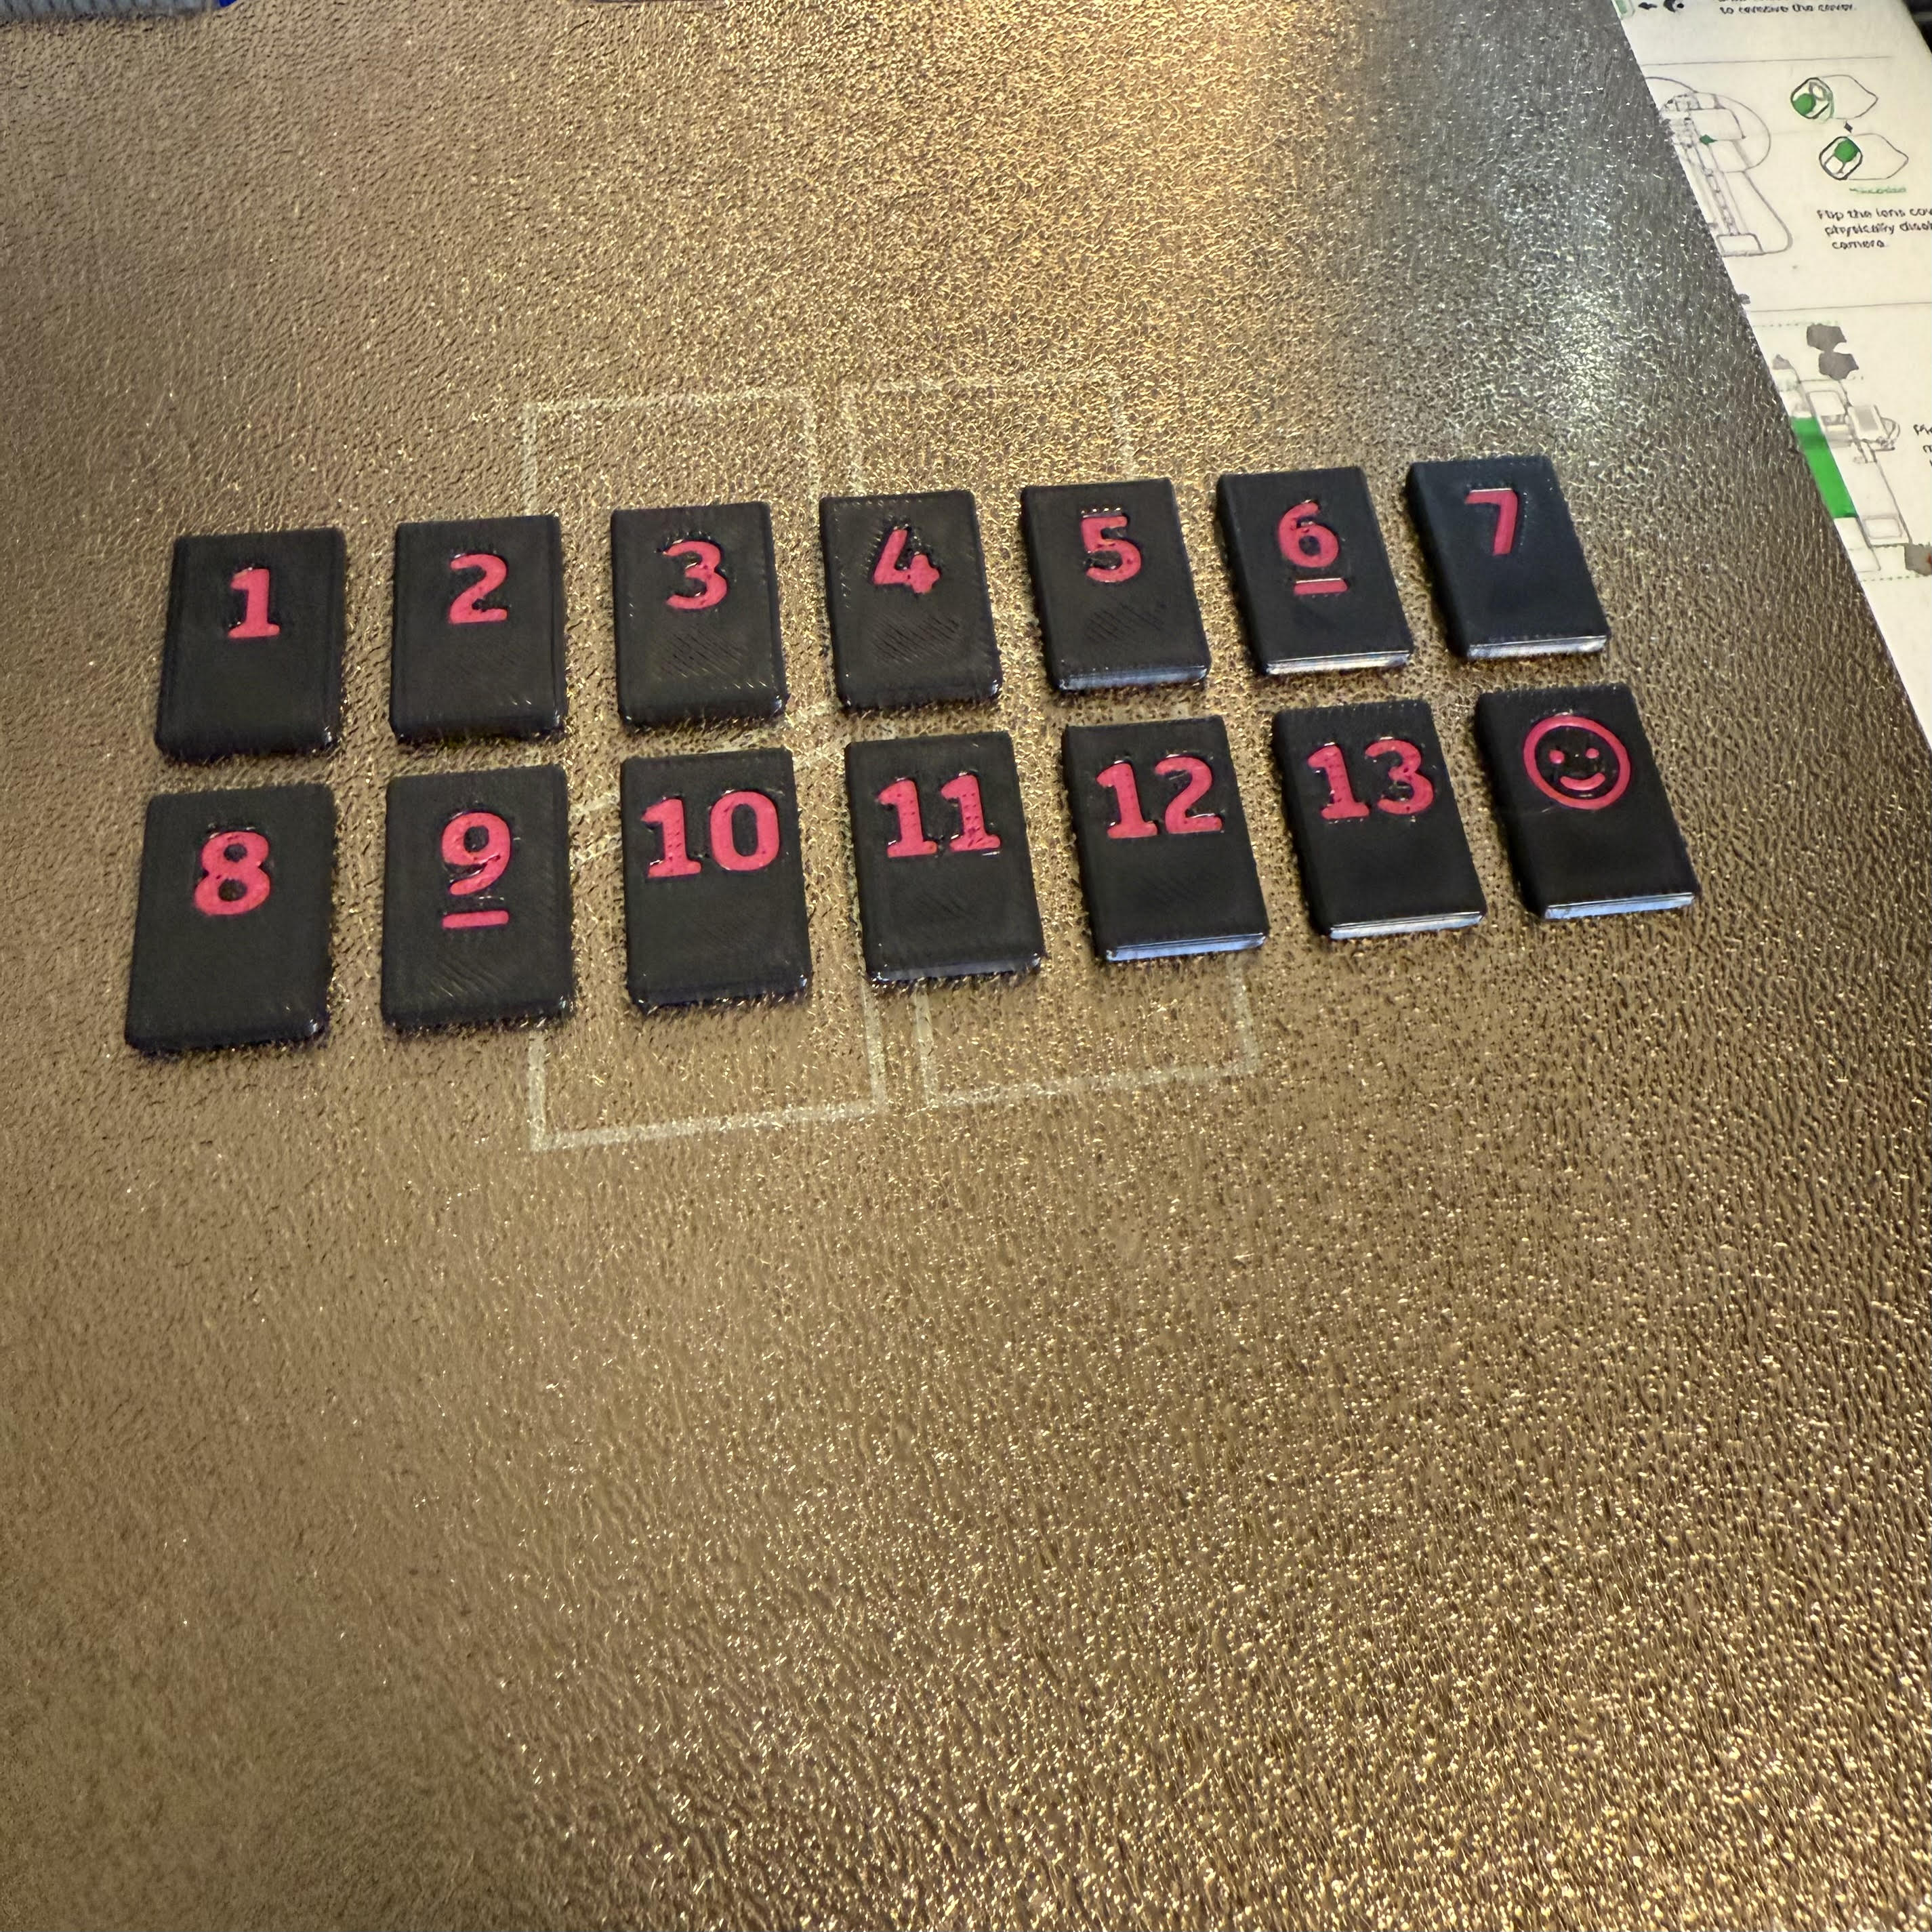
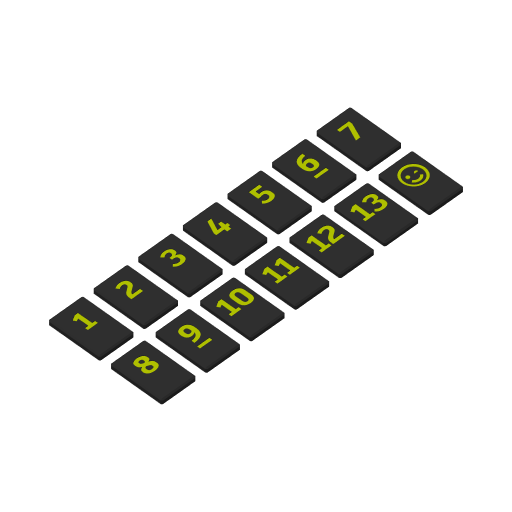
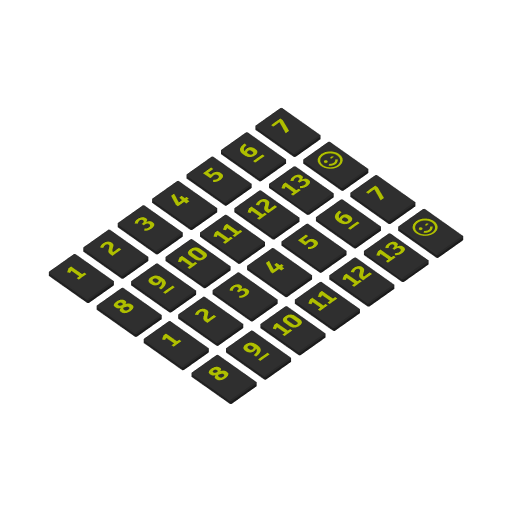
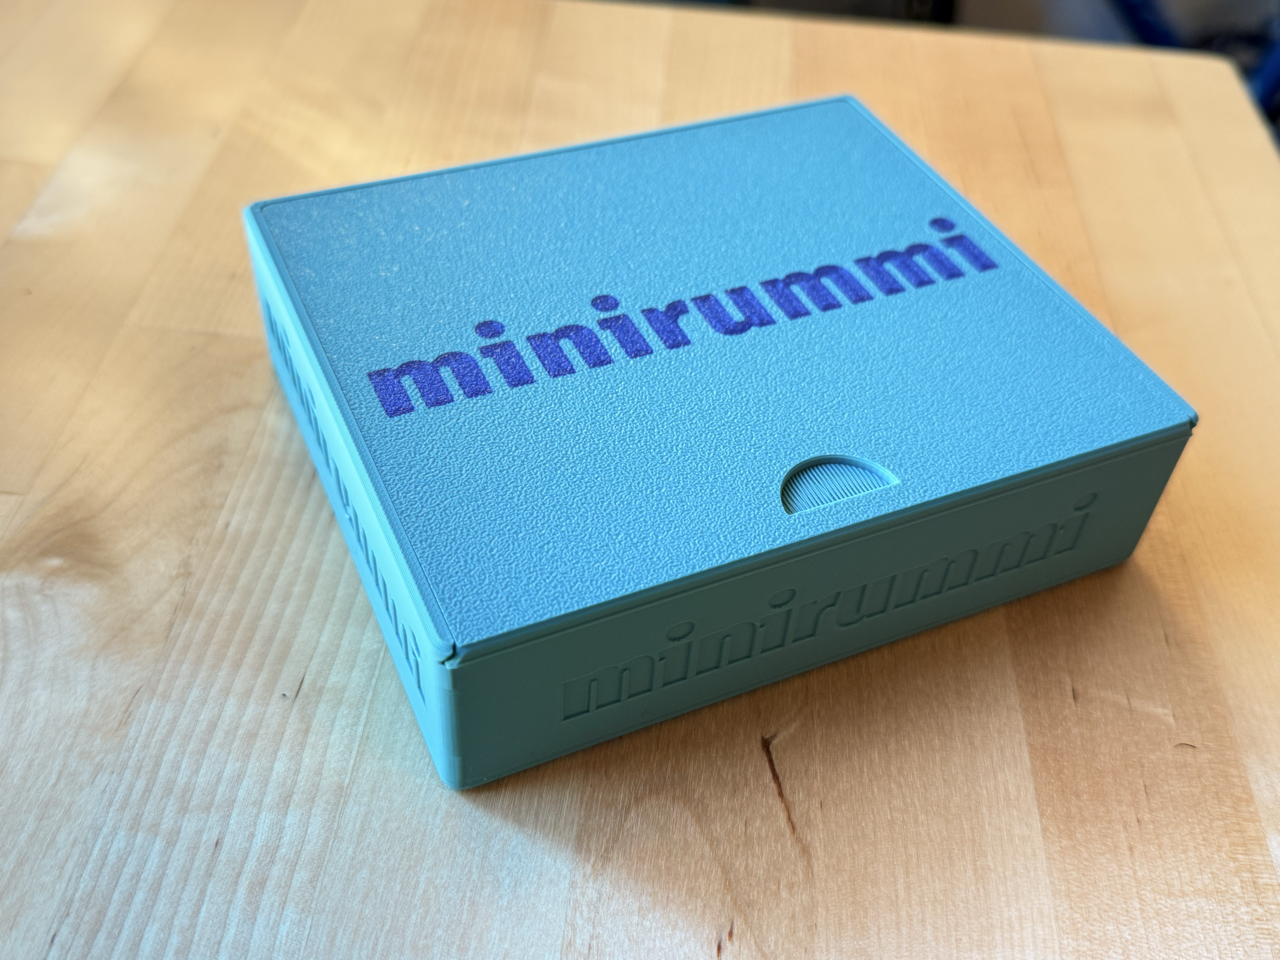
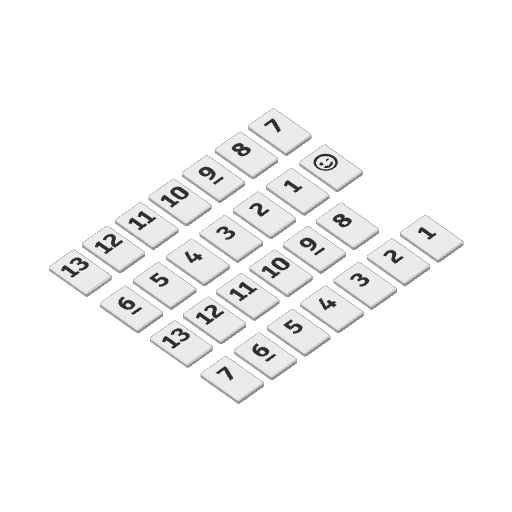
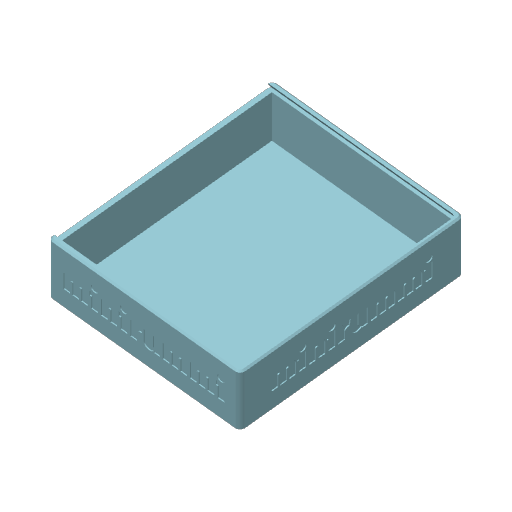
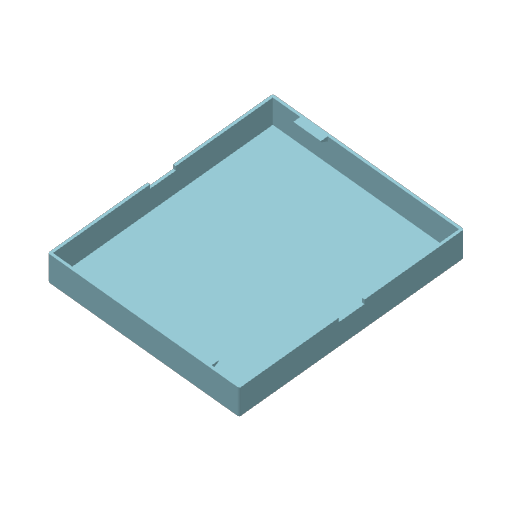
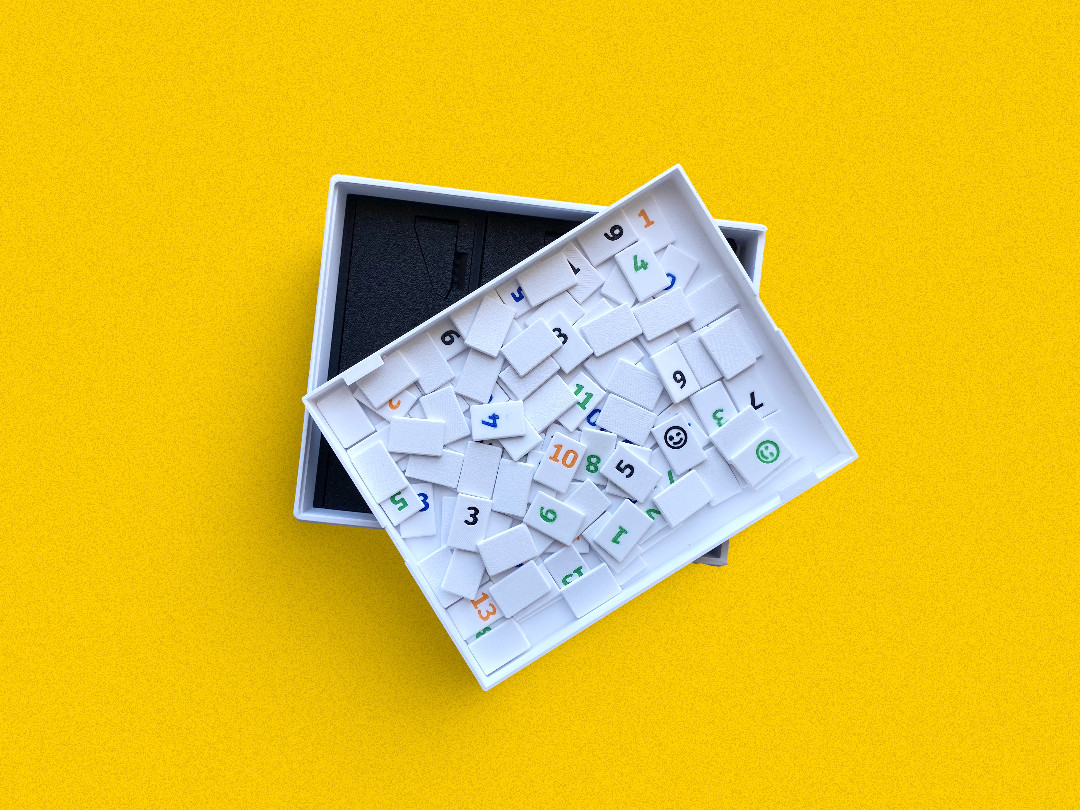
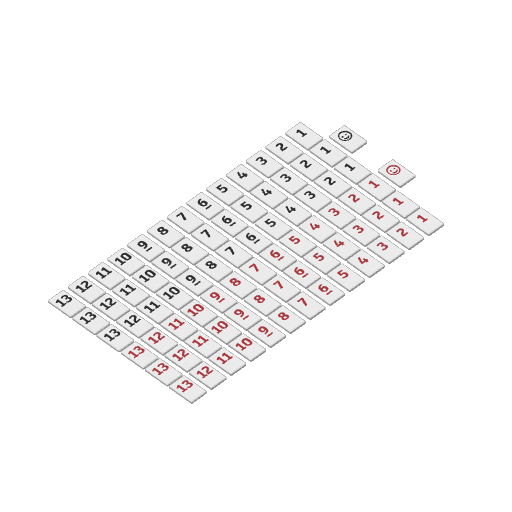
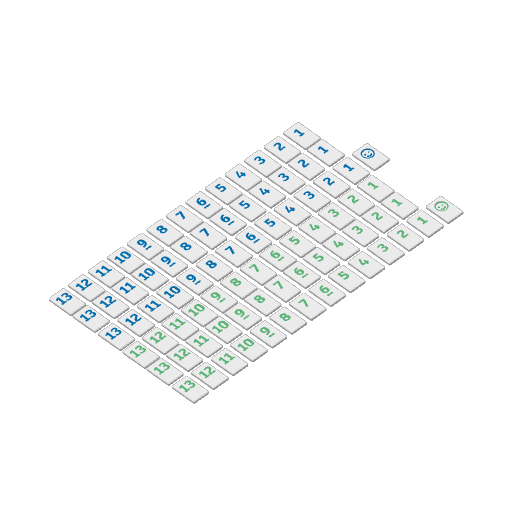
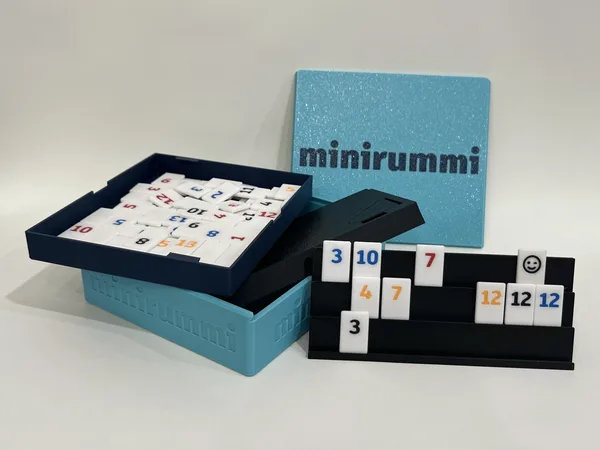
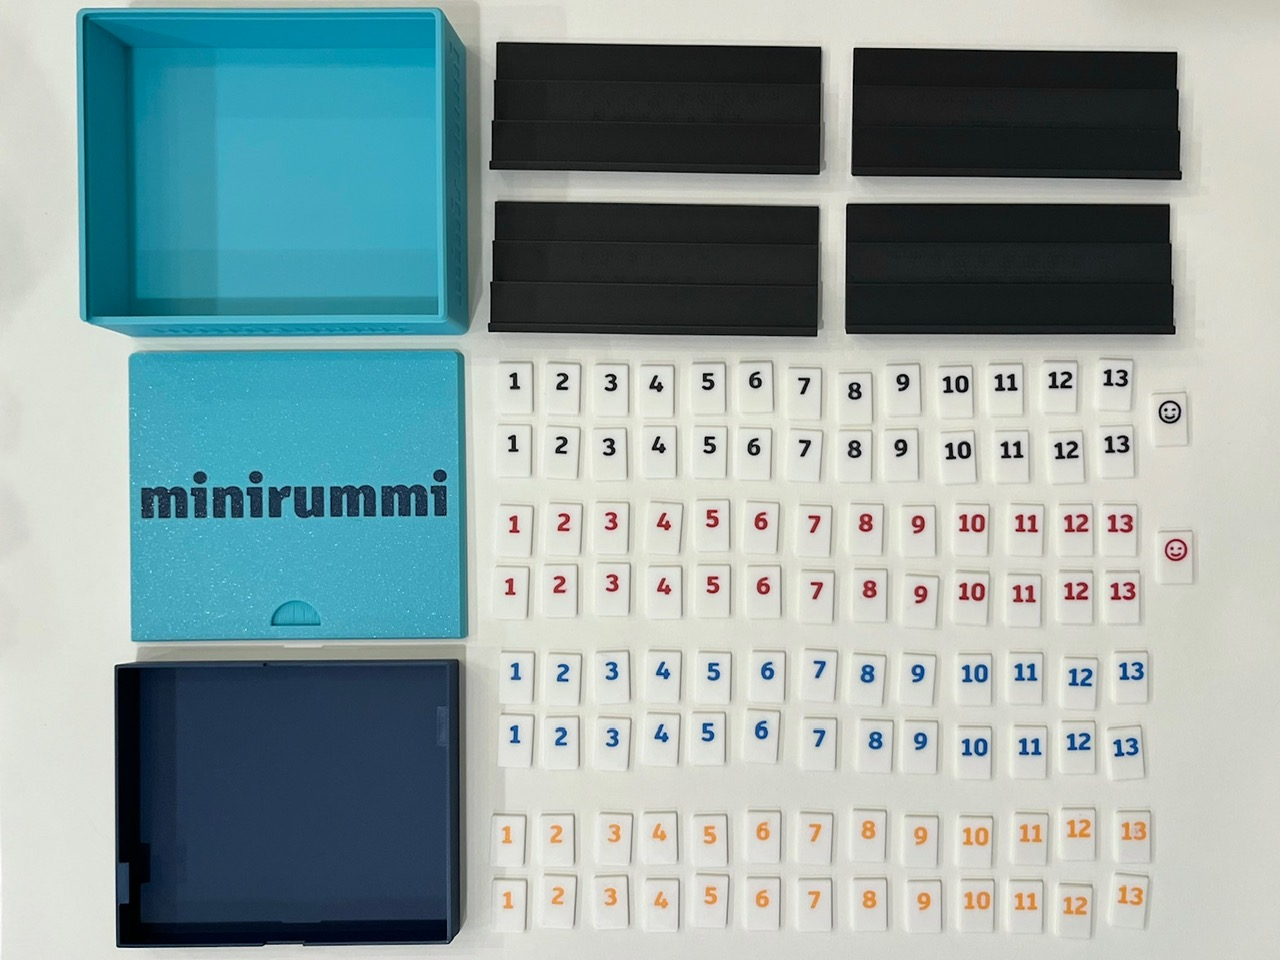
minirummi is a compact, travel-sized version of the classic tile-based game Rummikub. In Rummikub, players strategically arrange numbered tiles in runs and sets, aiming to be the first to use all their tiles. This travel-sized adaptation includes a mini-sized version of the original 106 tiles, a storage tray for the tiles, 4 folding stands, and a box to contain it all.

Assembly:

Please note that assembly may require some patience and attention to detail. The set consists of two main layers:

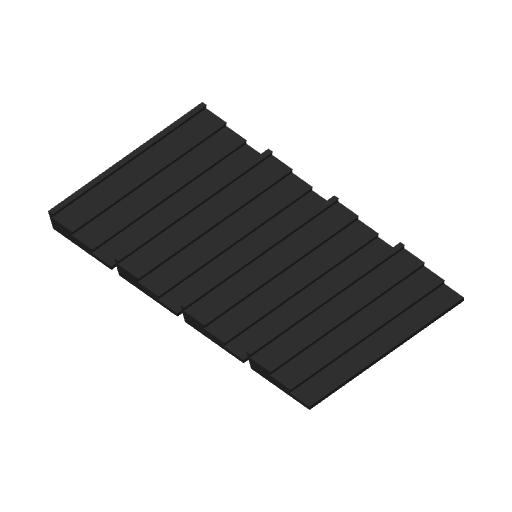
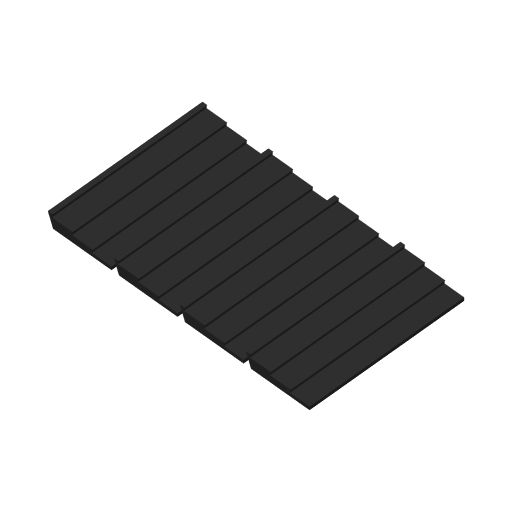
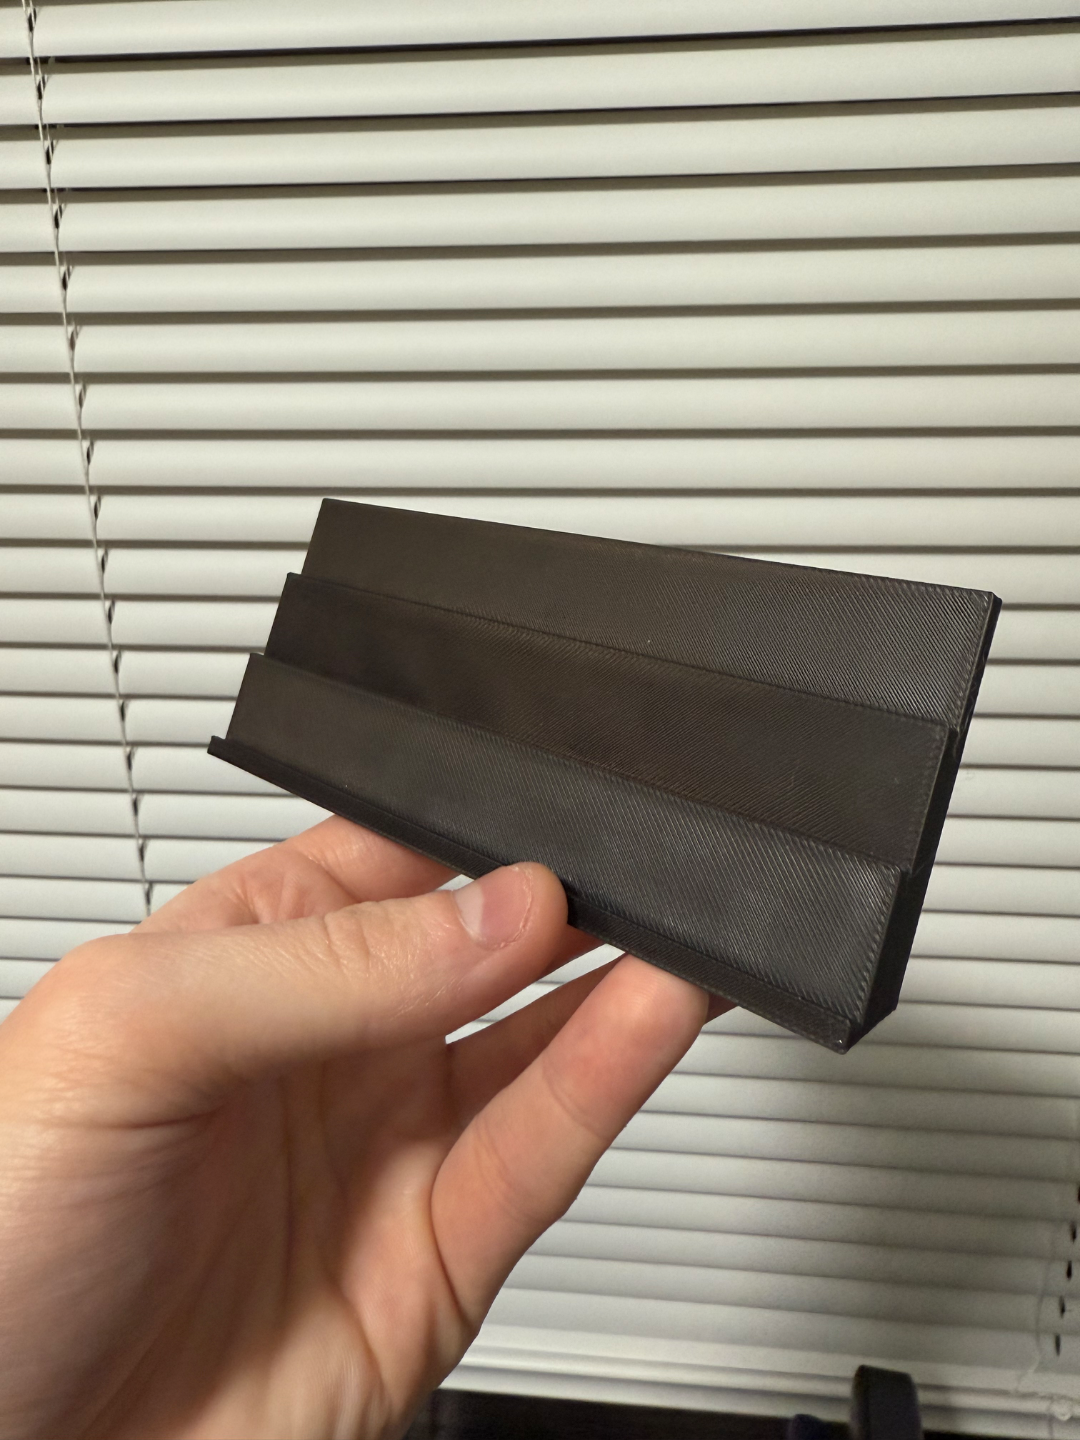
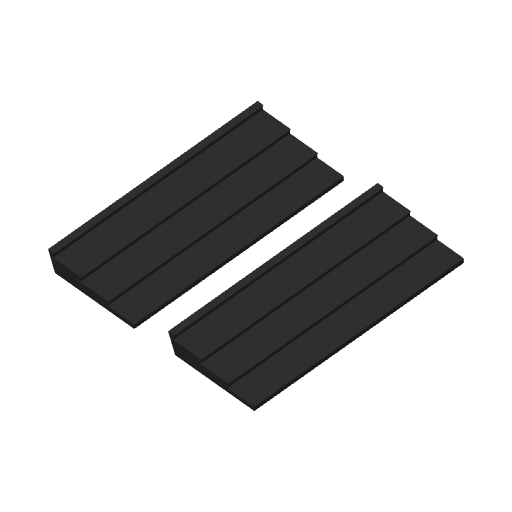
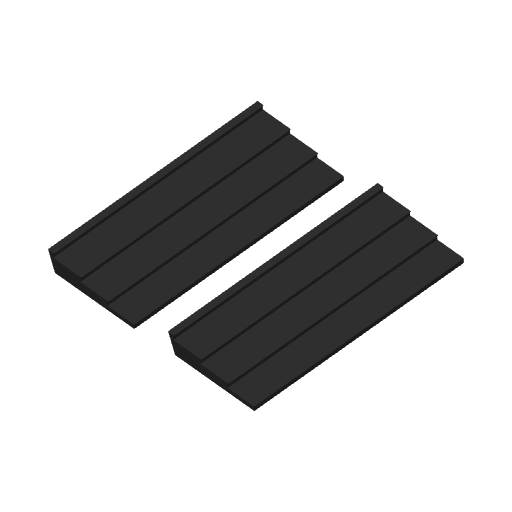
  • Folding stands
  • Tray containing the game tiles

While either layer can be placed on top, we recommend placing the tile tray above the stands. This arrangement allows for easy removal of the stands by simply tipping the box after you've removed the tile tray.

To assemble:

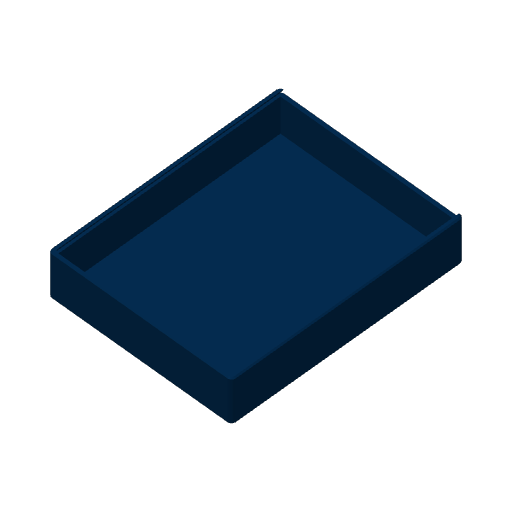
1. Place the stands in the box, ensuring their ledges interlock with minimal space between them.

2. Rest the tile tray on top of the stands.

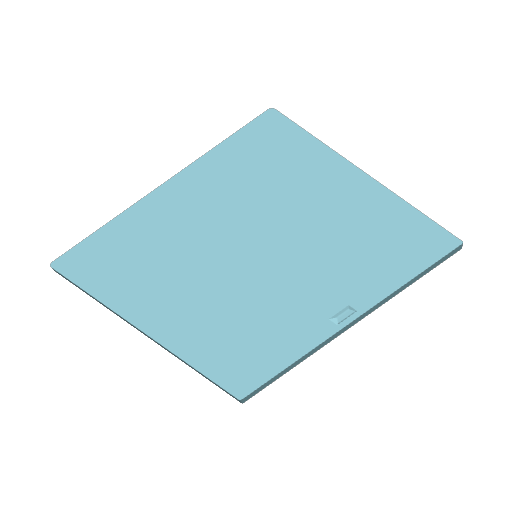
3. Slide the lid over the tile tray, ensuring no errant tiles are sticking up and the lid is secured in place.

Notes:
  • If you're struggling to open the stand legs with your fingers, simply use the tiles! They're the perfect size to get under the leg and pry it up.
  • If using light-colored filament for tile bodies, be aware that the tile backs may become slightly translucent. This could potentially allow untrustworthy players to discern colors or even numbers by closely examining the tile backs.
  • The tray can serve as a container for extra tiles during gameplay, especially in 4-player games with fewer remaining tiles. However, for ease of use, consider adding a thin fabric pouch to the box or simply spread the remaining tiles on the play surface.
Acknowledgements:
  • Thomas Roddis for inspiration on the stand leg design and sliding box concept.
  • Modified wink SVG by Boxicons in Attribution CC BY License via SVG Repo

Please let me know if you have any feedback on the model! Enjoy your portable Rummikub experience with minirummi!
rummikub board game minirummi minikub counting number boardgame
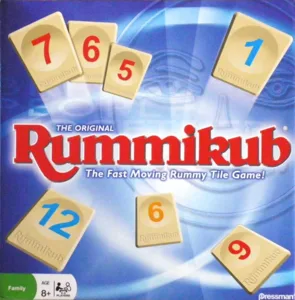
Rummikub box art Rummikub 1950
Match filament

Main colors from the cover art. Find matching filament, or tap swatches to narrow.