Log in to join the conversation.
Card Shuffler
Please support Josh-3D by Liking/Boosting their Print on MakerWorld.
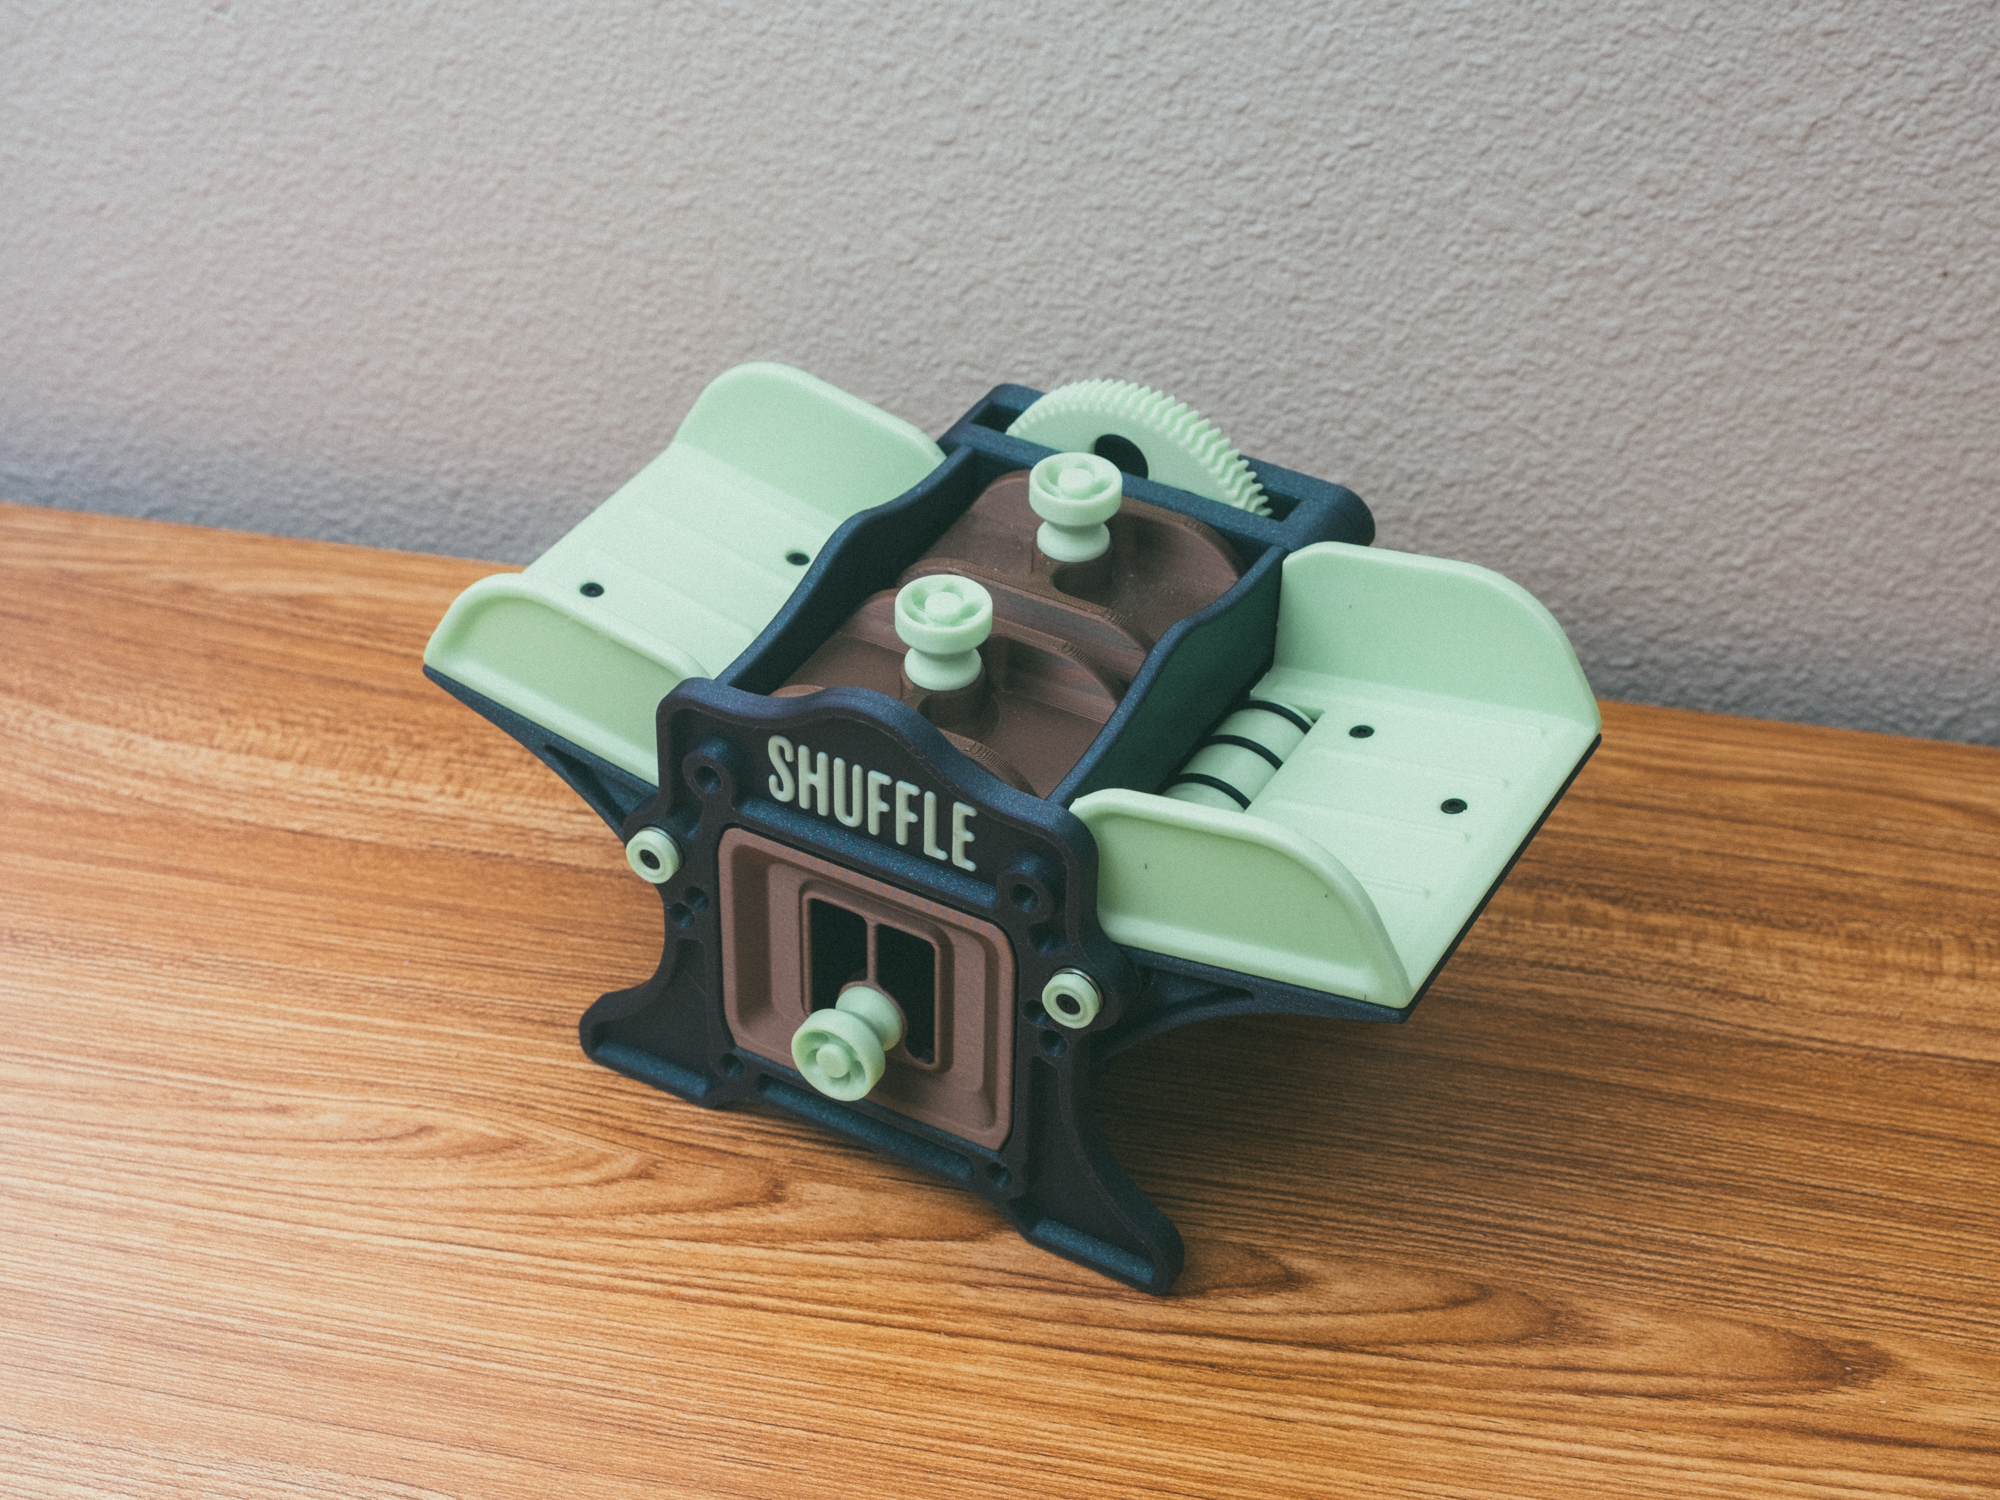
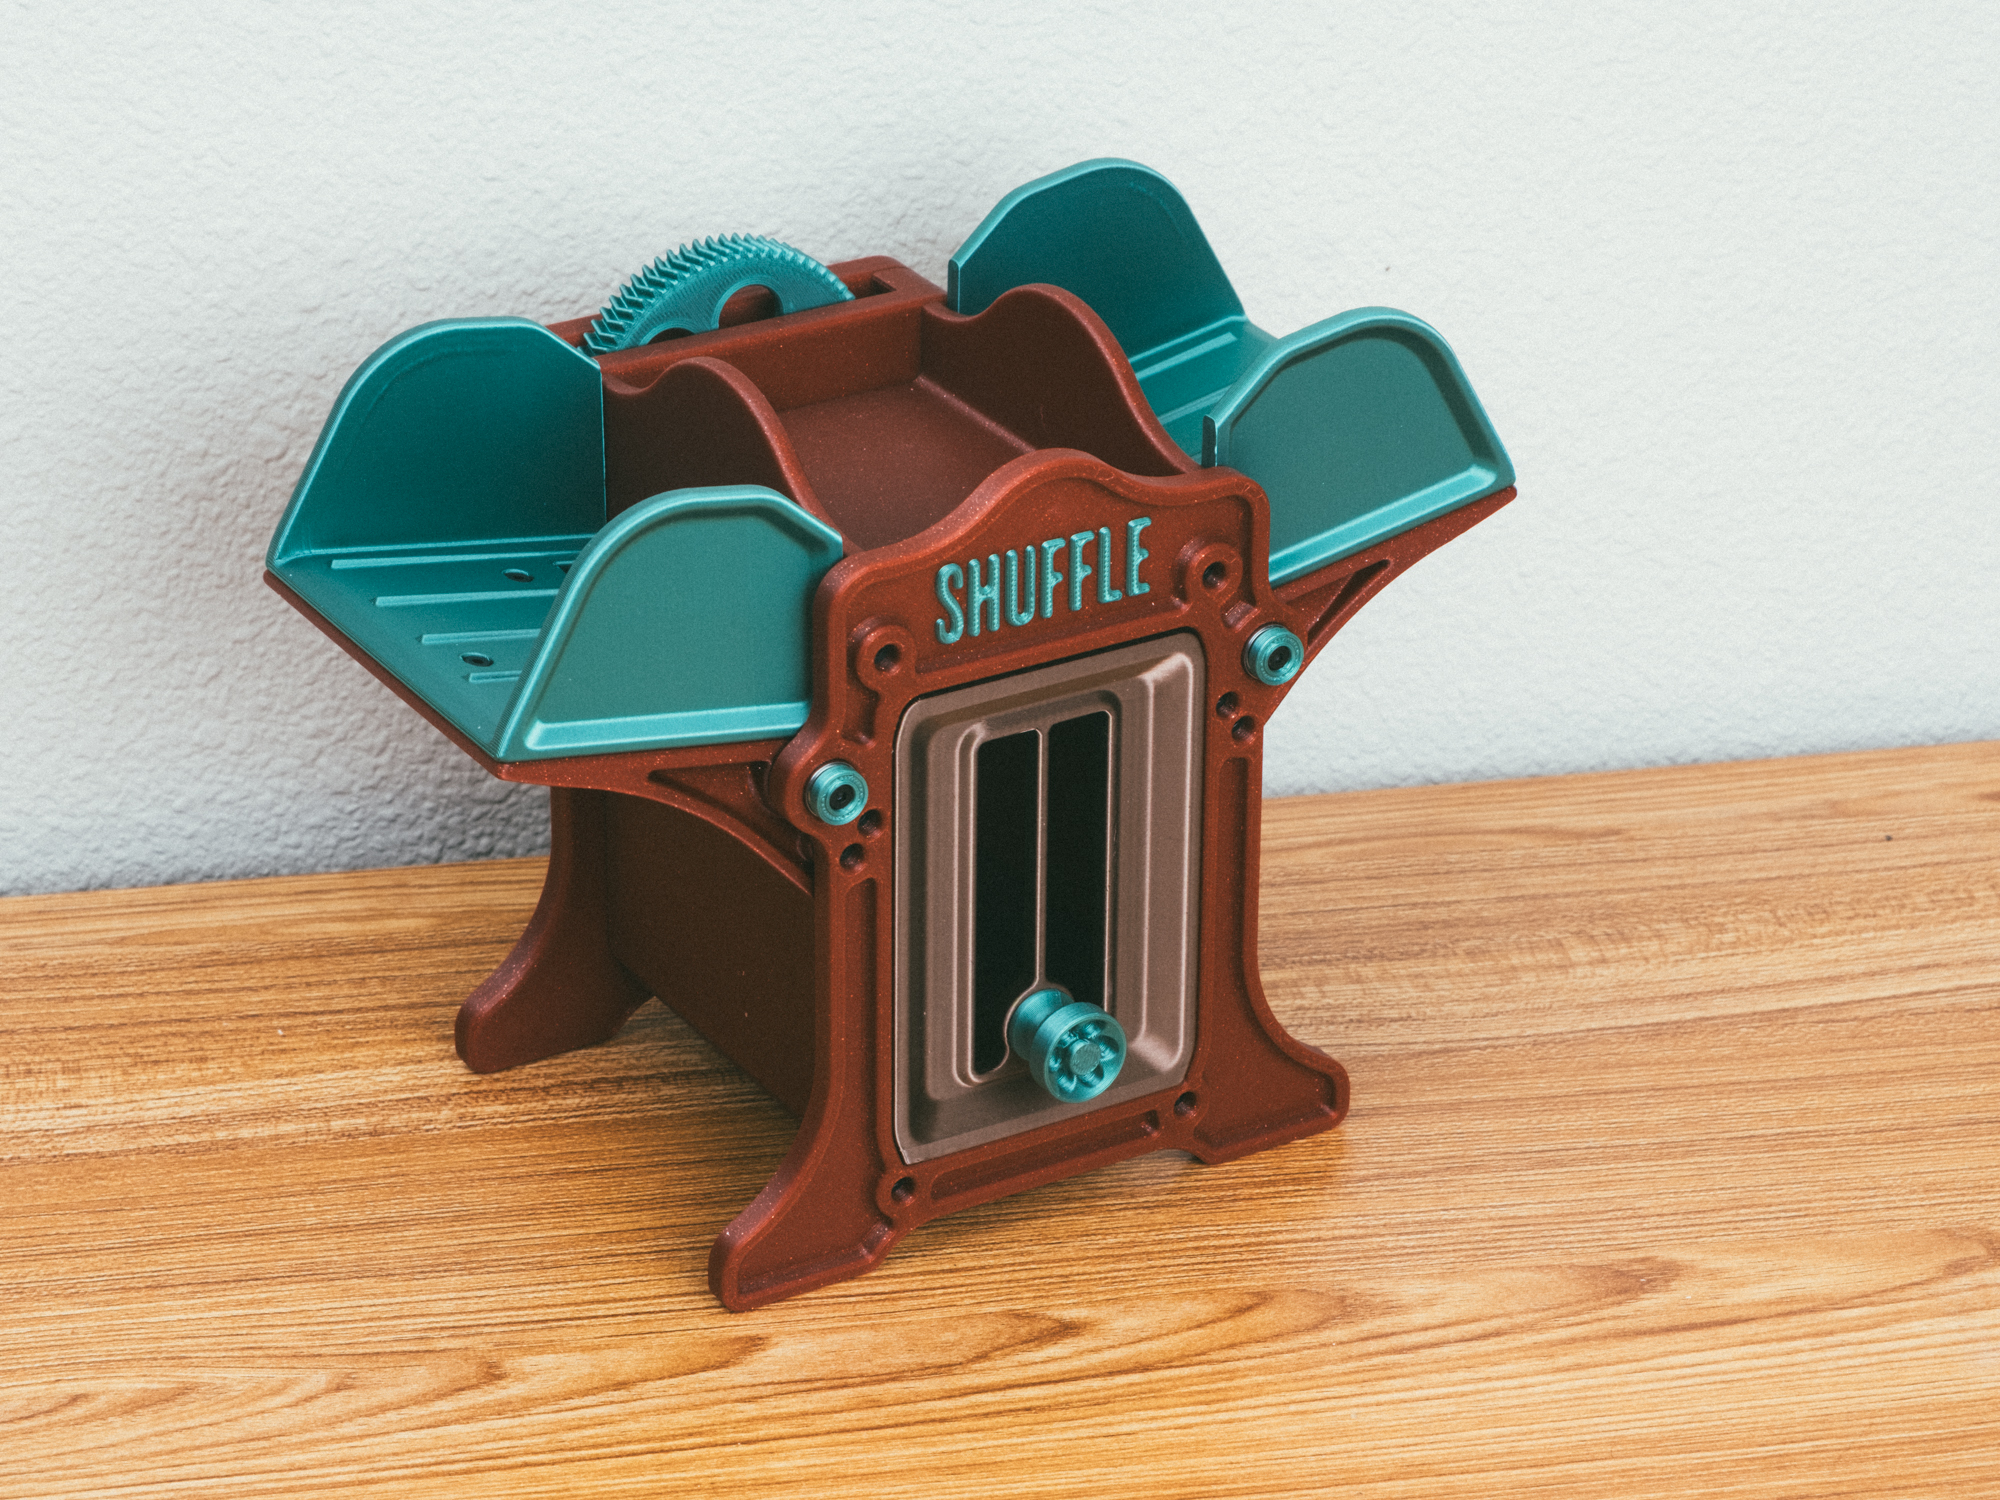
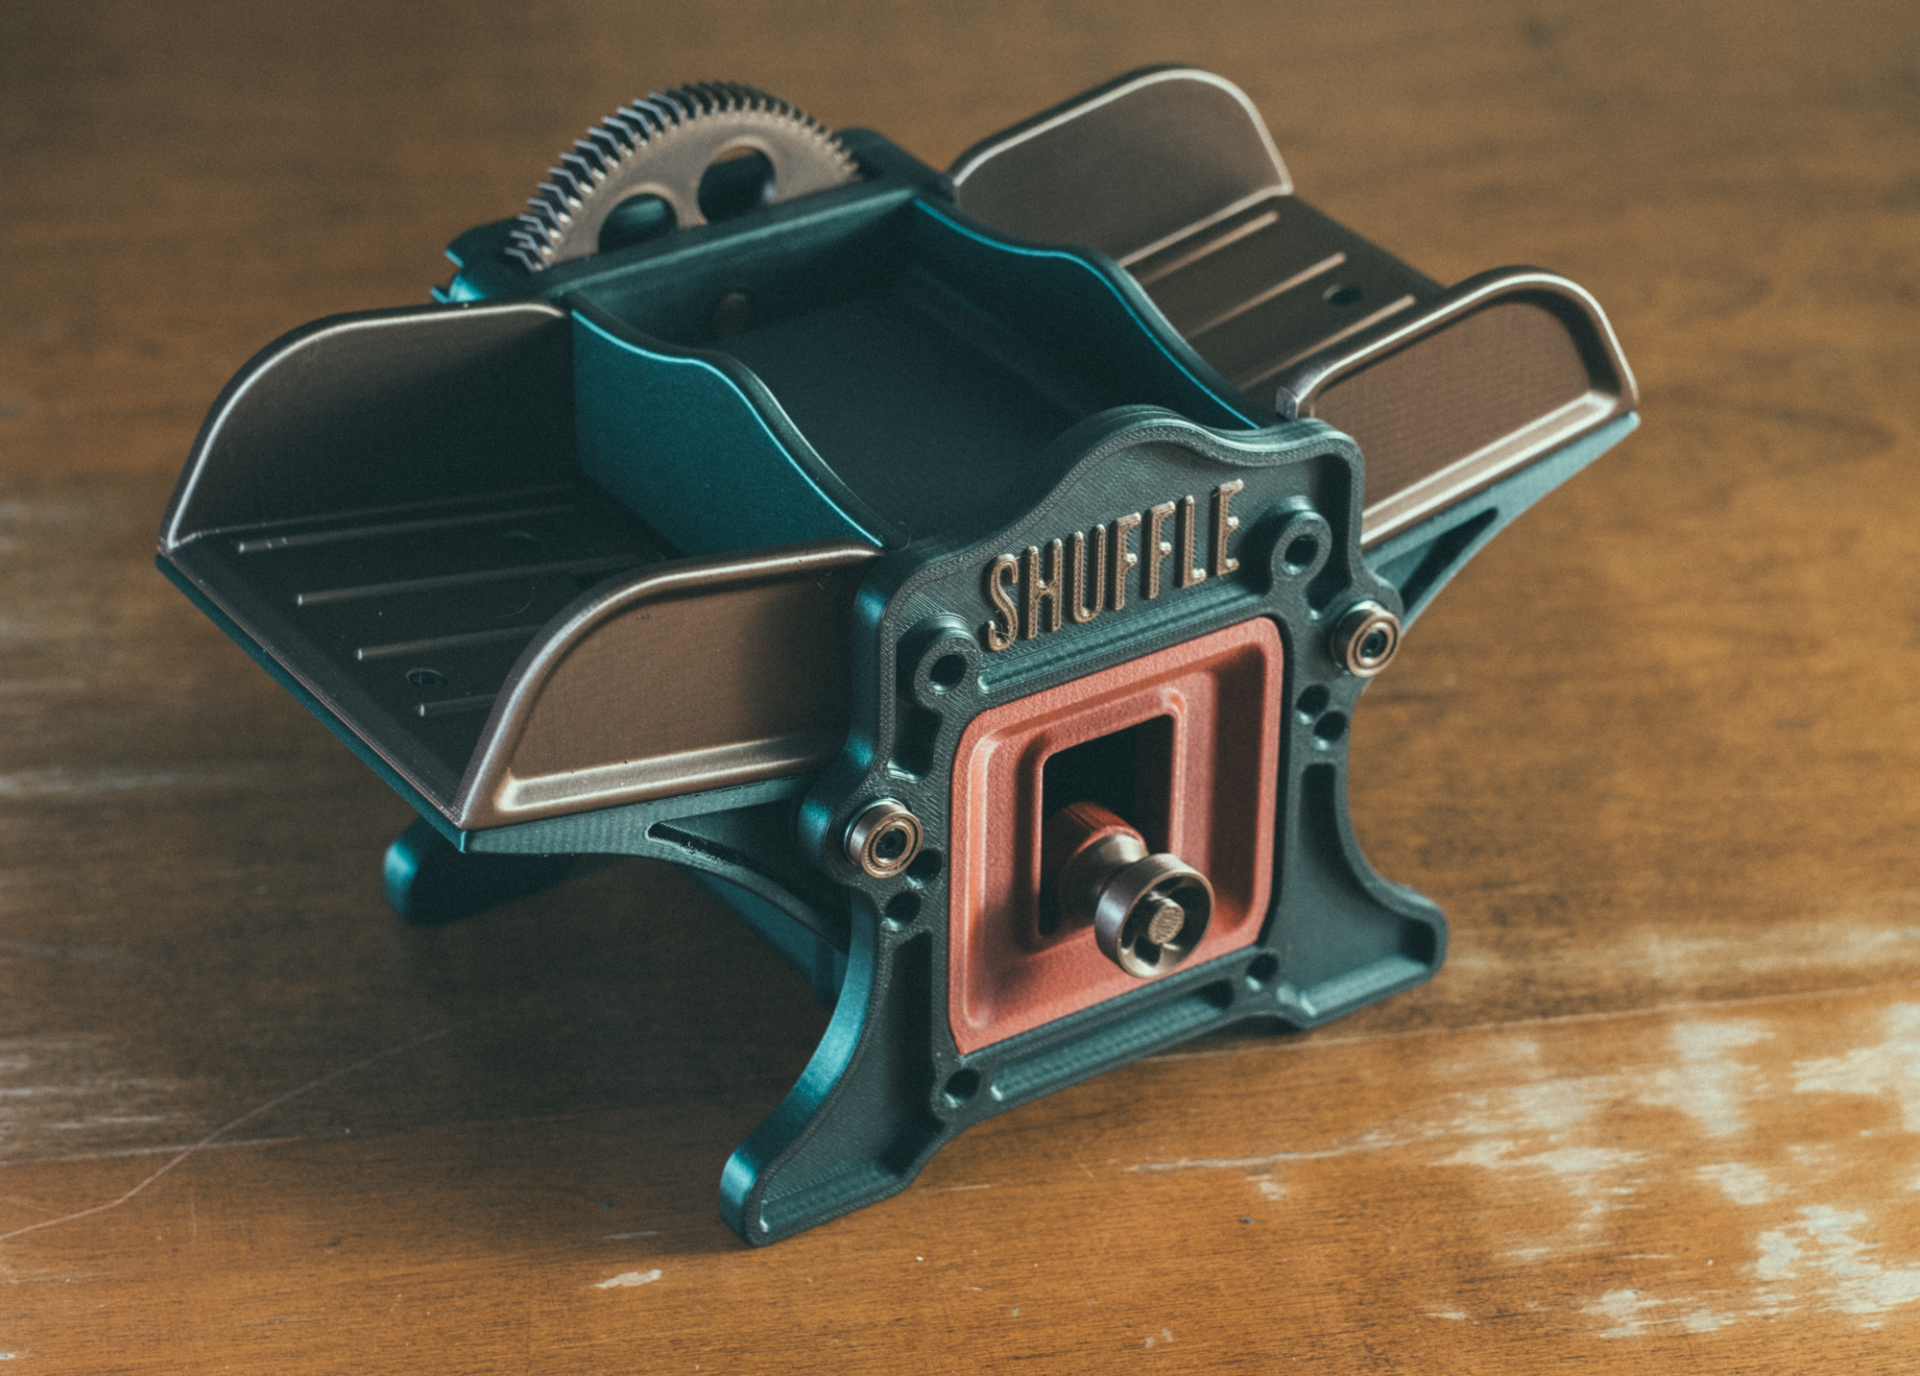
[Update]
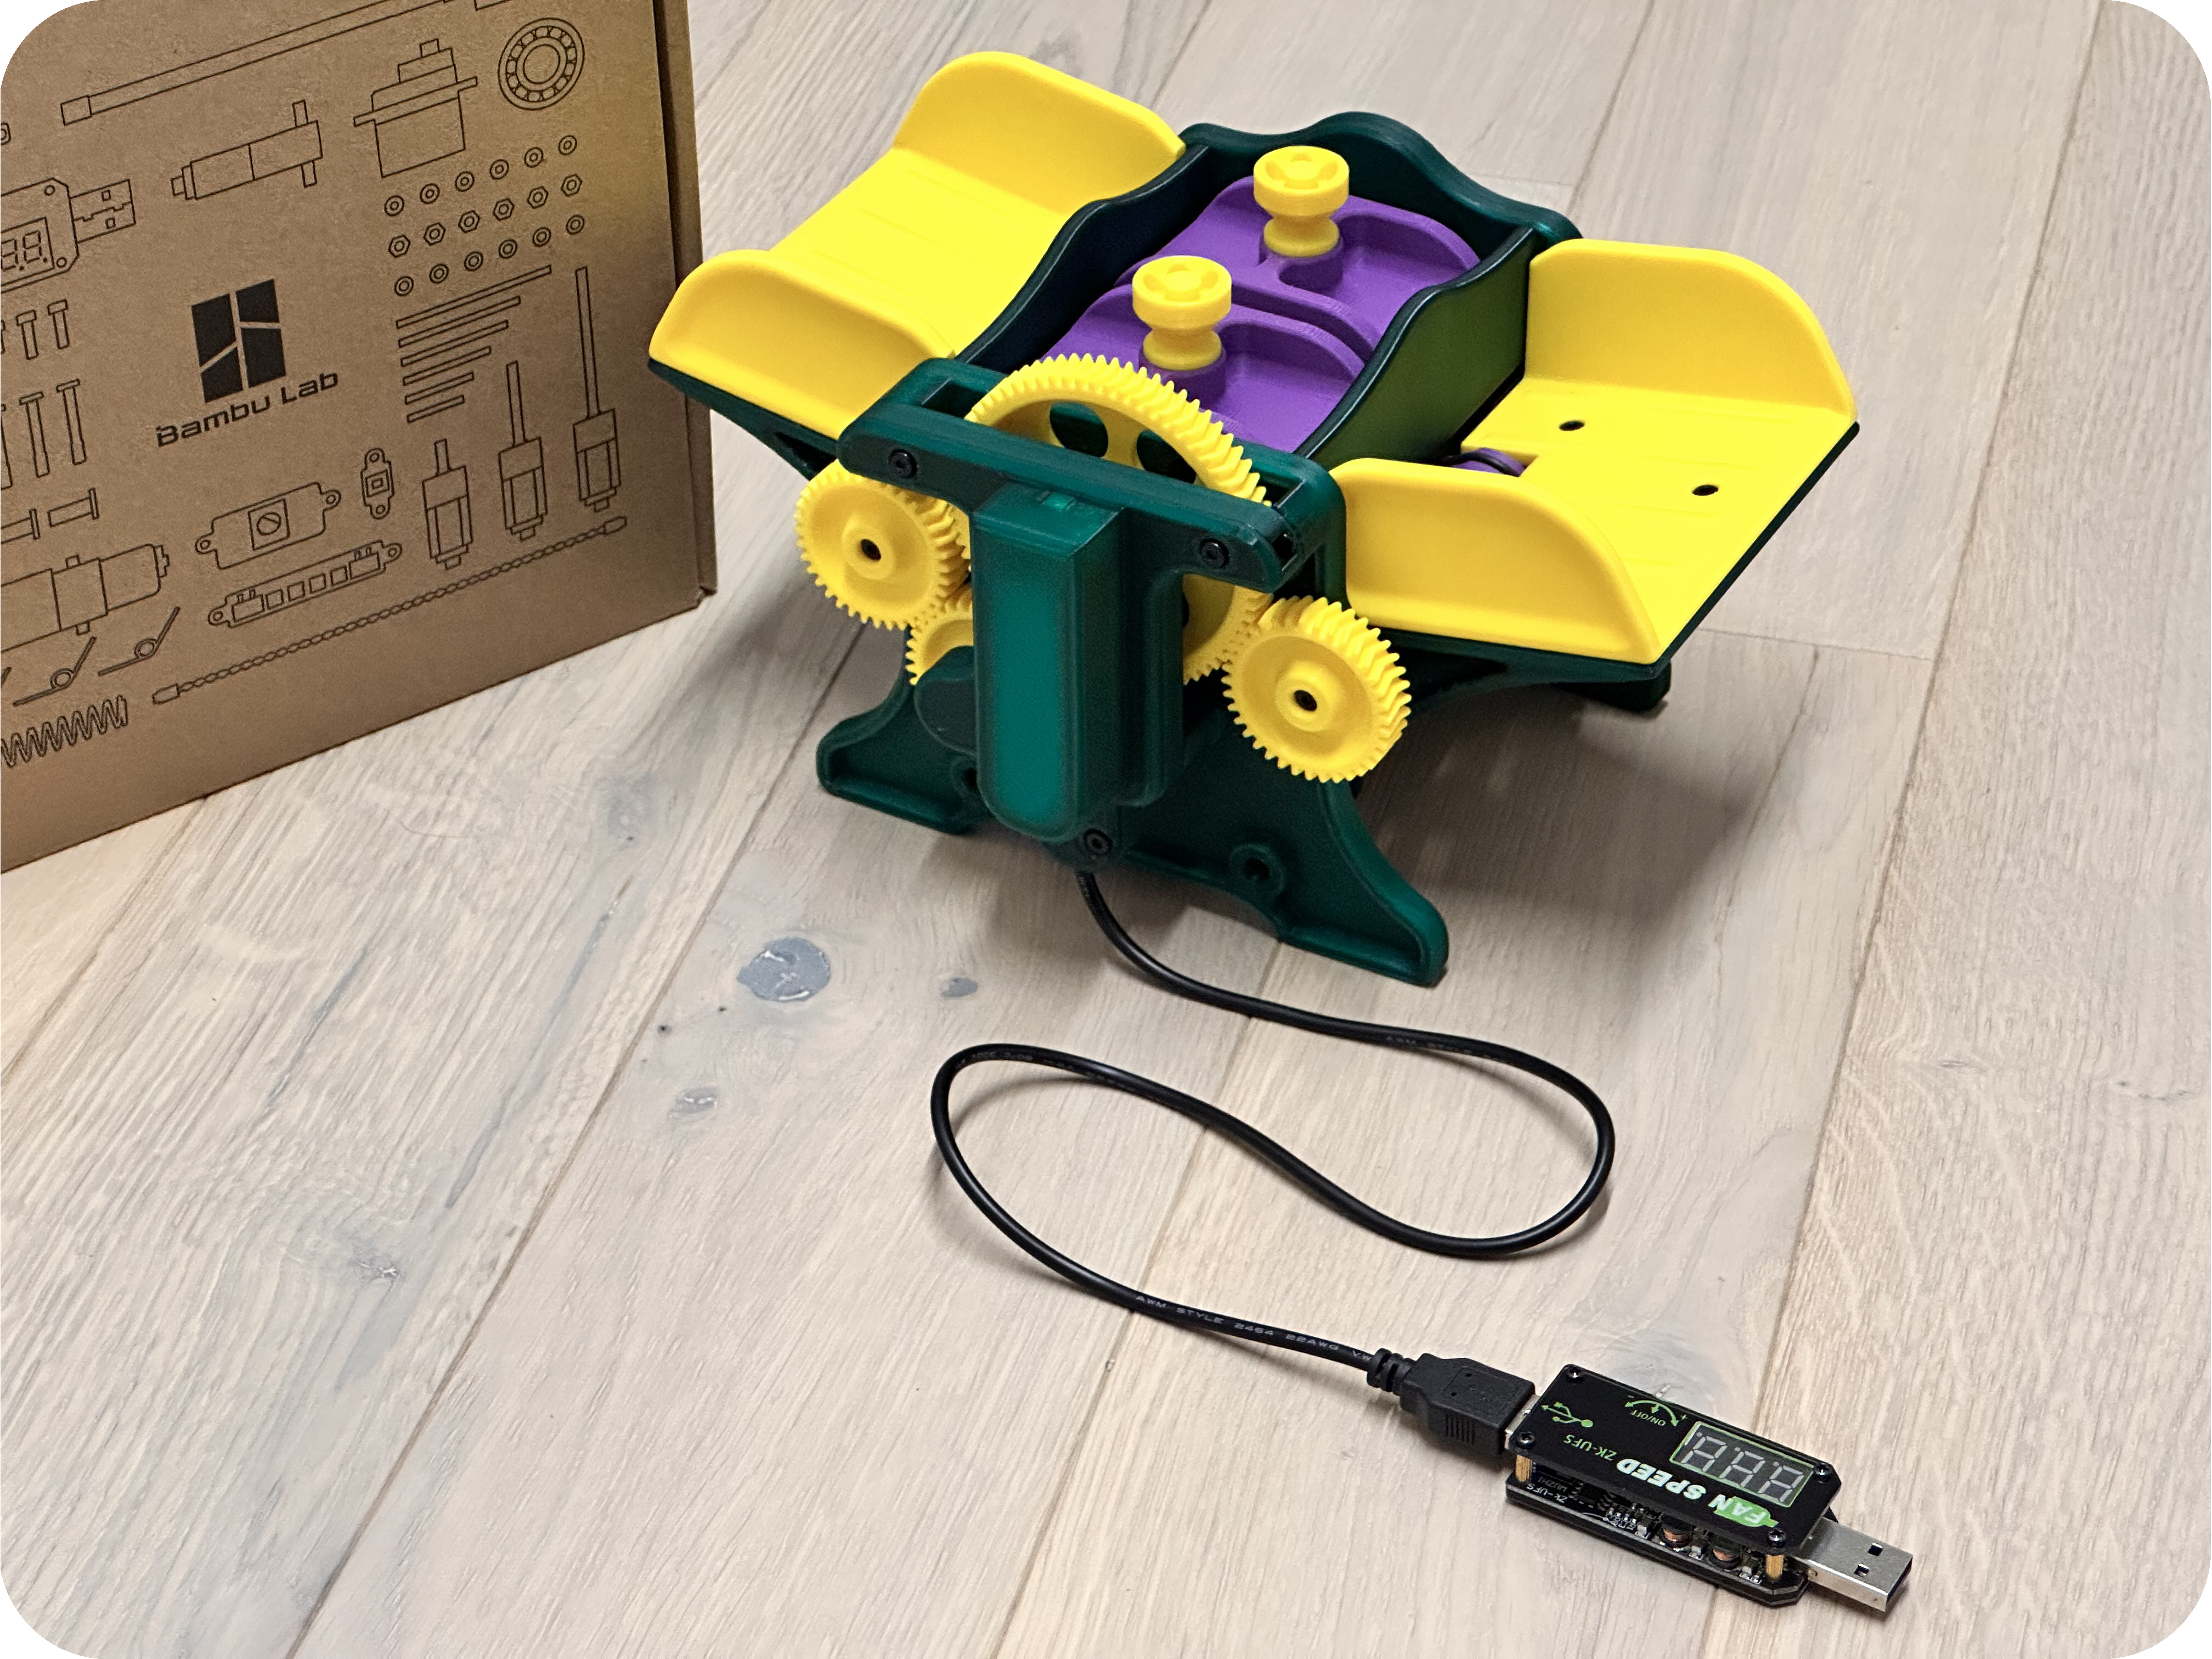
There's an official motorized version/upgrade available now! Check it out at HERE . There's print profiles and instructions provided so if you want to upgrade your existing card shuffler. I tweaked a number of the tolerances throughout on the base model though, so I recommend printing it from scratch.
Yes! There's an update to the base model too. I updated the print profiles here for those that want the hand crank version still. I mainly tweaked the tolerances of the bearing openings so it's easier to insert them. I also added a bevel on the gears to make them easier to insert and they look a tad nicer too. Lastly, I opened the slits for the cards a little, to hopefully help with feeding issues where the cards might be a little bent and gave a little more tolerance around the rollers and the card trays/bay
[Introduction]
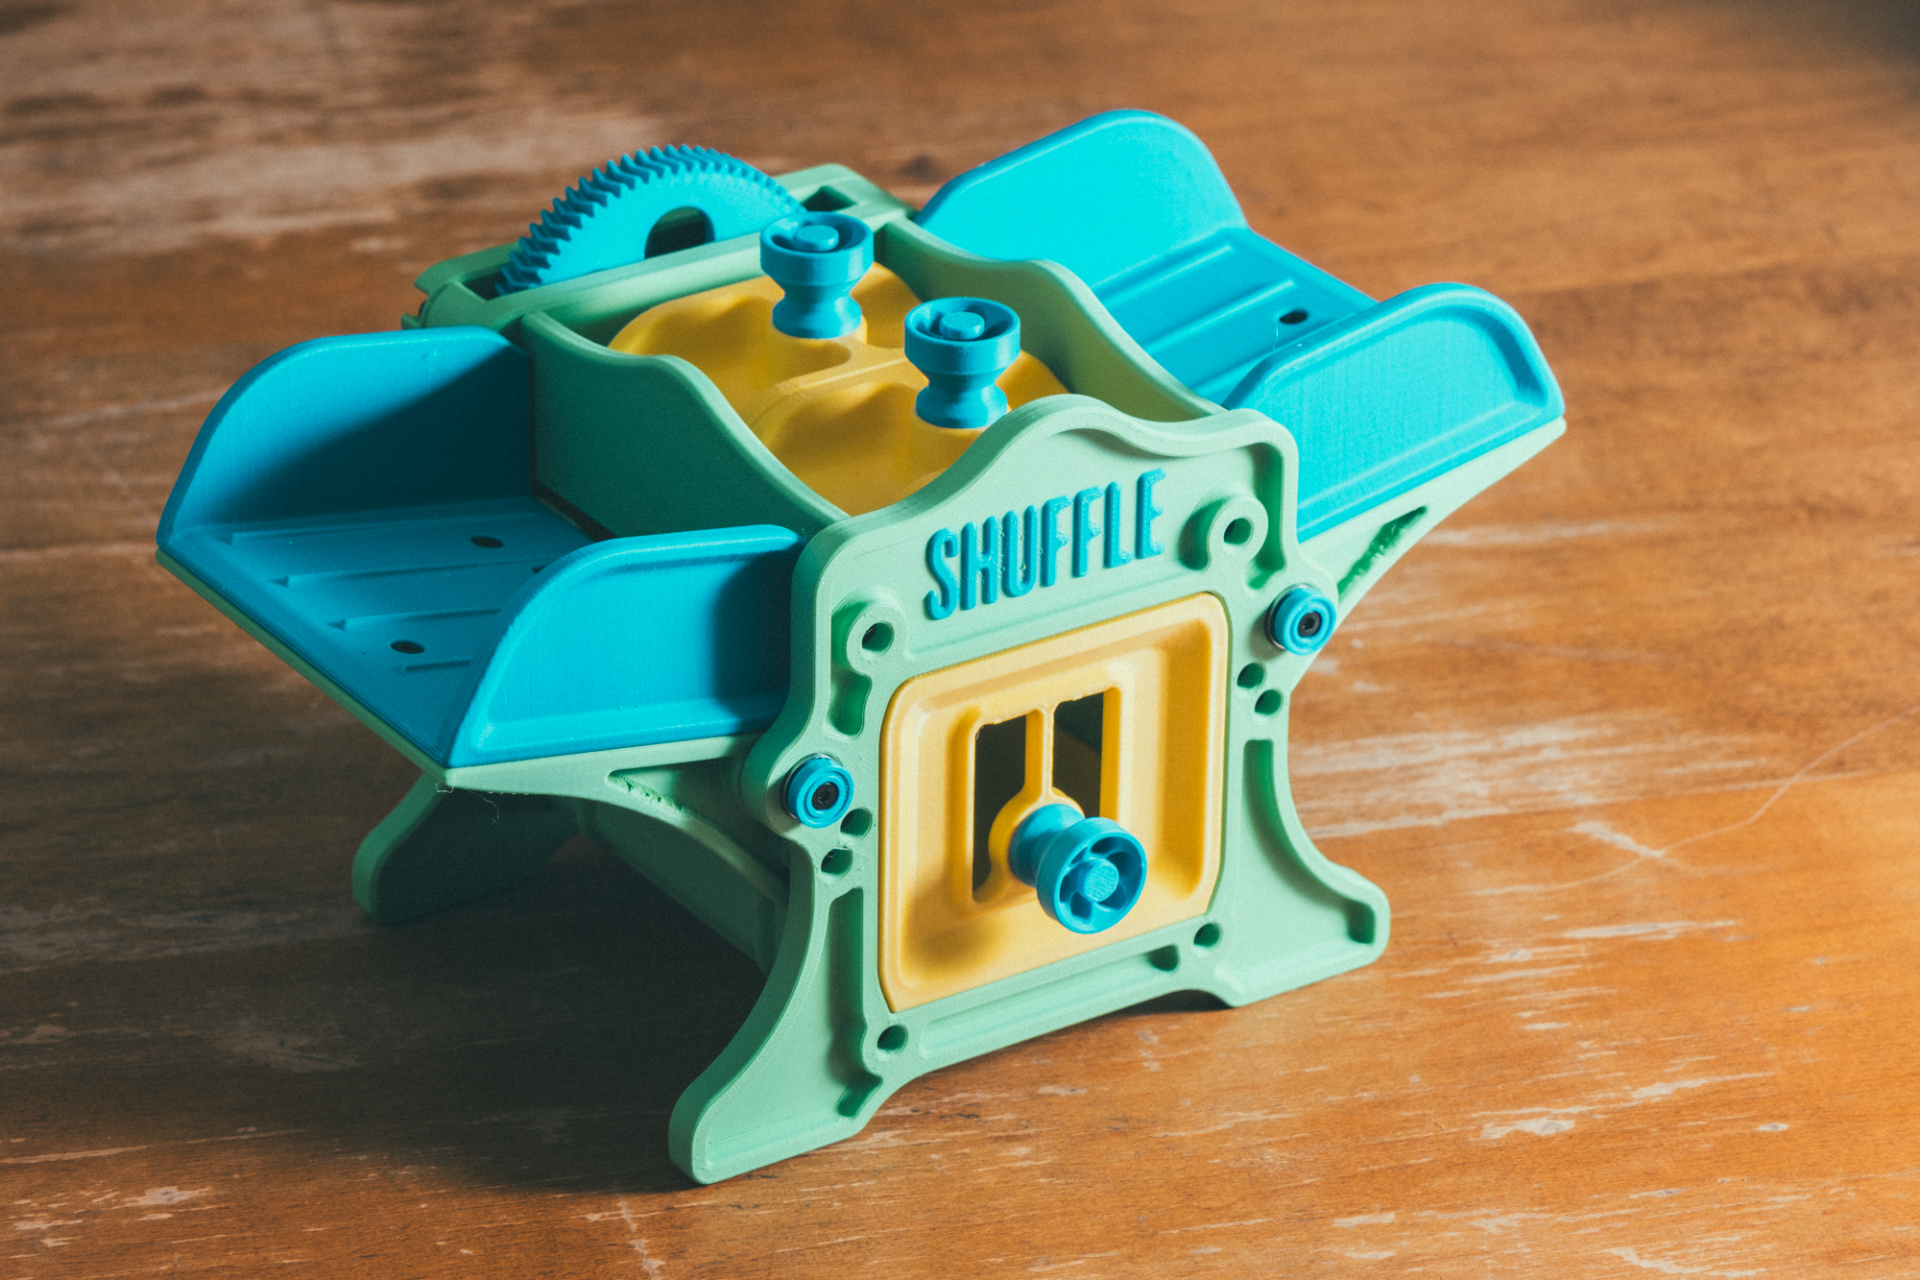
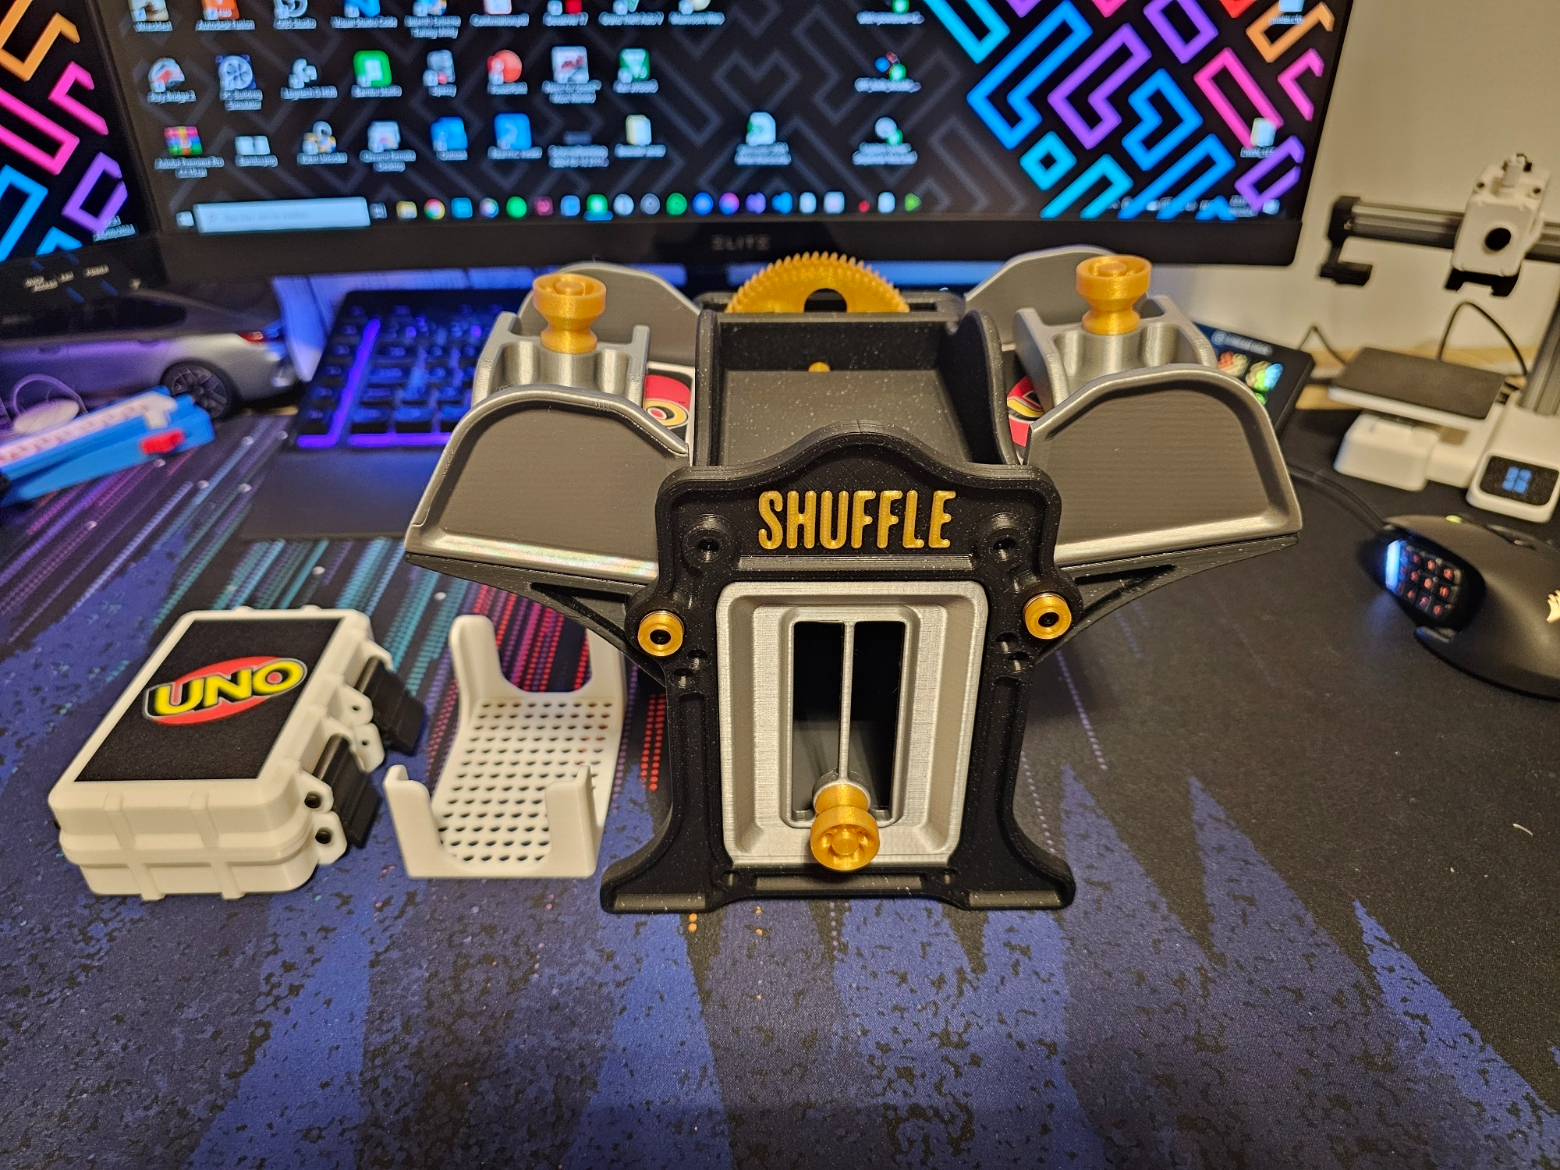
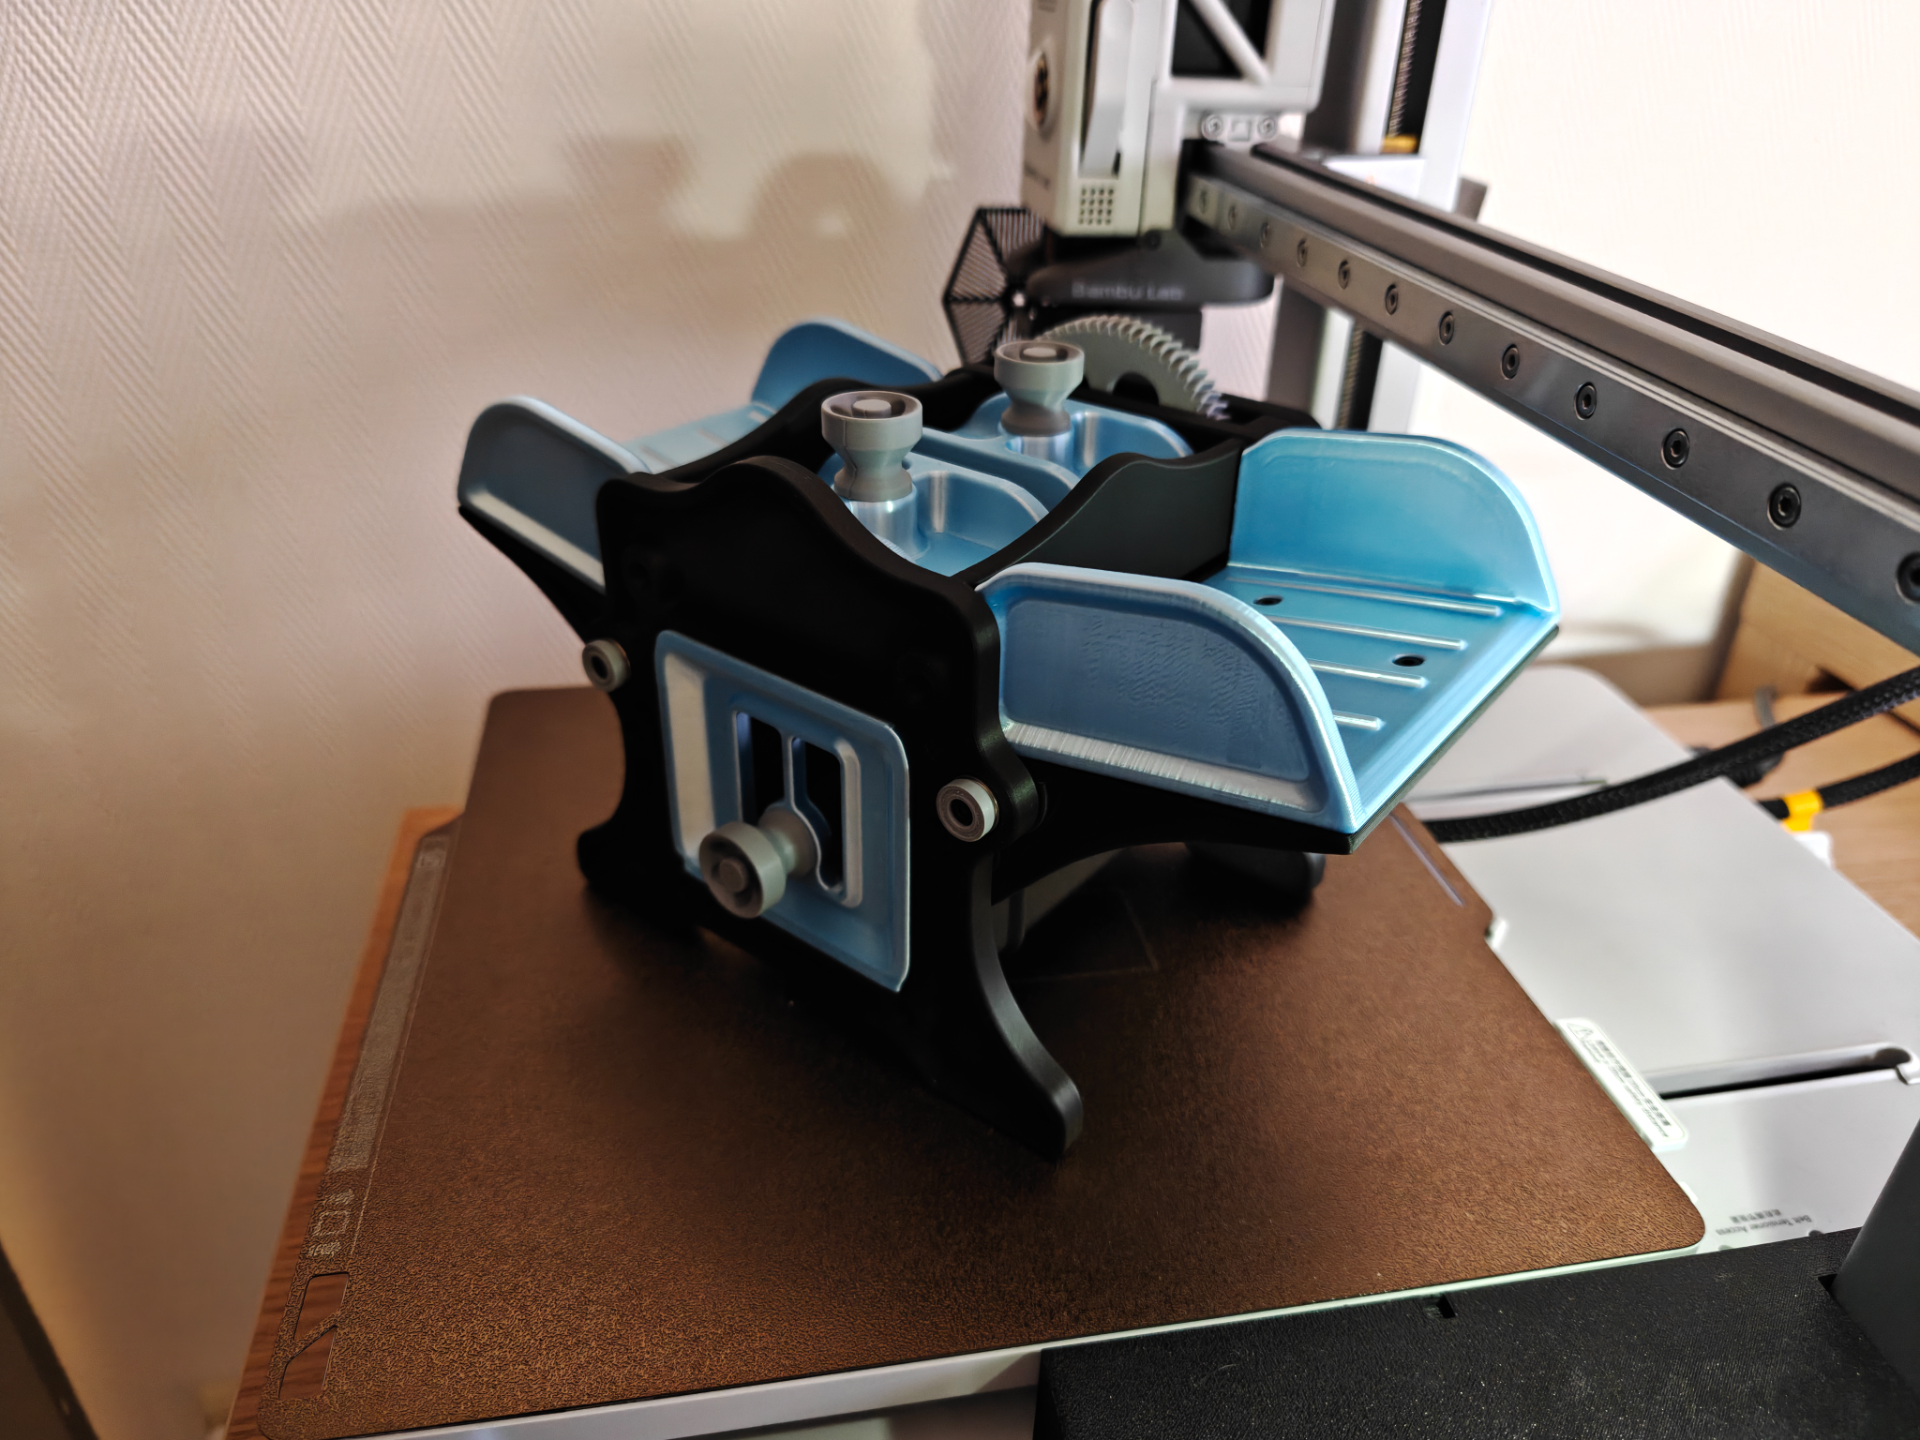
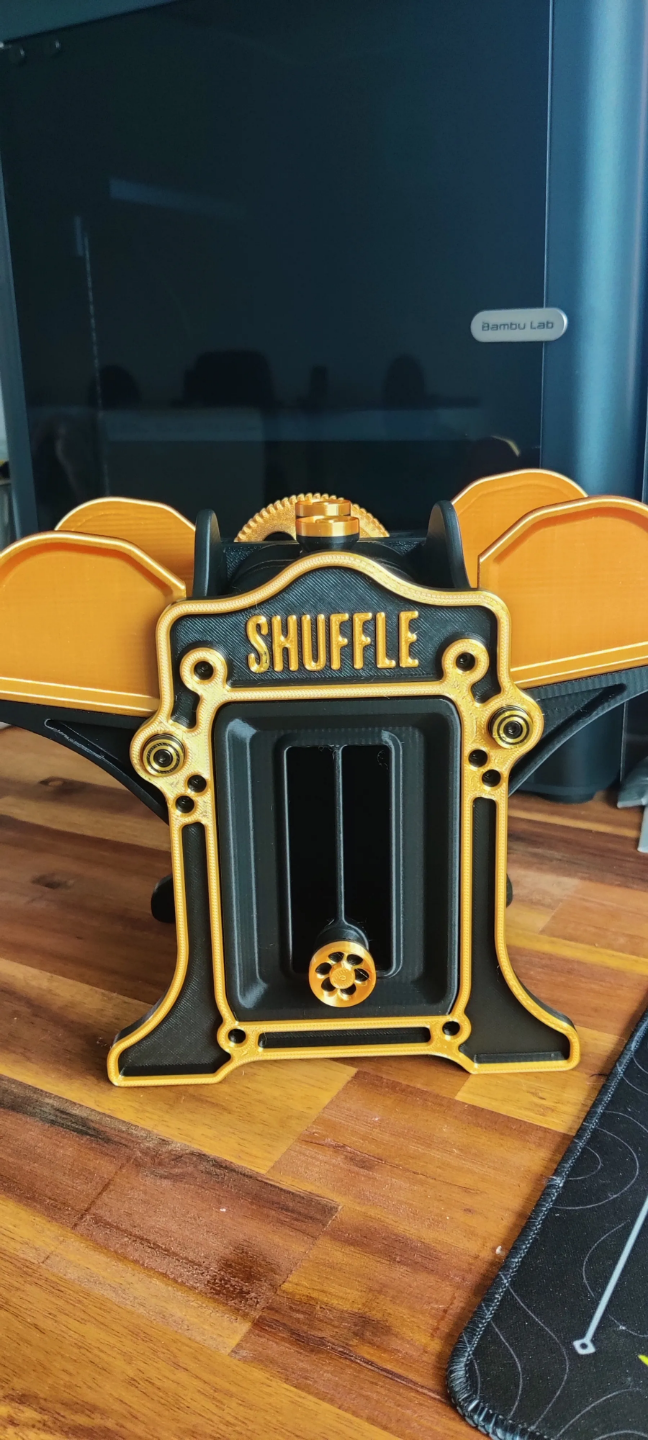
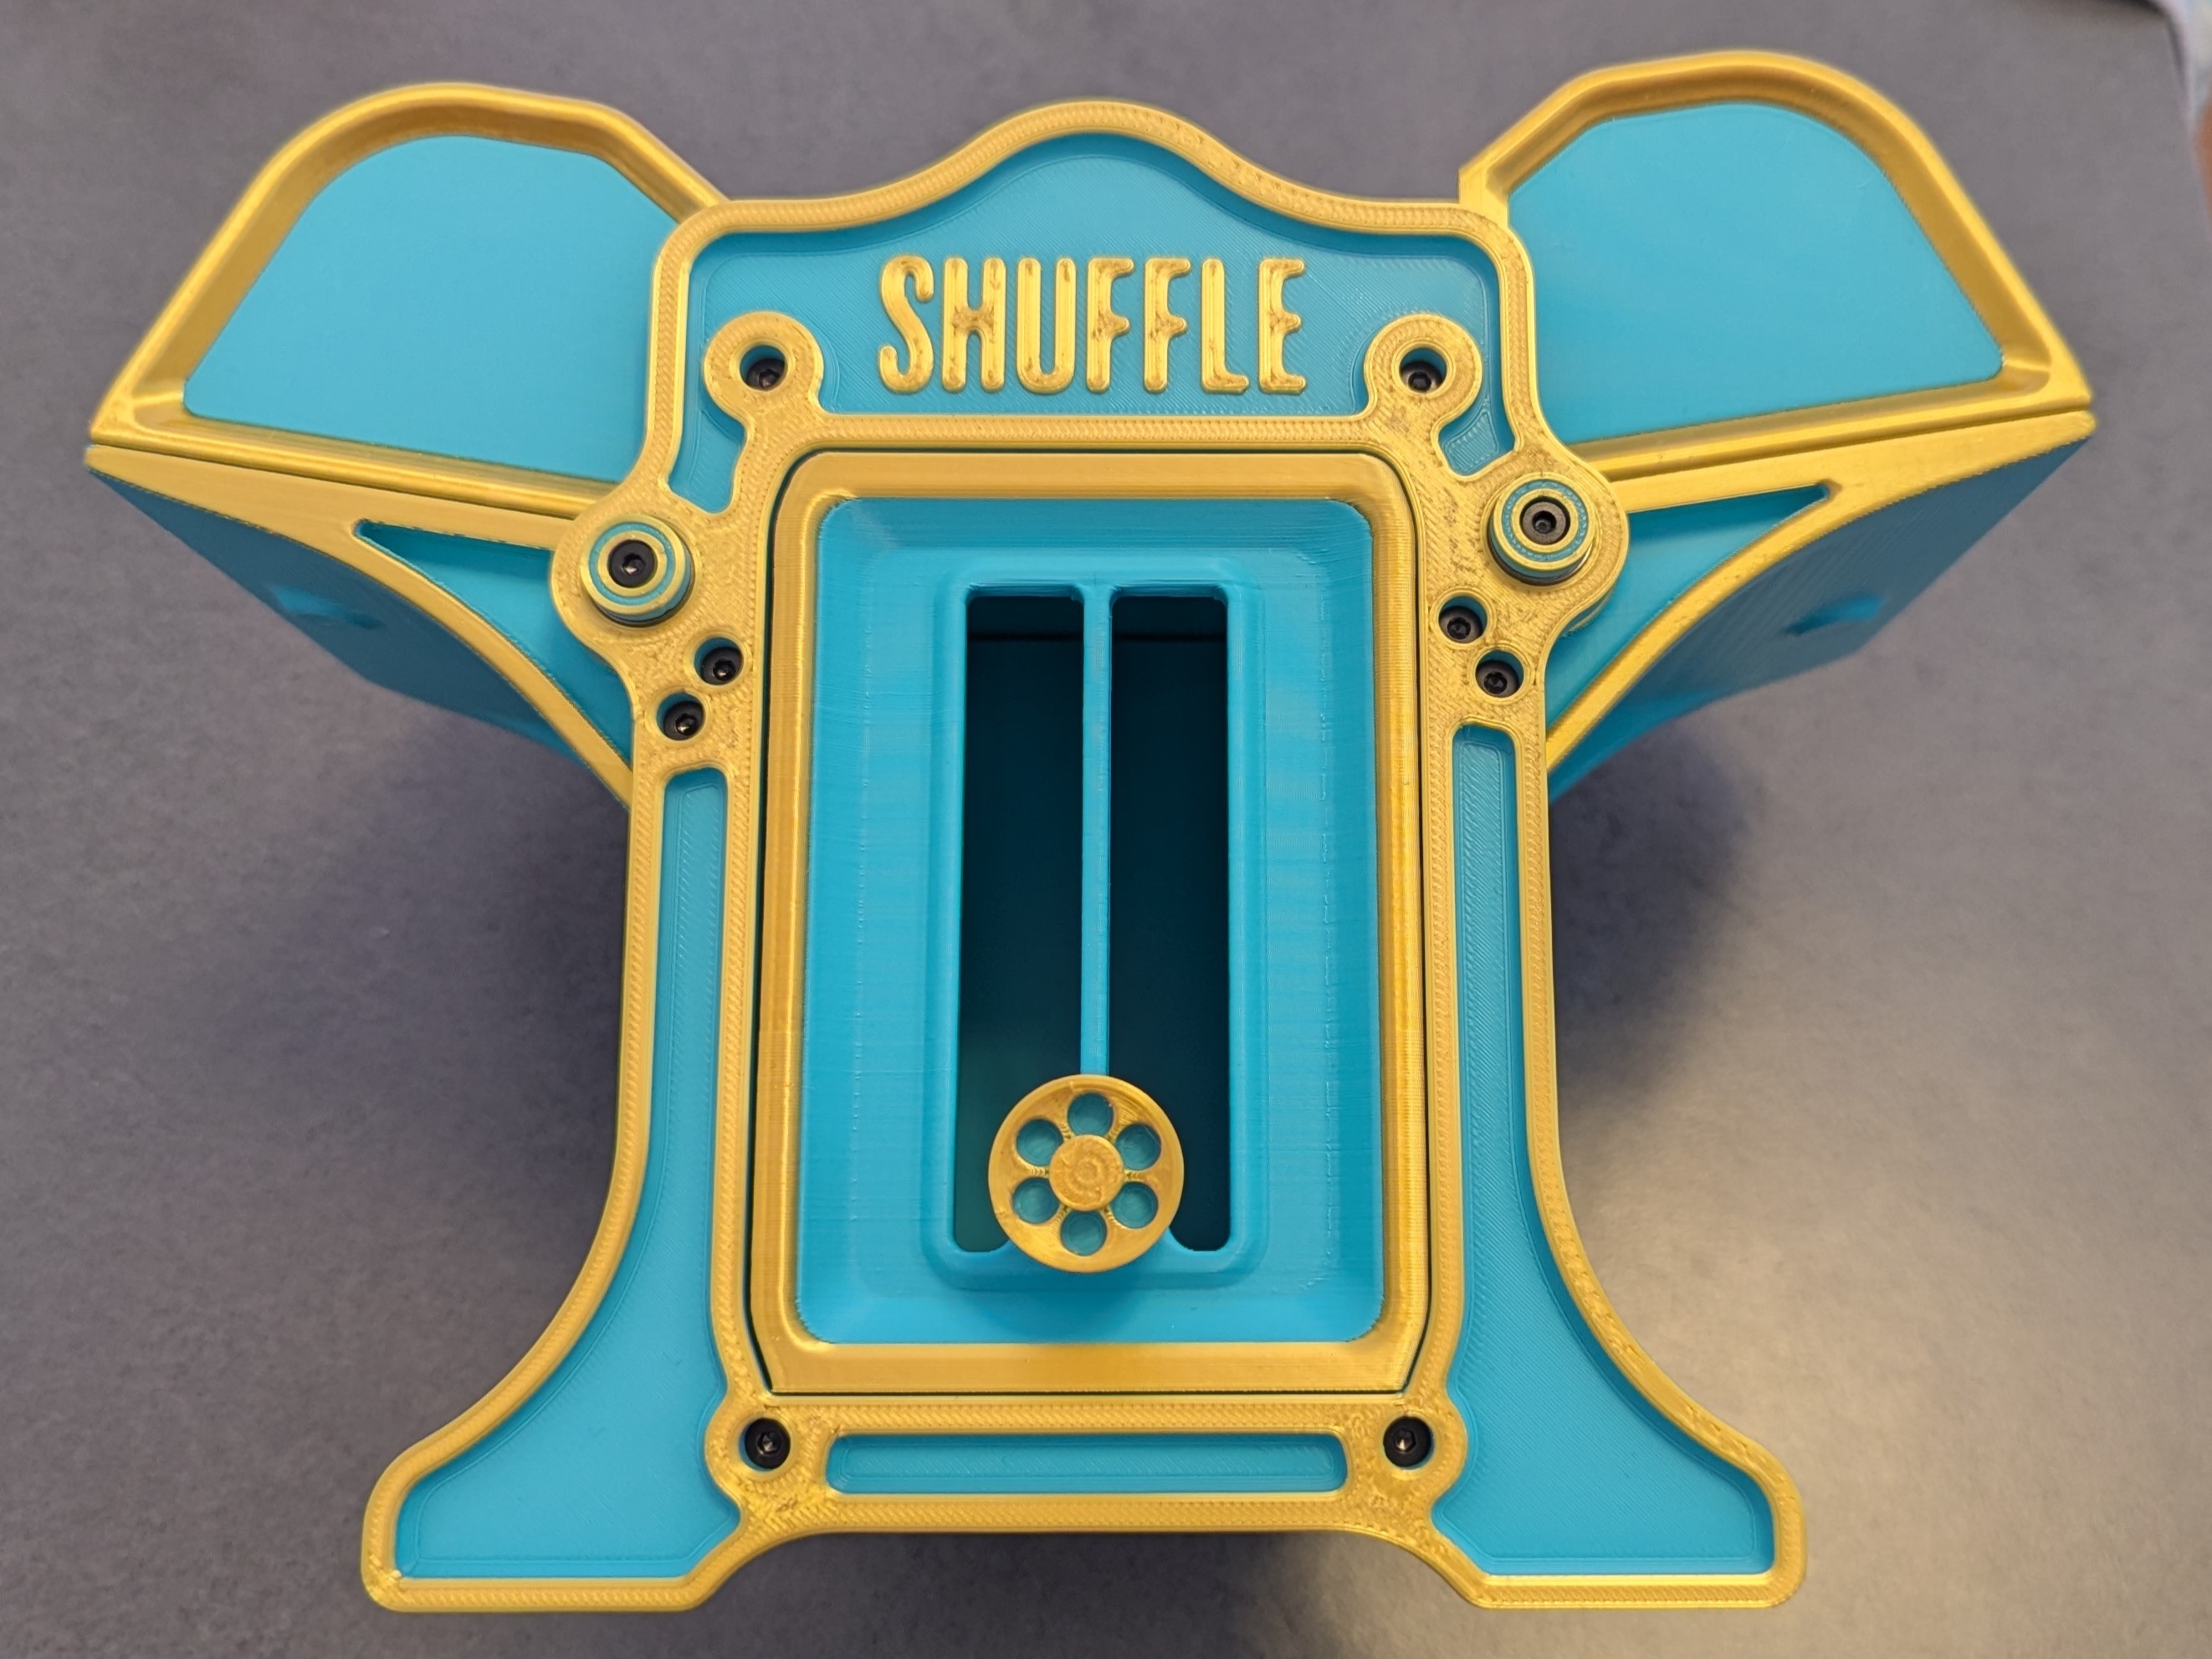
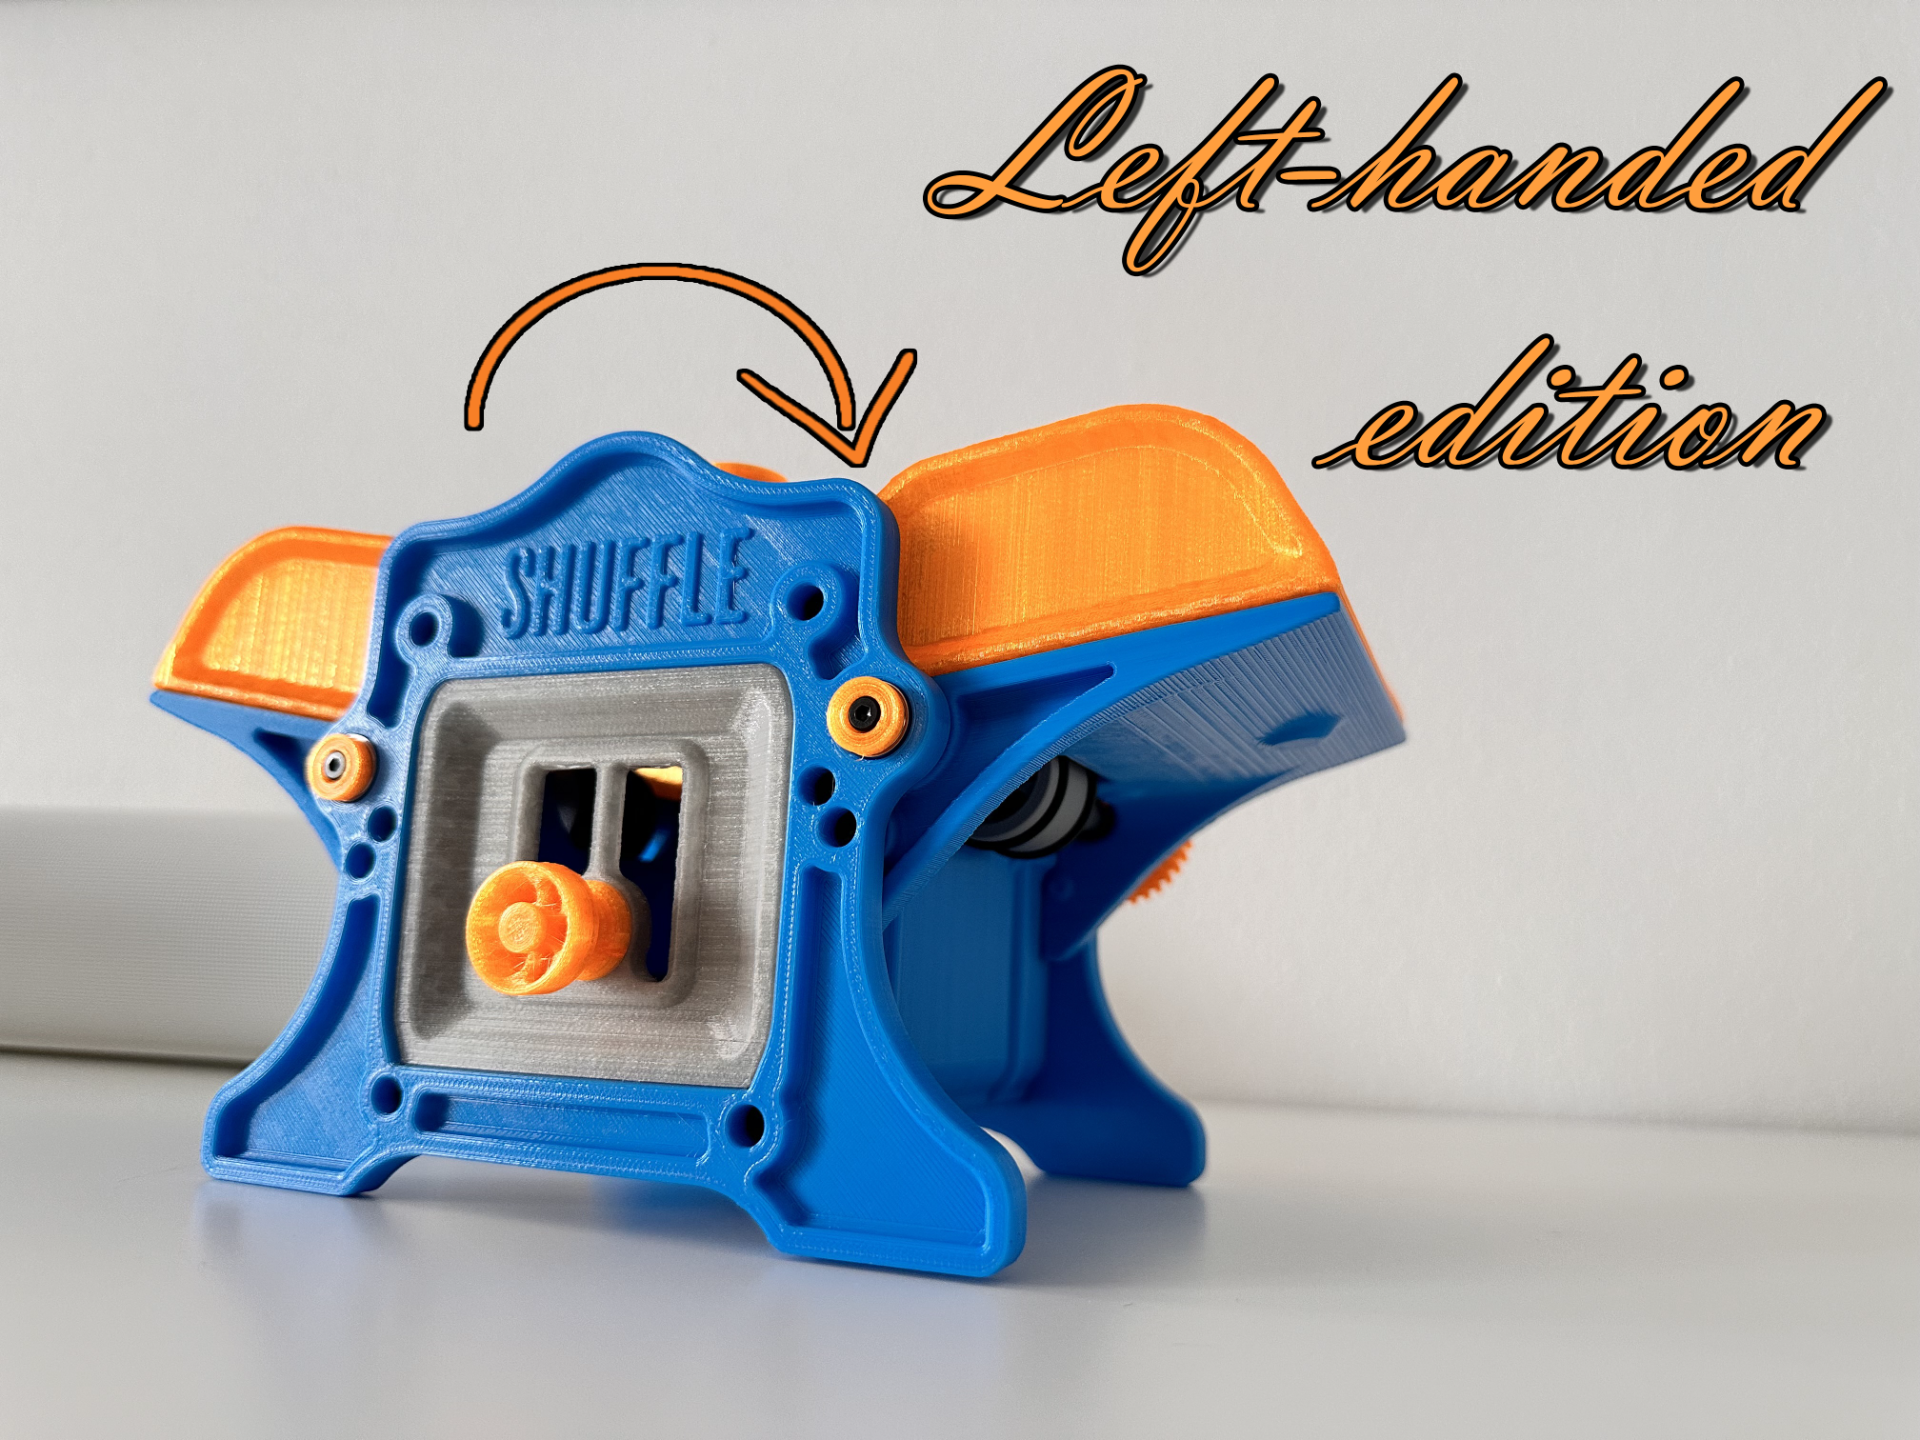
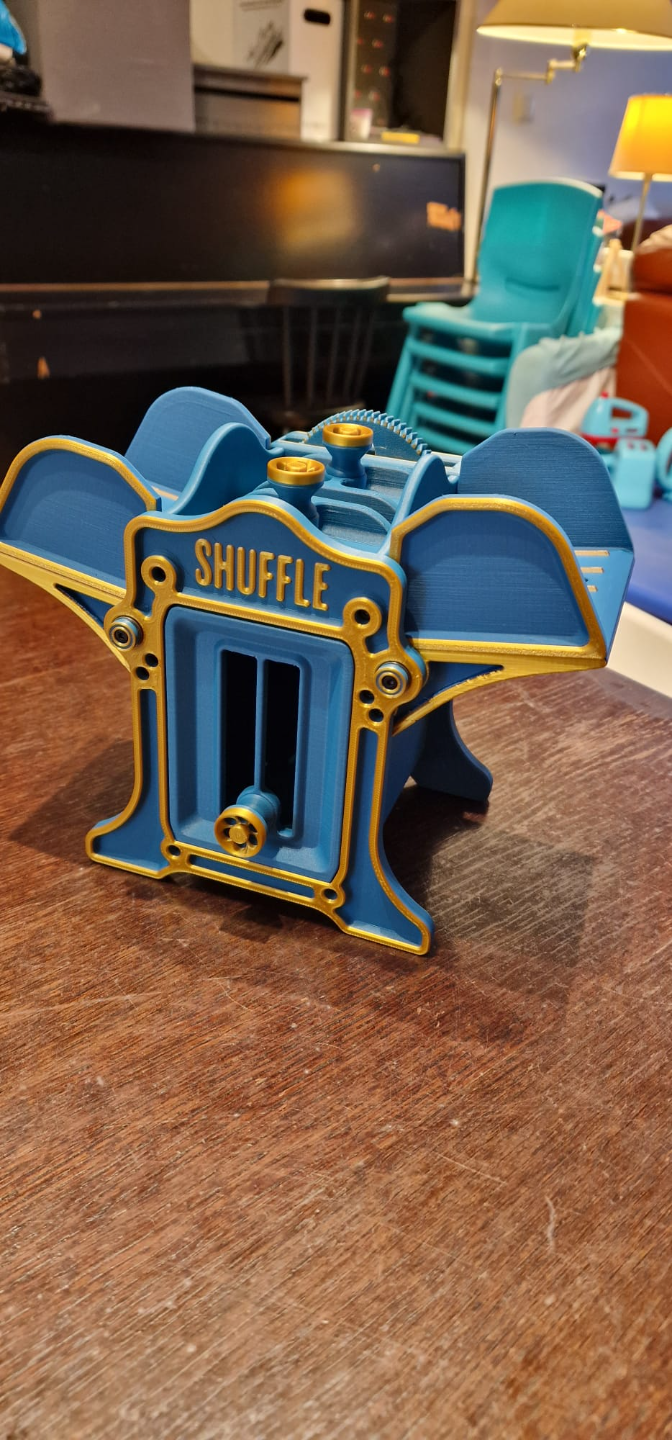
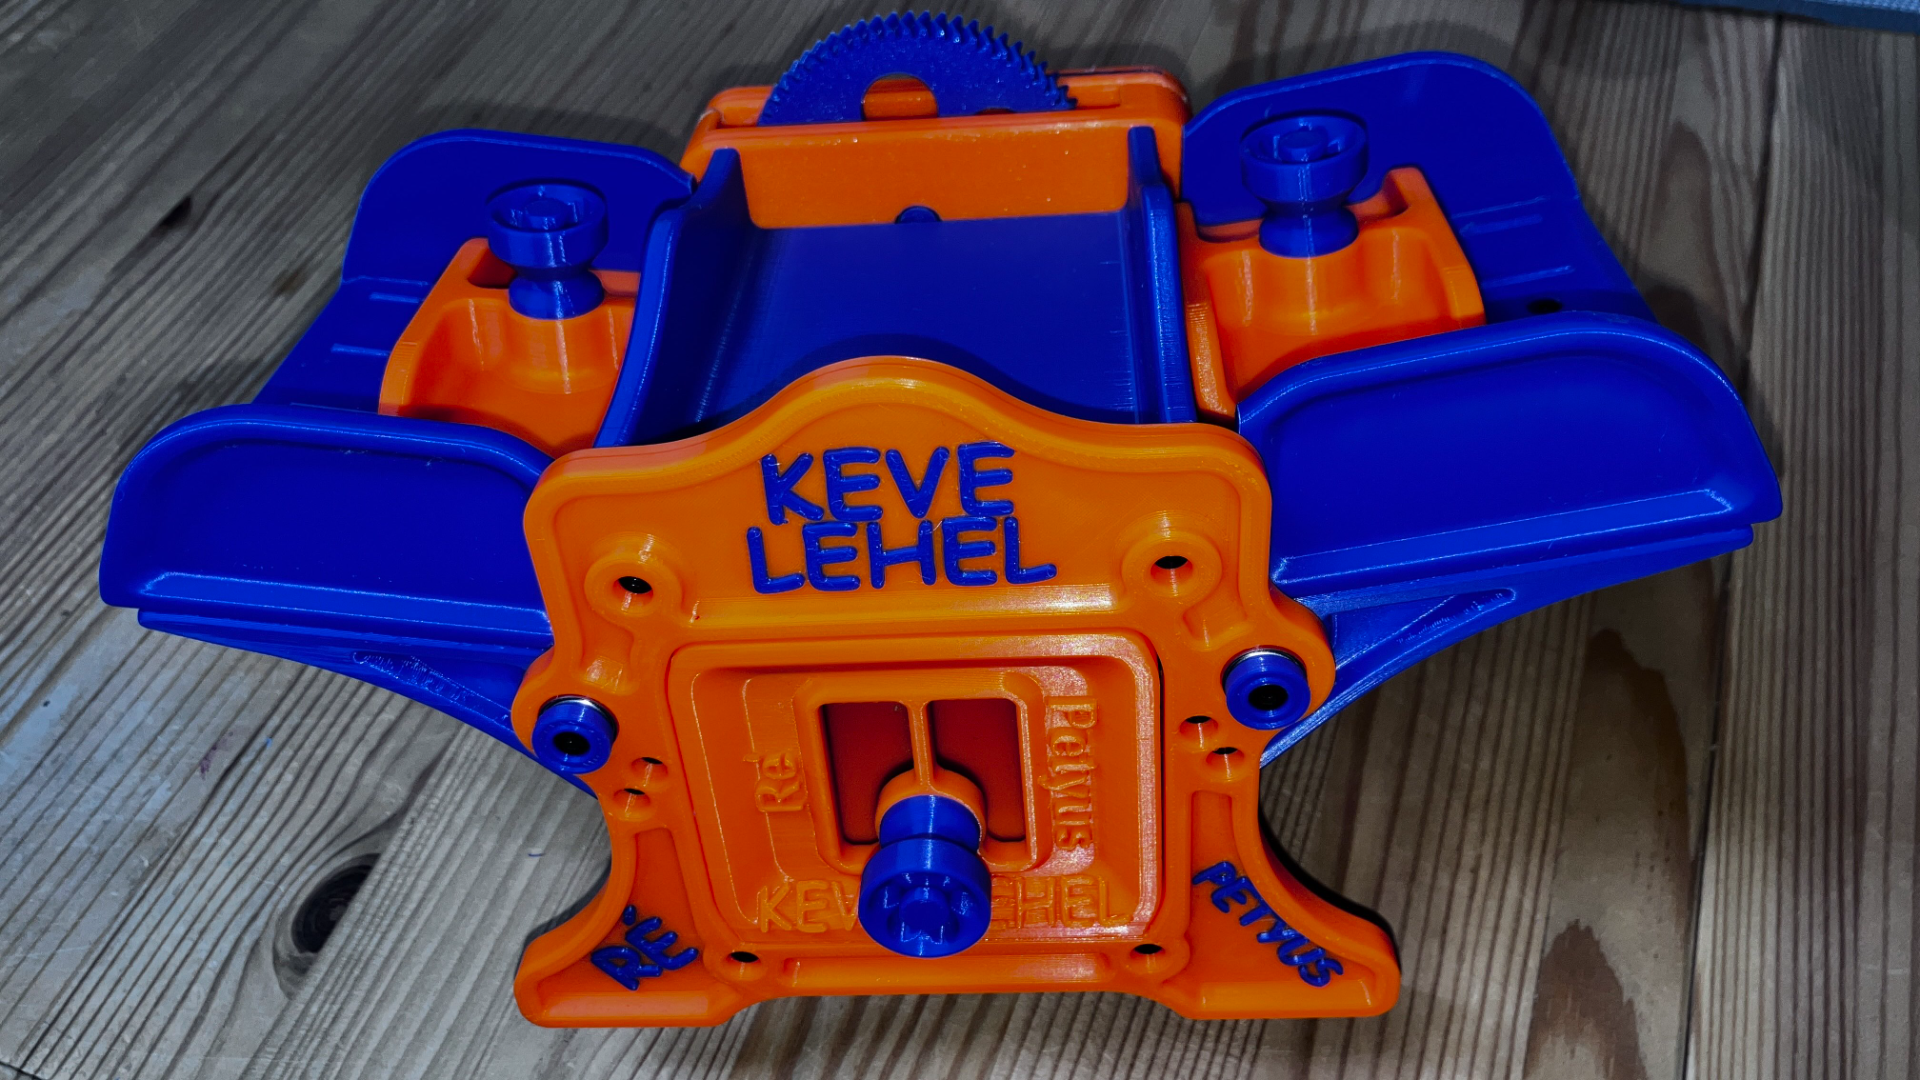
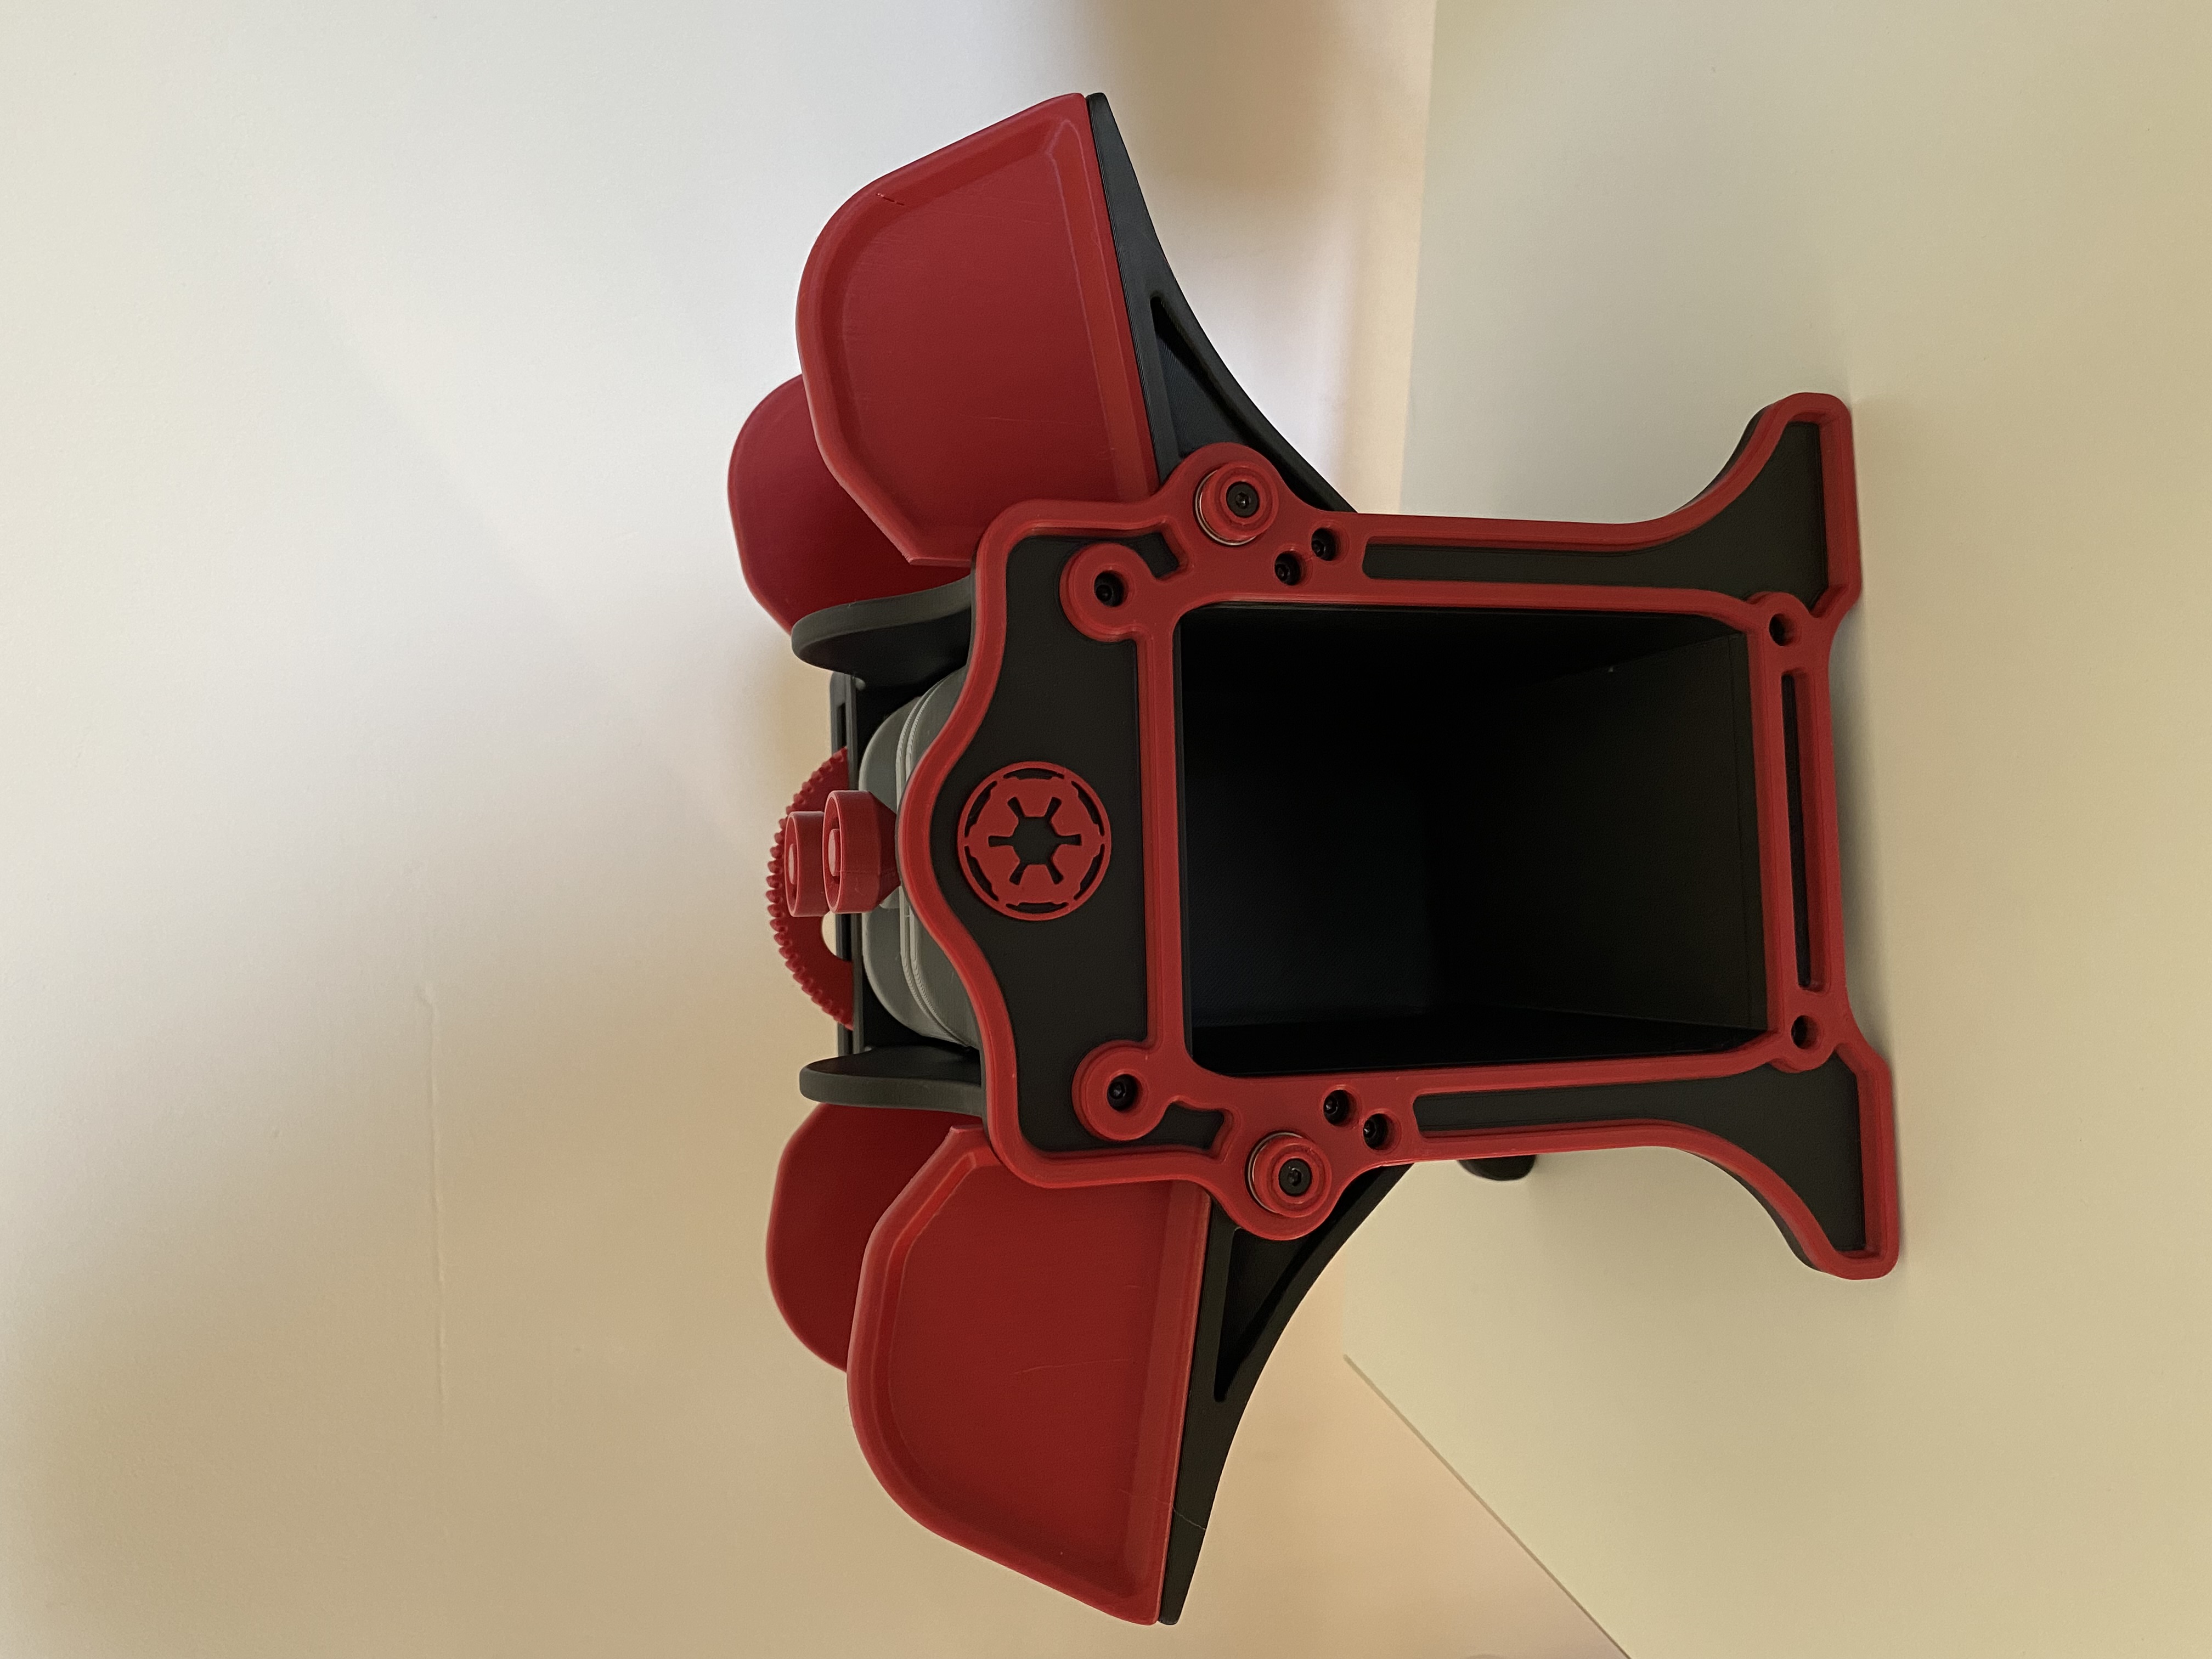
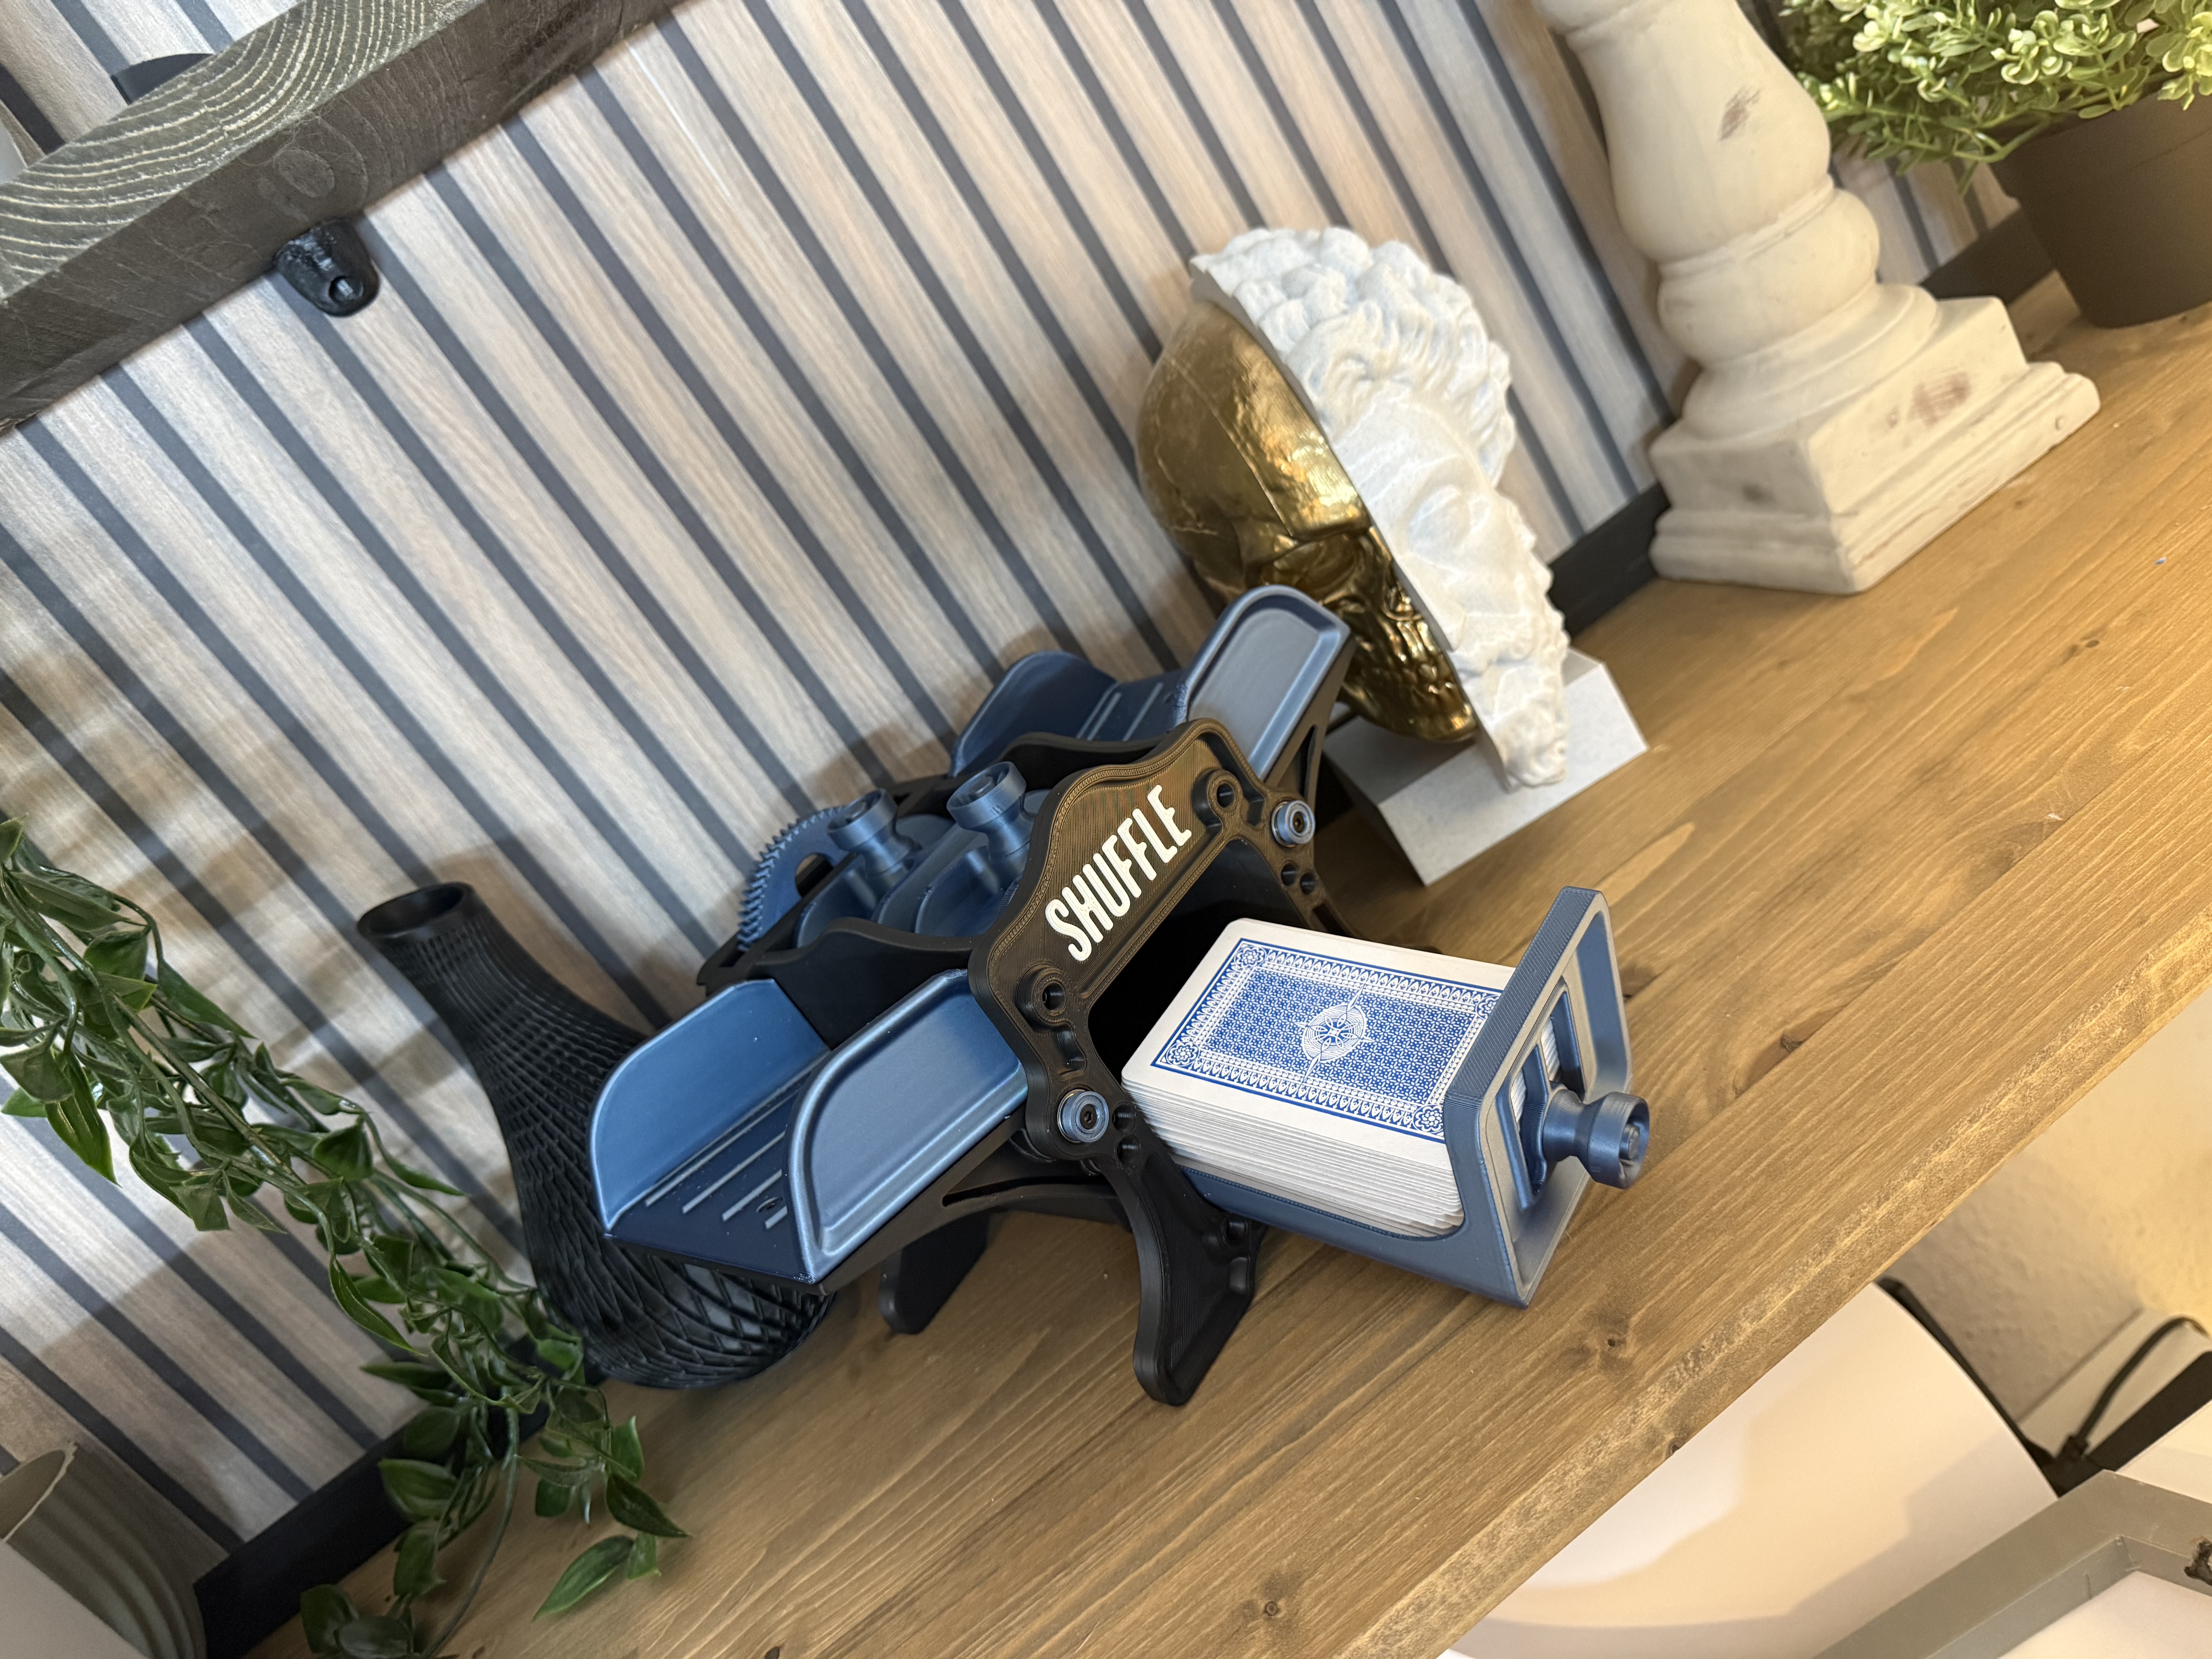
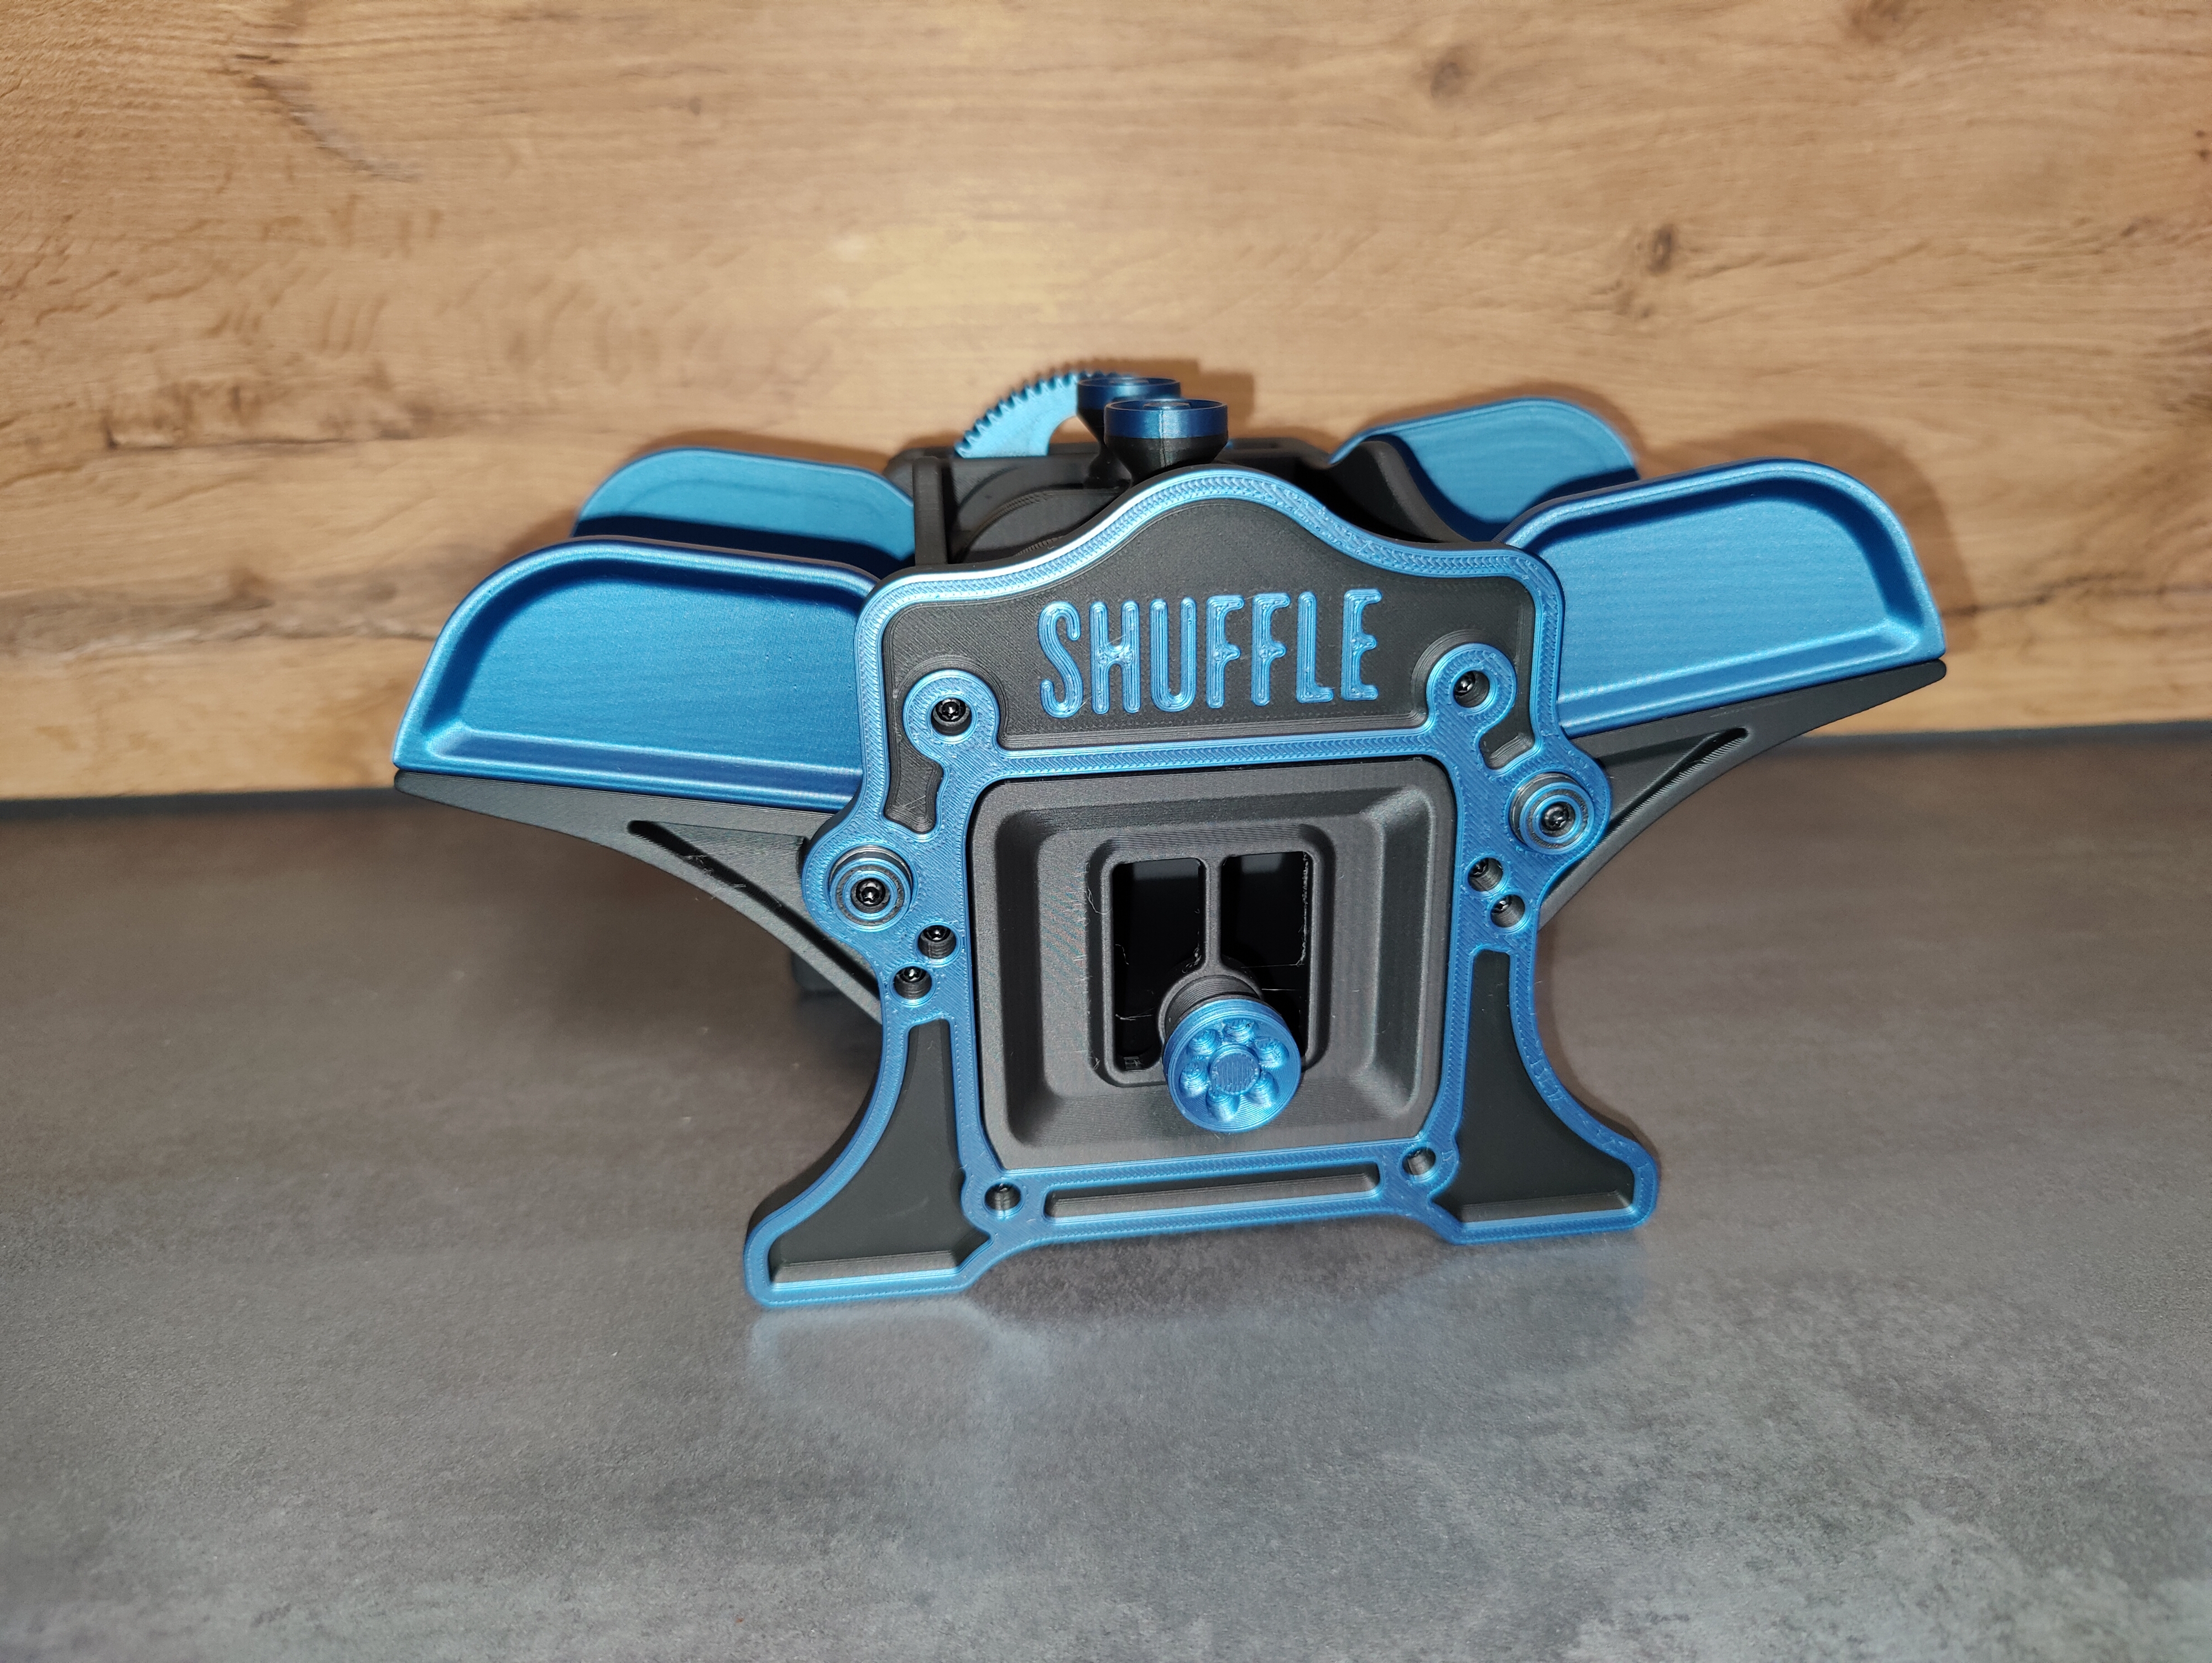
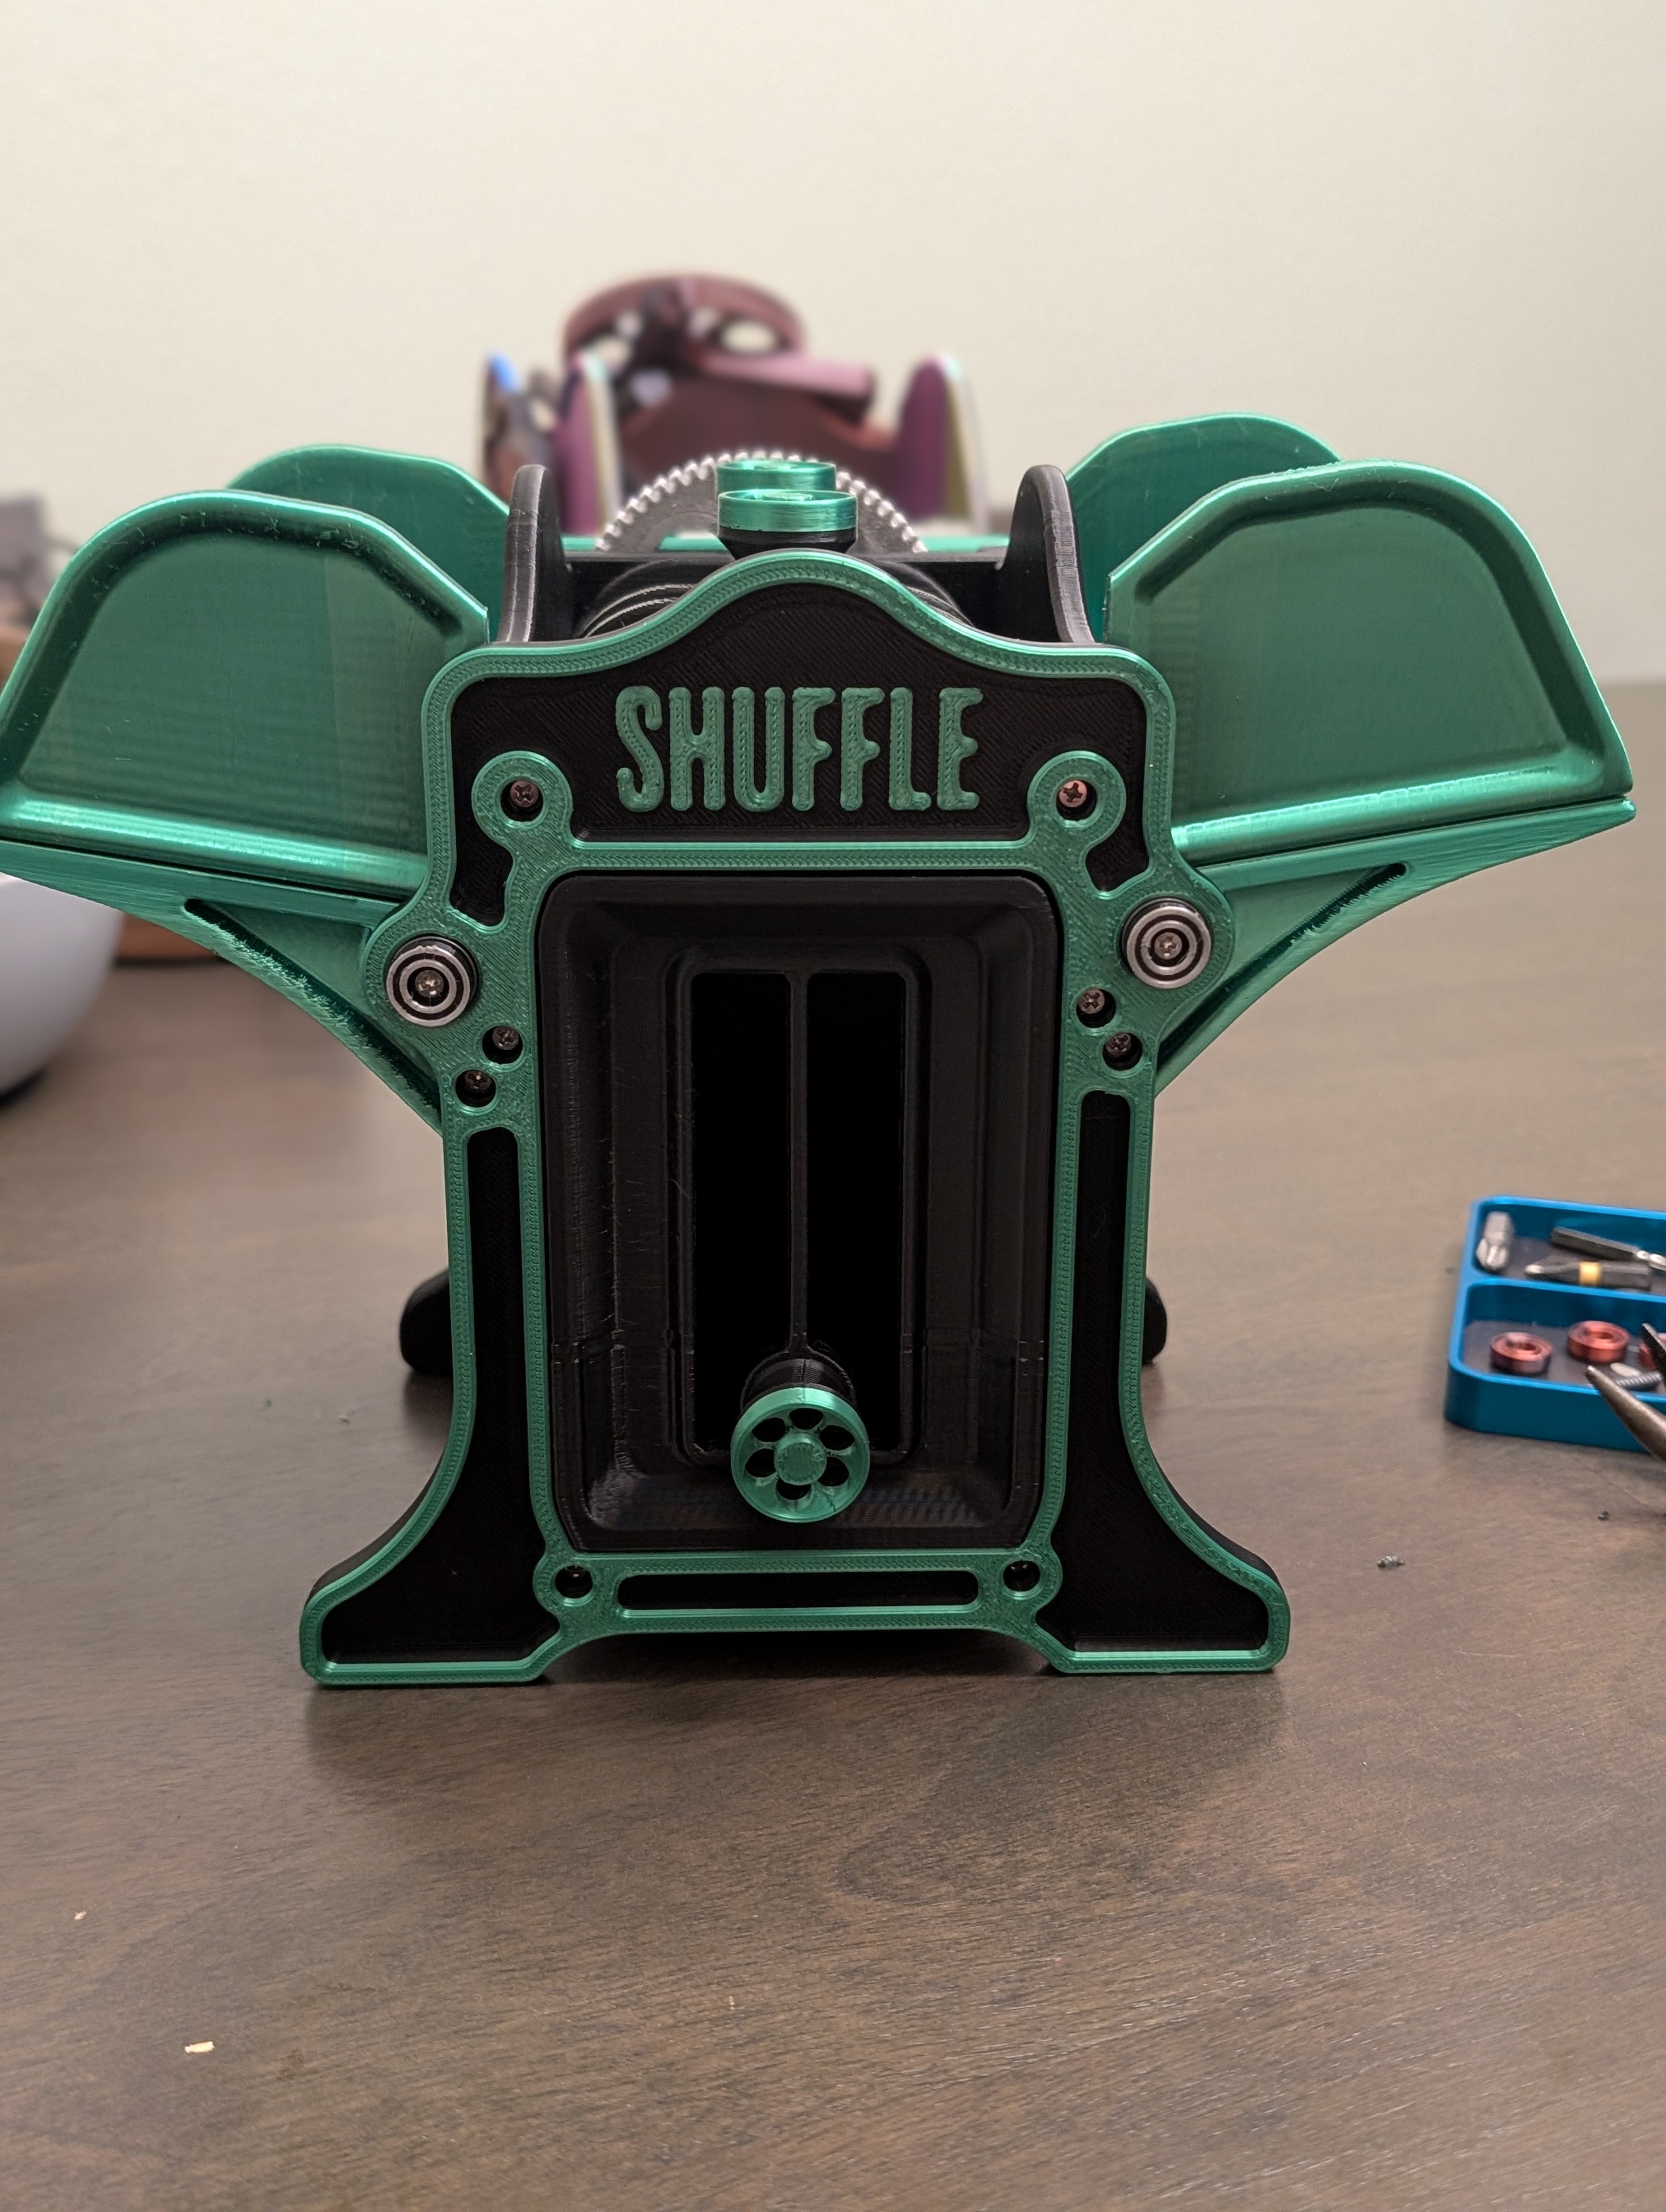
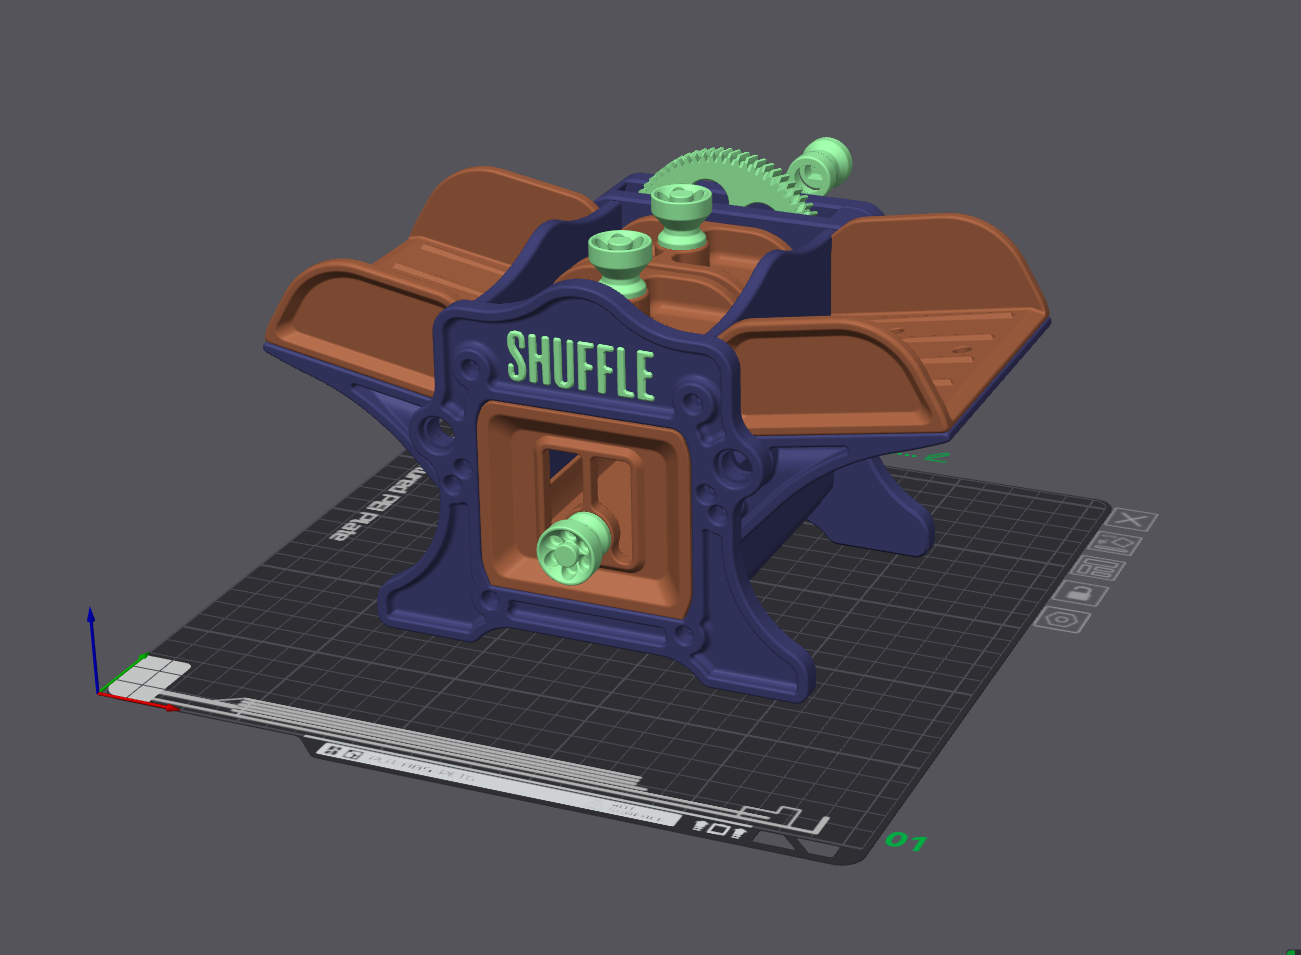
I haven't been to keen on the card shufflers available commercially, and feel most of the ones designed for 3d printing don't really elevate themselves to a consumer level product. Thus, this card shuffler was born. I wanted something stylistic, and not just functional. Inspired by old printing presses, with those cast iron frames. Although, it looks a bit like a boiler too, I'd say.
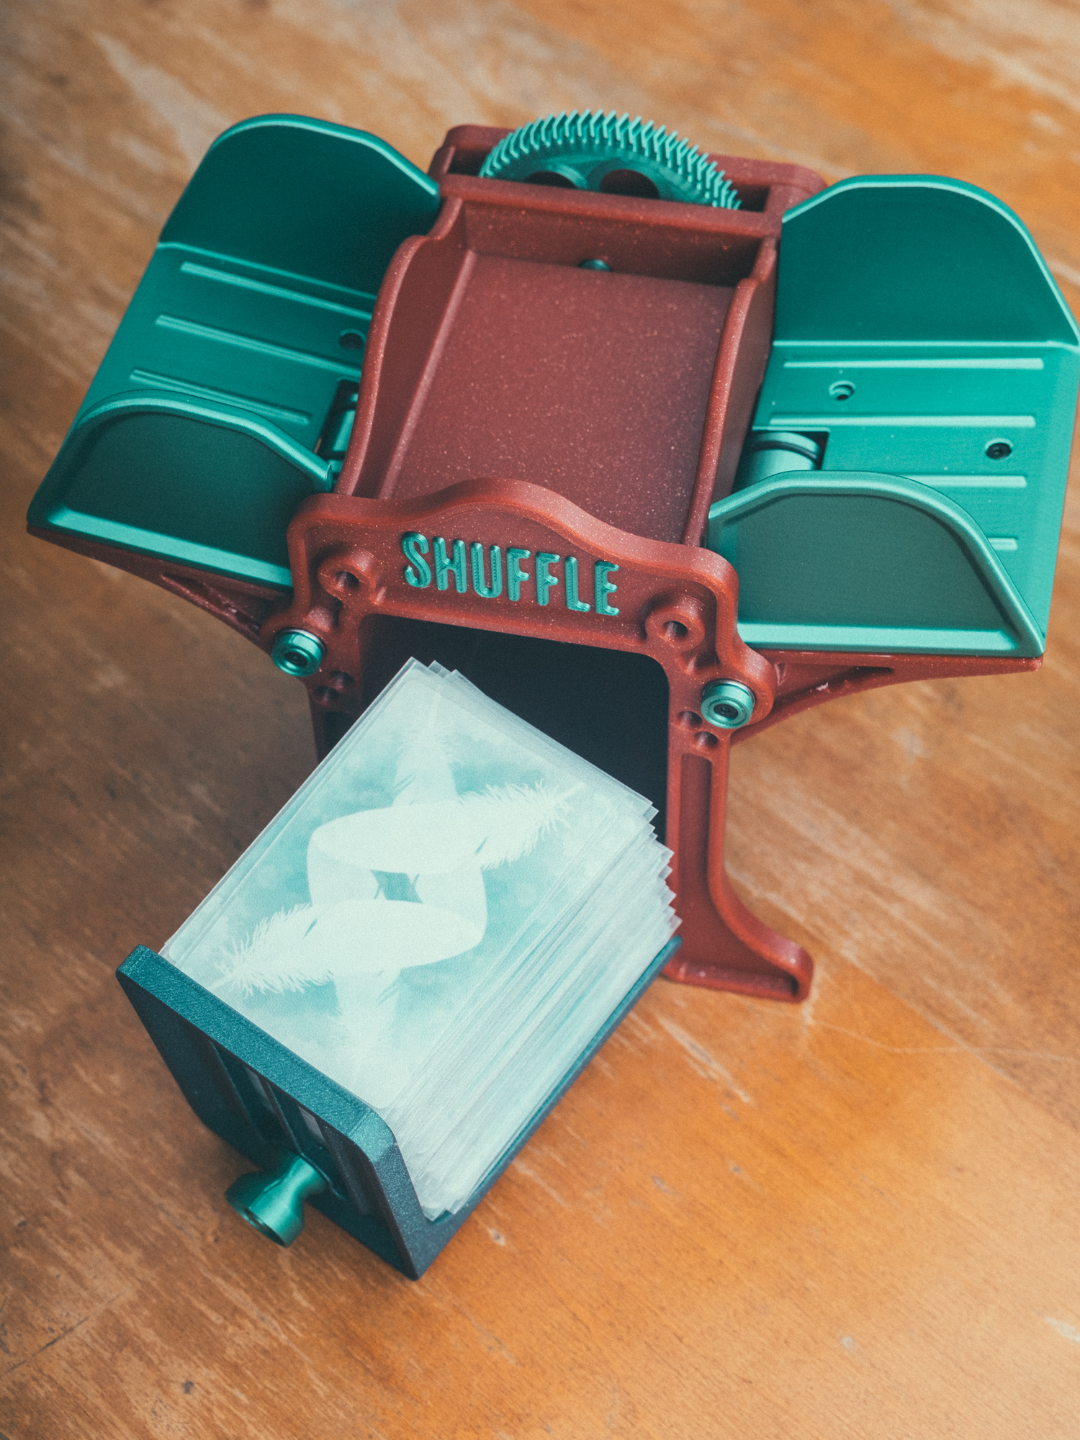
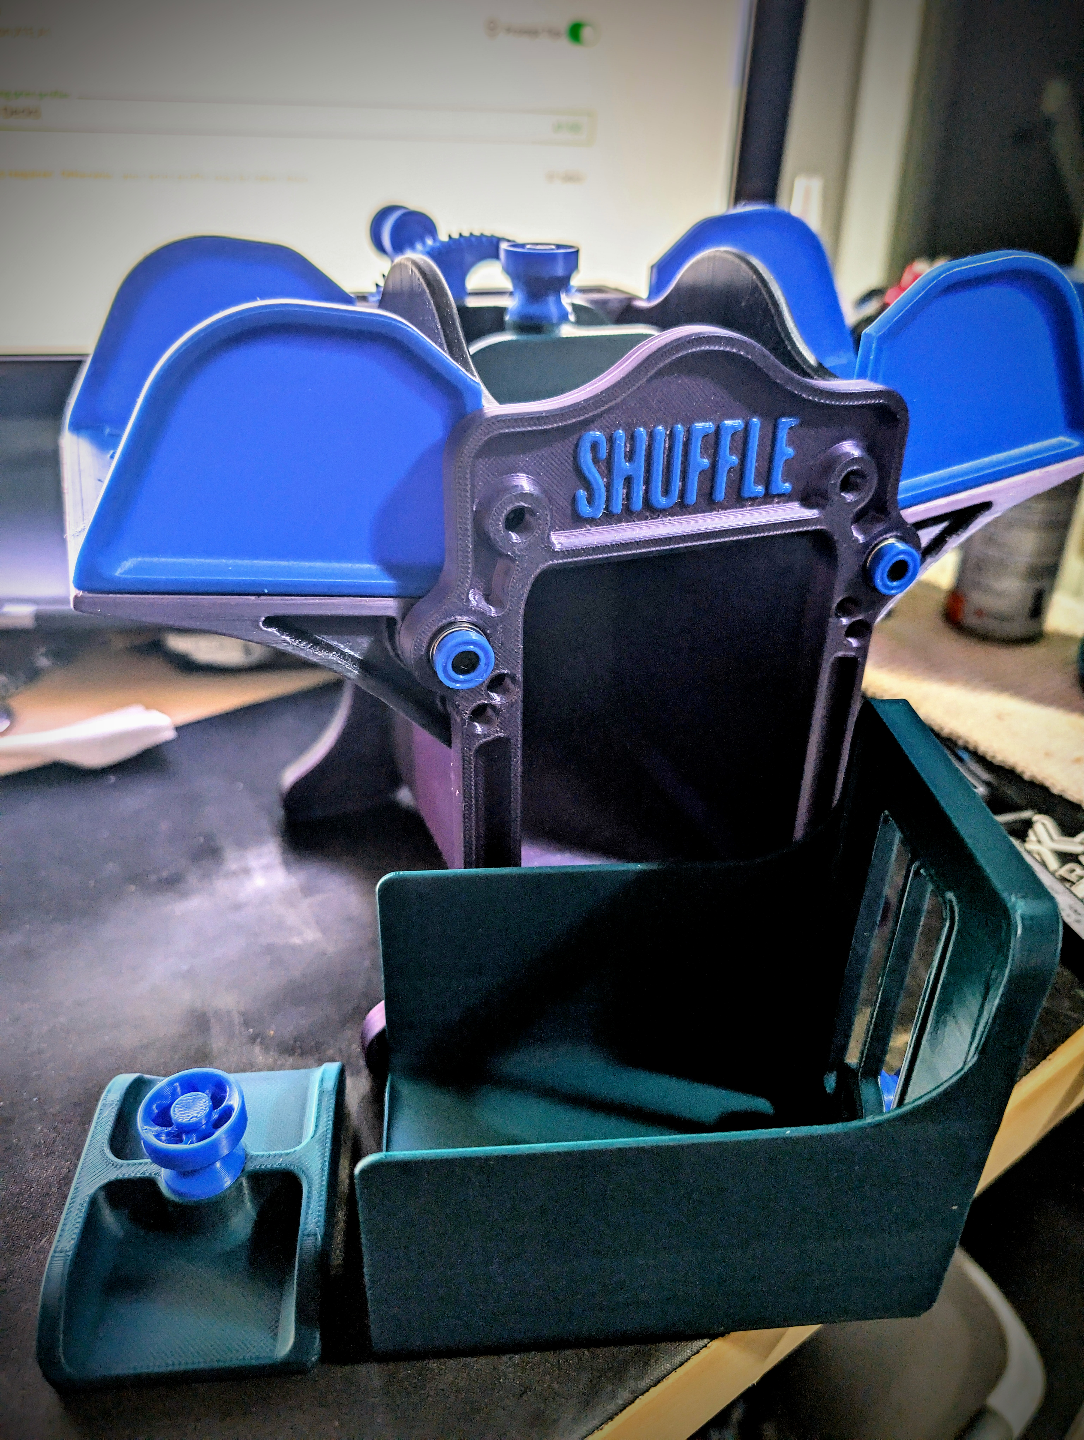
Sized for standard playing cards. (64x89mm + plus sleeves, or there abouts, is the max size card it'll shuffle). I sized the standard version to be able to shuffle a full skip-bo deck, which is 160 cards. It can do about 80 sleeved cards, in testing. The tall version can accommodate about 120 sleeved cards, 140 is about the maximum it can handle.
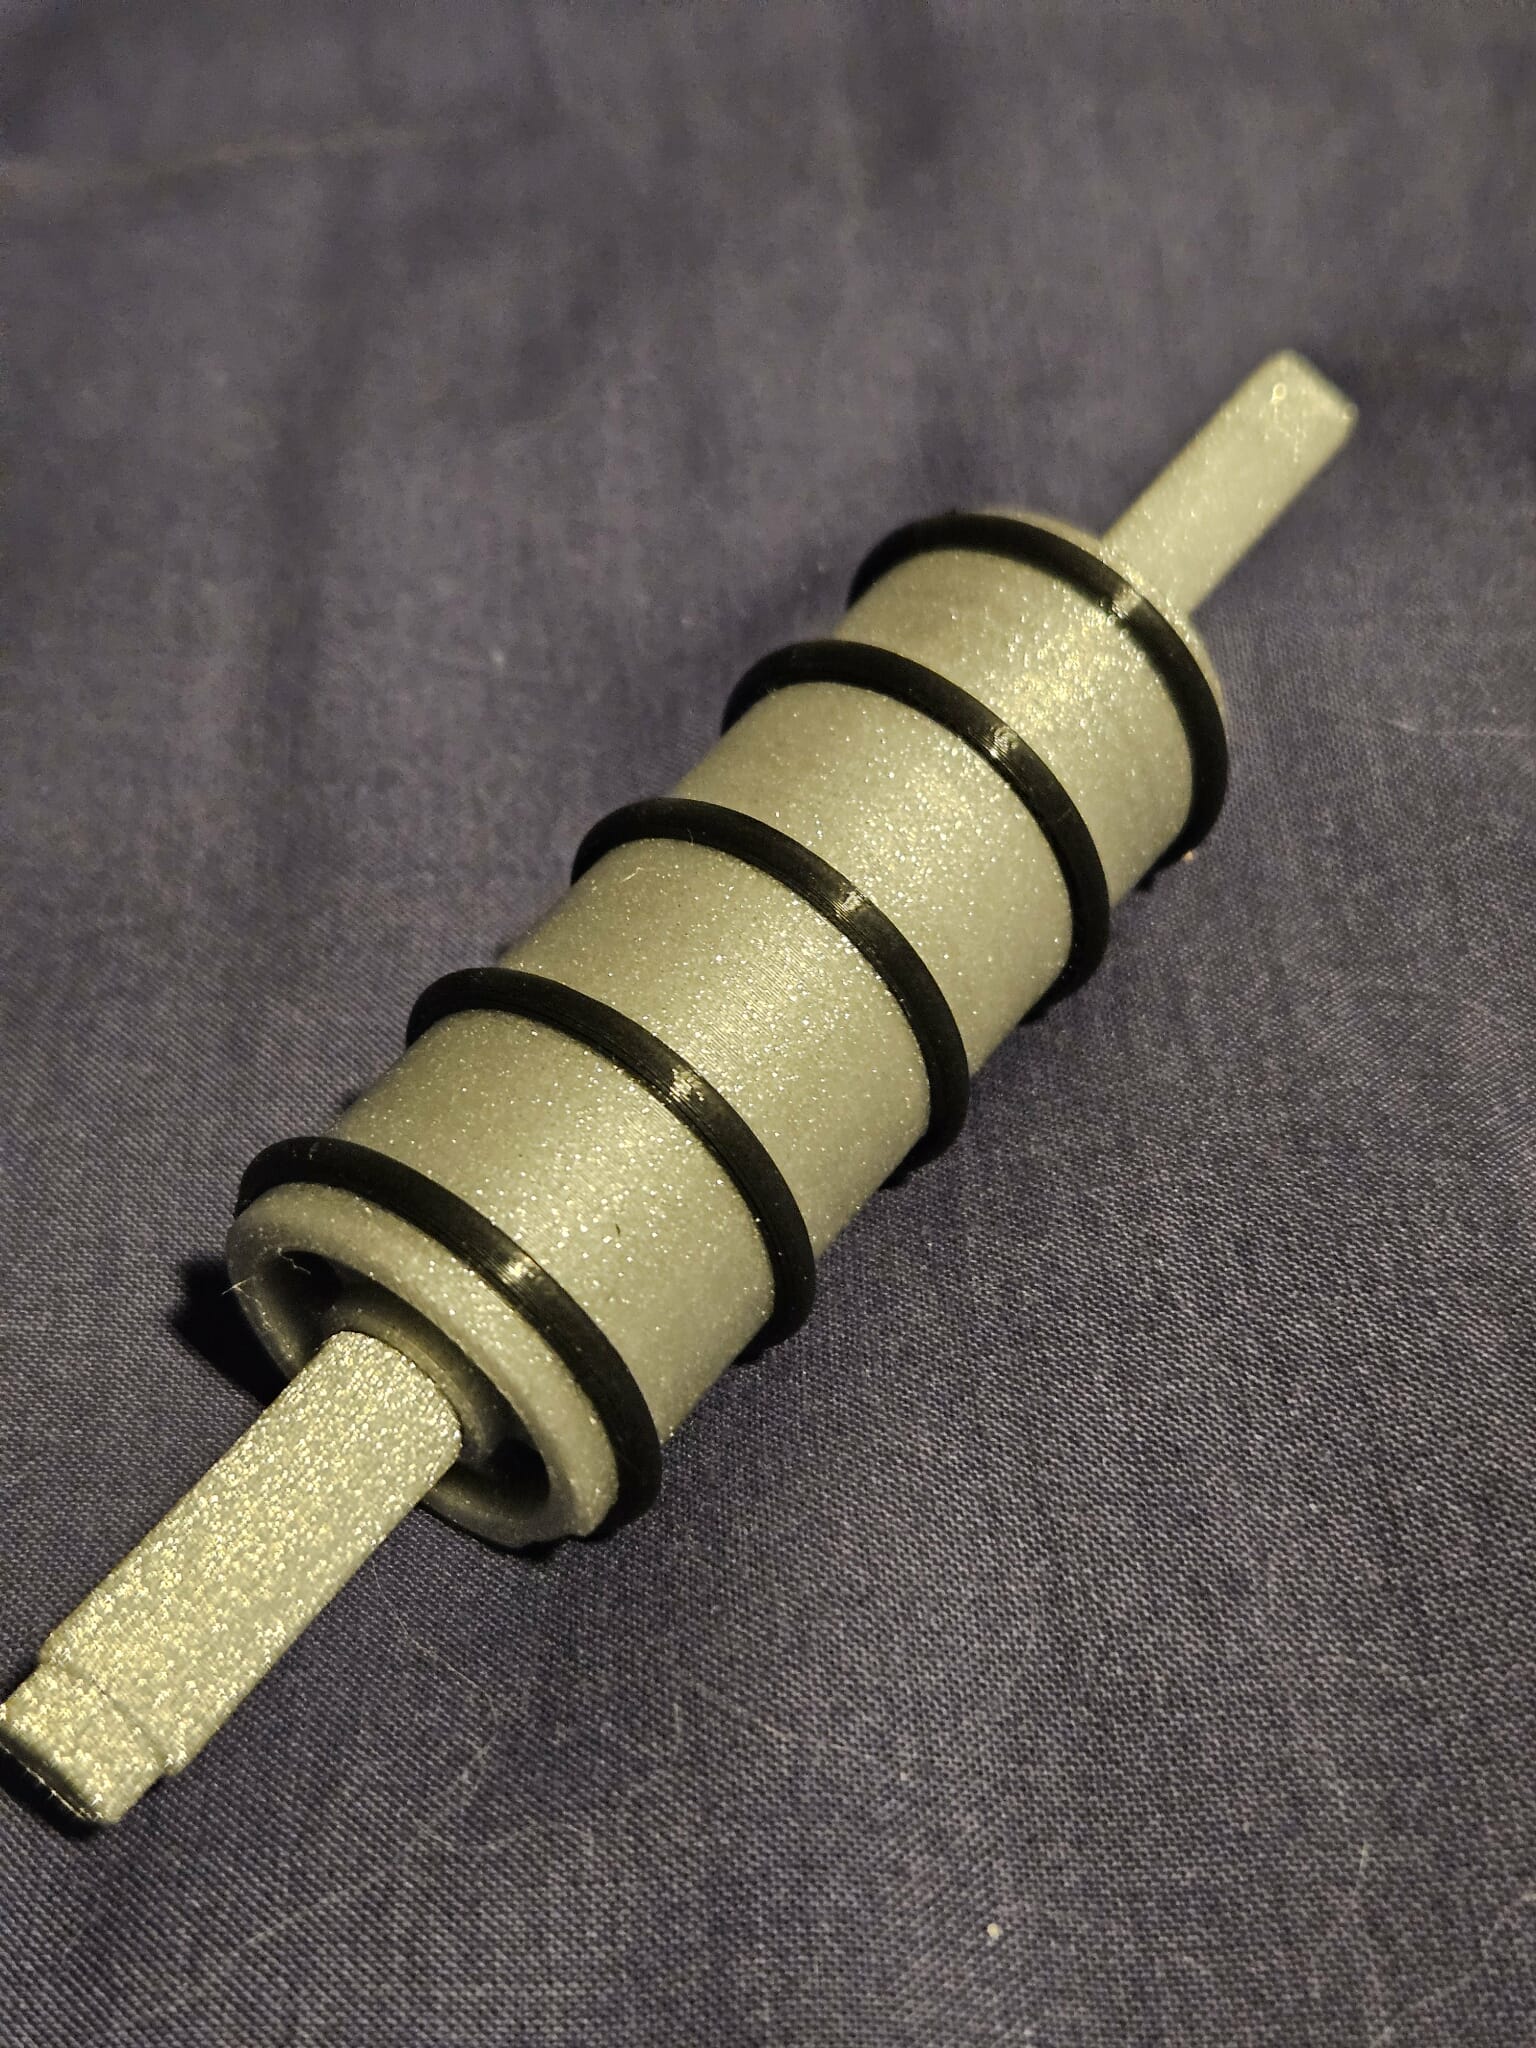
It's been running smoothly for me, especially since upgrading to O-rings. The grip on them is much better than the original TPU rollers. There are occasional jams that happen, when the cards don't fall right. I think as long as you aren't going too slow and keep a good pace, usually it's fine. Sometimes it helps to shift the whole thing back and fort slightly to shake the cards loose and get them to settle.
[Hardware Required]
(Full disclosure, I am part of the Bambu Affiliate Program. All Bambu store links are affiliate links. I earn a small commission from these links without any added cost to you. These links help to support me so I can bring more content for free!)
Featured Filaments
Bambu PLA Metallic Iron Gray
Bambu PLA Metallic Copper Brown
Bambu PETG-CF Brick Red
Bambu PLA Galaxy Nebula
Bambu PLA Glow Green
Bambu PLA Metallic Copper Brown
Bambu Matte Grass Green
Bambu Marine Blue
Bambu Lemon Yellow
Tall Version:
Bambu PLA Sparkle Crimson Red
Bambu PLA Metallic Oxide Green
Bambu PLA Galaxy Nebula
Notes about Printing
I highly recommend using a smooth PEI bed. ( It's not required, and you can absolutely print the whole thing on your bed of choice. I just highly recommend the Smooth PEI bed for PLA because it holds well, and for smaller parts with a thin profile on the bed, it tends to hold much better. Like the spacers I use in step 4.)
Since I changed how the main gear was assembled, there's been a few people reporting fit issues. The tolerances were tuned for my Bambu setup, but I realize differences can affect those tolerances, and so with that I've made 3 options for tolerances! There's a tight, medium, and loose. I'd recommend printing the Medium option, and seeing how it goes from there. I opted to give the tolerance on the gear and crank arm itself, so you can pick the tightest option for each one. I numbed them, so if you print a couple out you can keep track of which one is which.
Hardware Required :
(Full disclosure, I am part of the Amazon Affiliate Program. All amazon links are affiliate links. I earn a small commission from these links without any added cost to you. These links help to support me so I can bring more content for free!
I utilize Bambu's self tapping screws for this project, which I highly recommend. However, I'll provide some alternatives for screws you can purchase from amazon for those that would prefer)
• 36x M2.6x8mm Self Tapping Screws (Bambu's BT2.6x8mm self tapping screws) (I recommend the Bambu screws , although something like this from Amazon US I've tested and will work.)
• 9x MR128ZZ Ball Bearings (inner = 8mm, outer 12mm, height = 3.5mm, such as this one from Amazon US , or from the Bambu US store )
• 10 O-Rings OD 24x2.5mm (From the Bambu US Store , or from Amazon US )
[Assembly]
Step1: Screw the end plates on.
Step2: Assemble the two side card holders, then slot them in and screw them into the main body.
Step3:
• Install the o-rings onto the two drums.
• Install the bearing on the end of the shaft and then screw the end cap into place to keep it secure.
• Insert the drum into place, and then insert the shaft through the drum and the main body. Install the set screw to set the drum into place.
(Caution: Do not overtighten! Loosen screw a little of bearings bind)
Step4:
• Insert the bearings onto the shafts, followed by the spacer and then the gear. Make sure the bearing is fully seated.
• Make sure the gears are orientated right. The Arrow pattern on the gear should point in the direction of travel. Inward!
• Screw the gears into place.
(Caution: Do not overtighten! Loosen screw a little if gears bind)
Step5:
• The Tricky part
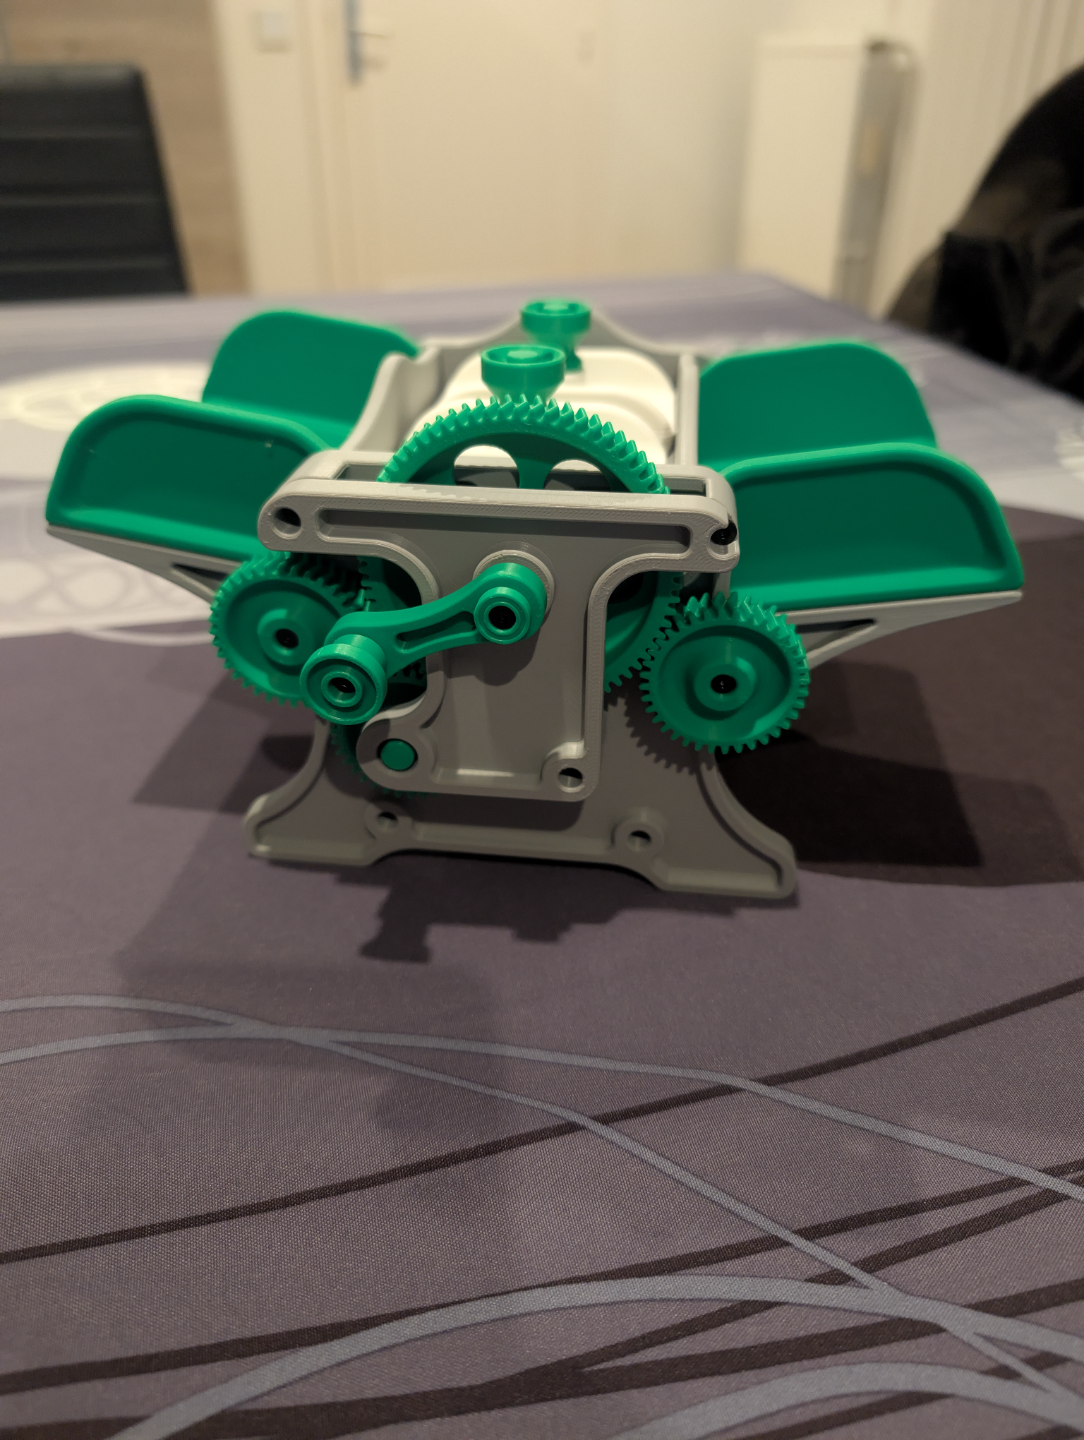
• For each gear there is a gear peg and the bearing. Insert the bearing into the end plate, and insert the gear peg into the gear. Make sure the gears are fully seated.
• I insert the small gear and then the large one. With the large one I try and angle it in a little, and use a little force to jam it into place.
• You'll want to try and rotate the pads so the flat ends are opposite each other before installing the large gear.
Step6: Insert the bearings into the gear bracket and make sure they are fully seated. Screw the bracket into place.
Step7:
• Insert the bearing into the crank arm, and then sandwich it between the peg and knob, and secure it with a screw.
• Screw the crank arm onto the large gear's shaft with an end cap to help keep it secured.
• Shuffle some cards!
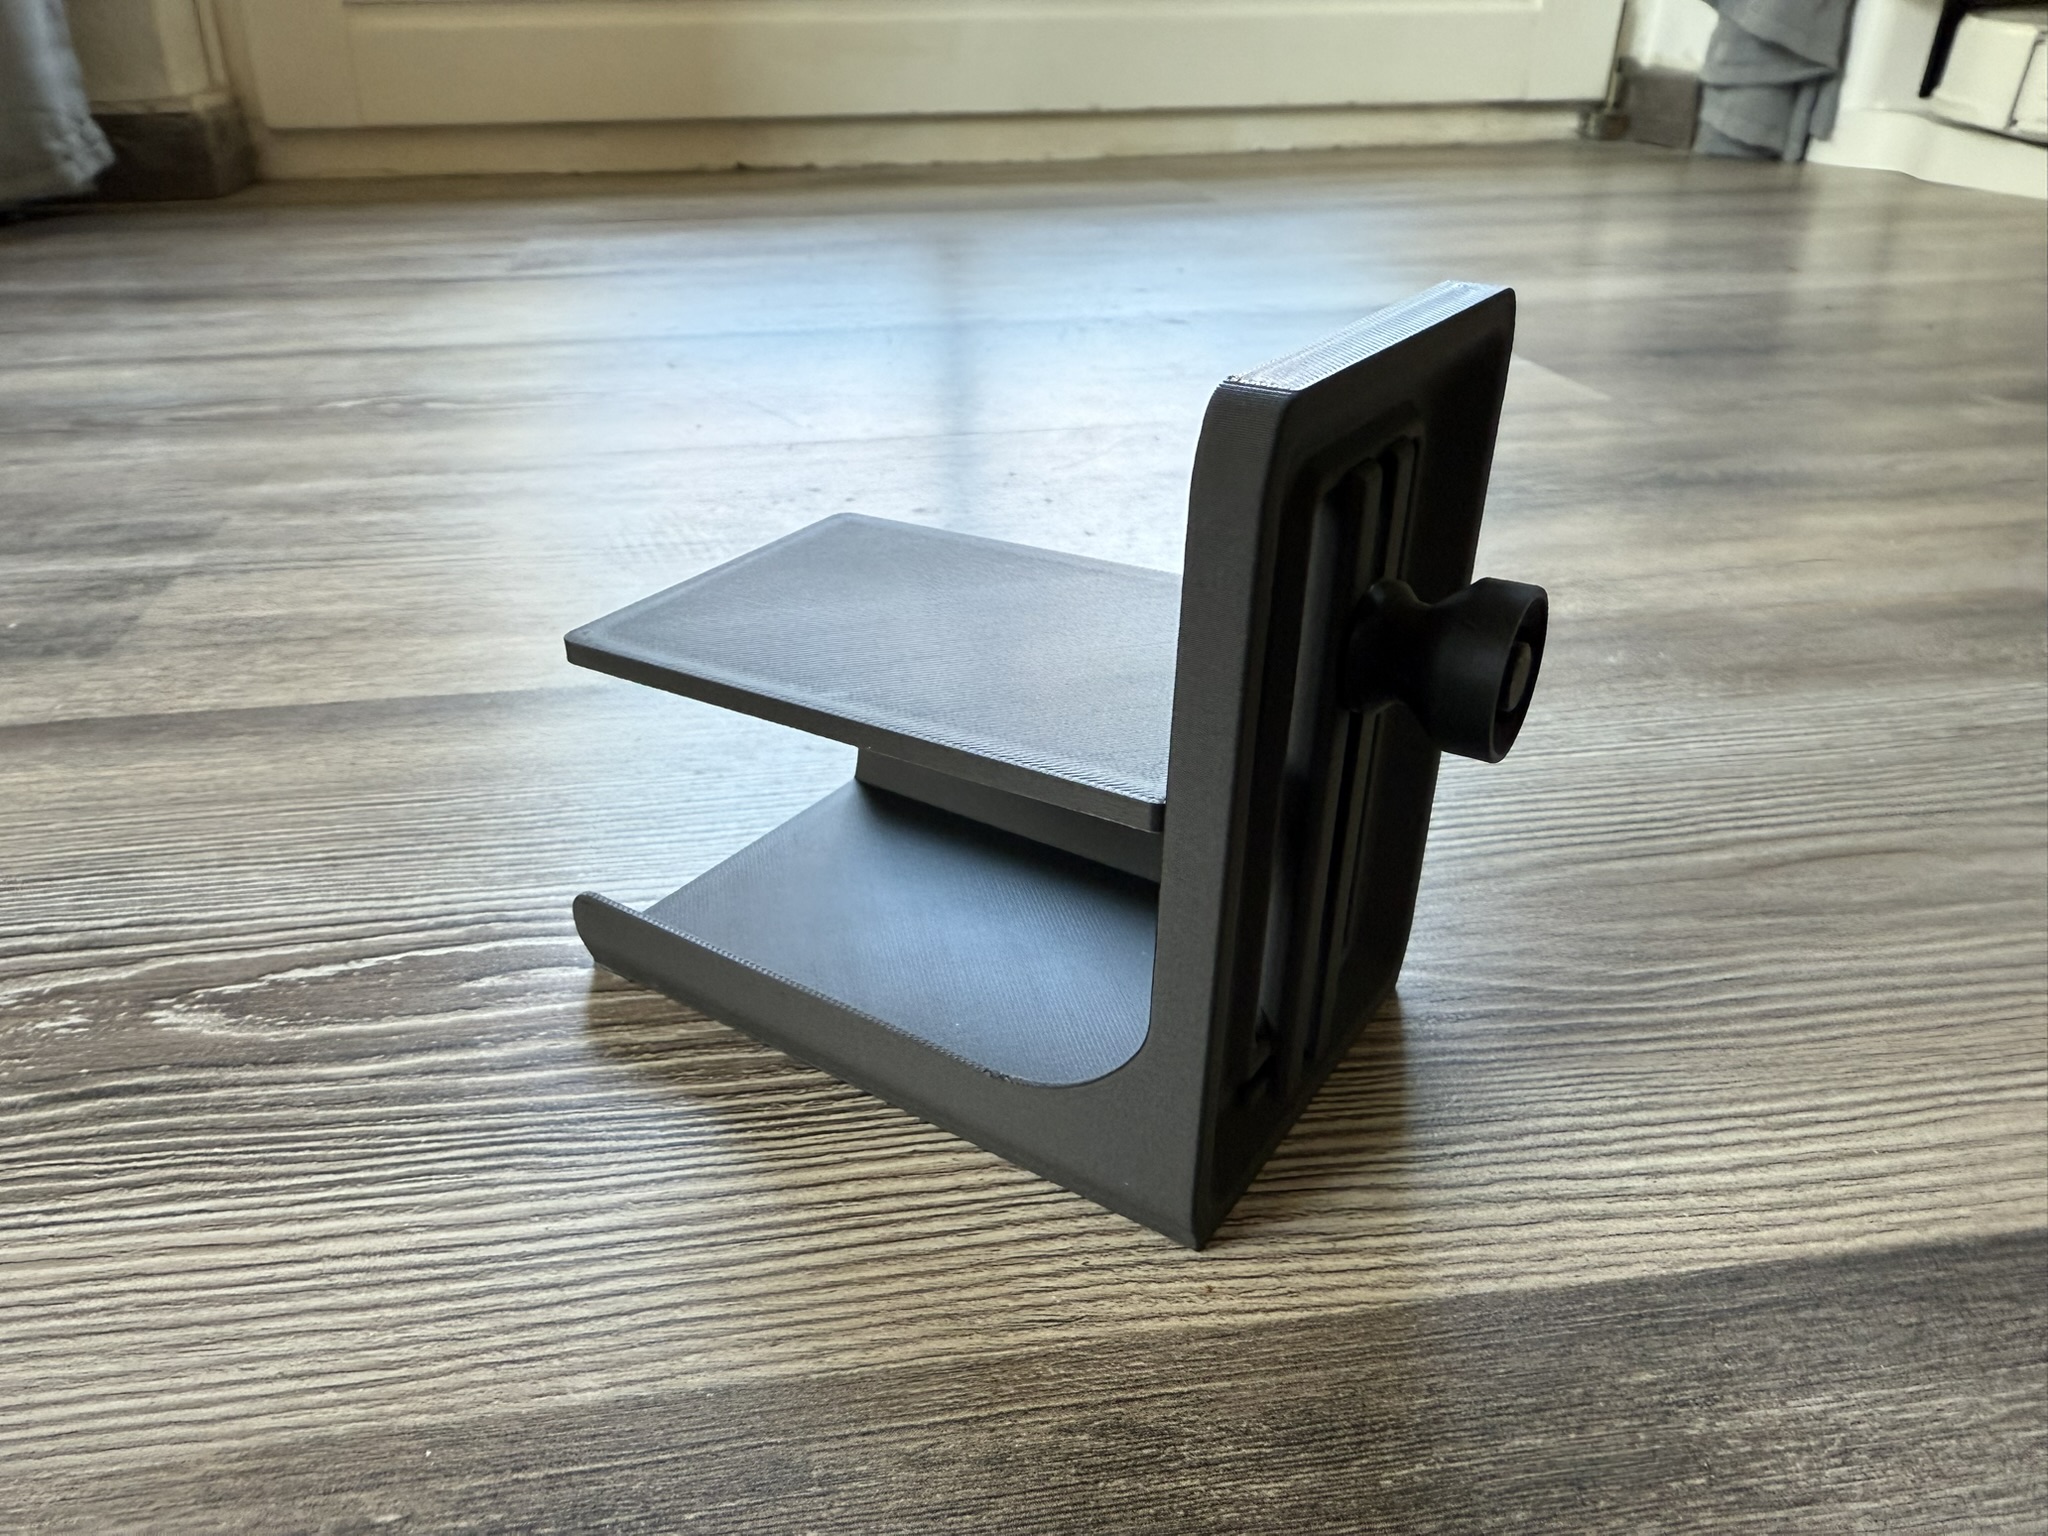
This is an insert to help the Bambu Shuffler made by @josh-3D

/pic9658082.jpg)
/pic9344596.jpg)
/pic8557413.jpg)