Log in to join the conversation.
Backgammon Checkers - Lux Kit (Pennies inside)
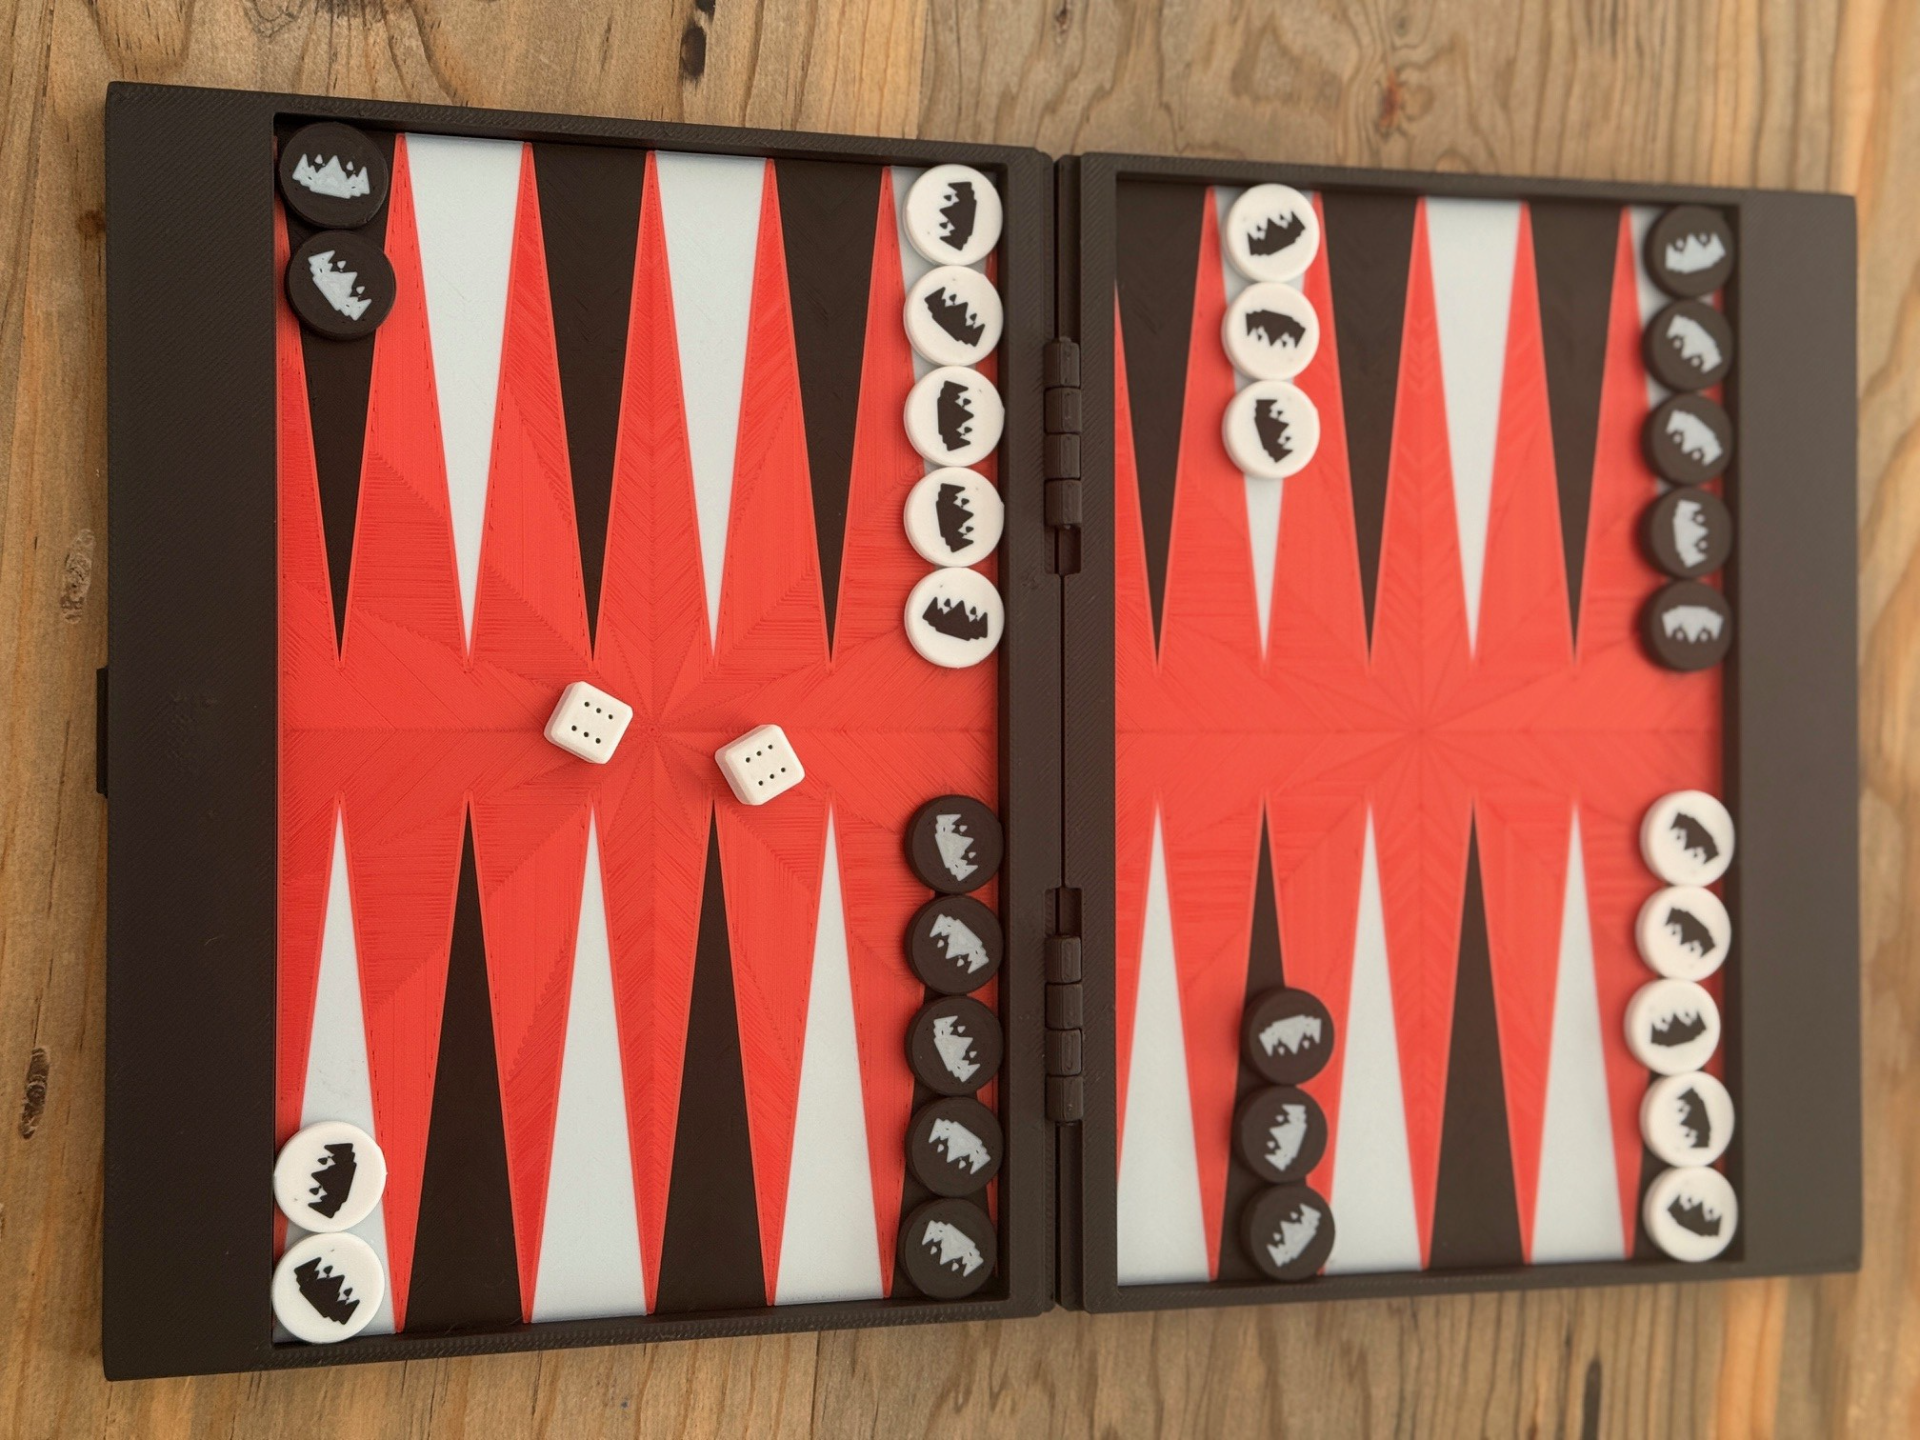
Plate Details (2)
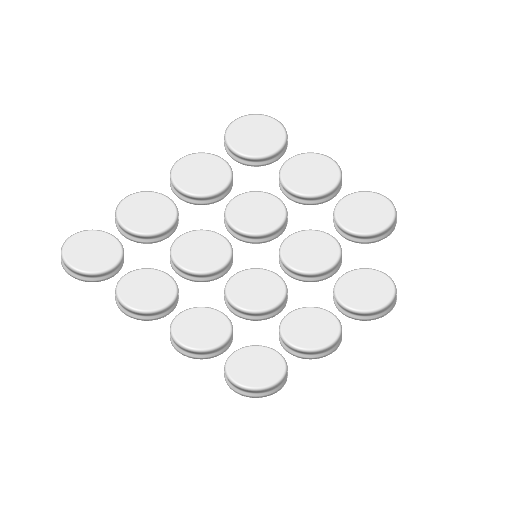
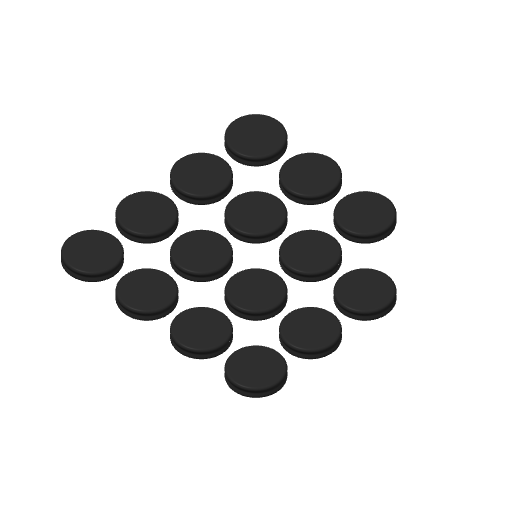
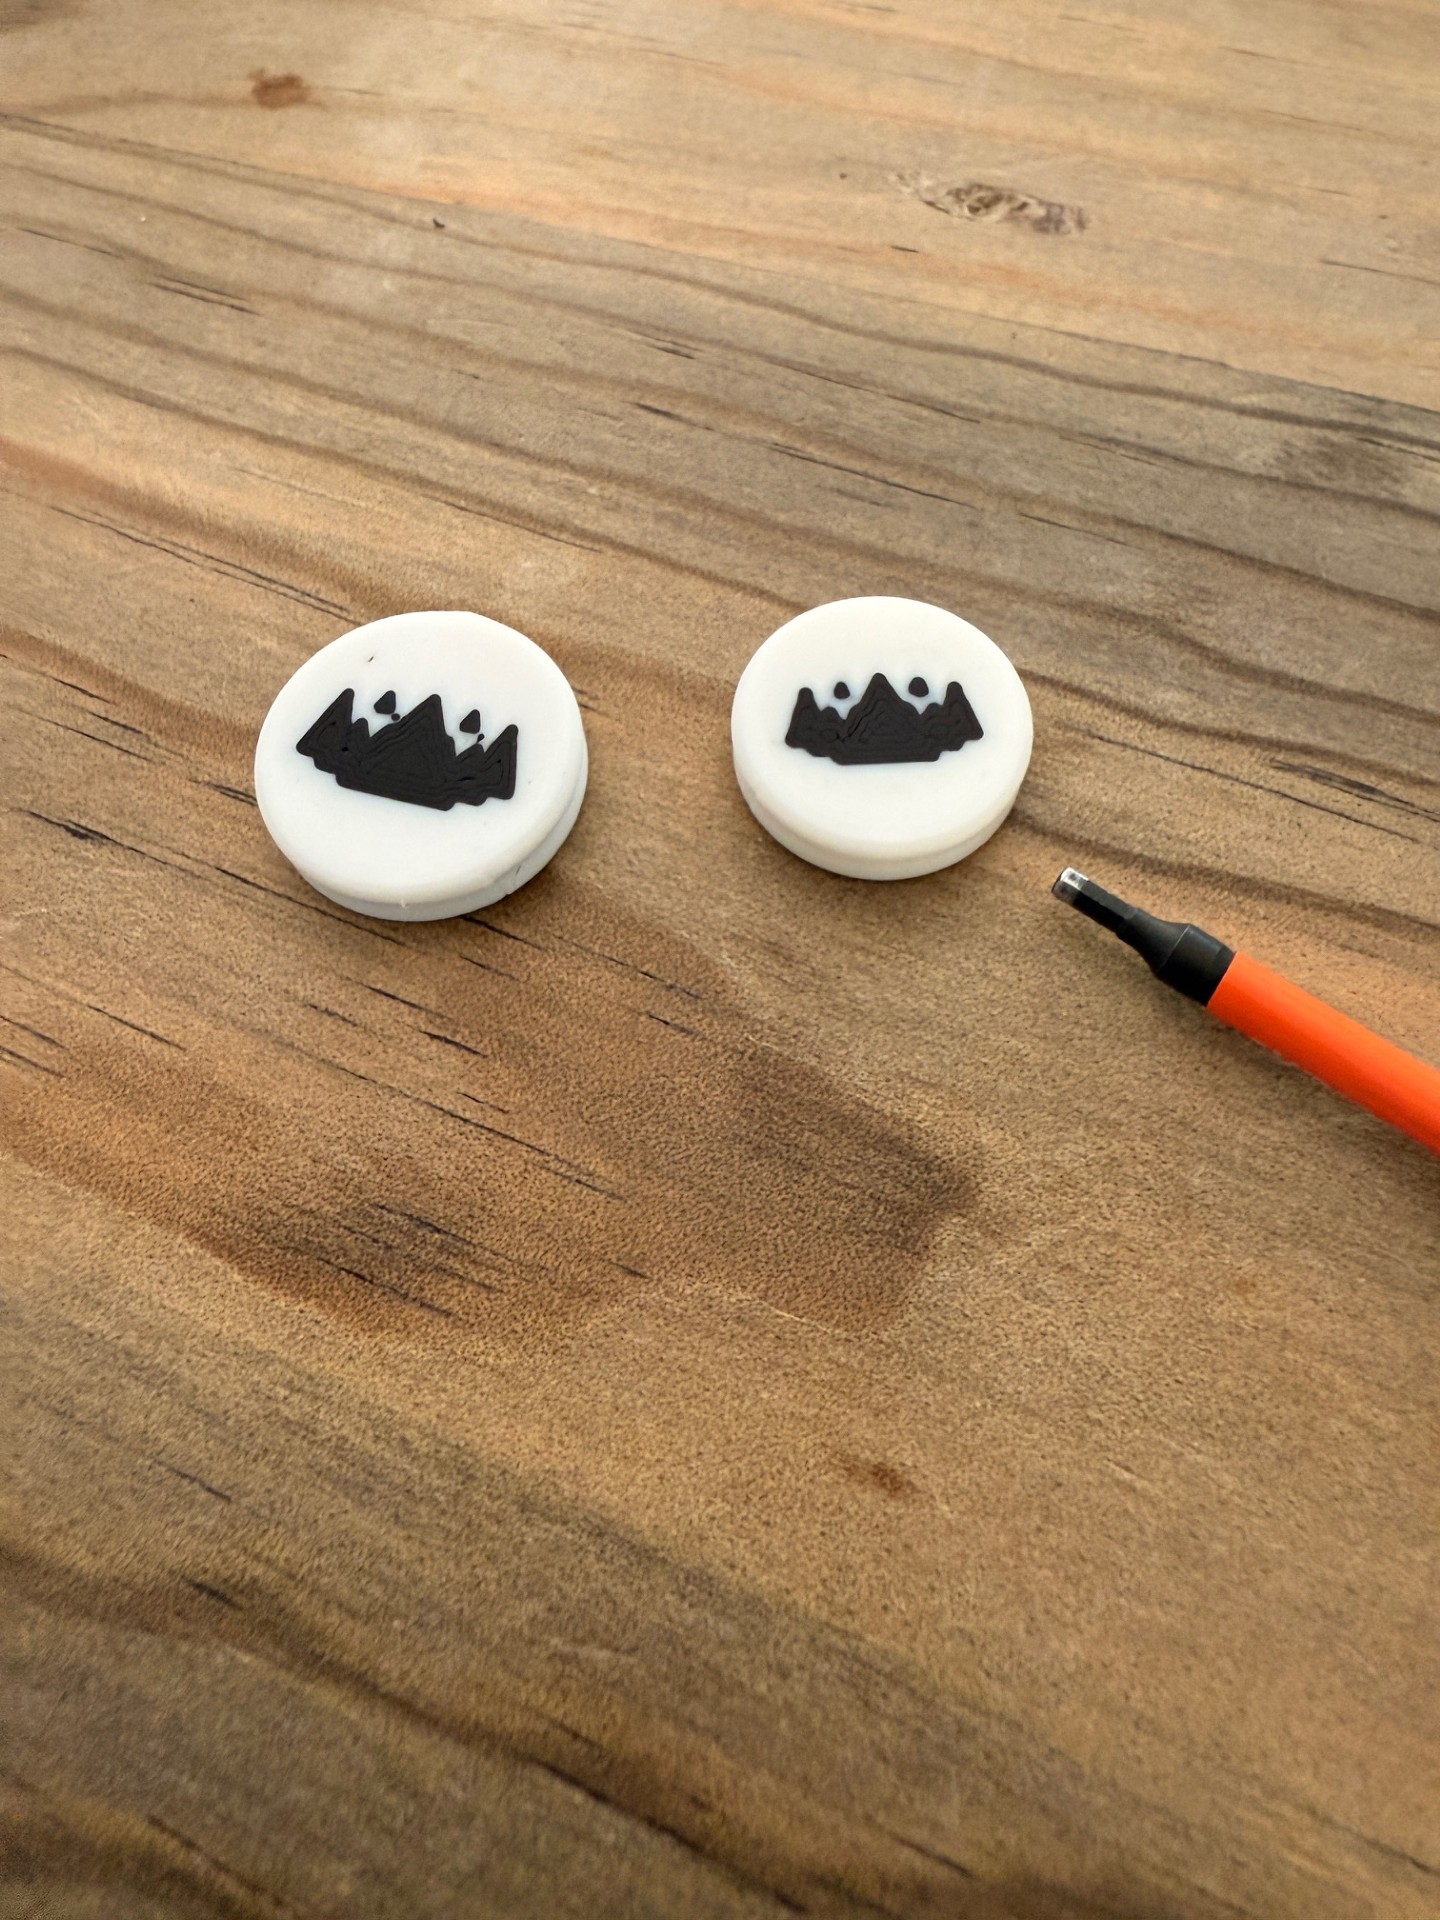
Plate Details (2)
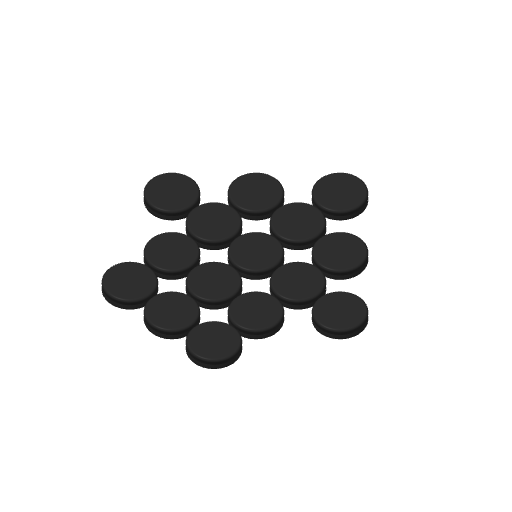
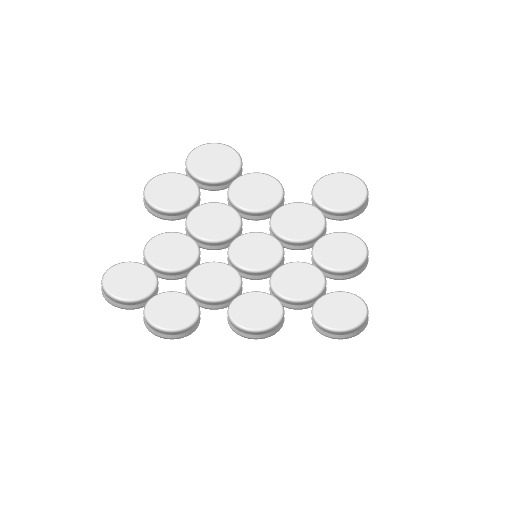
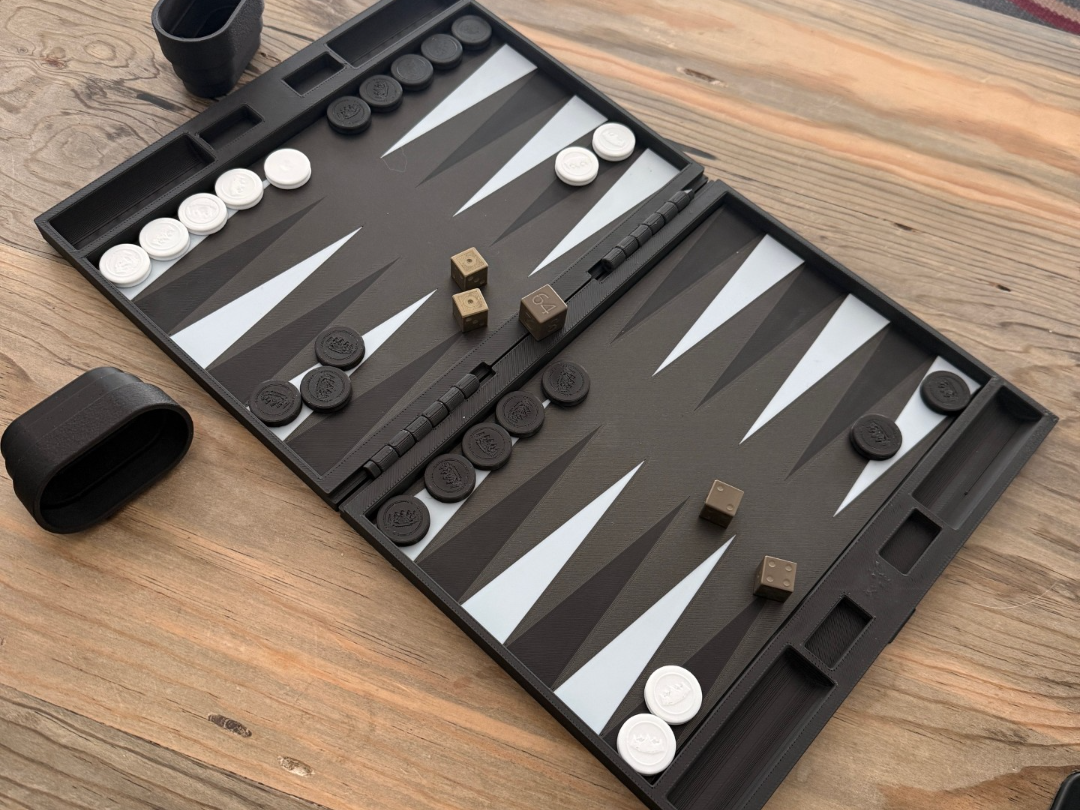
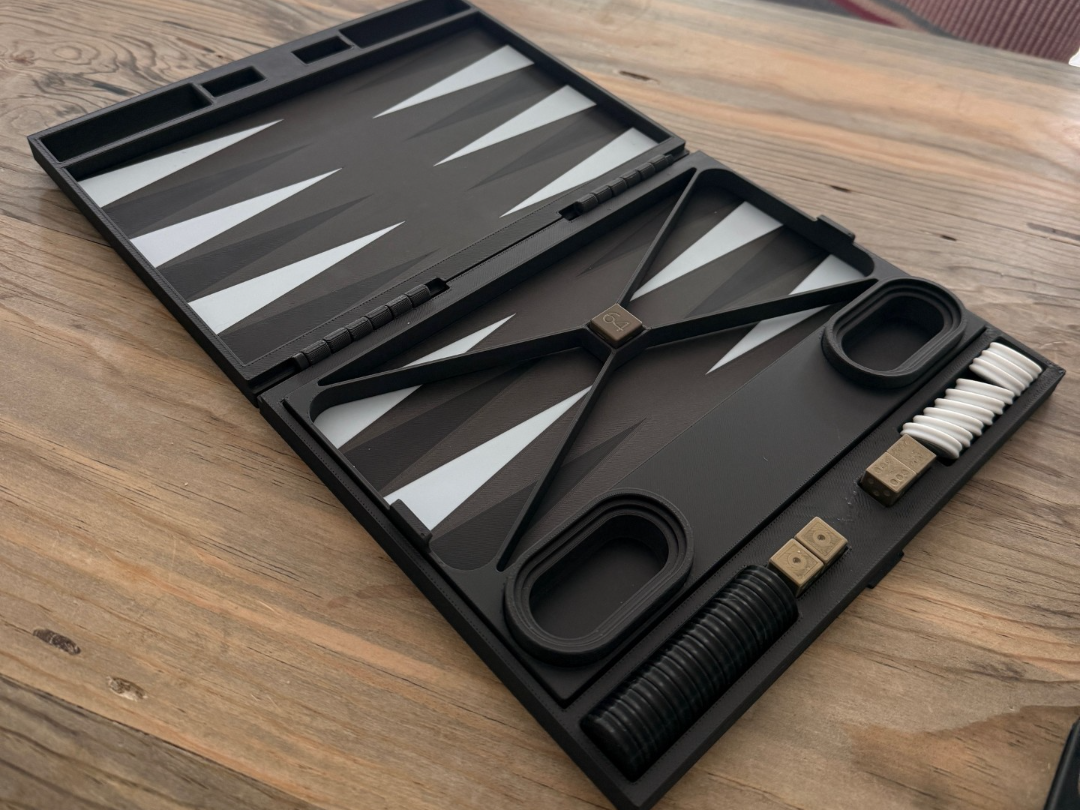
Precision-weighted backgammon checkers and game pieces sized for standard boards. Designed around US penny inserts for consistent weight, satisfying feel, and easy color customization.
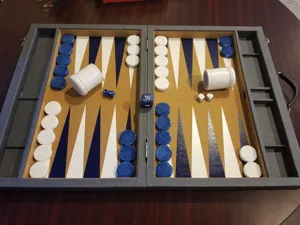
I wanted a set of printable checkers that actually feel good in the hand, not just good in pics. I couldn’t find any I loved, so I designed this penny-weighted set and a matching solid set.
The 22 mm pieces wrap around a real US penny for weight. The top surface is flat and smooth for sliding and stacking; the bottom can be either clean or carry a small image (SVG). A 20 mm solid version gives you a quick, coin-free option that works nicely for classic checkers and smaller boards. Both have a distinctive ring around the waist - I find it helps me pick them up with my fat fingers.
Variants:
- Coin-Weighted 22 mm
- 22 mm diameter × 5 mm thick
- Internal cavity sized for a US 1¢ coin (19.05 mm × ~1.5 mm)
- Small mountain SVG on the bottom face - feel free to change out the image or remove it.
- Prints:
- In single color as a subtle embossed/recessed design
- Or in two colors on multi-material printers (e.g., AMS) for a contrasting underside
- Easiest to customize: swap the included SVG for your own similar-sized SVG and re-slice
- Solid 20 mm Piece
- 20 mm diameter × 5 mm thick
- No cavity – just a clean solid game piece - I recommend printing with 100% infill
- Great for checkers/draughts, smaller boards, or generic tokens
I posted the stl files for both of the above variants.
For manual setup (especially on non-Bambu printers):
- Orient the part
- Print flat side down. Make sure the internal cavity is oriented correctly (bottom is down). The side with the internal tapered roof should be facing upward. You may need to slice the file to see the internal cavity orientation. This is important for the top to print clean.
- Add a pause (the 3MF already should have it)
- Slice the model and scrub through layers until you see the internal cylinder (penny pocket) reach coin height and the roof start tapering inward above it.
- Insert a pause at that layer (e.g., “Pause at height” or M0).
- Print & insert coins
- Start the print.
- When it pauses, place a clean, dry US penny into each pocket and make sure it’s fully seated.
- Resume & let it seal
- Resume the print so the tapered roof bridges and closes over the coins.
- The next one or two layers over the pennies may look a little stringy or rough – that’s normal. Don’t cancel the print.
- As the following layers build up, the roof tightens and smooths out.
- Cool & pop off
- Let the plate cool; pop the pieces off and enjoy the extra weight. When the coins are fully seated there should be no rattling. If it rattles and you don't like that, simply scale the size up or down in Bambu Studio.
- You can scale uniformly or remix the cavity for other coin sizes for our friends outside of the US.
Part of the Lux Backgammon Kit
To build the full set, see these companion models:
- Backgammon Board Frame – Lux Kit
https://makerworld.com/en/models/2197475-backgammon-board-frame-lux-kit
- Backgammon Dice Cups – Lux Kit
https://makerworld.com/en/models/2197553-backgammon-dice-cups-lux-kit
- Backgammon Dice – Lux Kit
https://makerworld.com/en/models/2197692-backgammon-dice-lux-kit
- Backgammon Checkers – Lux Kit (Pennies Inside)
https://makerworld.com/en/models/2042338-backgammon-checkers-lux-kit-pennies-inside
- Backgammon Board Inserts – Lux Kit
https://makerworld.com/en/models/2197818-backgammon-board-inserts-lux-kit
(Search “Lux Kit” or “Backgammon” on my profile – they’re all in the same collection.)
I hope these checkers bring a satisfying snap and clatter to your games.
— Dave, MTN Labs
If this set ends up on your board, I’d love to see it— boosts, ratings, and make photos really help models get discovered. And if something isn’t behaving on your printer, leave a comment and I’ll happily troubleshoot with you.
Boost Me Every little bit helps out. Love your community. Thanks for checking.
THANKS FOR LOOKING AT THIS MODEL- HOPE YOU LOVE IT AS MUCH AS I DO.
/pic1564242.png)
/pic5467885.jpg)