Log in to join the conversation.
Santorini - travel size board game
Please support n_logn by Liking/Boosting their Print on MakerWorld.

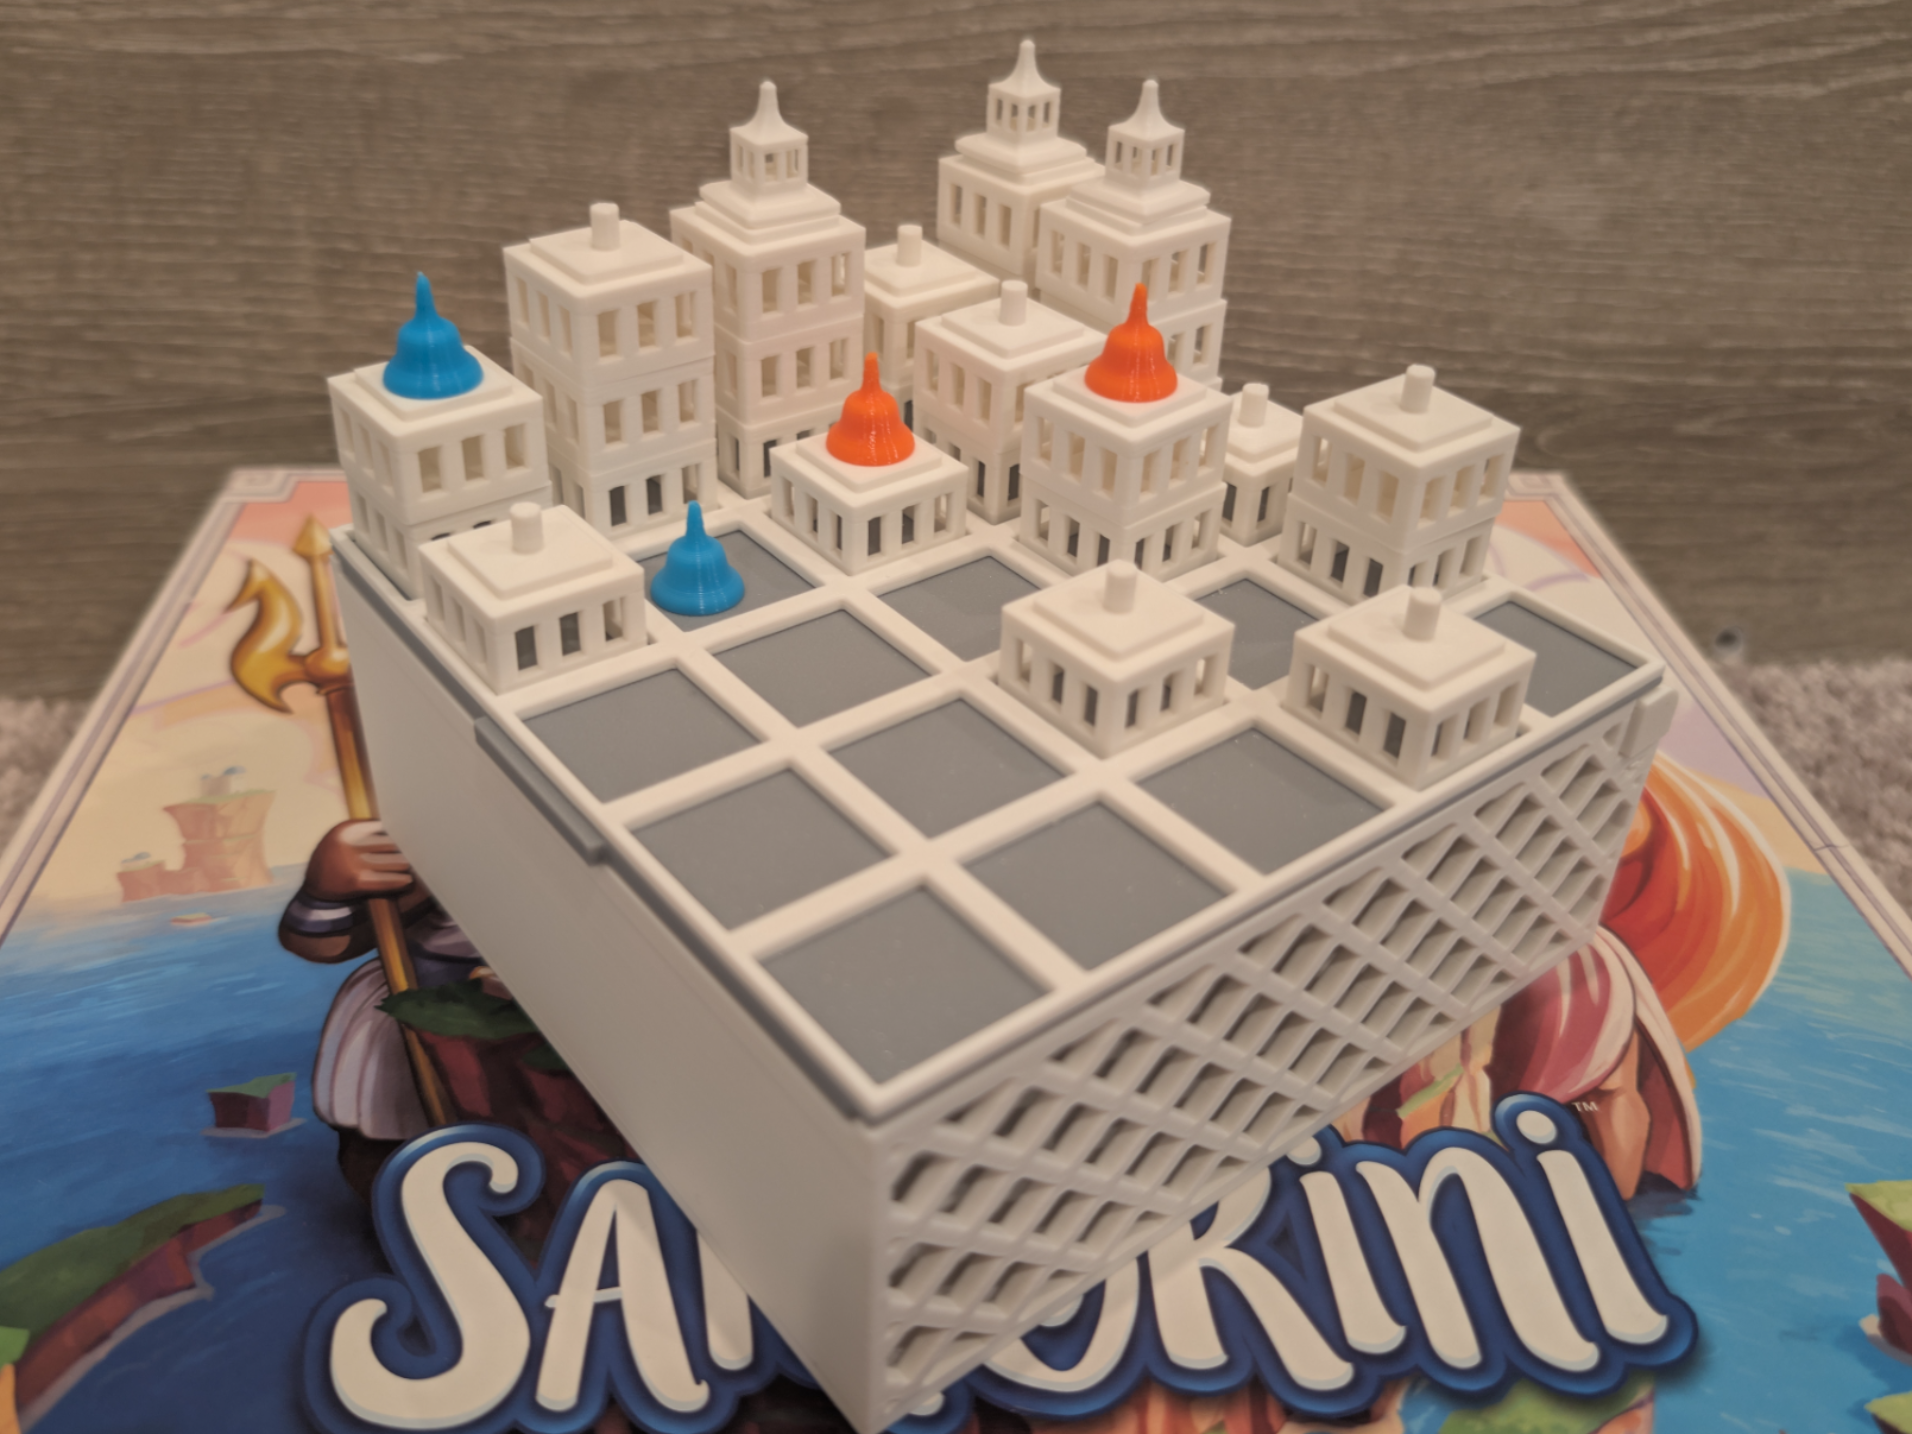
A mini version of Santorini - a popular board game. Rulebook for the game can be found here .
This version is designed for usability. Some key features:
• It's small - the width/depth of the box is half of the original (so 1/4th of the volume)
• The box itself is also the board for the game.
• The board has physical guides for the building, making it very easy to slot buildings in the right spot.
• Despite being small, the buildings, domes and pawns are easy to grab (designed with easy to hold handles)
• All levels of the building look the same, giving it more of an art-deco New York style
Boost Me If you want to see more board game content, boost me!
Assembly is pretty simple. You will need:
• At least two different colors of filament (for contrast)
• 4xMagnets - 12mm diameter and 4mm depth.
• I used those (and doubled up the 12x2mm magnets, so I used a total of 8 magnets).
• You could also use those .
• Super glue
Steps:
• Prepare your magnets. Put them in a stack, and mark the bottom of the stack with a marker, sticky note, tape, etc. This will make it easier for you to remember the orientation of the magnets. If at any point you lose track of the orientation of the magnet, just stick it back on the stack (it only works one way).
•
Print the box top in one color (in the pictures, it's grey). The print will pause to let you insert magnets. Apply a bit of super glue, and pull a magnet from your stack (or two magnets if you're using 12x2 magnets). Make sure that the magnet's bottom is aligned with the stack bottom (we need to ensure that the magnets have the same polarity). Drop the magnet in the hole. I recommend that you do one hole at a time since super glue sets very quickly.
(putting glue in the holes)
(dropping the magnets in)
After dropping the magnets in, you can let the print continue.
•
Print the box bottom in one color (in the pictures, it's white). The print will pause to let you insert magnets. Apply a bit of super glue, and pull a magnet from your stack (or two magnets if you're using 12x2 magnets). Flip the magnet upside down (the orientation should be opposite to the orientation in the box top). Drop the magnet in the hole. I recommend that you do one hole at a time since super glue sets very quickly.
•
Print the remaining buildings, grid, and domes in the same color as the box bottom. If you're using the H2D profile, they're already on the same plate.
• For your pawns, you'll have to decide which colors to use - I'd recommend the colors to be different from the ones you used for the board (I used orange and blue). However, the game is playable as long as you have pawns of two different colors.
•
Glue down the white grid to the grey box bottom. The box bottom has 4 holes while the grid has 4 pins that match with the holes - this should take care of alignment.
It should be sufficient to place glue in the 4 holes and under a few pieces of the grid - you don't need to glue all of it down.
•
Place the box top on top of the box bottom (as if you were closing it).
•
Place the two white hinges in the cylinder of the box top. They are symmetrical and should be interchangeable. Glue the hinges to the box - they will be used as a pivot for the box top.
Apply the glue on the flat part of the hinge, on the inside
Place the hinge in the back cylinder and glue it on:
Give the hinges a good squeeze to let the glue work - this is the most important structural part of the box
•
You're done!

/pic3318709.jpg)