Log in to join the conversation.
Hero Realms Magnetic Deck Box Collection
Please support Riders by Liking/Boosting their Print on MakerWorld.
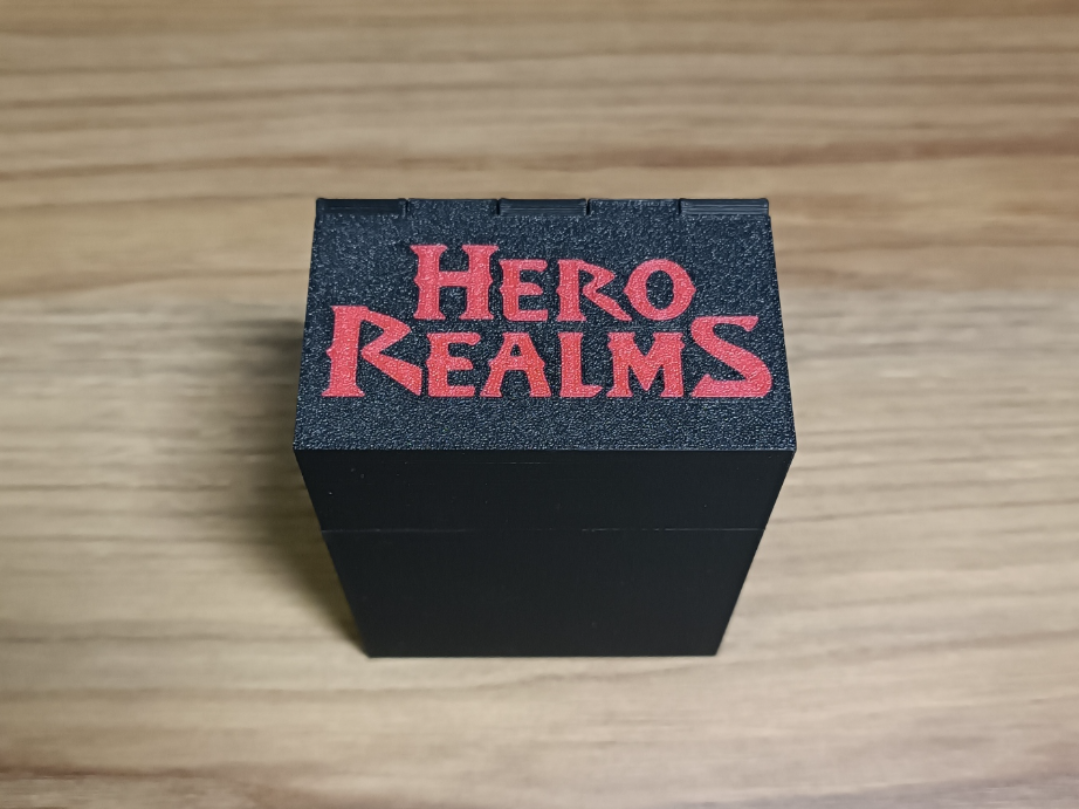
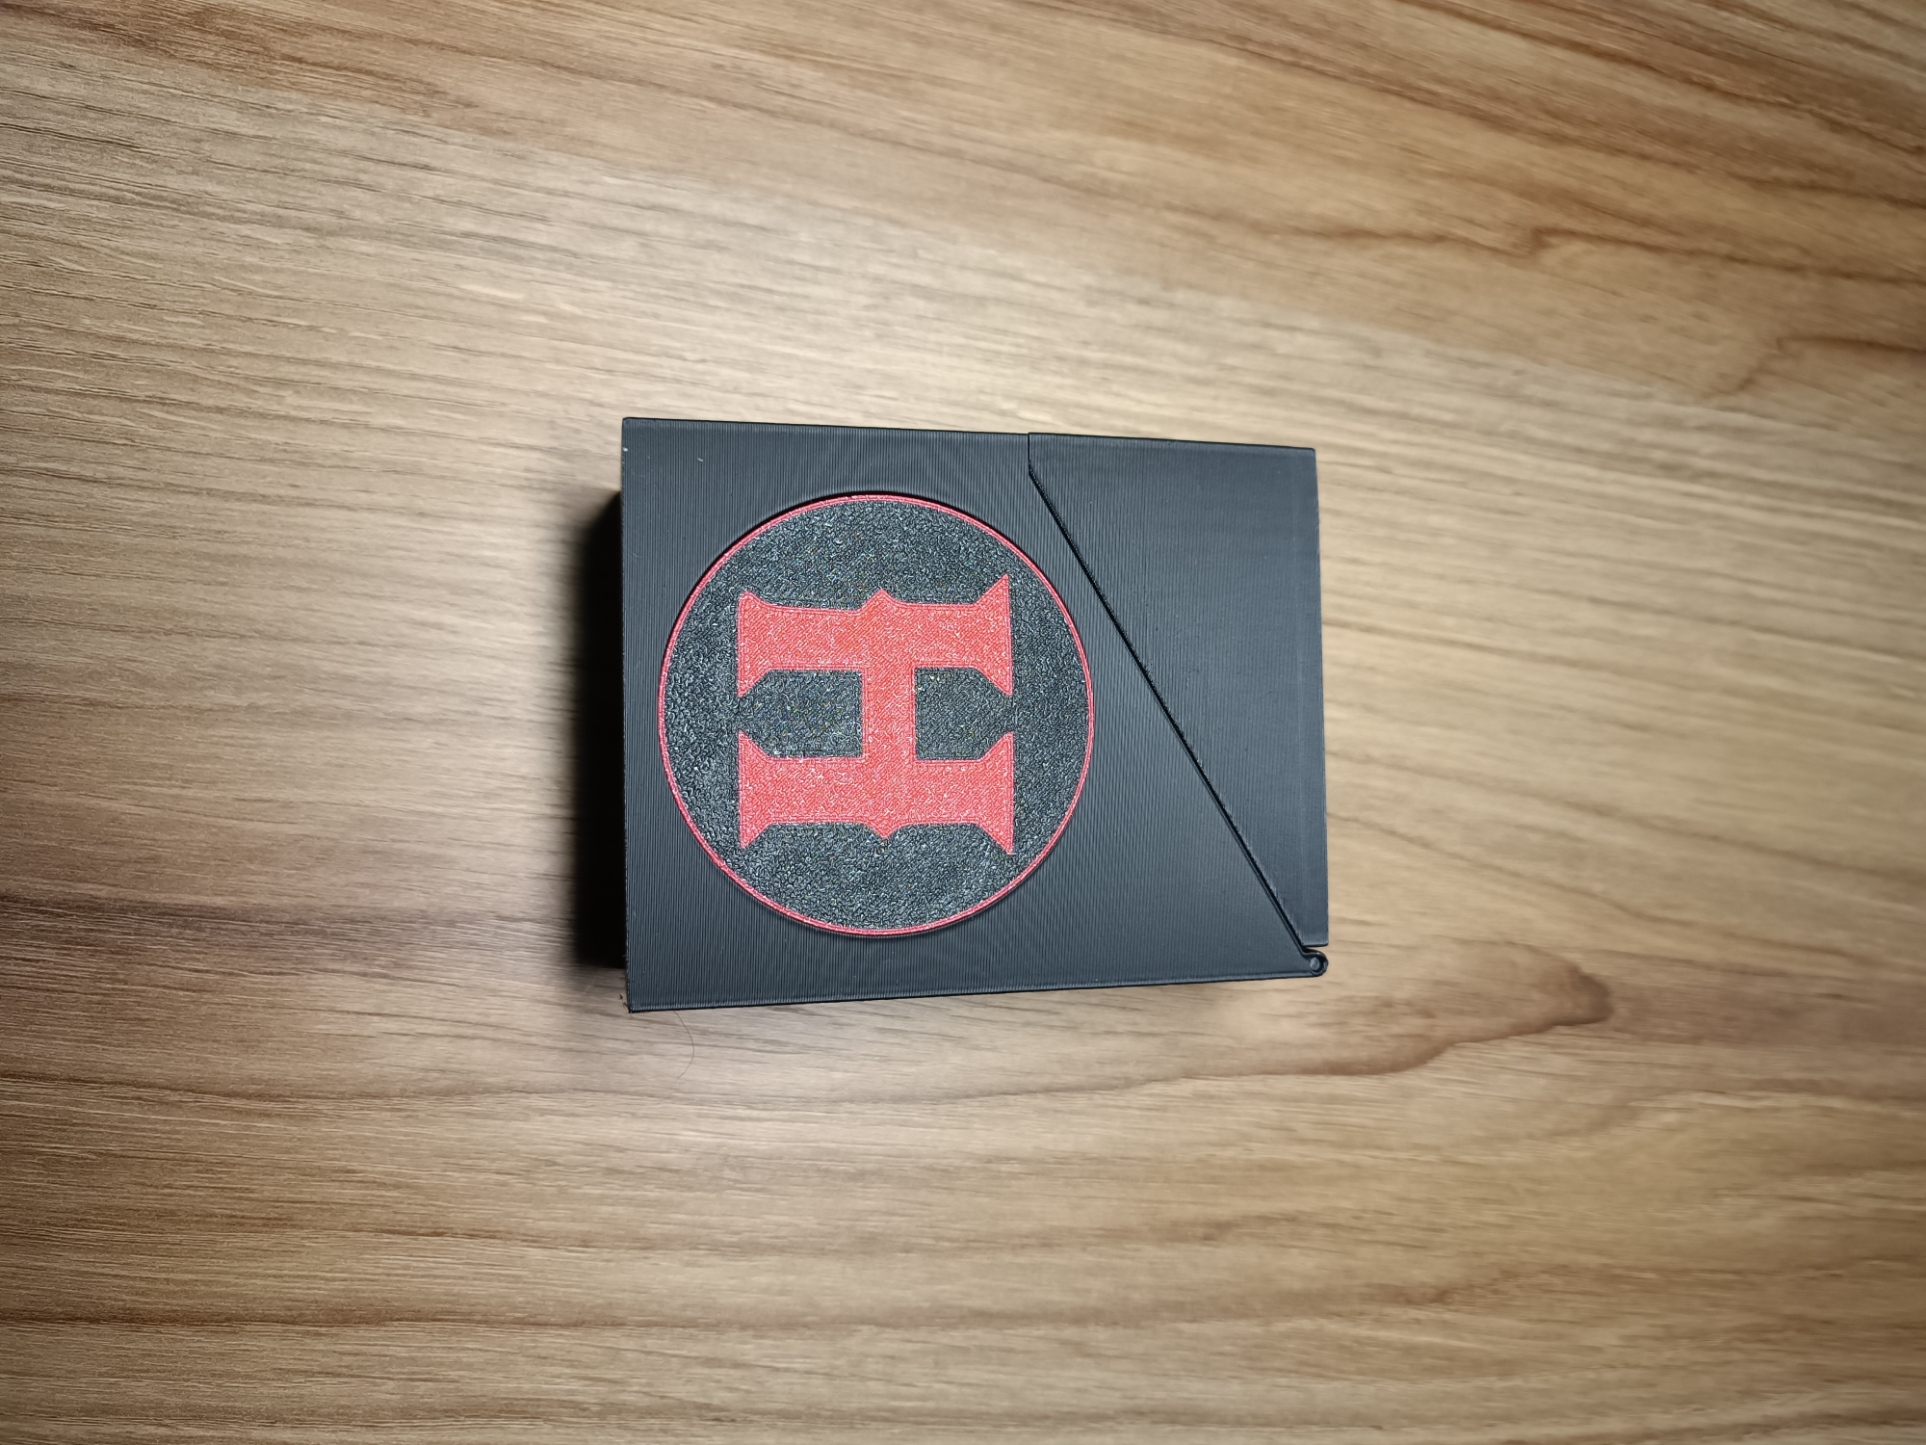
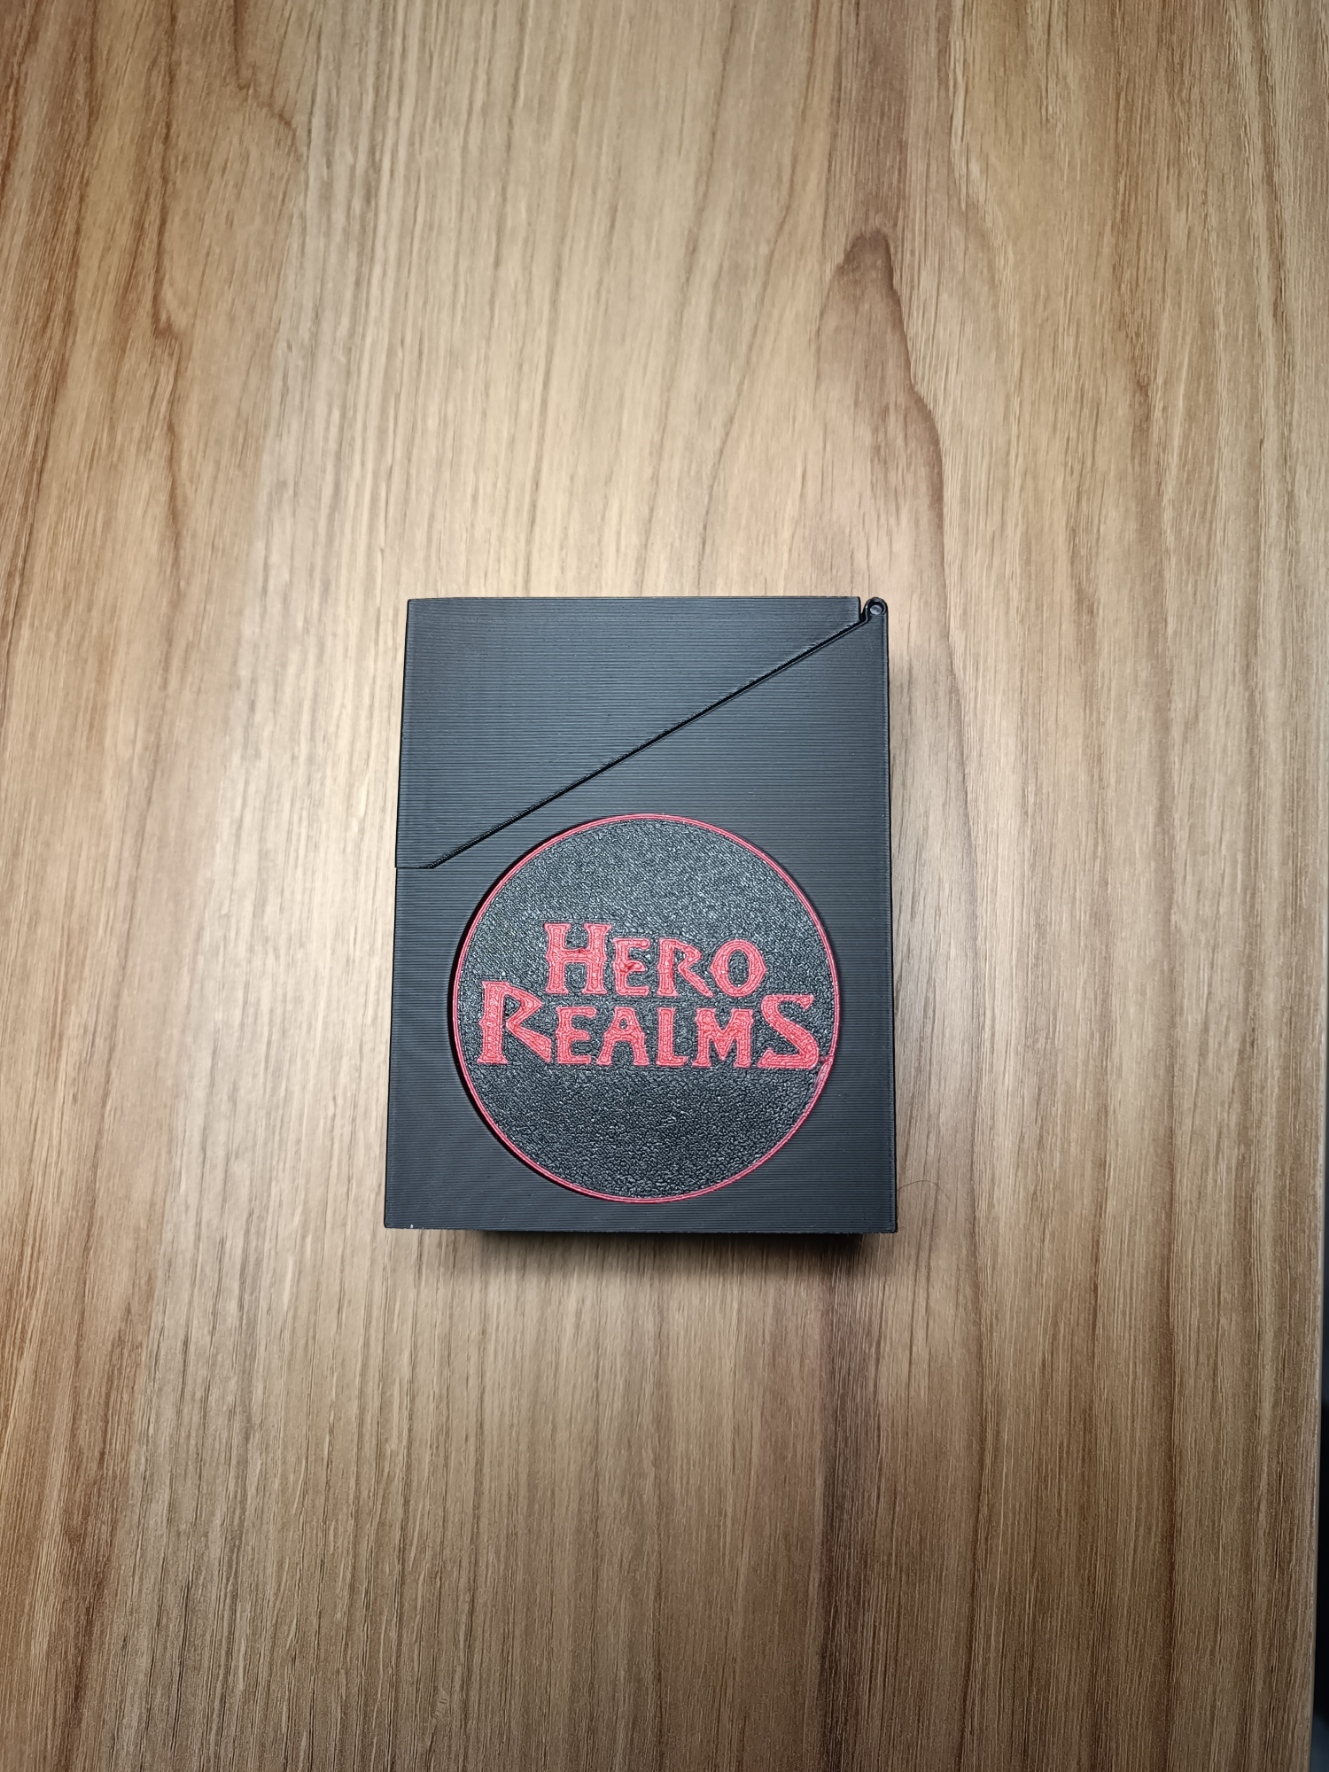
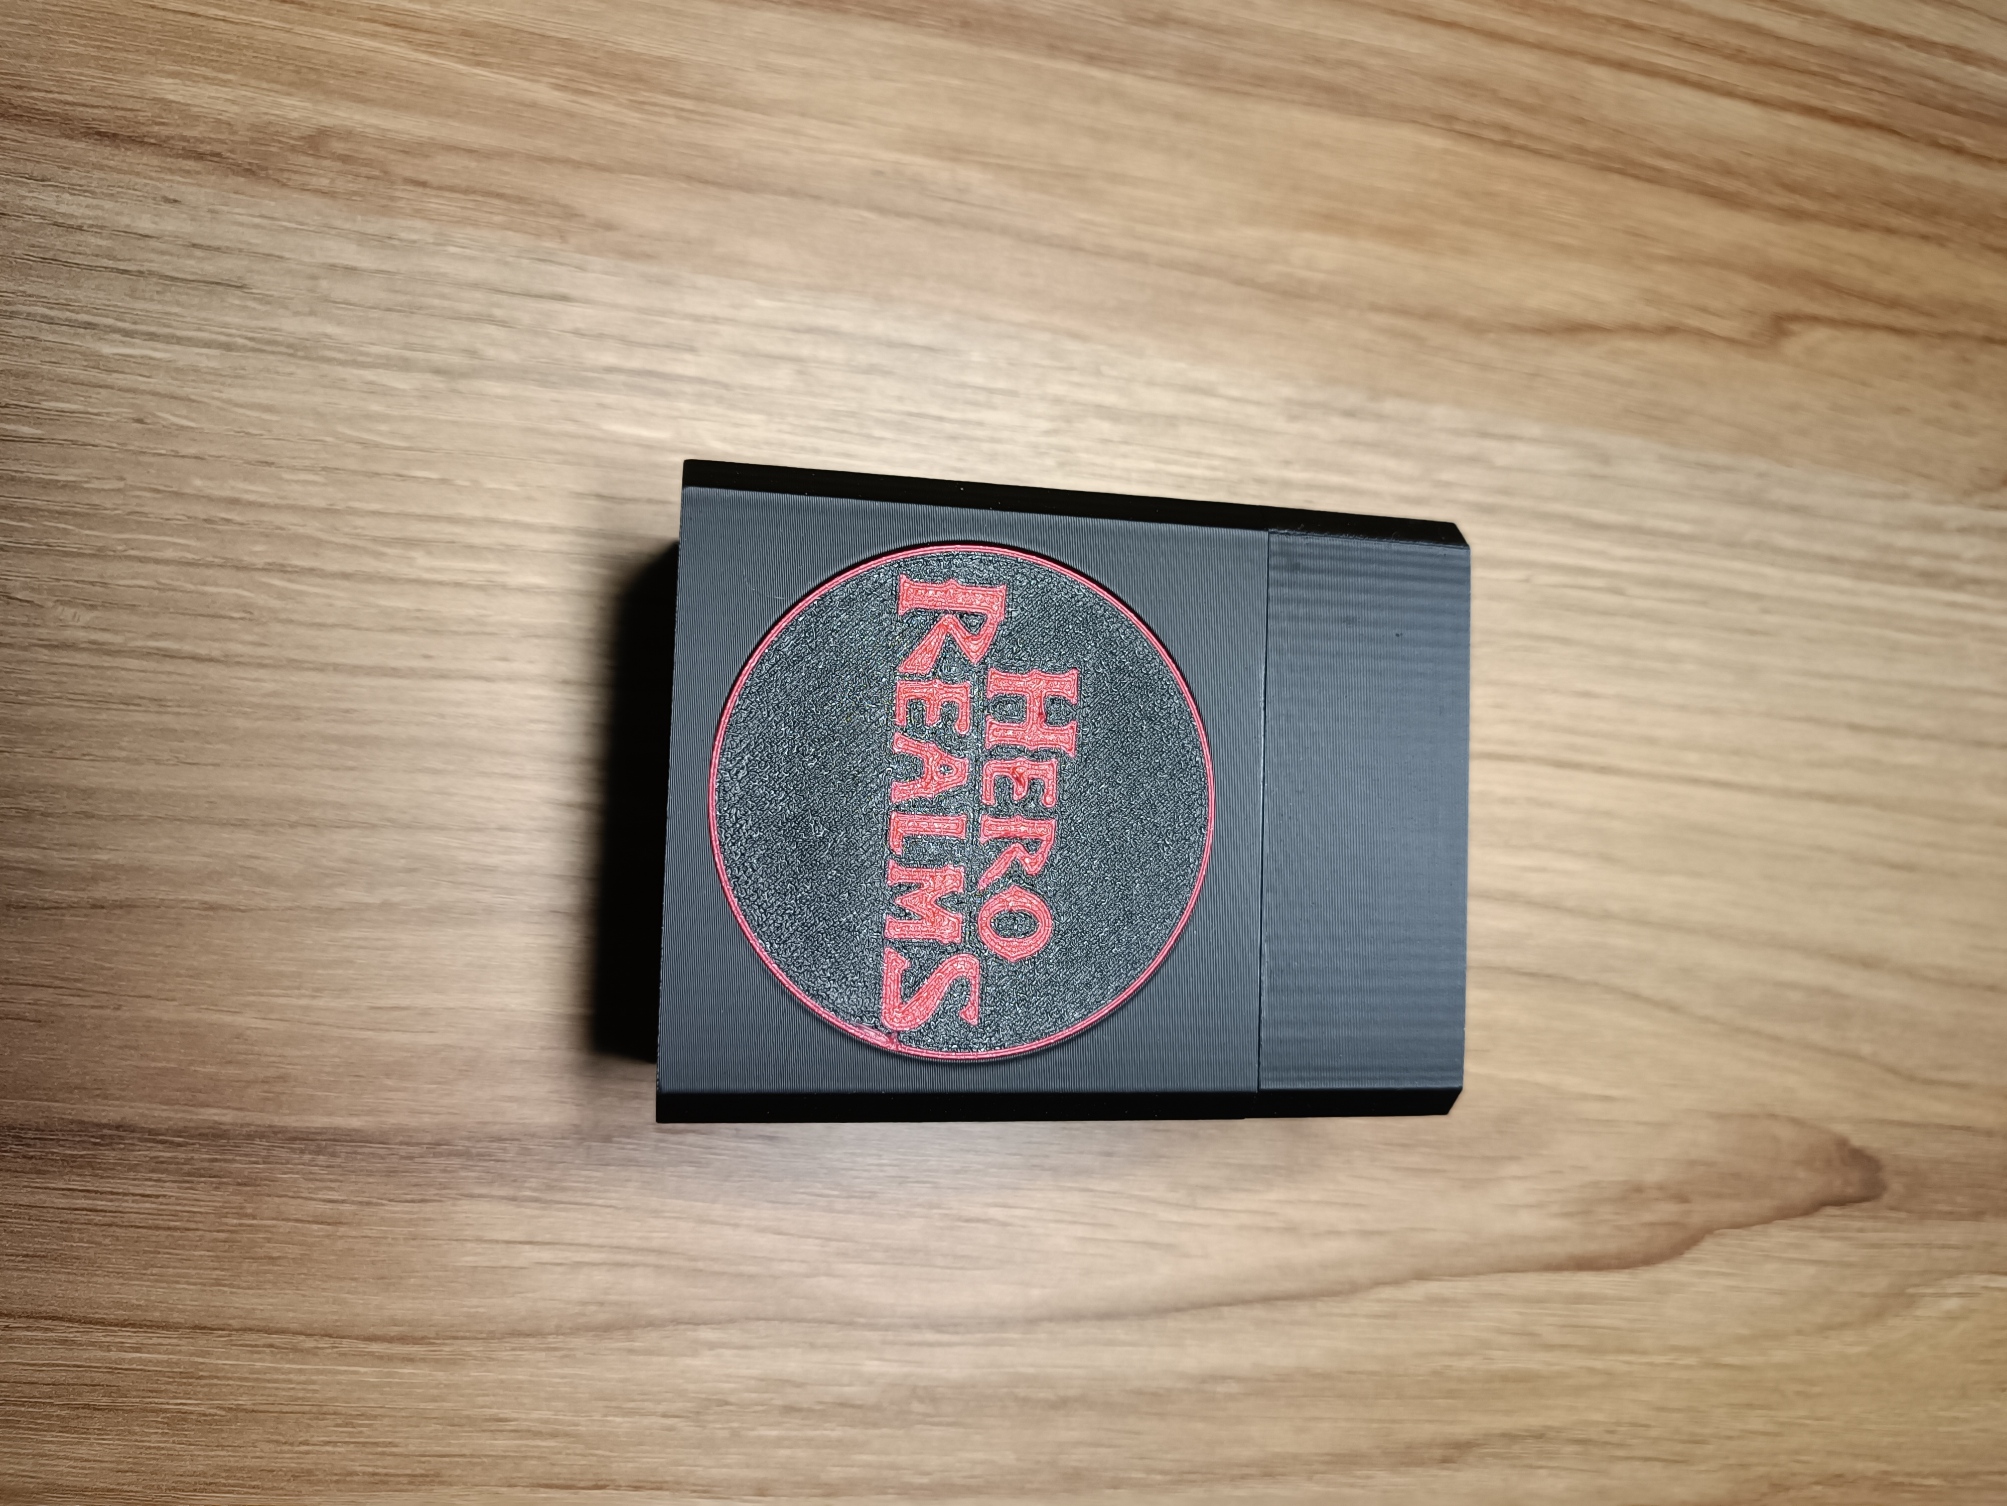
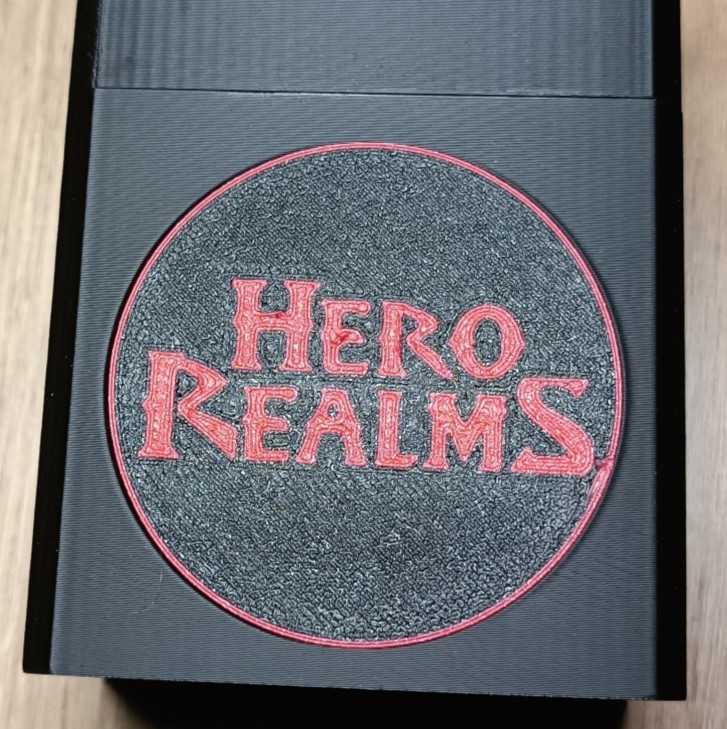
A collection of rugged, customizable deck boxes designed for Hero Realms, but perfect for any standard TCG. The design features a robust filament hinge and a sleek, invisible magnetic lock.
• Invisible Magnets: The print profile includes a programmed pause, allowing you to embed magnets inside the print. This results in a clean finish with no visible magnets or glue marks.
• Filament Hinge: Uses a piece of standard 1.75mm filament as the hinge pin—durable and simple.
• Fully Customizable (Negative Parts): The magnet slots, hinge path, and logo are added as "Negative Parts" in the slicer. You can resize, move, or remove them entirely in the slicer if needed.
• Logo Inserts: Includes optional printable badges (Hero Realms text and "H" logo).
Files are named in the following format: Type_Width_Depth_Height in mm. (Full list of sizes included in the files) Example: Front_Open_68w_32d_93h_box
• Filament: A small piece of 1.75mm filament for the hinge.
• Magnets: 2-4x Rectangular Magnets (default is 10x5x2mm, but you can resize/change the slots in the slicer).
• Glue: Superglue for the logo, hinge tips (optional), and magnets (if not friction-fit).
The provided print profile has a pause command inserted at the layer just before the magnet holes are bridged over.
• Wait for the Pause: The printer will stop automatically at the correct height.
• Insert Magnets: Place the magnets into the slots. Tip: A tight friction fit is best. If they are loose, use a tiny drop of superglue to prevent them from rattling or jumping up to attach to the toolhead/extruder during printing.
• CHECK POLARITY: Before resuming, double-check that the magnets in the lid and the base attract each other correctly. Once the printer covers them, you cannot fix the polarity!
• Resume Print: Resume the print job. The printer will cover the magnets with plastic, making them invisible.
If you prefer a stronger magnetic closure or want to avoid pausing the print, you can easily modify the design to glue the magnets in after printing:
• Adjust in Slicer: Select the negative parts for the magnet holes and move them by 0.4mm towards the surface so they are completely exposed.
• Remove the Pause: Delete the programmed pause command in the slicer.
• Post-Print Assembly: Once the print is finished, simply glue the magnets directly into the open slots. Note: This method provides a stronger lock since there is no plastic layer between the magnets. The only downside is that the magnets will be visible when the box is open.
• Hinge: Align the lid and box, insert the 1.75mm filament piece through the hinge, and trim flush.
• Logo: Print the optional badge and glue it into the circular recess (if the negative cutout was not removed in the slicer).
 Hero Realms 2016
Match filament
/pic8460266.jpg) Hero Realms: Watery Grave Campaign Deck 2025
Hero Realms: Watery Grave Campaign Deck 2025
Show 27 more
Hero Realms: Adventure Deck – Bard 2024/pic9066233.jpg) Hero Realms: Adventure Deck – Cleric 2024
Hero Realms: Adventure Deck – Druid 2024
Hero Realms: Adventure Deck – Fighter 2024
Hero Realms: Adventure Deck – Monk 2024
Hero Realms: Adventure Deck – Necromancer 2024
Hero Realms: Adventure Deck – Ranger 2024
Hero Realms: Adventure Deck – Thief 2024
Hero Realms: Adventure Deck – Wizard 2024
Hero Realms: Adventure Deck – Cleric 2024
Hero Realms: Adventure Deck – Druid 2024
Hero Realms: Adventure Deck – Fighter 2024
Hero Realms: Adventure Deck – Monk 2024
Hero Realms: Adventure Deck – Necromancer 2024
Hero Realms: Adventure Deck – Ranger 2024
Hero Realms: Adventure Deck – Thief 2024
Hero Realms: Adventure Deck – Wizard 2024
/pic7713998.jpg) Битвы героев: Странствия (Hero Realms: Journeys) 2023
Битвы героев: Странствия (Hero Realms: Journeys) 2023
/pic5496940.jpg) Hero Realms: Adventure Storage Box 2020
Hero Realms: Adventure Storage Box 2020
/pic5483279.jpg) Hero Realms: Ancestry 2020
Hero Realms: Ancestry 2020
/pic4958803.png) Hero Realms: Journeys – Conquest 2020
Hero Realms: Journeys – Conquest 2020
/pic4958805.png) Hero Realms: Journeys – Discovery 2020
Hero Realms: Journeys – Discovery 2020
/pic4958804.png) Hero Realms: Journeys – Hunters 2020
Hero Realms: Journeys – Hunters 2020
/pic4958802.png) Hero Realms: Journeys – Travelers 2020
Hero Realms: Journeys – Travelers 2020
/pic4878103.jpg) Hero Realms: The Lost Village Campaign Deck 2020
Hero Realms: The Lost Village Campaign Deck 2020
/pic5888899.jpg) Hero Realms: 5 Personaggi – Chierico, Guerriero, Ladro, Mago, Ranger 2019
Hero Realms: 5 Personaggi – Chierico, Guerriero, Ladro, Mago, Ranger 2019
/pic5422741.jpg) Hero Realms: Hydra Boss Challenge 2018
Hero Realms: Hydra Boss Challenge 2018
/pic3794734.jpg) Hero Realms: Boss Deck – Lich 2017
Hero Realms: Boss Deck – Lich 2017
/pic3794731.jpg) Hero Realms: Boss Deck – The Dragon 2017
Hero Realms: Boss Deck – The Dragon 2017
/pic3762125.jpg) Hero Realms: The Ruin of Thandar Campaign Deck 2017
Hero Realms: The Ruin of Thandar Campaign Deck 2017
/pic3319850.jpg) Hero Realms: Character Pack – Cleric 2016
Hero Realms: Character Pack – Cleric 2016
/pic3319865.jpg) Hero Realms: Character Pack – Fighter 2016
Hero Realms: Character Pack – Fighter 2016
/pic3319858.jpg) Hero Realms: Character Pack – Ranger 2016
Hero Realms: Character Pack – Ranger 2016
/pic3319863.jpg) Hero Realms: Character Pack – Thief 2016
Hero Realms: Character Pack – Thief 2016
/pic3319861.jpg) Hero Realms: Character Pack – Wizard 2016
Hero Realms: Character Pack – Wizard 2016