Log in to join the conversation.
Lord of Rings Fate of the Fellowship Dice Tower
Plate Details (6)
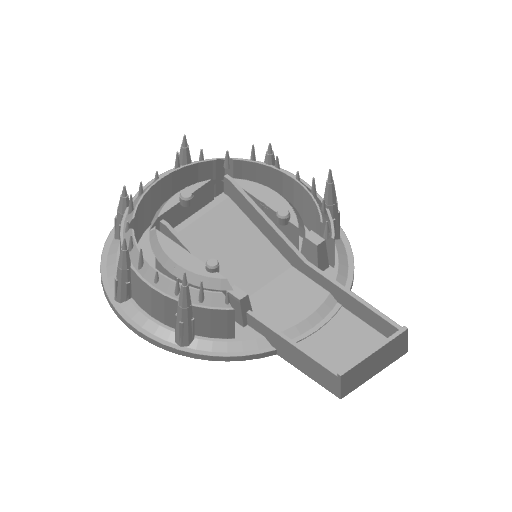
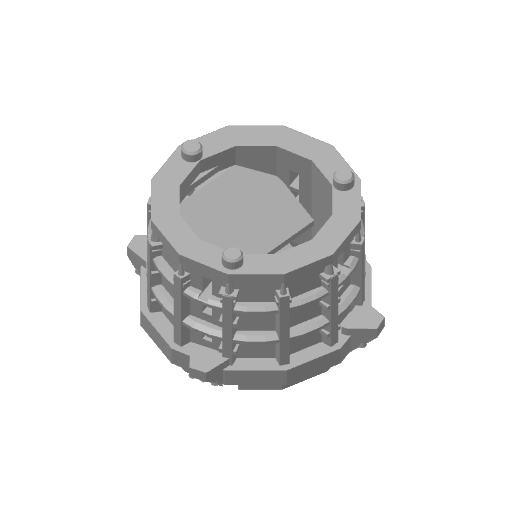
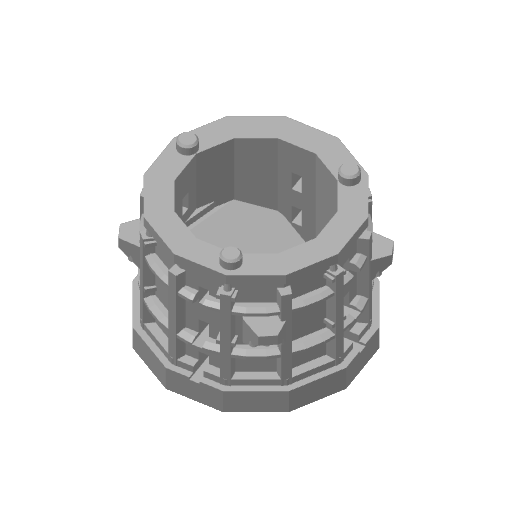
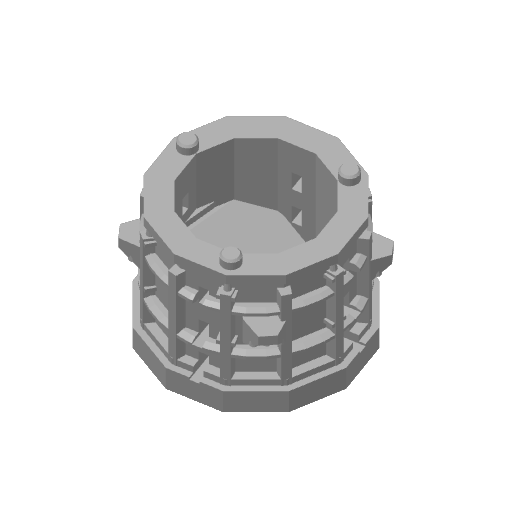
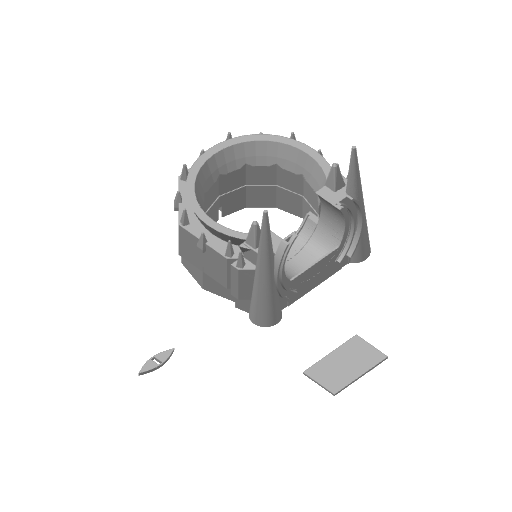
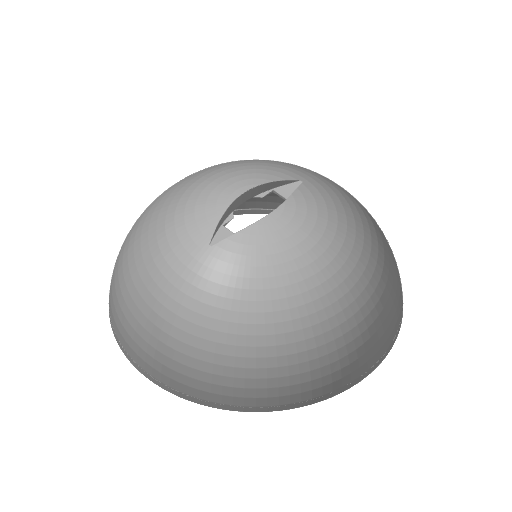
I created this dice tower of Barad-dûr, the Dark Tower, for The Lord of the Rings: Fate of the Fellowship . It breaks down into four parts so it can be stored inside the game box. At a later date, I plan to create an insert that accommodates the tower along with all of the game components.
Print everything in black PLA , except for the Eye. I recommend printing the Eye with translucent red filament .
Supports are required. Unfortunately, there really isn't a way around them with this design. There will be a fair amount of support material to remove after printing. I found that needle-nose pliers worked well for this.
Important: Be sure to remove the support plugs from the base of each tower segment and the crown. There should be three plugs in each base , and some of them can be a little tricky to find. These must be removed for the tower sections to fit together properly.
I used hot glue to secure the pupil inside the Eye and then used hot glue again to secure the completed Eye into its socket in the crown.
To light the Eye, you will need one red LED tea light . I designed the crown specifically to fit LANKER flickering red LED tea lights , which are available on Amazon.
The tea light fits sideways inside the crown , allowing the light to shine through the translucent red Eye.
If you want to lock the tea light securely into place, print the included small flat locking piece . Once the tea light is installed, slide this piece into the slot behind it to hold it in position.
Once everything is cleaned up, simply assemble the four tower sections, install the tea light and Eye, and you're ready to roll some dice through Barad-dûr. I recommend putting one die in after another and not over loading the tower dumping all 7 in at once.
Happy printing!
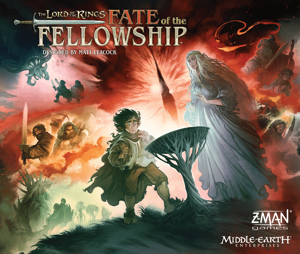 The Lord of the Rings: Fate of the Fellowship 2025
Match filament
I created this dice tower of Barad-dûr, the Dark Tower, for The Lord of the Rings: Fate of the Fellowship. It breaks down into four parts so it can be stored inside the game box. At a later date, I plan to create an insert that accommodates the tower along with all of the game components. Print everything in black PLA, except for the Eye. I recommend printing the Eye with translucent red filament. Supports are required. Unfortunately, there really isn't a way around them with this design. There will be a fair amount of support material to remove after printing. I found that needle-nose pliers worked well for this. Important: Be sure to remove the support plugs from the base of each tower segment and the crown. There should be three plugs in each base, and some of them can be a little tricky to find. These must be removed for the tower sections to fit together properly. The Eye of Sauron I used hot glue to secure the pupil inside the Eye and then used hot glue again to secure the completed Eye into its socket in the crown. To light the Eye, you will need one red LED tea light. I designed the crown specifically to fit LANKER flickering red LED tea lights, which are available on Amazon. The tea light fits sideways inside the crown, allowing the light to shine through the translucent red Eye. If you want to lock the tea light securely into place, print the included small flat locking piece. Once the tea light is installed, slide this piece into the slot behind it to hold it in position. Once everything is cleaned up, simply assemble the four tower sections, install the tea light and Eye, and you're ready to roll some dice through Barad-dûr. Happy printing!
More by Silverhawkminiatures