Log in to join the conversation.
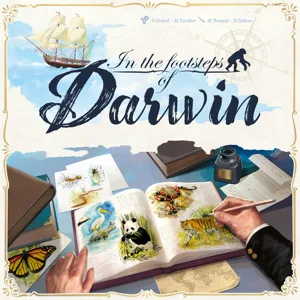
In the Footsteps of Darwin EXPANSION Compatible Organizers
Please support tjdesign by Liking/Boosting their Print on Printables.
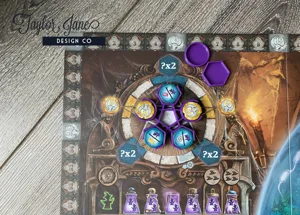
Here are the promised upgrades for the new Correspondence Expansion for In the Footsteps of Darwin. Needs 2-4 magnets size 6x2mm.
A shortened holder for the new Advanced Publications
A separate tray for Character tiles.
A book box or a letter box for the new letter tokens. (I couldn't decide which one I liked best, so I made both! The book box is less thematic, but it looks so fun. The envelope fits better but is a bit boring. Choose which you like best!)
ORIGINAL INSERT AVAILABLE HERE
PRINTING INSTRUCTIONS:
Print one each of Character Tiles, Character Lid, Publications Lid, Advanced Publications.
For envelope: print one body and one lid as oriented.
For Book: Print one Base and one Cover (multicolor and single color options). Print one Page Insert in contrasting color (may need a brim if poor adhesion). NOTE: the final version has a monkey inside the cover as well.
Multicolor printing: In your slicer right click the object and select Split>to parts . Select the colors for printing. PRO TIP: first make the entire object the color of the design and then you only have to change the color of the main piece instead of every small piece.
ASSEMBLY:
Use a couple drops of superglue to attach the Page Insert to the Book Base.
Magnets : Print my Magic Magnet Tool before assembly to make this step easier. Add one drop of superglue or similar glue, then insert 6mm x 2mm magnets into each cavity. Repeat for opposite side making sure to reverse the polarity. Let dry completely before adding game components or testing magnets.
Final Assembly: After printing assemble all hinged boxes. Take a length of scrap filament longer than the hinge and slide it carefully in the appropriate space. If it needs a little push take some pliers and grab the filament 3-4mm away from the box and push toward the box. Only do a few mm at a time or the filament will snap! Slide until you have 2ish mm sticking out the side of the box, and snip the other side so 2ish mm is on that side as well.
Next take a flame or heat source and carefully heat the end of the filament for 1-2 seconds–careful not to deform the box. Quickly flatten the hot excess filament against a hard surface (metal, granite, etc–NOT plastic). I usually put one finger on the opposite (non heated) side as I push down to keep the filament from sliding the other way. Repeat for the other side. The hinge pin should now be locked in place. Be careful with the player box, if the hinge pin gets stuck to both sides then it makes the hinge twist which could cause it to break. If that happens try to gently loosen the pin from one side so it can spin freely.
________________________________________________________________________________________
Check out all my free designs here on Printables! If you want to support my work and all of the free designs I bring to the community consider buying something from my Etsy shop or my Printables Store .
/pic8632603.png)