Table Talk
Nothing here yet. Love this design? Say so - the designer might see it.

Eternal Decks MAGICAL board game organiser insert

Inserts Free
Plan Your Print 2 makers
Fits sleeved cards
Fits premium sleeves Thick 100+ micron sleeves, not just standard ones
Optional multicolor profile The designer also offers a multicolor way to print this (an MMU/AMS profile or per-color parts)
About 927 g of filament From the designer's print profile
Print Profile (7) (WITH PAUSES) Eternal Decks default setup V3 28h 39m 927 g PLA
(WITH PAUSES) Eternal Decks default setup V3
5 plates 28h 39m 927 g PLA
A1, P2S, X1E, P1S, H2C, H2D Pro, X1 Carbon, H2S, P1P, X1, X2D, H2D, A2L
This profile is best WITHOUT AMS. Pauses are built in to the profile at the appropriate times for colour changes. ~~V3 UPDATE: slots for gems and keys widened even further to address wooden component variability~~ YOU DON'T NEED PLATE NUMBER 5. Plate 5 is just the older 15° version of the card tray. Stick with the 14° one from Plate 1 unless you need it to open further due to printer tolerances. DO NOT AUTO ARRANGE PLATES 1 or 5.
Plate Details (5)
0.4 mm nozzle, all plates
Plate 1 · Default hinged box 14 degree
11h 59m 406 g PLA · 406 g
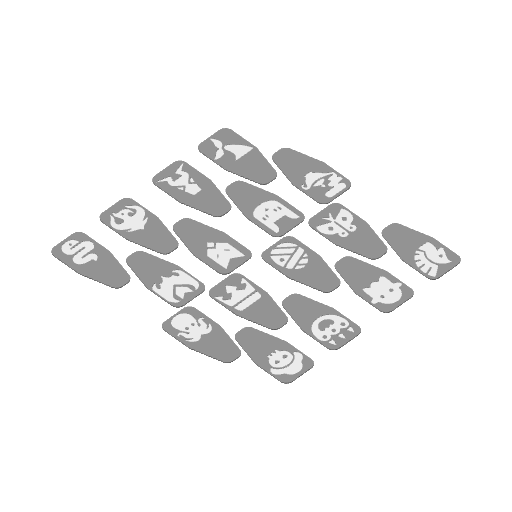
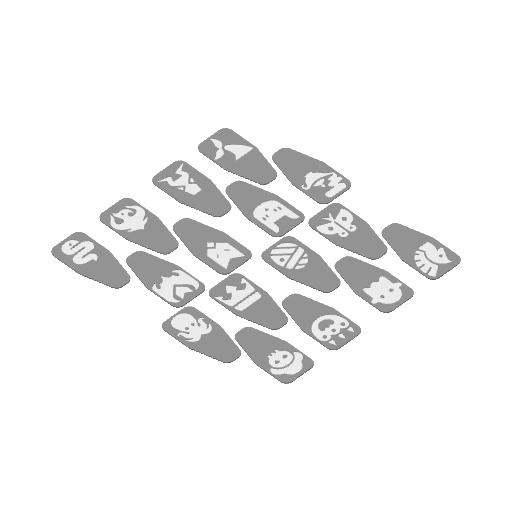
Plate 2 · logo tabs
35m 10 g PLA · 2 g PLA · 8 g
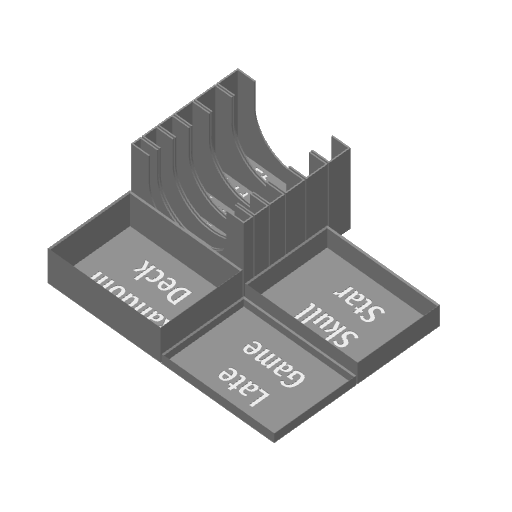
Plate 3 · card boxes
3h 53m 111 g PLA · 4 g PLA · 107 g
Plate 4 · optional lids + spacer
1h 6m 42 g PLA · 42 g
Plate 5 · Alternative hinged box 15 degree
11h 7m 358 g PLA · 358 g
(NO PAUSES) Eternal decks V3 default setup
5 plates 28h 40m 927 g PLA
A1, H2D Pro, X1, X1 Carbon, P1P, P1S, X1E, H2D, H2S, P2S, X2D, H2C, A2L
This profile is best for AMS. DO NOT move any parts on plate 1. ~~V3 UPDATE: slots for gems and keys widened even further to address wooden component variability~~ You don't need plate 5 unless you want the hinged box to open further (15 degrees per deck instead of the default 14 degrees)
Plate Details (5)
0.4 mm nozzle, all plates
Plate 1 · Default hinged box 14 degree
11h 59m 406 g PLA · 406 g
Plate 2 · logo tabs
35m 10 g PLA · 2 g PLA · 8 g
Plate 3 · card boxes
3h 53m 111 g PLA · 4 g PLA · 107 g
Plate 4 · optional lids + spacer
1h 6m 42 g PLA · 42 g
Plate 5 · Alternative hinged box 15 degree
11h 8m 358 g PLA · 358 g
V3 Updated (token tray ONLY) with wider gem and star slots
1 plate 1h 32m 50 g PLA
A1, H2D, H2C, H2S, A1 mini, X1 Carbon, X2D, X1E, P2S, P1P, X1, P1S, H2D Pro, A2L
~~V3 UPDATE: Even wider slots for gems and star tokens to address wooden component variability~~
Plate Details (1)
0.4 mm nozzle, all plates
Plate 1
1h 32m 50 g PLA · 50 g
(WITH PAUSES) Dragon shield edition of the insert v3
4 plates 18h 10m 579 g PLA
A1, X2D, P1P, P1S, X1 Carbon, H2D, X1, H2S, X1E, P2S, H2D Pro, H2C, A2L
WITH PAUSES is best for WITHOUT AMS as it pauses the printer at each colour change layer. ~~V3 UPDATE: slots for gems and keys widened even further to address wooden component variability~~ This is the variant of the insert to accommodate the unusually large, thick, and fancy dragon shield sleeves. I'm not aware of any other sleeves that require these adjustments. Be aware that this version has some small compromises compared to the standard version that works for gamegenic matte sleeves. Dragon sleeve compromises: 2mm of additional lid lift slightly tighter spacing the card tray lid is cut down vertically to increase side clearance but still may not fit depending on your precise box size. If you choose not to use lid 2 then vertical storage may cause cards to come loose from the top of this pile of deck boxes. I recommend not printing either lid and storing horizontally to buy yourself extra space. Plate 1: Print me. DO NOT AUTO ARRANGE! Plate 2: Print me. Pause and filament colour change at start of layer 2 and start of layer 3 if you want to manually add contrast colour without AMS. Plate 3: Print me. Pause and filament colour change at start of layer 4 if you want to manually add contrast colour without AMS. Plate 4: Not recommended. Only needed for vertical storage and may not fit with dragon sleeves. Changes made to the dimensions for this version: Hinged tray inner width increased from 67mm to 69mm. All upright card trays increased by 2mm in both length and width. All flat card trays increased by 2mm in length and just over 1mm in width. Spacer downsized by 4mm to accommodate larger trays. Lid lift now 2mm greater. Hope this helps :) Feedback welcome.
Plate Details (4)
0.4 mm nozzle, all plates
Plate 1 · Default hinged box 14 degree
12h 31m 416 g PLA · 416 g
Plate 2 · logo tabs
35m 10 g PLA · 2 g PLA · 8 g
Plate 3 · card boxes
4h 2m 116 g PLA · 4 g PLA · 112 g
Plate 4 · optional lids + spacer
1h 4m 37 g PLA · 37 g
a 13 degree variation for testing
1 plate 10h 30m 356 g PLA
A1, P1P, X2D, X1E, X1, H2D Pro, P1S, H2C, X1 Carbon, A1 mini, H2S, H2D, P2S, A2L
This tray is for a user that reported the tray opened too far when printed on their printer. Hopefully this addresses the issue. If it's a common problem then I'll swap this into the main profiles if it is better.
Plate Details (1)
0.4 mm nozzle, all plates
Plate 1 · 13 degree card tray
10h 30m 356 g PLA · 356 g
(NO PAUSES) Dragon shield edition v3
4 plates 18h 10m 579 g PLA
A1, P1S, P1P, X1, X2D, X1 Carbon, H2D, X1E, H2D Pro, H2C, H2S, P2S, A2L
This version is best for dragon shield sleeves WITH AMS - it has no pauses. ~~V3 UPDATE: slots for gems and keys widened even further to address wooden component variability~~ This is the variant of the insert to accommodate the unusually large, thick, and fancy dragon shield sleeves. I'm not aware of any other sleeves that require these adjustments. Be aware that this version has some small compromises compared to the standard version that works for gamegenic matte sleeves. Dragon sleeve compromises: 2mm of additional lid lift slightly tighter spacing the card tray lid is cut down vertically to increase side clearance but still may not fit depending on your precise box size. If you choose not to use lid 2 then vertical storage may cause cards to come loose from the top of this pile of deck boxes. I recommend not printing either lid and storing horizontally to buy yourself extra space. Plate 1: Print me. DO NOT AUTO ARRANGE! Plate 2: Print me. Pause and filament colour change at start of layer 2 and start of layer 3 if you want to manually add contrast colour without AMS. Plate 3: Print me. Pause and filament colour change at start of layer 4 if you want to manually add contrast colour without AMS. Plate 4: Not recommended. Only needed for vertical storage and may not fit with dragon sleeves. Changes made to the dimensions for this version: Hinged tray inner width increased from 67mm to 69mm. All upright card trays increased by 2mm in both length and width. All flat card trays increased by 2mm in length and just over 1mm in width. Spacer downsized by 4mm to accommodate larger trays. Lid lift now 2mm greater. Hope this helps :) Feedback welcome.
Plate Details (4)
0.4 mm nozzle, all plates
Plate 1 · Default hinged box 14 degree
12h 30m 416 g PLA · 416 g
Plate 2 · logo tabs
35m 10 g PLA · 2 g PLA · 8 g
Plate 3 · card boxes
4h 2m 116 g PLA · 4 g PLA · 112 g
Plate 4 · optional lids + spacer
1h 4m 37 g PLA · 37 g
12 degree TEST: an even smaller angle for those who need it
1 plate 10h 27m 360 g PLA
H2C, H2S, H2D Pro, X2D, H2D, A1 mini, X1E, P1P, X1, P2S, X1 Carbon, A1, P1S, A2L
This is for those who want their card fan to open EVEN LESS than the other test profile.
Plate Details (1)
0.4 mm nozzle, all plates
Plate 1
10h 27m 360 g PLA · 360 g
As sliced by the designer. Your printer, filament, and settings may change these numbers.
Designer's Description

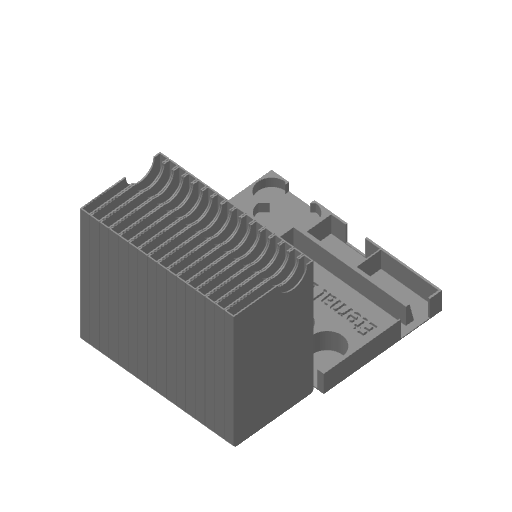
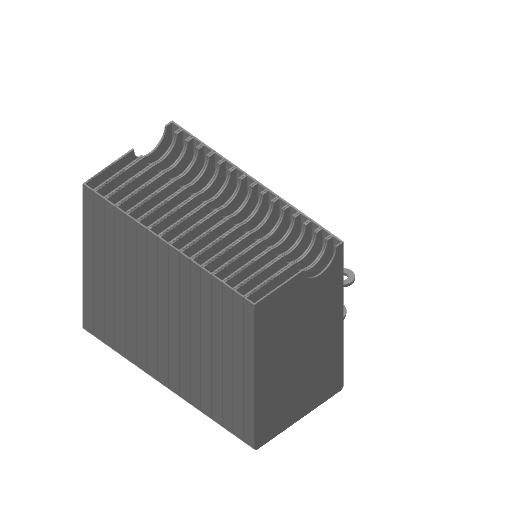
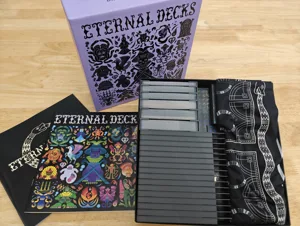
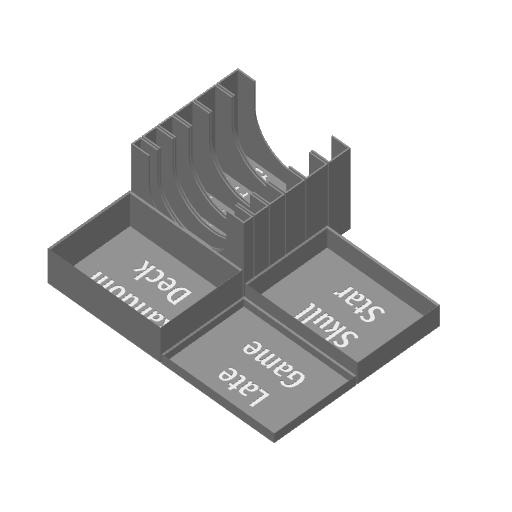
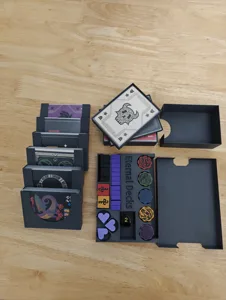
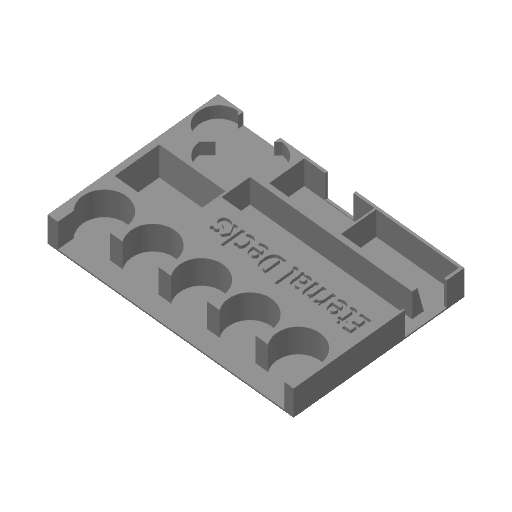
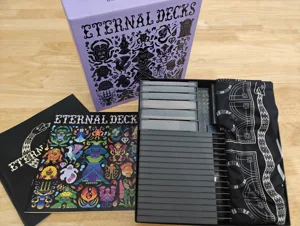
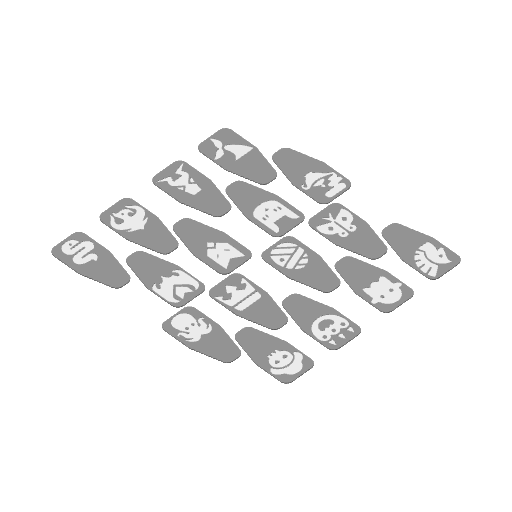
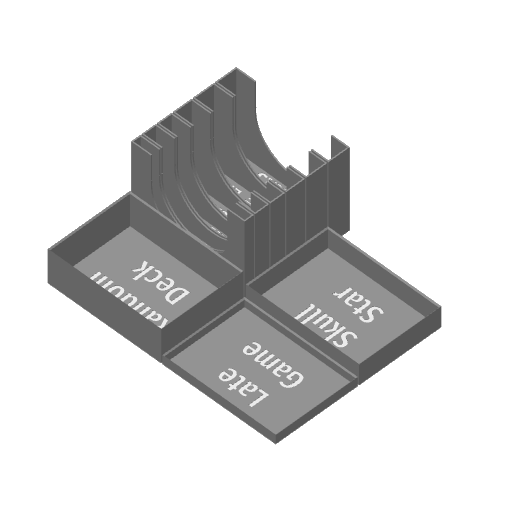
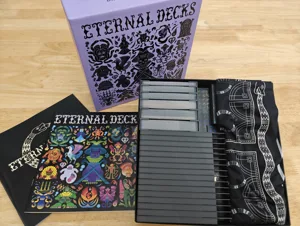
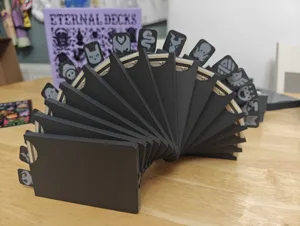
A beautiful and unique insert for the board game Eternal Decks featuring the most magical card storage you've ever printed.

Supports premium sleeves (gamegenic matte tested).

NOTE: AMS users print the “NO PAUSES” profile. Non-AMS use the “WITH PAUSES” profile and it will pause the printer every time you need to change filament. There's only a few. Sorry to those AMS users that got in early and had a few pauses to hold them up briefly!

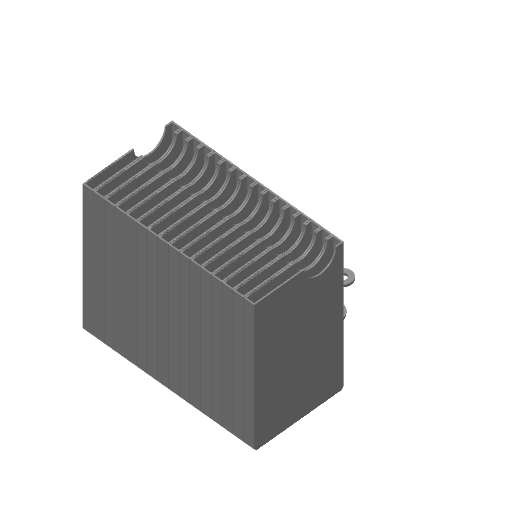
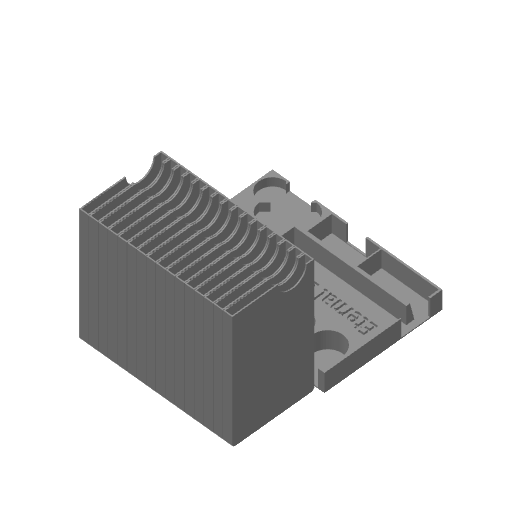
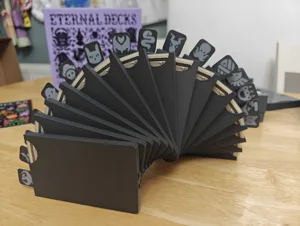
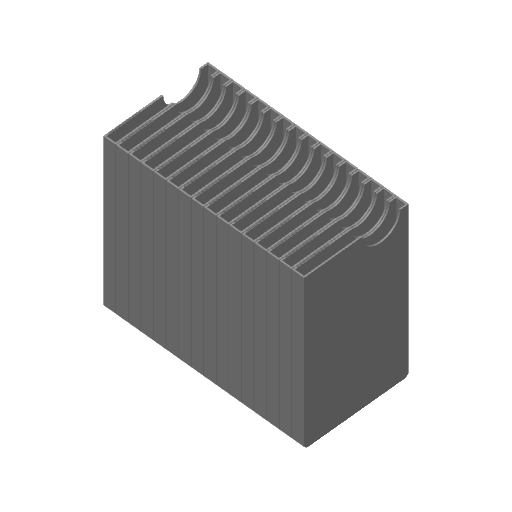
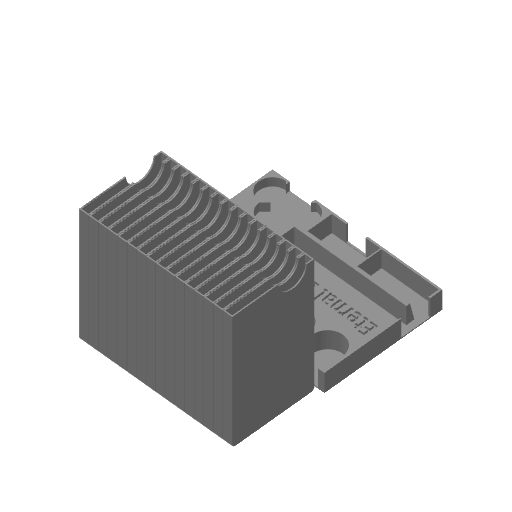
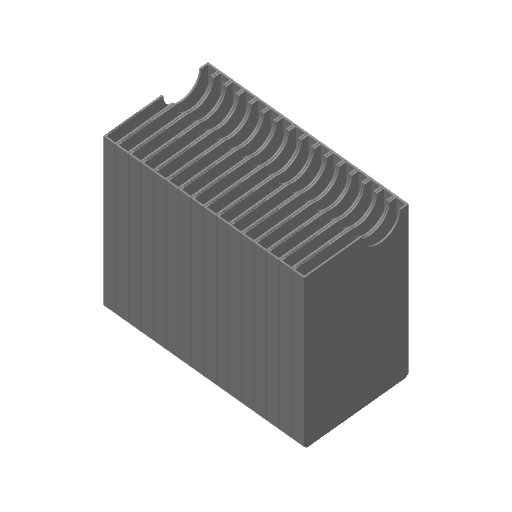
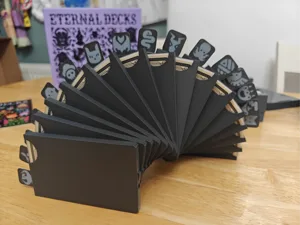
Just watch the gif of the card holders for the eternals' decks and then download the 3mf. It's as satisfying as it looks. You'll be please to hear that the hinged tray is print in place and requires zero assembly. DO NOT AUTO ARRANGE THE PLATE WITH THE HINGED TRAY ! When the full assembly is printed you can “unstick” each hinge with a small twist - as long as you're twisting the right way it won't take too much force.

I printed the hinge with 15° movement on each tray and it opens a little far. I've edited this down to 14° for you (though I've included the original 15° as an extra plate if you want it - they should all be labelled clearly).

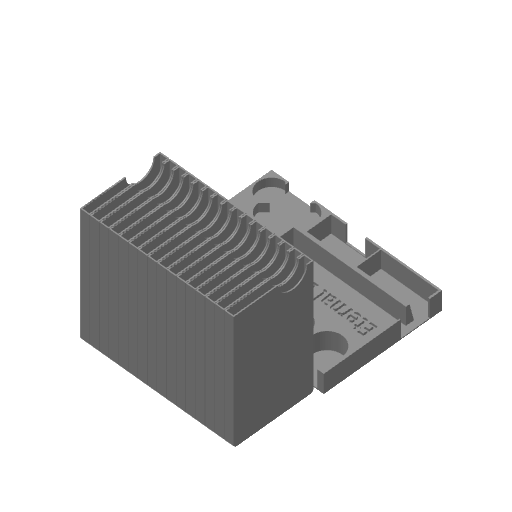
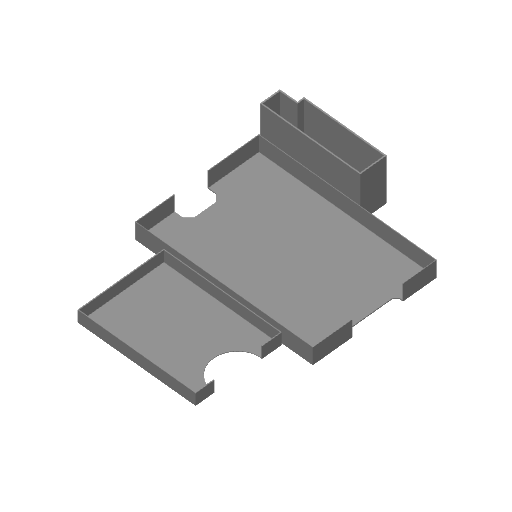
The other gif should show you everything you need to fit this into the box.

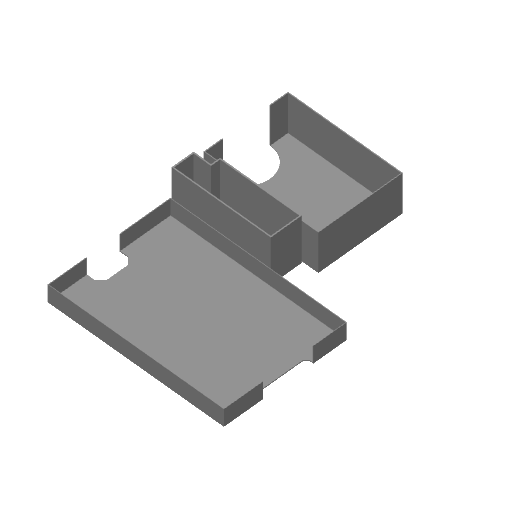
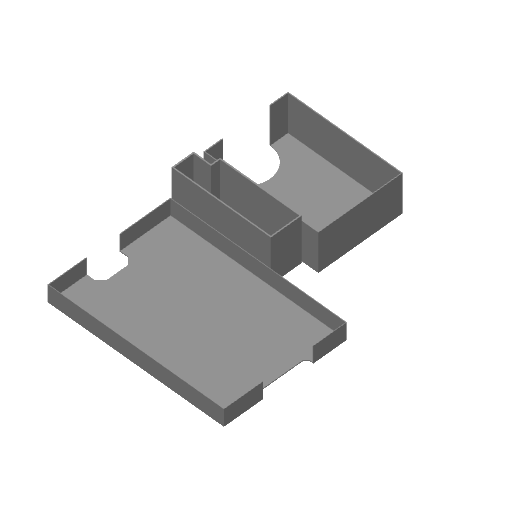
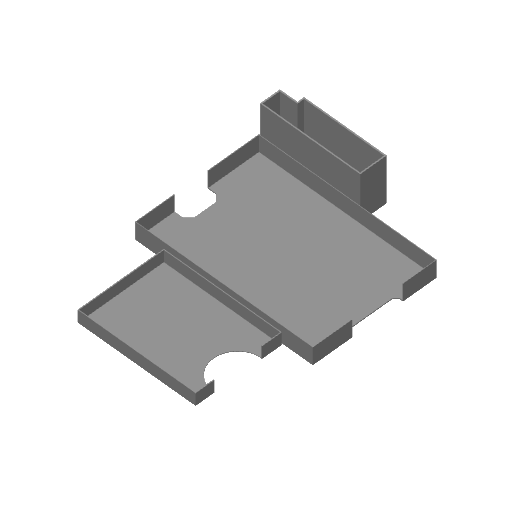
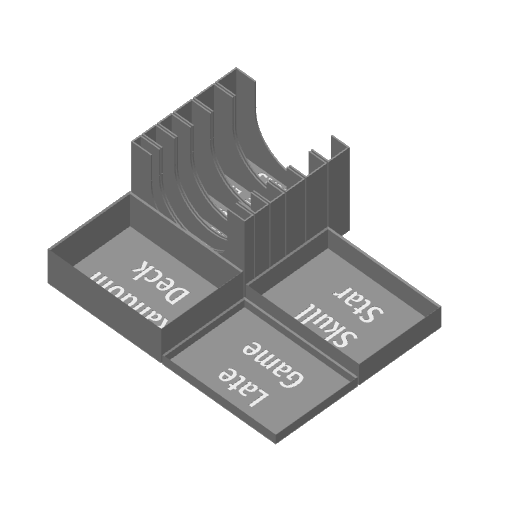
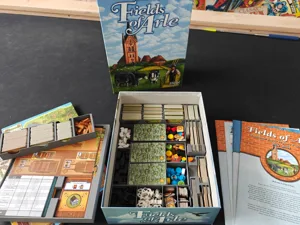
There will be a few mm of lid lift to fit the card trays in (see last image).

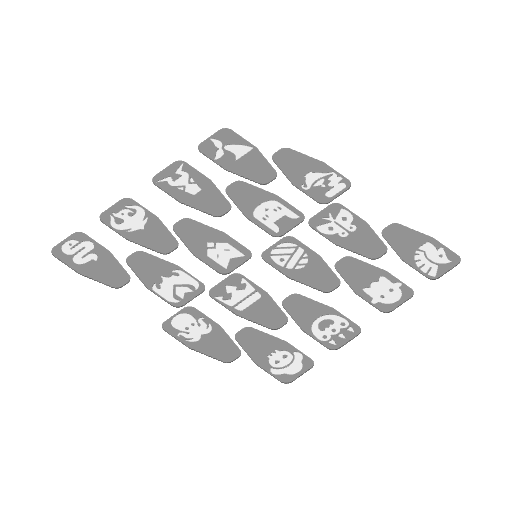
All colour changes are for whole layers so you can do this in 2 colour without an AMS by just pausing and swapping the filament. That's how I did it!

N.B. when pausing for swaps in the first few layers sometimes the printer will hang on the unload screen - you can start the load procedure through the bambu handy app (feed the filament in first) and then resume the print through the app too.

~~~V3 UPDATE: slots for gems and keys widened even further to address wooden component variability~~~

~~~V2 UPDATE: Slot for diamond/gem tokens widened by a little over 1mm to address wooden component variability~~~

~~I've updated the main print profile and posted an alternate profile with just the replacement tray. ~~

~~This should be an improvement for those with larger tokens without changing the functionality for those with slimmer tokens. ~~

~~~Dragons Sleeves Update~~~

~~Print profile 3 features a modified insert for the gargantuan dragon sleeves.~~

~~This giant version won't be needed for most people, but if you do need it now it is there :)~~

Please comment or message me if you need anything tweaking. I'm happy to help. Also don't forget to give some stars to the print profile that you used!

Boost Me If you have any spare boosts and want to reward my hours learning how to make print in place things then I'd be grateful :)

Note that there are also experimental 13 degree and 12 degree versions of the fanning card holder for those whose print tolerances are more different to mine. Let me know how they go and I can review which version should be the default if needed (though many have printed the current default with no concerns - so don't worry!).
board game storage
Eternal Decks box art Eternal Decks 2025 Layer by Layer
Cover Colors

Main colors from the cover art. Find matching filament, or tap swatches to narrow.

Matching filament