Log in to join the conversation.
NokBox - 8x8 TTRPG Dice Storage and Rolling Tray
Print Profile (2) 0.16mm layer, 4 walls, 10% infill, Fuzzy skin 7h 11m 266 g PLA
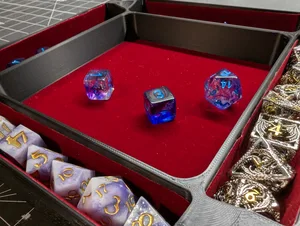
Plate Details (1)
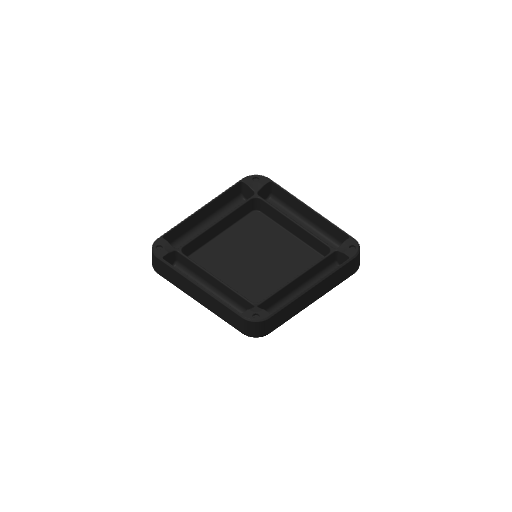
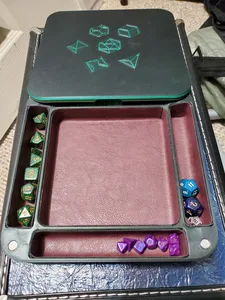
Plate Details (3)
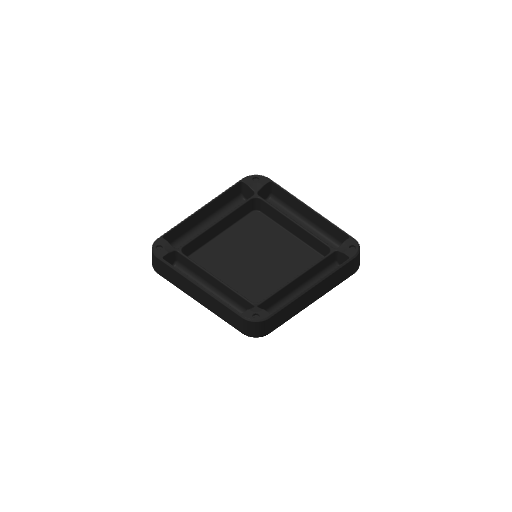
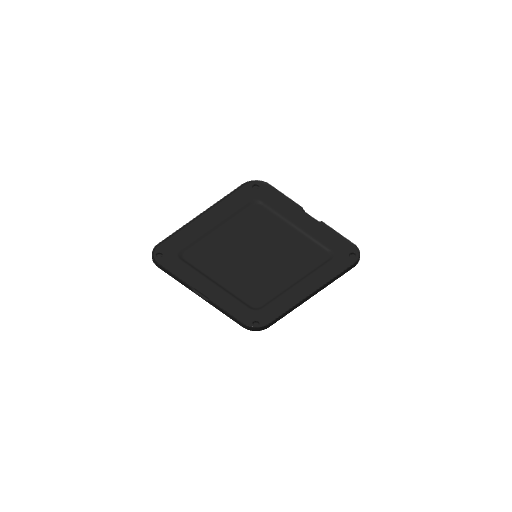
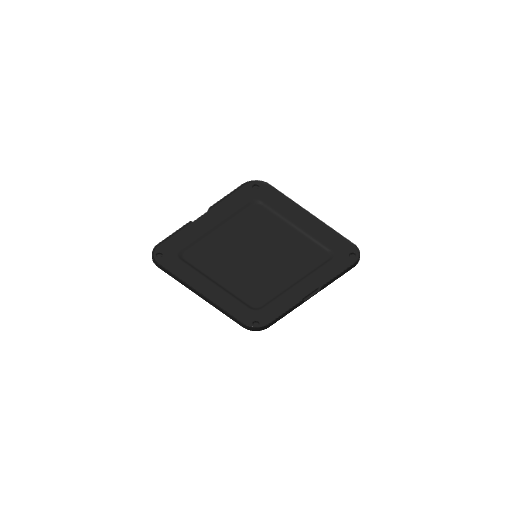
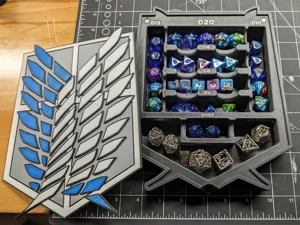
I wanted to gift my players custom dice boxes with different lid graphics for each person. First I needed a box design with a lid that can serve as that canvas. After many iterations I am finally happy enough with it to share. If you've got suggestions for changes let me know!
There is a blank lid file included for those who do not wish to use one of the custom lids uploaded separately. The holes on both are sized for 8mmx3mm magnets . Make sure you glue them all in the same way so your lid will snap down easily no matter the orientation.
The boxes in the photos were printed at 0.16mm layers, 4 (0.4mm)walls, 7 top and 5 bottom layers. Inner/Outer/Inner wall order. Only 1 wall on first layer for lids with graphics. ( Check out the collection of lids here! )
I personally like the look with fuzzy skin on the box walls, especially when printing the lid on a textured build plate. I used Point distance of 0.4mm and Fuzzy thickness of 0.2mm. Due to the angled lip where the base and lid meet, you need to use the additional “Fuzzy Modifier” file to remove the fuzzy setting on that inner lip. Simply rightclick>center the lid, then rightclick>add modifier, and select the fuzzy modifier model. Rightclick>Center the modifier model, and raise it up to overlap the top of the model (but avoid the lower chamfer so it remains fuzzy). Then simply change the object settings for the fuzzy modifier object to turn off fuzzy skin. Here is good vs bad examples of what the lip should look like.
The same thing can be done to remove the fuzzy setting from the top lip of the base.
I typically also use a height range modifier on the lids to prevent Fuzzy skin for the final layer, thus giving it a smooth line to sit on. Be sure to turn off fuzzy skin settings on the separate graphics objects in the lids, otherwise it will mess up the edges of the graphics.
I used some thin adhesive backed felt for the finishing touches, you'll see a model included for a template for cutting out the felt for the rolling area. I decided afterwards to also line the dice slots to muffle the dice sounds when the box is jostled. For the dice slots I just cut a 2.5"x5.6" rectangle of felt.
Do a better job than I did and take your time cutting and sticking the felt down, its a pain to get perfect and I was too impatient.