Log in to join the conversation.
Modular Vendor Storage/ Display Bins
Print Profile (3) 0.2mm layer, 3 walls, 15% infill 22h 17m 1,084 g PLA
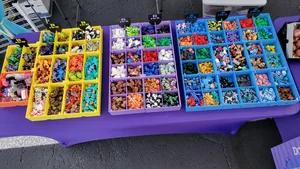
Plate Details (6)
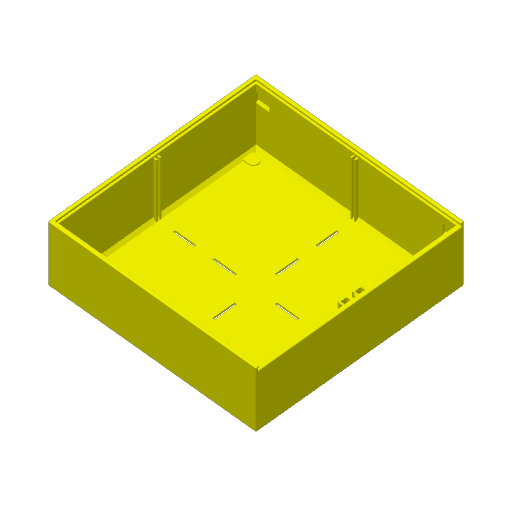
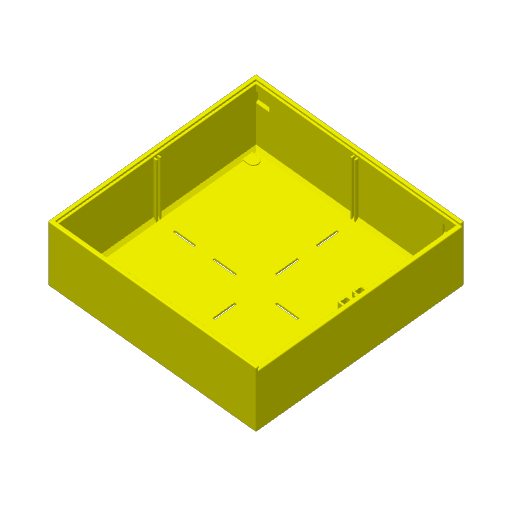
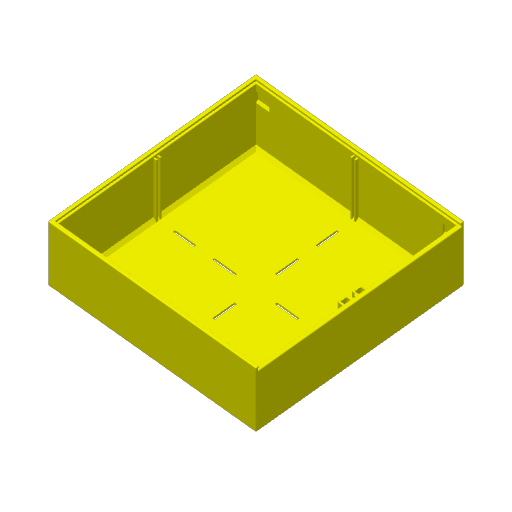
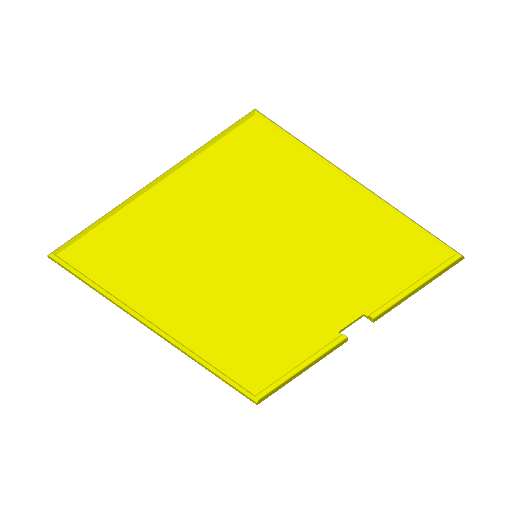
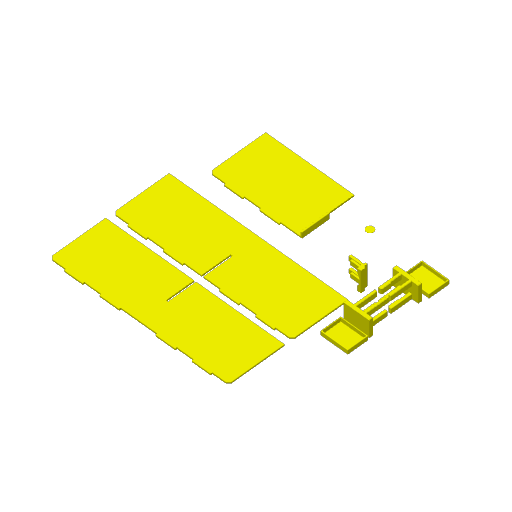
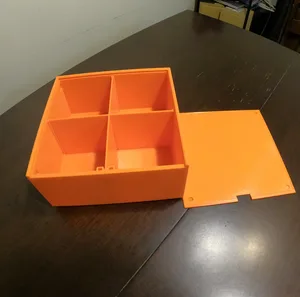
Plate Details (7)
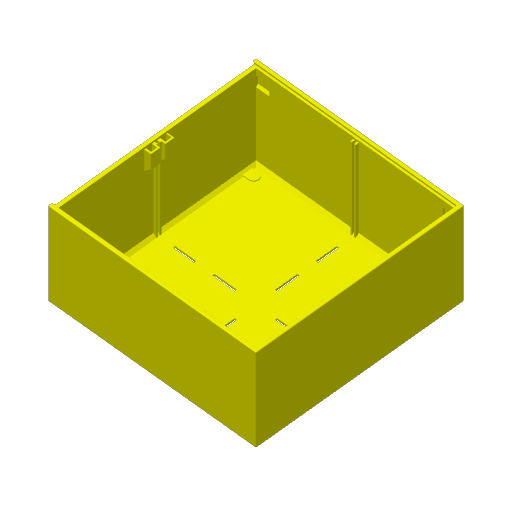
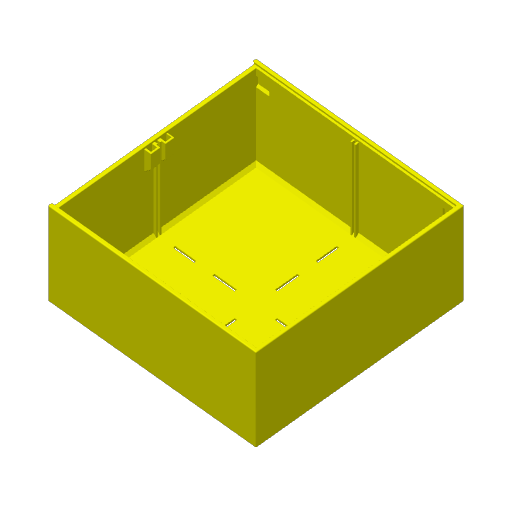
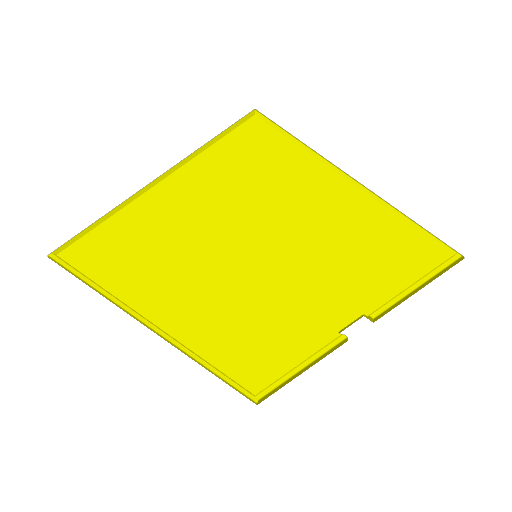
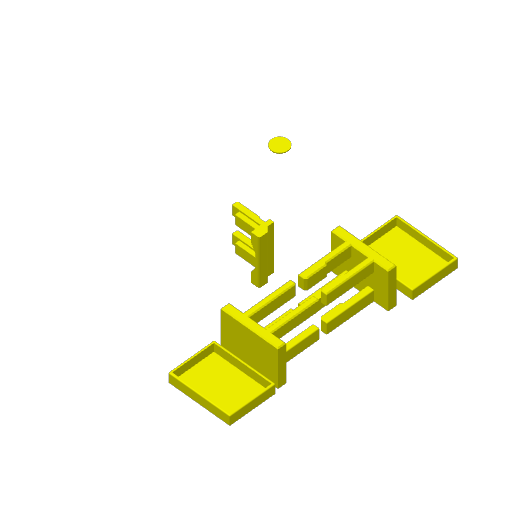

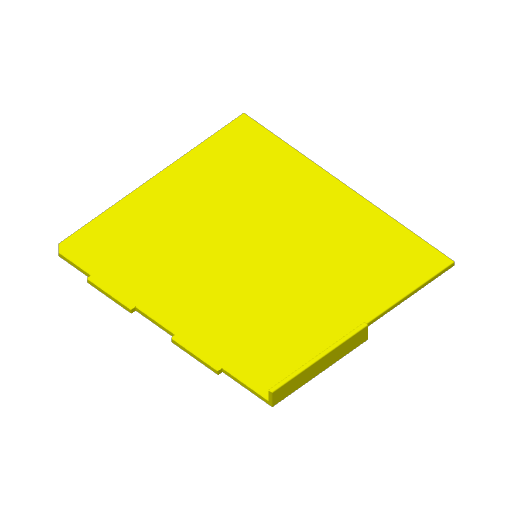
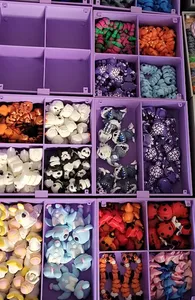
Plate Details (8)
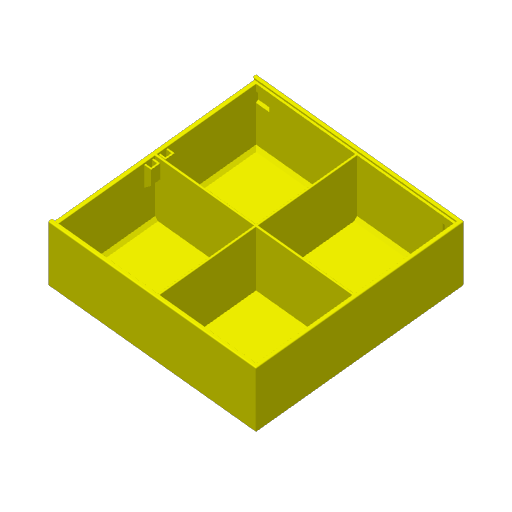
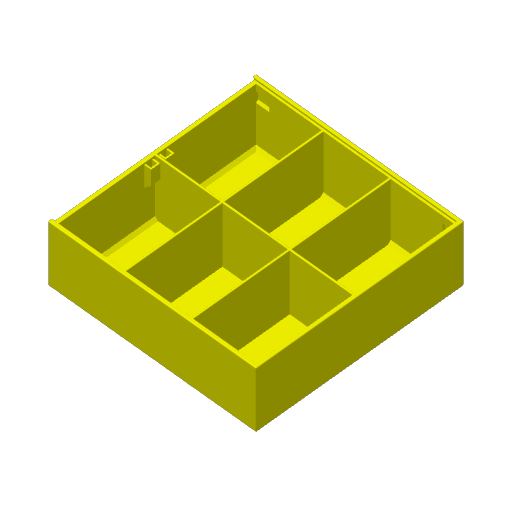
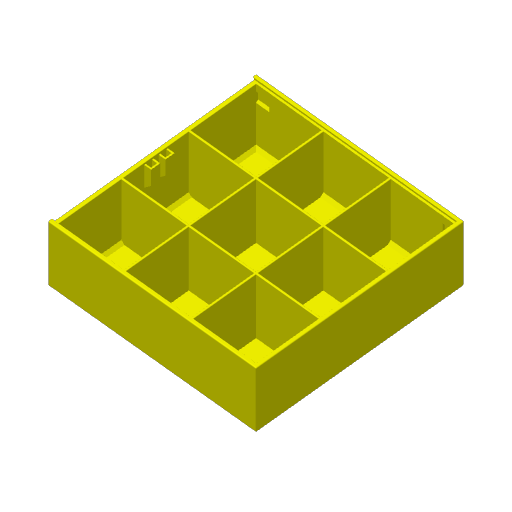
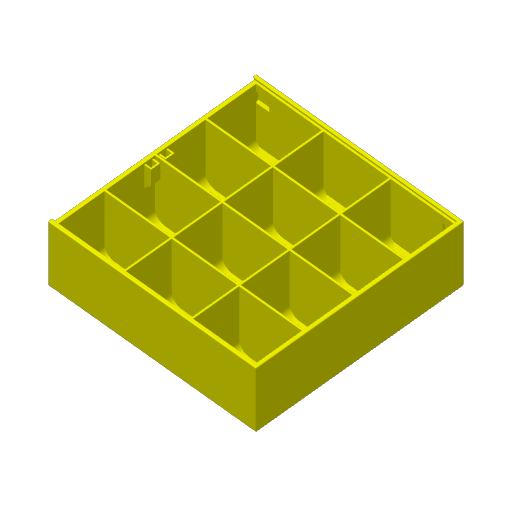
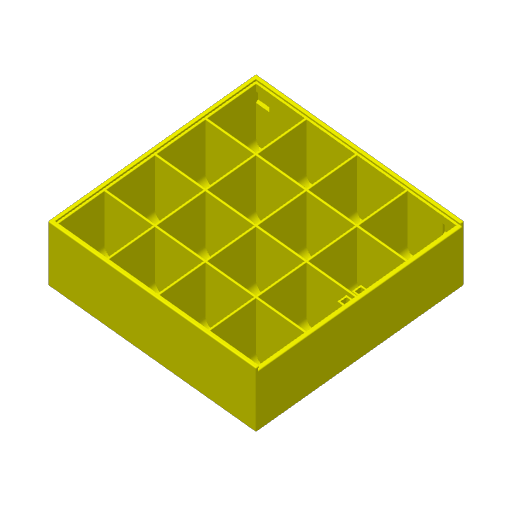
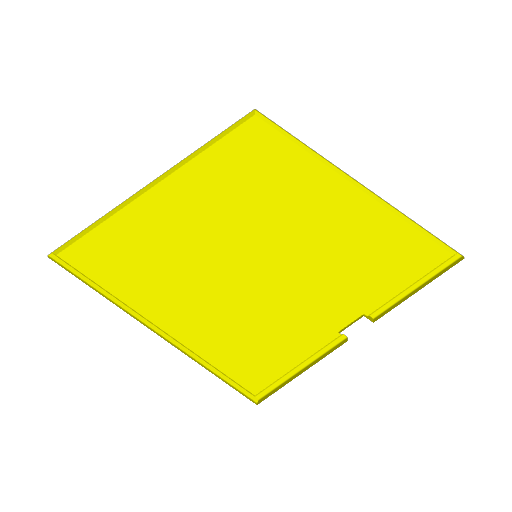

**If you are in need of the price tags and mount for this system please click here.**
I initially designed thin lightweight bins because they were fast prints and didn't use much filament……aaaaaand they cracked and failed after just a couple months of shows. I decided to sit down and design something that was of a bit more quality.
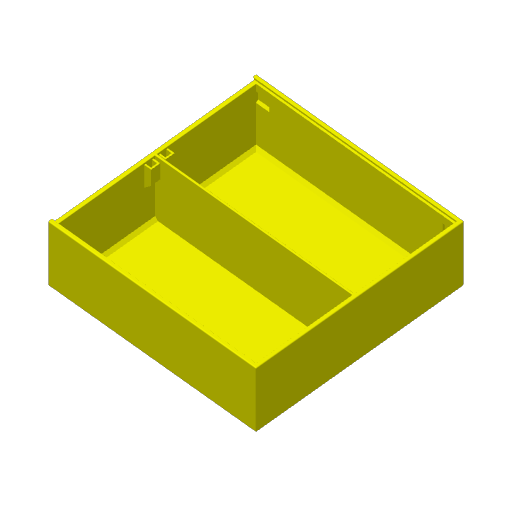
These Modular Vendor Bins are built specifically for sellers who do frequent craft fairs, markets, and pop-up events. They’re sturdy, set up quickly and can be rearranged.
The bins feature:
- Quick setup
- Stackable design for easy transport and storage
- Modular dividers that allow 1, 2, 3 or 4 sections per bin (change any bin on a whim)
- Two connection options
- Friction-fit connectors
- Magnet-ready version (magnets optional)
The more bins you connect together, the more stable the entire display becomes which is perfect for busy tables and crowded events. The weight really gets substantial starting around 4 bins. After opening, the lid can be placed under the bin so it stays out of the way while you’re selling and doesn’t need to be put away. When the show is over, the bins nestle neatly on top of each other ready for transport within a large container. We usually have our bin tables empty in less than 4 minutes each table when trying to get out quickly. Each table holds 27 bins. That isn't too shabby!
CONNECTION OPTIONS: The magnetic version has preset negative space for the holes to be created within the slicer. Just adjust the size of the negative space to match your magnets. I highly suggest leaving them as is and purchasing 8x2mm magnets for the bin bottom and lid top as well as 12x3mm magnets for the front/sides/back. Personally, I keep the bottom bin magnet holes as well as the magnet holes on the lids. I don't use front, sides or back magnets because I connect the bins together using the friction clips. I do know everyone has a different preference so the options are there. The actual holes for the lids are 1.75 mm deep and I use 8 x 1.5 mm magnets. 8x.2 mm works just fine. If you want to use an 8 x 1mm just either adjust the negative space in the lids or print the spacer included on the accessories plate.
TOLERANCE: The tolerances for the dividers are VERY tight because the only time I change my dividers is when I run out of something and need to change a bin layout. Please test your tolerances and if you do not want your dividers VERY snug then simply change the Z height of your dividers by either .05 or .1 mm. If you find that they lid lock isn't tight enough. Just add .05mm to the z height only and test until it is to your liking.
RANDOM INFORMATION AND TIPS: The connector caps are to be glued on to the top of the connectors in order to strengthen the connector as a whole. If connecting the bins in an offset manner, use the smooth connector. Use1 connector for up to 4 bins and an extra connector for every 2 after that. Figure out the lay outs of your bins divider wise before printing the dividers. The half divider is the one used the least but is still super helpful so only print one or two total unless you have a specific need. I live in a very HOT state, so mine were printed in PETG for summer months. I would suggest the same if you have anything remotely close to hot summers.
Boost Me If this helps your booth or workspace, feel free to boost and follow on Maker World — more modular vendor gear is on the way.