Table Talk
Nothing here yet. Love this design? Say so - the designer might see it.

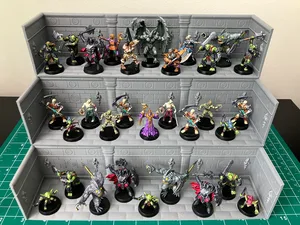
Modular display stand for 28mm miniatures

Miniatures Free
Plan Your Print
About 112 g of filament From the designer's print profile
Print Profile (5) 11 inch; 0.16mm layer, 2 walls, 15% infill 6h 42m 112 g PLA
11 inch; 0.16mm layer, 2 walls, 15% infill
1 plate 6h 42m 112 g PLA
A1, H2D, H2D Pro, H2S, P2S, H2C, X2D, A2L
11-inch-long shelf to maximize capacity per shelf, at the cost of being able to print only one shelf at a time.
Plate Details (1)
0.4 mm nozzle, all plates
Plate 1 · Wall and floor
6h 42m 112 g PLA · 112 g
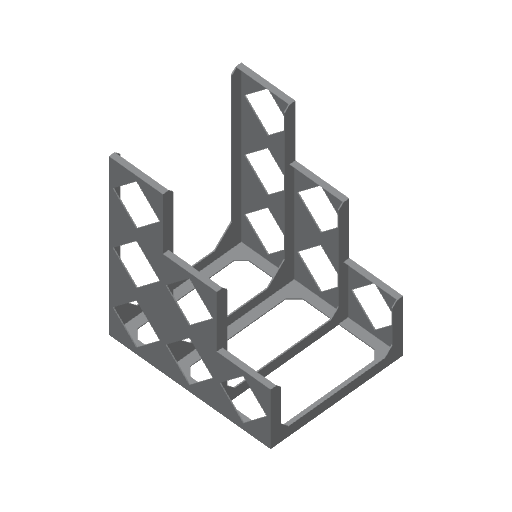
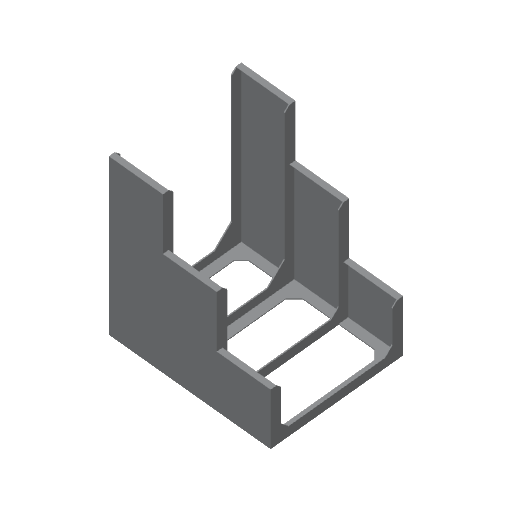
Supports for staircase configuration. Layer 0.24mm.
4 plates 9h 8m 245 g PLA
A1, P1P, H2D, P1S, X1, X1E, X1 Carbon, H2D Pro, H2S, P2S, H2C, X2D, A2L
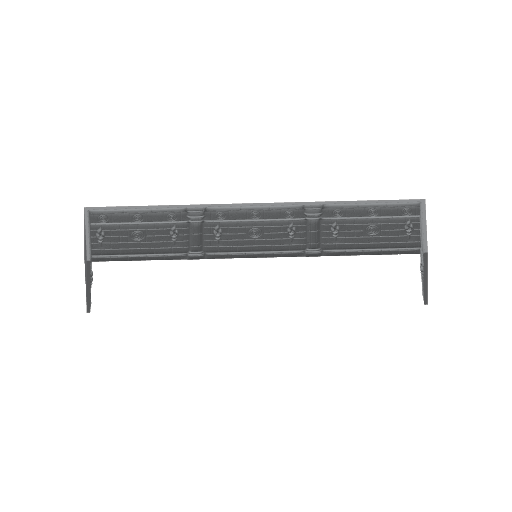
Optimized for speed. You need at least one support. OR print two and have them side by side for extra strength and stability. Hollow support use less filament but a little bit slower. Solid supports use more filament, but faster and stronger.
Plate Details (4)
0.4 mm nozzle, all plates
Plate 1 · Three layer support
1h 47m 40 g PLA · 40 g
Plate 2 · Four Layer Support
2h 51m 69 g PLA · 69 g
Plate 3
1h 43m 49 g PLA · 49 g
Plate 4
2h 46m 87 g PLA · 87 g
7 inch; A1 Mini; 0.16mm layer, 2 walls, 15% infill
1 plate 4h 47m 80 g PLA
A1 mini, P1S, X1, A1, P1P, H2D, X1E, X1 Carbon, H2D Pro, H2S, P2S, H2C, X2D, A2L
A profile that fits on A1 Mini build plate. It can also be used to combine with two 11inch shelves to maximize space use on IKEA 30inch bookcase.
Plate Details (1)
0.4 mm nozzle, all plates
Plate 1 · Wall and Floor 7 inch
4h 47m 80 g PLA · 80 g
10 inch; 0.16mm layer, 2 walls, 15% infill
1 plate 6h 6m 108 g PLA
A1, P1S, X1, P1P, H2D, X1E, X1 Carbon, H2D Pro, H2S, P2S, H2C, X2D, A2L
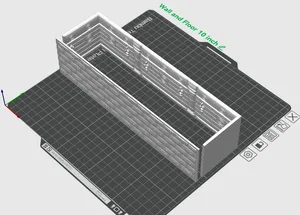
10-inch version of the shelf. Even though it's shorter than the 11-inch version, you can print three shelves per plate. It also fits three side by side in a standard IKEA bookcase.
Plate Details (1)
0.4 mm nozzle, all plates
Plate 1 · Wall and Floor 10 inch
6h 6m 108 g PLA · 108 g
11 inch; P and X series; 0.16mm layer, 2 walls, 15% infill
2 plates 6h 36m 122 g PLA
X1, P1P, P1S, X1 Carbon, X1E, H2D Pro, H2S, P2S, H2C, X2D, A2L
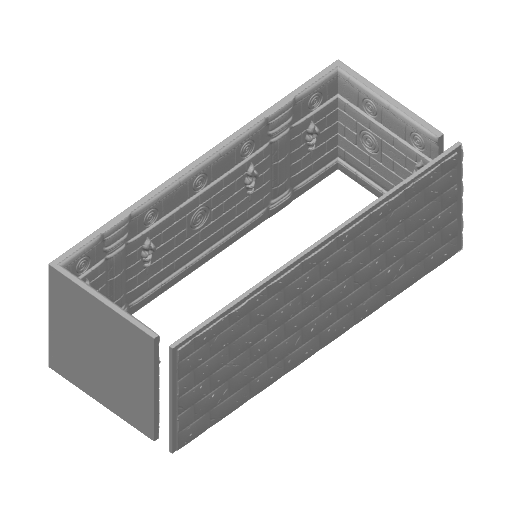
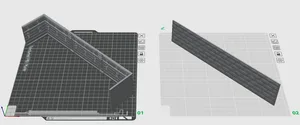
11-inch-long shelf to maximize capacity per shelf, at the cost of being able to print only one shelf at a time. The wall and floor are printed separately for P and X series printers to allow printing.
Plate Details (2)
0.4 mm nozzle, all plates
Plate 1 · Wall and floor
4h 11m 73 g PLA · 73 g
Plate 2
2h 24m 49 g PLA · 49 g
As sliced by the designer. Your printer, filament, and settings may change these numbers.
Designer's Description

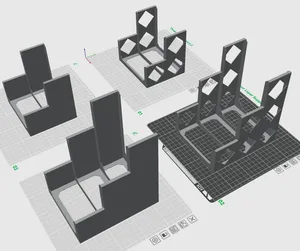
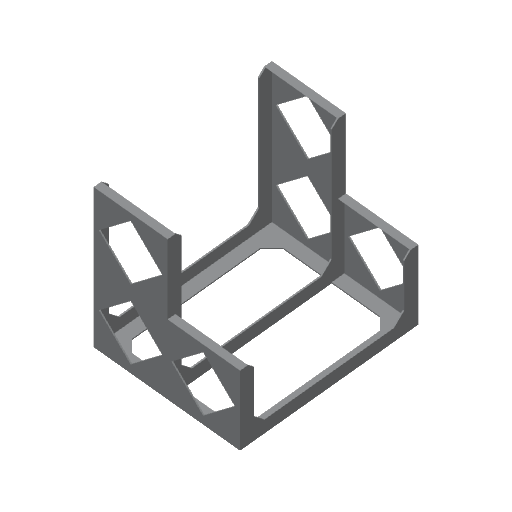
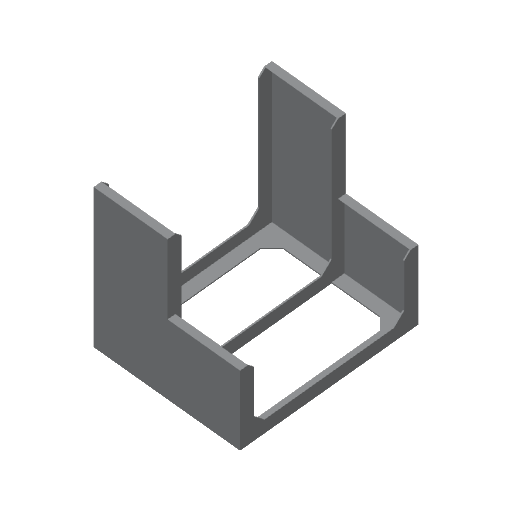
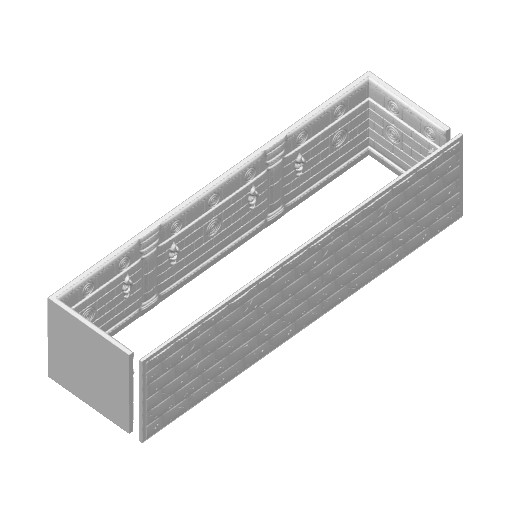
Modular display stand/shelf for 28mm miniatures.

I originally made it for HeroQuest, but it’s awesome for any TTRPG minis. Stack it up tall, line up side by side, or set it up in steps (a profile for extra supports is included).

There are three options to choose from:

  • My first design prints an 11-inch-long shelf per build plate (placed diagonally on the plate). This allows you to maximize capacity per shelf. Due to P and X printers using their build plates differently, I had to create a separate profile for them. I don't have a P/X printer to test this profile, so please let me know how it works for you.
  • A profile for a 10-inch-long shelf, which allows you to fit three side by side in a standard BILLY/OXBERG bookcase from IKEA, maximizing overall capacity. It can also be printed three shelves per build plate—just be mindful of brims when cloning or arranging parts on the plate.
  • A profile for a 7-inch-long shelf that fits on an A1 Mini build plate. It can also be combined with two 11-inch shelves to maximize space in a 30-inch IKEA bookcase.

There’s also a separate profile for the supports. You can build a staircase with three or four levels (four levels is recommended for IKEA bookcases). You only need one support per stack, but if you want extra stability and strength for the 11-inch shelf, you can line up two supports side by side.

As usual, when printing, make sure your build plate’s clean and your filament’s nice and dry. A glue stick helps keep the corners from lifting, but it’s totally optional since added brims do their job pretty well. Once you’re done, use some super glue to fix the walls to the floor. There’s a small indentation on the floor where the wall connects, so it’s easier to glue.

Please post pictures of your prints with minis on them!
heroquest hero quest dnd dnd 28 mm minis display stand ttrpg pathfinder miniatures