Table Talk
Nothing here yet. Love this design? Say so - the designer might see it.
Log in to join the conversation.
Minecraft Steve articulated (incl. multi-color)
Storage & Containers
Free
Plan Your Print
Sign in
to track this print from Want to Printed.
✓ Optional multicolor profile
The designer also offers a multicolor way to print this (an MMU/AMS profile or per-color parts)
About 470 g of filament
From the designer's print profile
Print Profile 35h 7m 470 g PLA
What it takes
6 plates
35h 7m
470 g PLA
A1 mini, P1S, P1P, X1, X1 Carbon, X1E, A1, H2D, H2D Pro, H2S, P2S, H2C, X2D, A2L
• 0.15mm layer height
• 2 Walls
• 20% Rectilinear infill
• No supports needed
• Seperate plates for mono color & multi-color prints
Plate Details (6)
0.4 mm nozzle, all plates
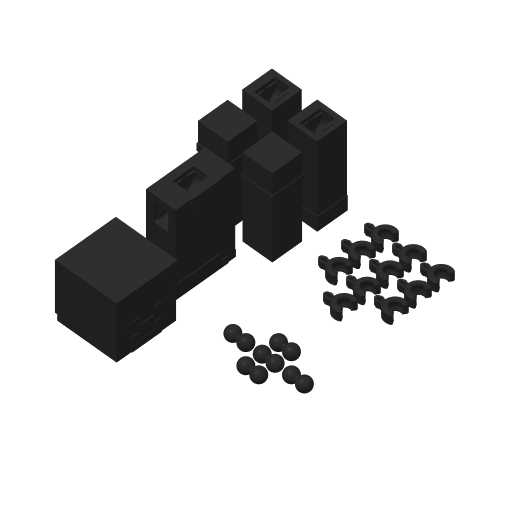
Plate 1 · Minecraft Steve
1h 13m
18 g
PLA · 18 g
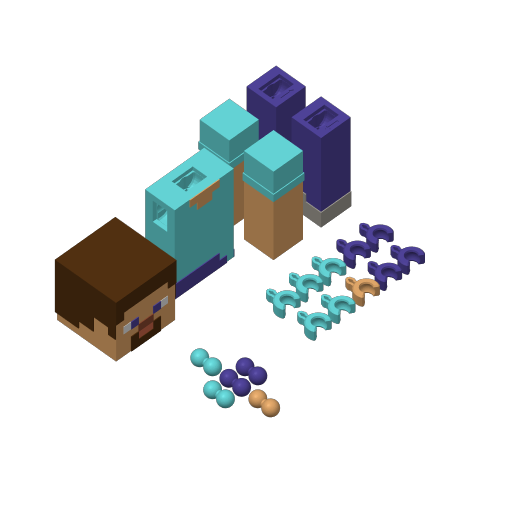
Plate 2 · Minecraft Steve_Color
22h 29m
297 g
PLA · 5 g
PLA · 17 g
PLA · 82 g
PLA · 23 g
PLA · 39 g
PLA · 9 g
PLA · 6 g
PLA · 8 g
PLA · 108 g
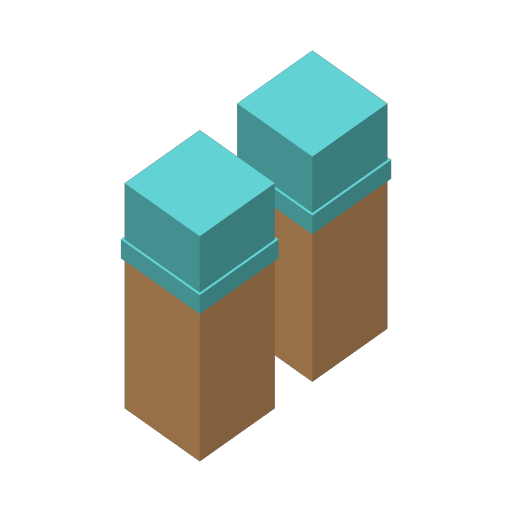
Plate 3 · Minecraft Steve_Color Arms
39m
10 g
PLA · 7 g
PLA · 3 g
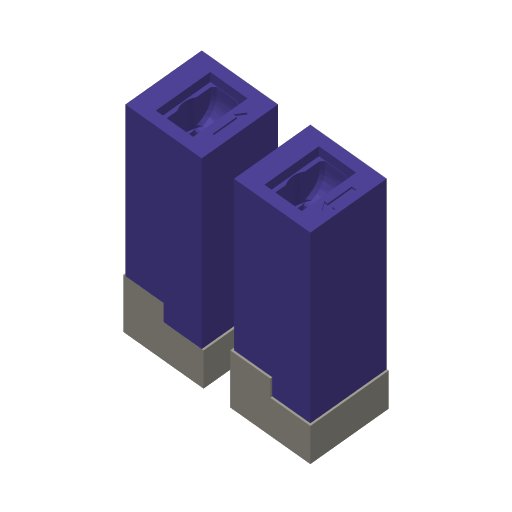
Plate 4 · Minecraft Steve_Color Legs
1h 16m
16 g
PLA · 8 g
PLA · 8 g
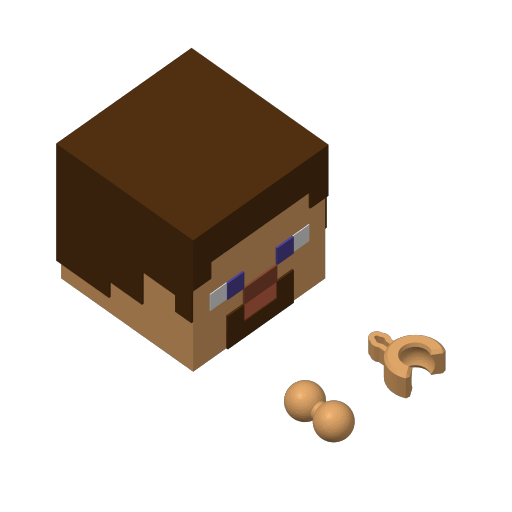
Plate 5 · Minecraft Steve_Color Head
6h 19m
86 g
PLA · 3 g
PLA · 48 g
PLA · 18 g
PLA · 11 g
PLA · 3 g
PLA · 3 g
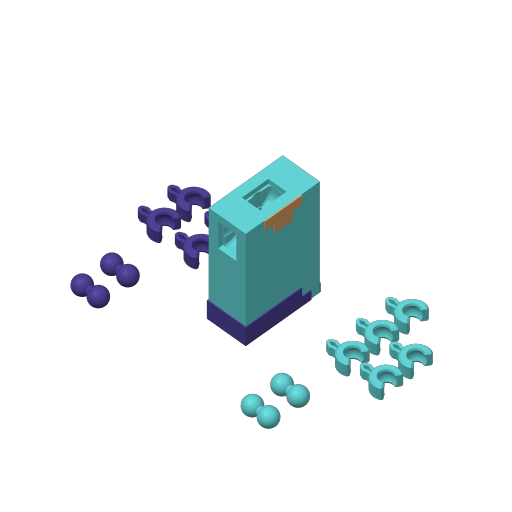
Plate 6 · Minecraft Steve_Color Torso
3h 10m
43 g
PLA · 8 g
PLA · 7 g
PLA · 28 g
Designer's Description
Introducing the articulated Minecraft Steve: a multi-color model crafted with ball joints to allow different poses.
Features:
- Fully Articulated: Can move arms, legs and head (but of course with some constraints due to maintain the Minecraft-look of the model).
- Multi-color: Plates included for both uni- & multicolor models. Multi-color parts are also organized over 4 seperate plates to reduce filament waste. (as I don't have a multicolor setup, I would be interested to see some pictures of multi-color prints ;-)).
- Easy printing & assembly: Design was optimized to facilitate hassle-free printing and easy assembly. Documentation is added to help in case you still have any questions.
- Detailed Minecraft aesthetic: Modeled to resemble the original pixelated aesthetic of the Minecraft world.
When assembling the model, I recommend clicking the ball sockets into the various body parts first. These should be evenly flat with the outsides of the body parts. You can push on a flat surface to ensure they are well connected. Afterwards you can insert the ball joints to connect the various body parts.
Boost Me If you like this design, please consider giving me a boost!
This model uses the ball joints and sockets from the well-known Dummy 13-project:
- Title: Dummy 13
- Author: Gabriel Rosiak
- Source: lucky13toys.com
- Licensed under CC BY 4.0