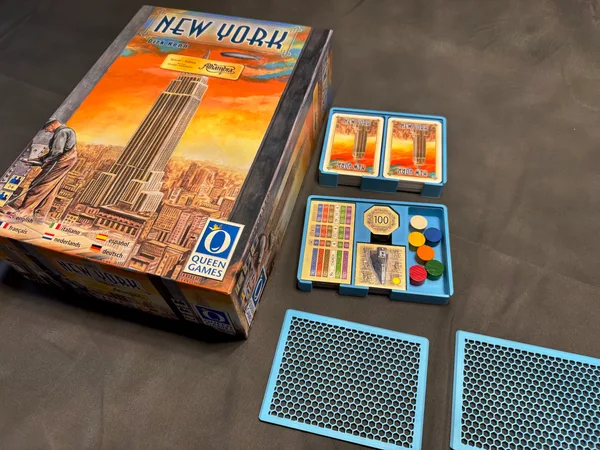
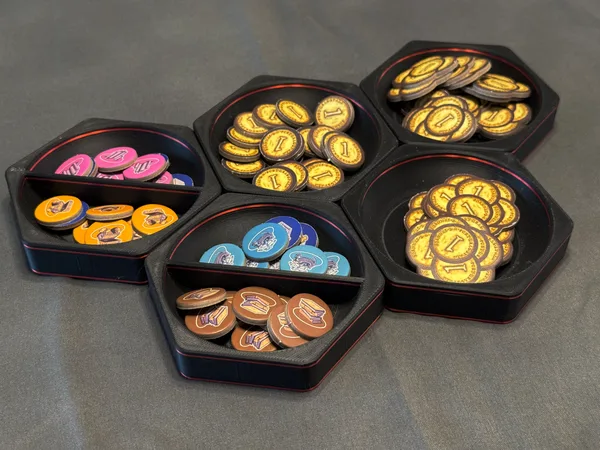
Log in to join the conversation.
Daitoshi Insert / Organizer - No Lid Lift
Print Profile 19h 31m 605 g PLA
Plate Details (9)
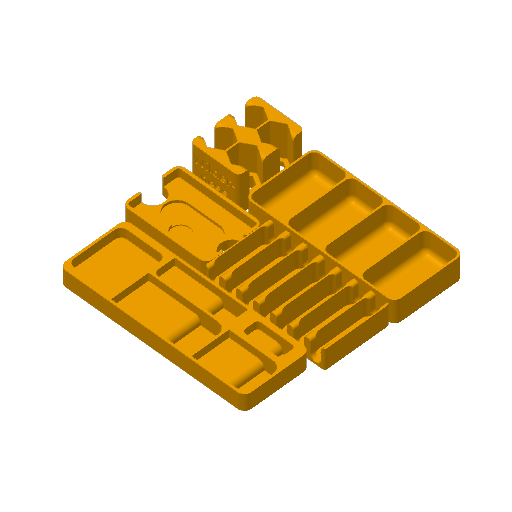
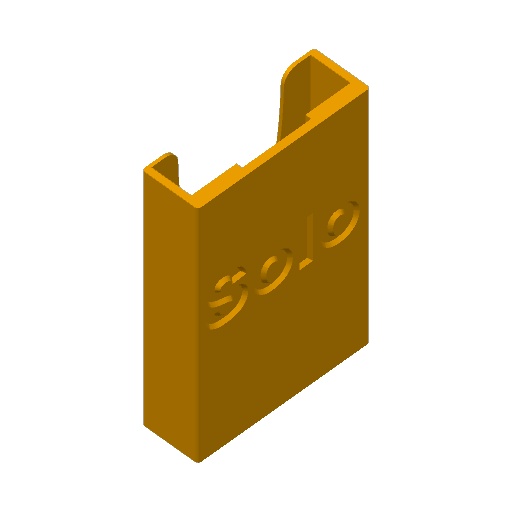
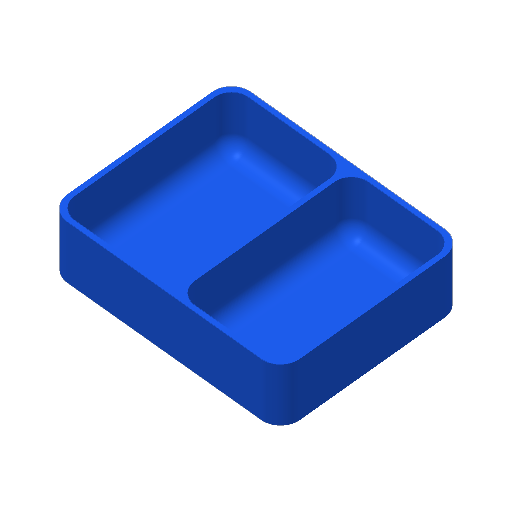
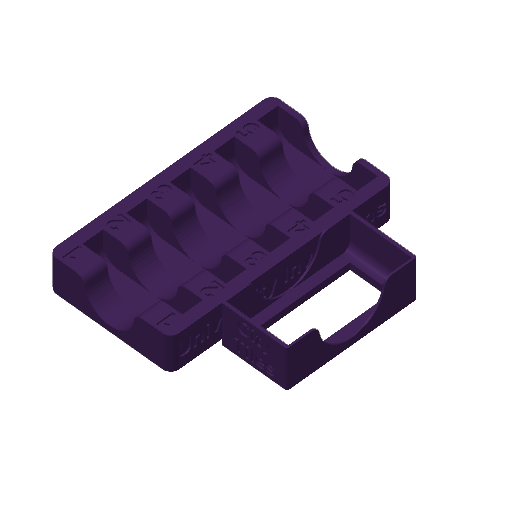
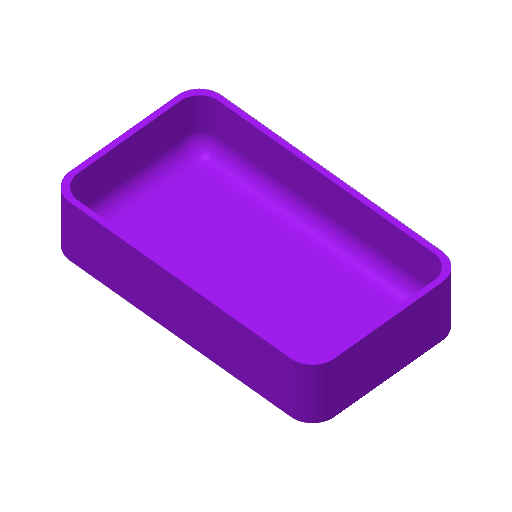
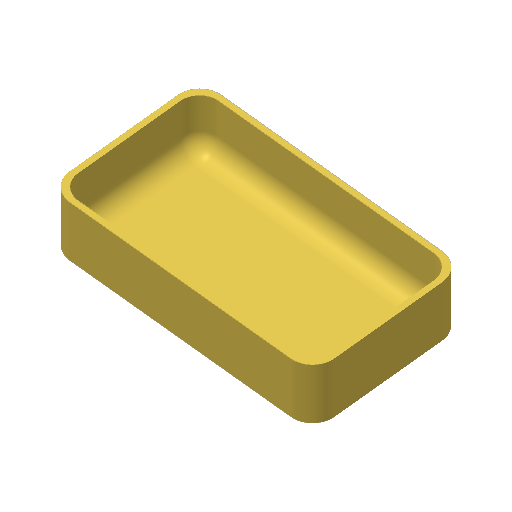
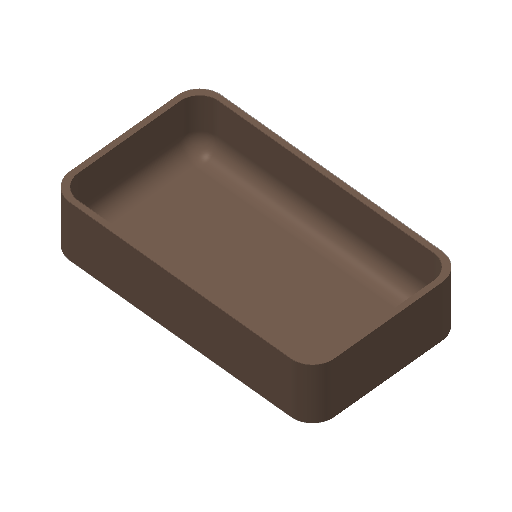
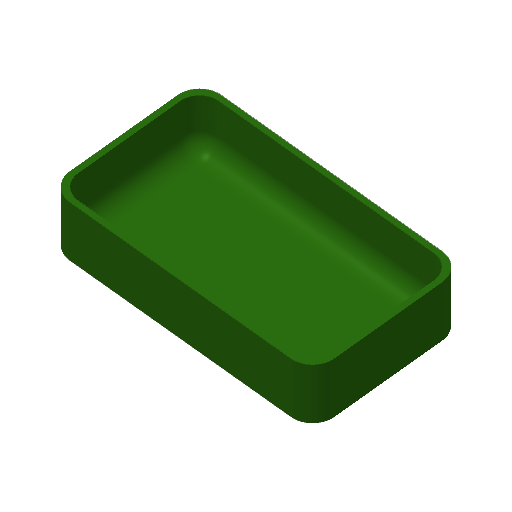
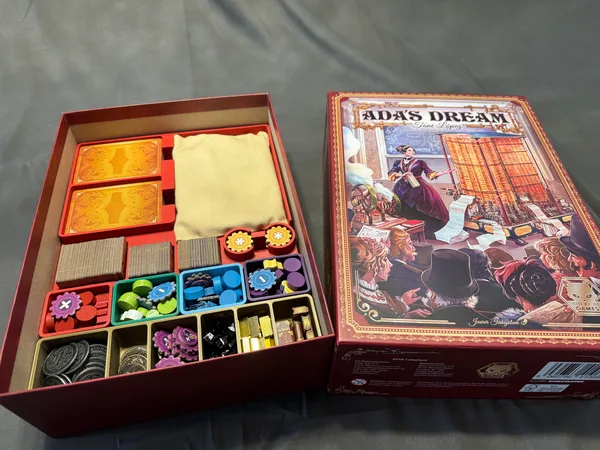
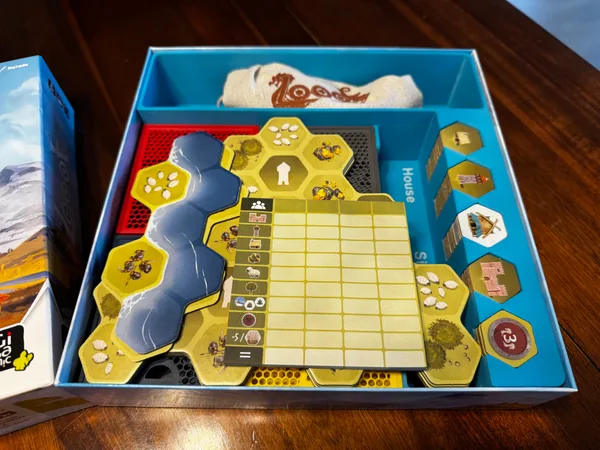
Did a remix on a great Daitoshi insert.
Changes made to original:
- Original trays (player, resource, worker) felt flimsy. Recreated them using thicker walls and bottom layer.
- Worker Trays - Original had 4 trays for 4 different color workers. However, these are not individual to players, so I put all workers in one tray (4 compartments) so that there were less items to take out to the table.
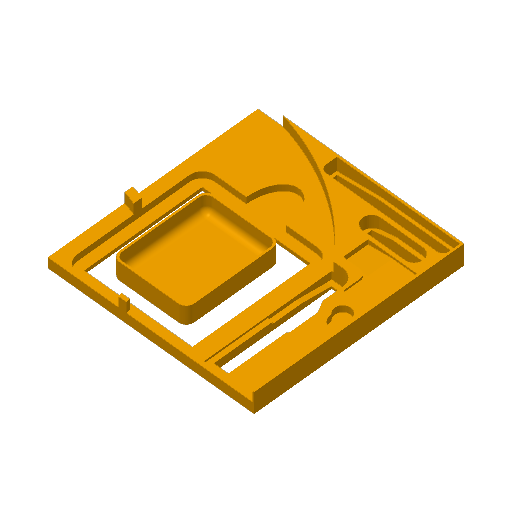
- Spacer - The original just had an unused spacer. I also found that the operational tiles that go on player boards didn't have a storage place. I assume the original creator just kept these between the folded player boards. I didn't love that, so I created cut outs in the spacer to hold the operational tiles as well as the mega-machine standee which was also a bit loose in the original model.
- Solo Card Holder - The original was designed for sleeved cards, and since I do not use sleeves, it left the tile and cards not snug and things jostling about. So I created a new one for unsleeved cards. I've left the original on a separate plate as well in the profile in case you prefer to use (have sleeved cards).
This insert allows everything to fit in nicely and makes it pretty quick to get to the table. Saved me a lot of setup time.
This insert causes no lid lift with one language of inserts. If you kept all 3 (I received 3 languages of rule books and player aids) then there would likely be some lift.
Boost Me Boosts are greatly appreciated and really help with continued model creation.

Print comments
1 of 1 maker says it printed well
Swapped in the remixed big tray before printing, just to be safe: https://layerup.games/model/artcrime/daitoshi/52455. Everything fits..so I'm glad I did! Printed for a US Devir published copy in Bambu Lab Basic PLA black on an X2D with 0.4 hotend. I wouldn't necessarily recommend using the provided 3mf file unmodified for the following reasons: 1) Some people have had trouble fitting tiles in the largest tray (see remix linked above) 2) The first plate is INCREDIBLY packed, and I had back-to-back bed adhesion -> spaghetti issues with it. I ended up splitting the contents into two plates and adding some brims to the two largest trays that were on there/pausing fans/cleaning plate just to be safe. Once I did that, everything printed fine. Don't read the description, note the two versions of the solo card tray, and forget like I did! You'll end up wasting filament. Remember to pick the one you want (sleeved vs unsleeved) and go with that.