Log in to join the conversation.
Zombie FLUXX Card Box
Print Profile 3h 14m 91 g PLA
Plate Details (2)
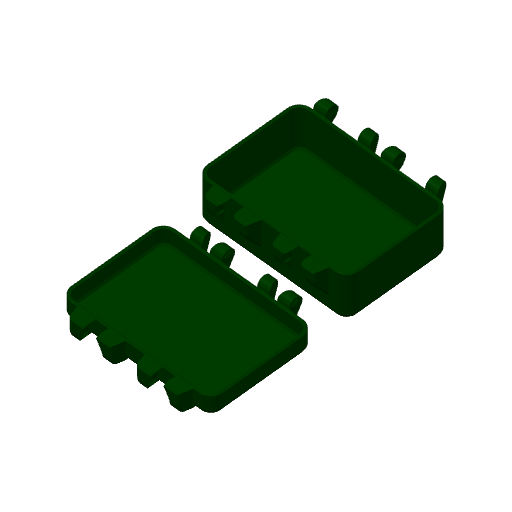
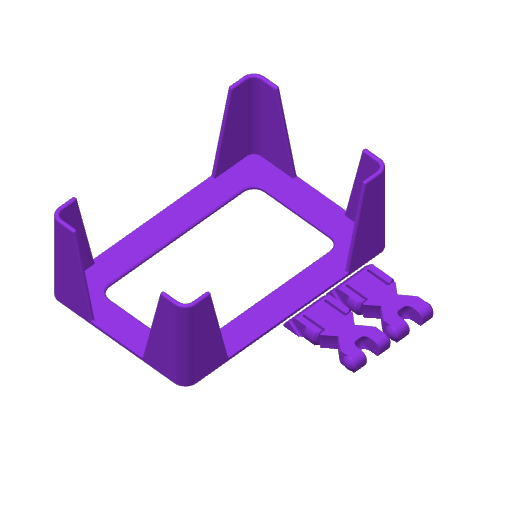
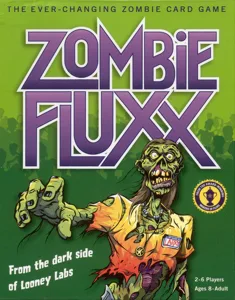
This is a Zombie FLUXX card storage box based on @mteomarch 's great FLUXX Storage Box . I saw no Zombie Fluxx boxes available, so I created this cover art based on the original cardboard Zombie Fluxx box, converted it to vector files, tweaked it in Fusion 360, recolored it, and merged it with the original design along with a few print profile adjustments.
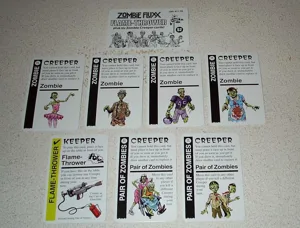
Zombie Fluxx is a themed variant of the original Fluxx card game, in which the cards you play continually change the rules of play. If you have not played Fluxx before, I highly recommend starting with the original to get the full Fluxx experience before branching out to Zombie Fluxx. Zombie Fluxx is, as you’d expect, zombie‑themed—and who does not enjoy a good zombie card game?
Post pix of your prints. I look forward to seeing your work!
Assembly : [Assembly images are from its sister Pirate FLUXX card game storage box . ]
Place the box bottom with the open side facing down and the lid with the art facing up, and the hinge sides facing each other. The hinge side has ball indents on the bottom and matching balls on the lid; the opposite side is for the latches.
Holding the box pieces by the outer edges, lift the lid on the hinge side and press the lid hinge balls down into the bottom hinge indents until they snap into place.
Take a latch with the beveled side facing down and the “U”‑shaped opening toward the case. Insert one arm of the “U” into its slot, then rotate the other side into place. The bevel must face down so you can easily open the latches when the case is closed.
When correctly attached, the latch should look like the bottom latch in the reference image below, not the top latch. If you find that you installed it upside down, now is the time to fix it before fully latching the case. To remove a latch, twist one side upward to pop it out; with the bevel in the wrong orientation, opening the case becomes much more difficult.
Many thanks to @mteomarch 's for the original case design and for his large collection of card game cases. Before making the pirate one, I assumed it would be quick and easy to drop in new cover art; in reality, it was a time‑consuming process that required many test prints to get this single case looking just right. Sure, the second one was a little quicker with my lessons learned from the first remix, but it is still a time-consuming process.