Log in to join the conversation.
Castles of Burgundy SE - Acrylic tiles
Print Profile (5) Outer shells 0.2mm nozzle 55h 21m 223 g PLA
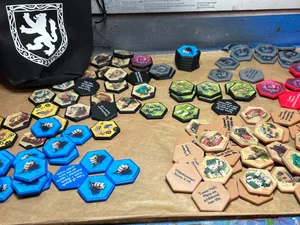
Plate Details (8)
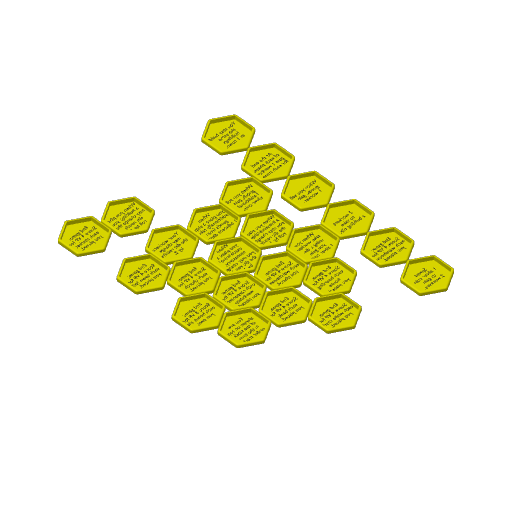
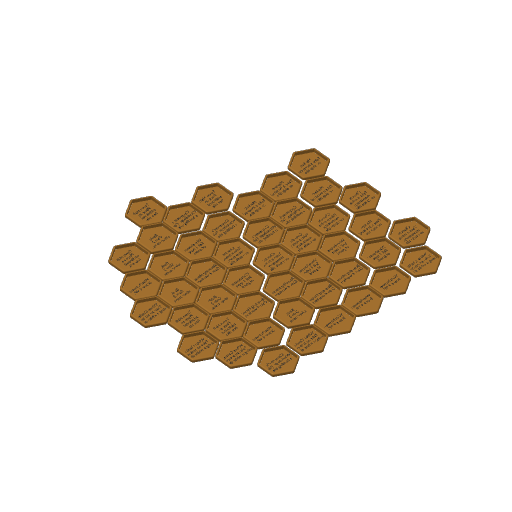
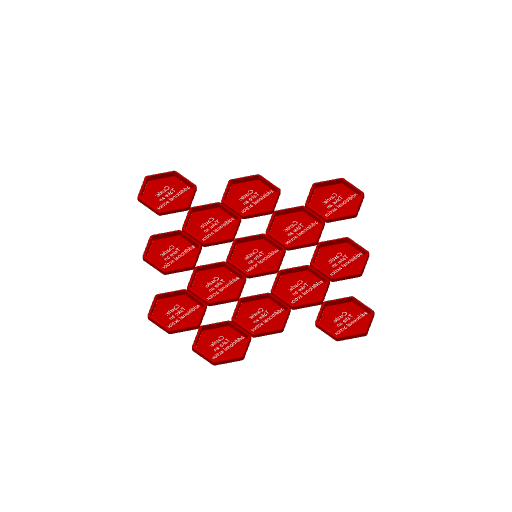
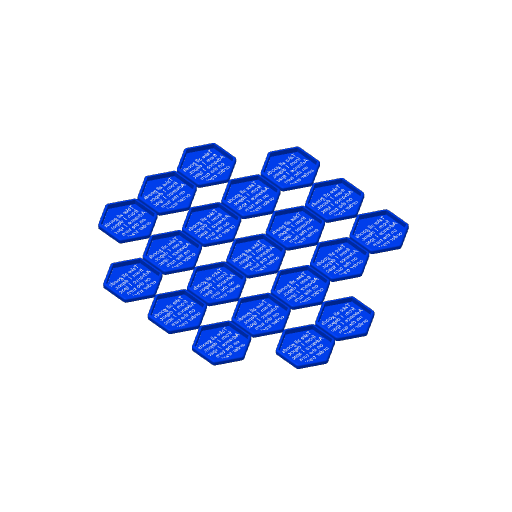
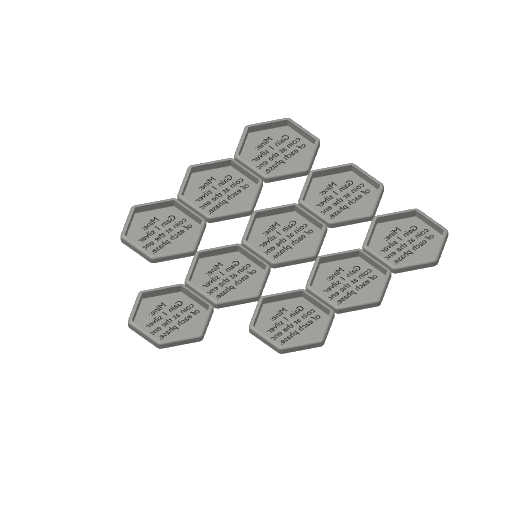
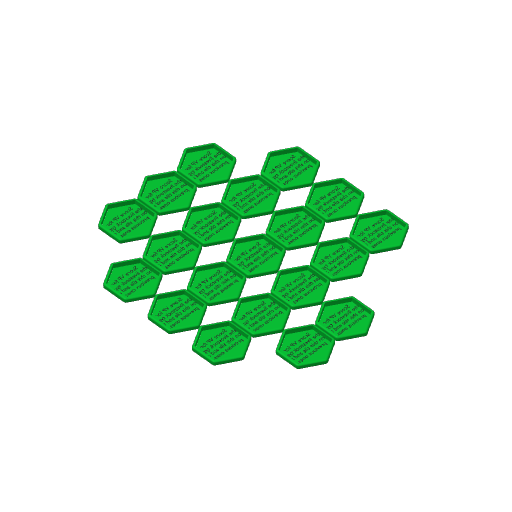
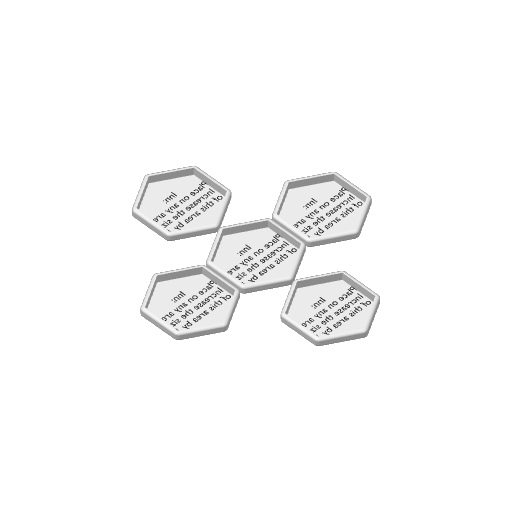
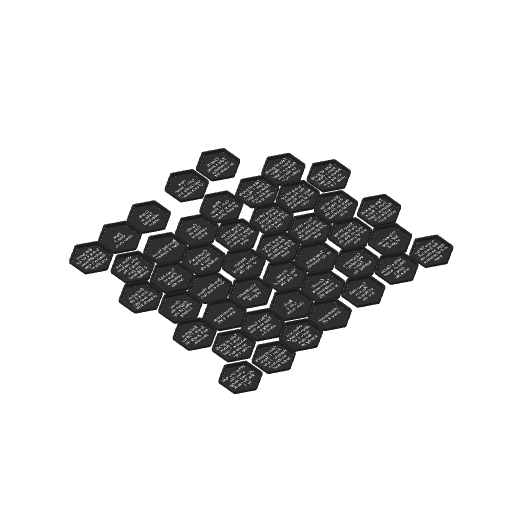
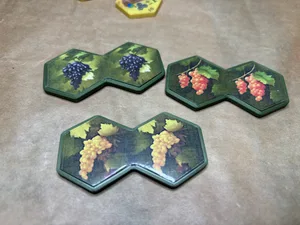
Plate Details (9)
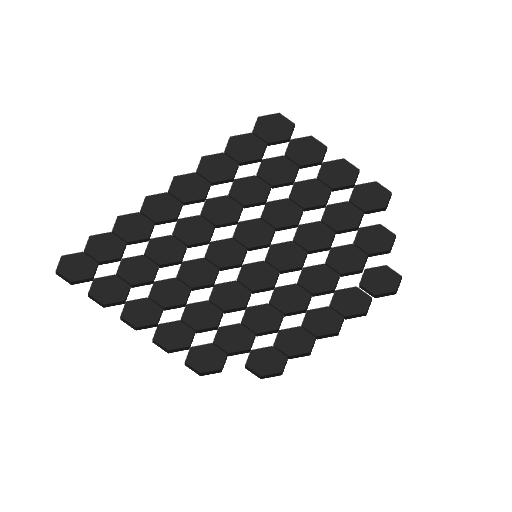
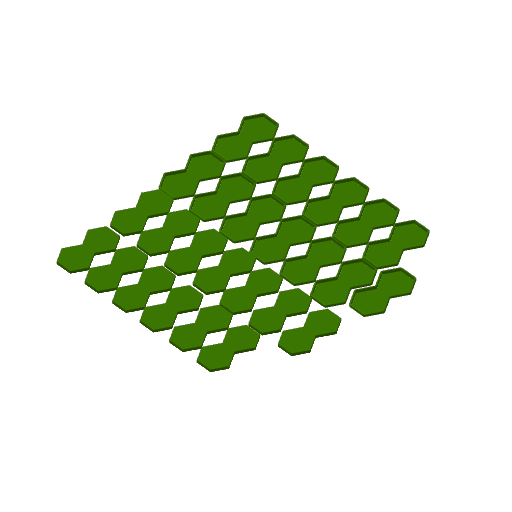
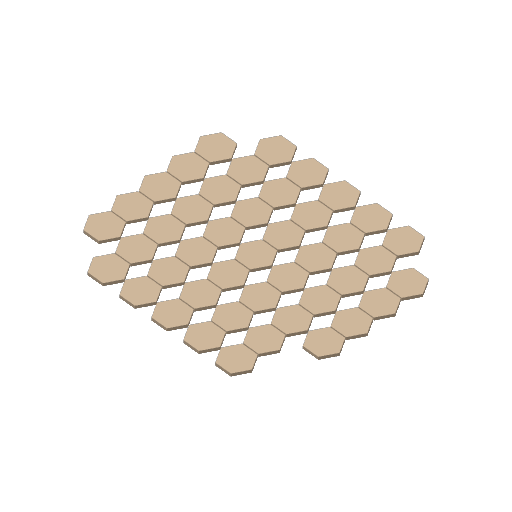
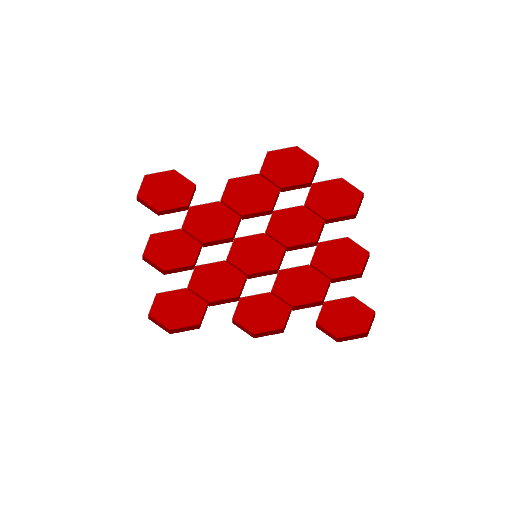
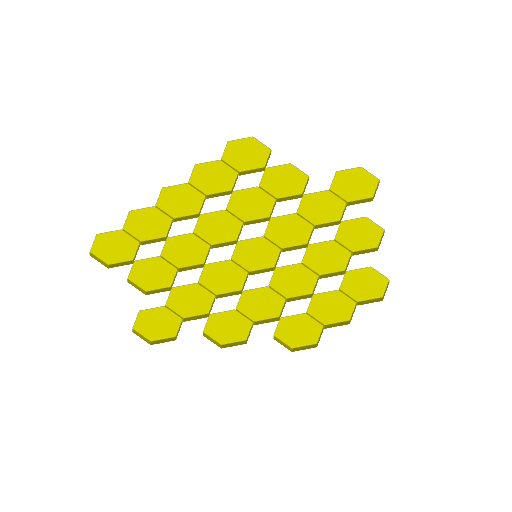
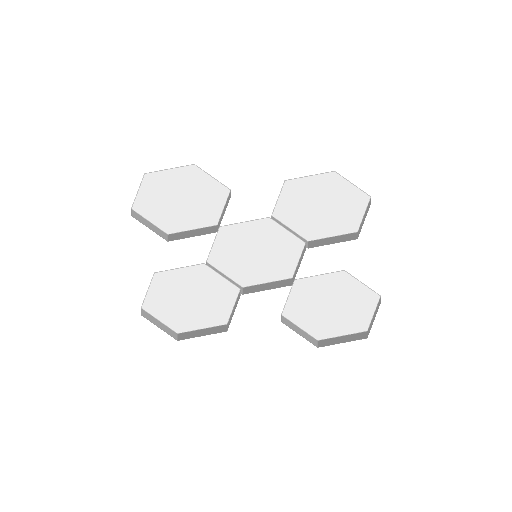
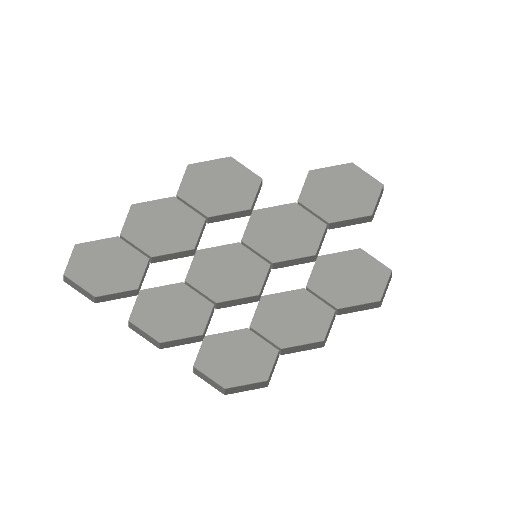
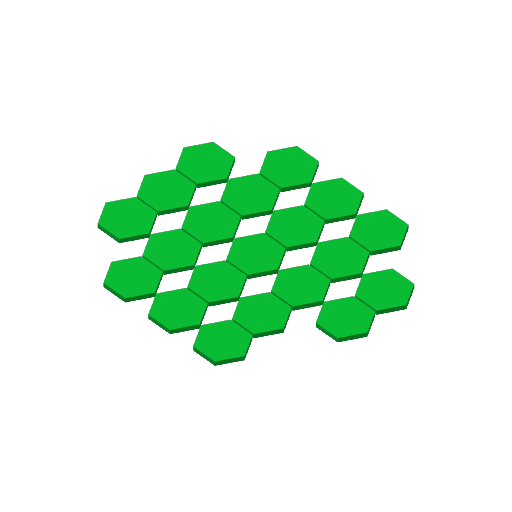
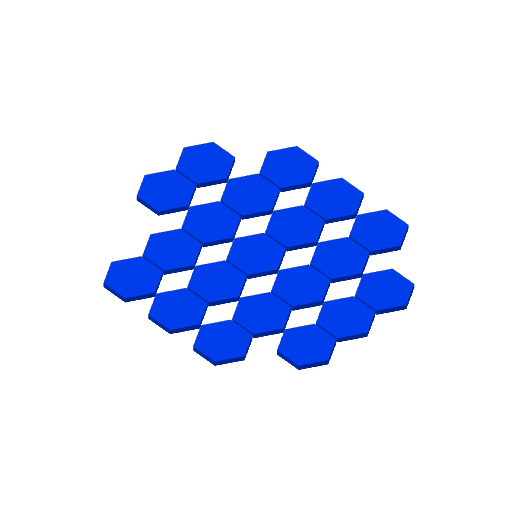
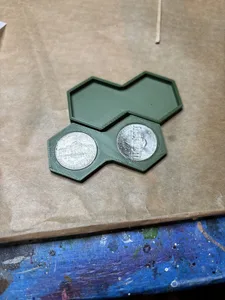
Plate Details (9)
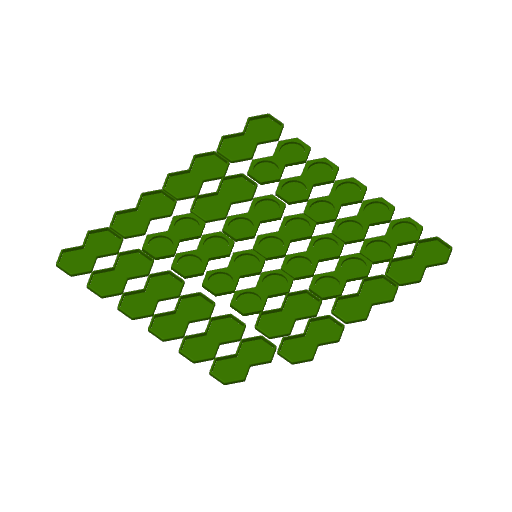
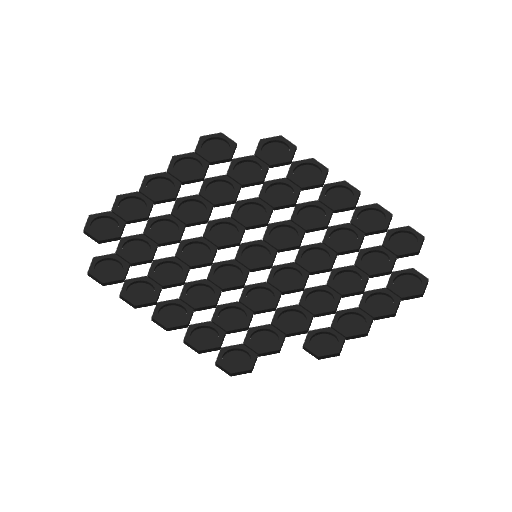
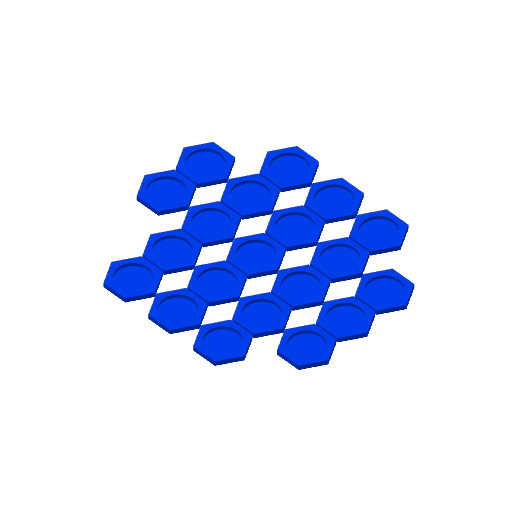
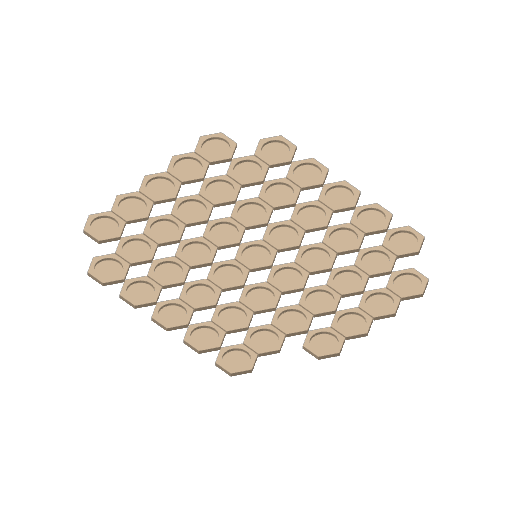
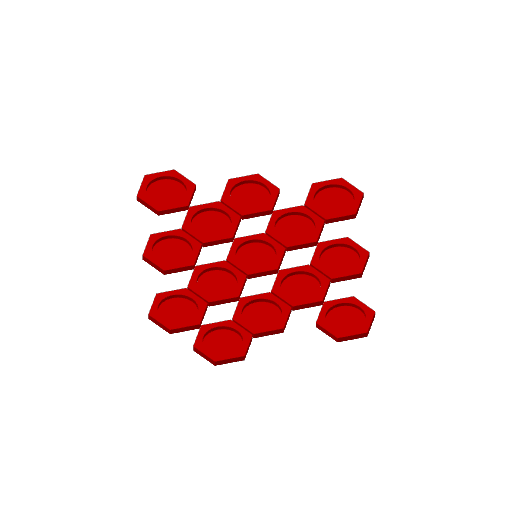
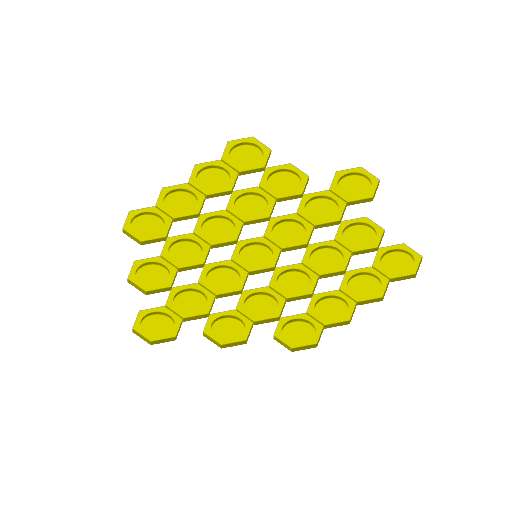
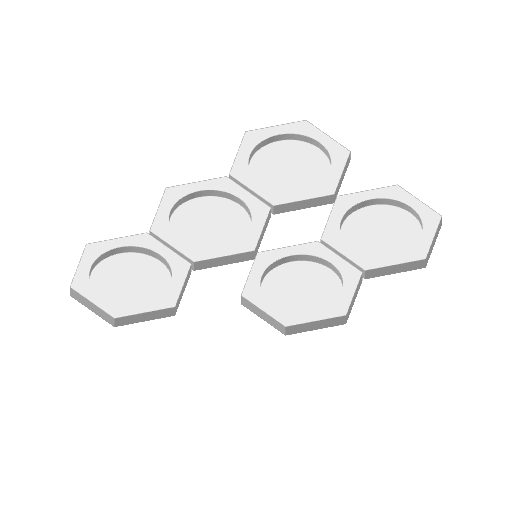
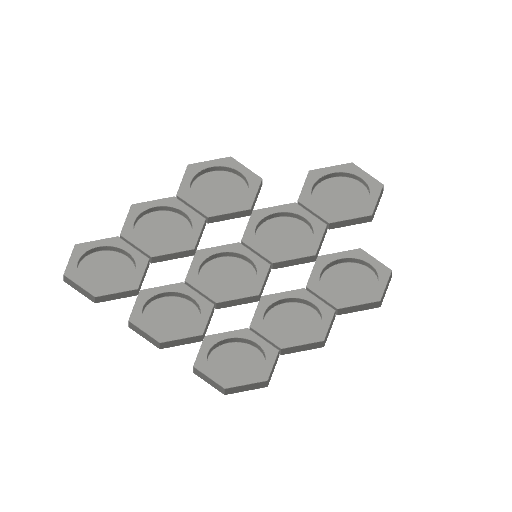
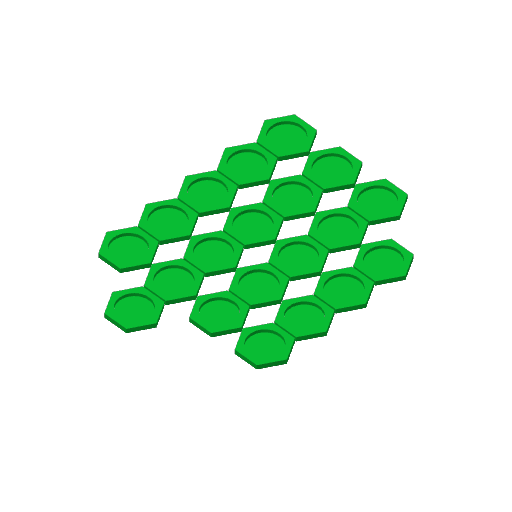
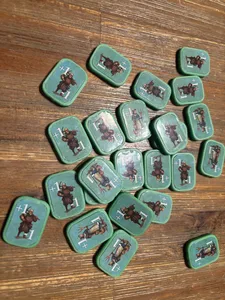
Plate Details (1)
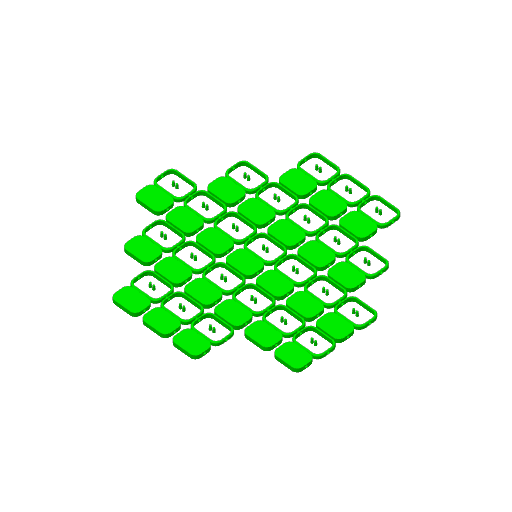
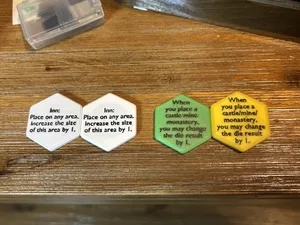
Plate Details (8)
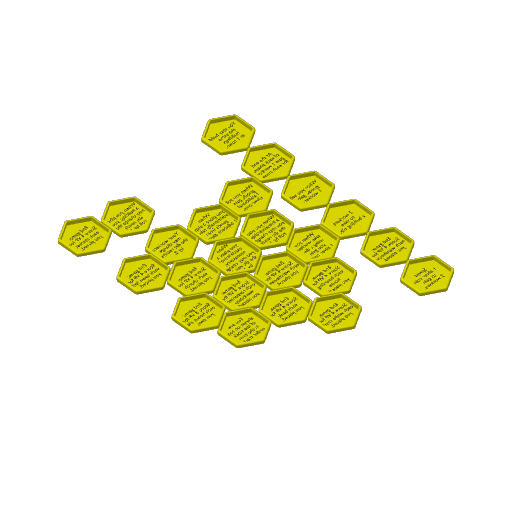
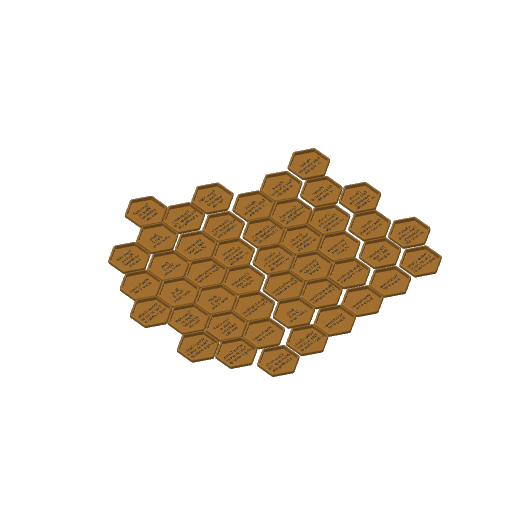
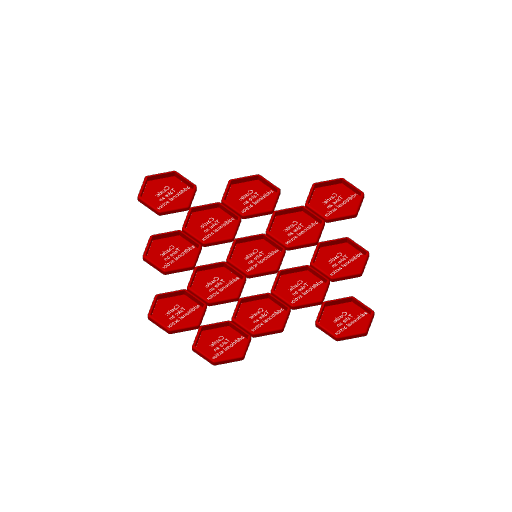
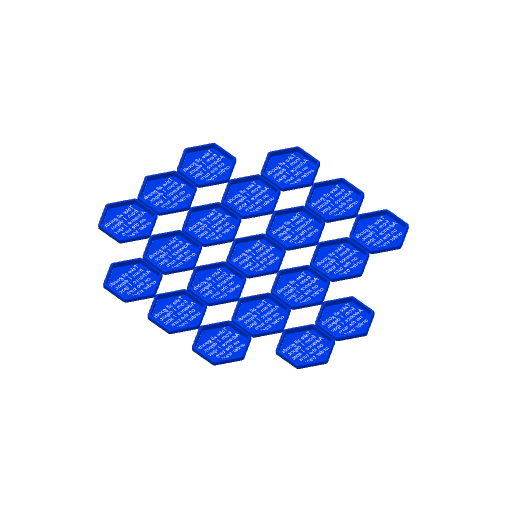
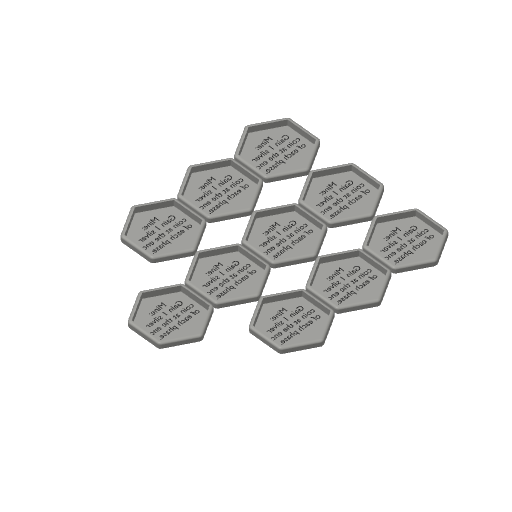
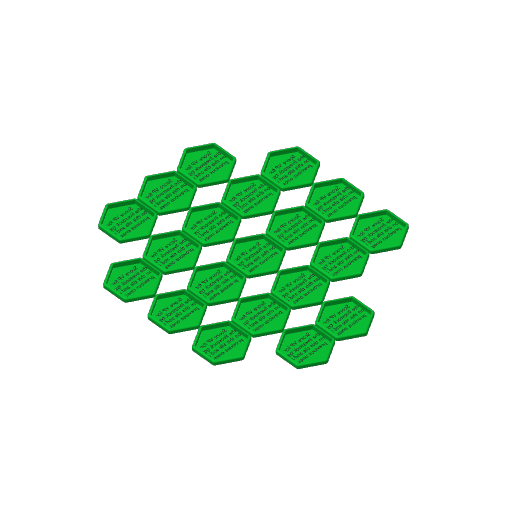
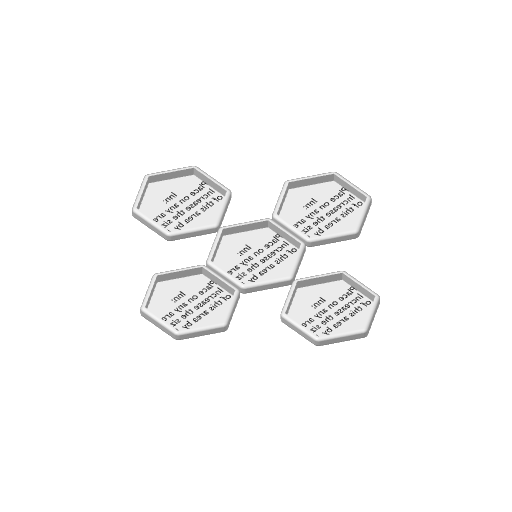
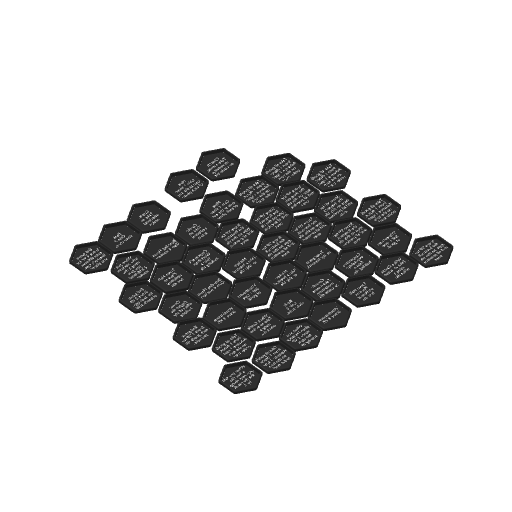
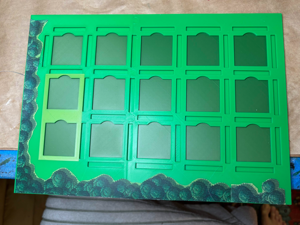
This project includes 3D printed replacements for the hex and vineyard cardboard tiles used in Castles of Burgundy Special Edition board game. This is my second approach to making these tokens. I believe this latter approach yields more consistent and polished looking tokens, but comes at the cost of greater effort and dramatically longer print times. This approach also requires a printer with an AMS and a 0.2mm nozzle (although if you're willing to forgo having printed help text on the tokens, you won't need either).
Disclaimer: There's a LOT of tokens included here (a s***load, actually). Each must be printed, have stickers applied and assembled. This is not a small undertaking. In retrospect, if I could have bought the real ones from Awaken Realms at or near their original price, I would have. However, at the outrageous aftermarket prices they now sell for, the effort to make these might be worth it (to some).
Update: I've added a profile that allows printing the outer shells of the tokens using a 0.4mm nozzle. I did not do a complete print, but the few samples that I did produced acceptable results (although not as good as those with the 0.2mm nozzle). My comments about adhesion problems below were apparently caused by the poor state of my smooth plate. Replacing it largely fixed my problems. Changes to my z-offset may not have even been necessary.
These tokens consist of two parts, an outer shell and an inner insert. The outer shell has the help text printed on its underside and needs to be printed with a 0.2mm nozzle (the Vineyard tokens do not include help text and both its shell and insert can be printed using a 0.4mm nozzle). A sticker is placed on the insert and the sticker is cut using the insert itself as a guide/jig. Finally, the insert is pushed into the outer shell.
I set the filament sequence of each plate containing the outer shells, so that the filament color of the help text is the first filament printed. In my testing, this order did have an effect on the clarity of the printed help text. I'm not sure if messing with the project's filaments can upset this order or not, but if you're not achieving the same results as mine, you might want to check this.
The inserts come in two options (2nd and 3rd profiles). One that allows you to put a nickel coin into it, to give the token extra weight, so it feels more premium. The other insert is just solid filament. Either of these inserts can be printed using a 0.4 mm nozzle.
Given how many of these tokens there are, adding nickels to each one (and two to the vineyard tokens) will add about $16 to the overall cost. My original plan was to use pennies, but no bank that I contacted would sell rolls of pennies anymore.
Note that the nickels are a very tight fit (by design). A rubber mallet (or even a hammer) could be a big help in forcing them into the insert.
The sticker sheets used for the inserts can be found here: https://drive.google.com/file/d/1nTUSrZzQqfuYOMCtnqGQk4H9od01MOiJ/view?usp=sharing . Vineyard stickers are here: https://drive.google.com/file/d/1DH1jaIRwoBnCE2uF5CSbFSMgWX3fBw1Q/view?usp=sharing
Worker stickers are below in documentation section.
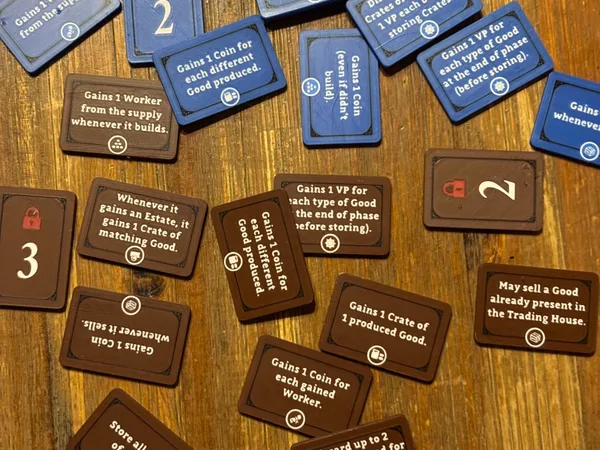
Note that the stickers on every other page with the help text are not needed, as the help text is printed directly on each token’s outer shell (these help text stickers were used in the previous iteration of this design).
Adjusting z-offset
Getting the outer shells to print correctly can be tricky as they include fine details (the help text) that must be printed in the first layer. I had to adjust the z-offset of my printer (and raise my bed temperature from 55 to 60 degrees) to get the shells to adhere to my smooth plate reliably. Unfortunately, Bambu doesn't make this adjustment straightforward. You have edit the “machine gcode” in your printer settings. If you adjust this setting incorrectly, you can damage your plate, nozzle or both (as setting it too low, will result in your nozzle digging into and marring your plate).
I'd suggest researching how to make this adjustment correctly, but I will explain how it is done in general terms.
Open your printer's settings by clicking on the icon indicated in the image below.
This will open the printer settings dialog. Click on the “Machine gcode” tab. Click inside the text of the Machine start G-code section and scroll down (almost to the bottom) until you see text similar to the following:
;===== for Textured PEI Plate , lower the nozzle as the nozzle was touching topmost of the texture when homing ==
;curr_bed_type={curr_bed_type}
{if curr_bed_type=="Textured PEI Plate"}
G29.1 Z-0.04 ; for Textured PEI Plate
{endif}
This gcode is setting the z-offset to -0.04 when using a Textured plate. At least in my case, there was no gcode for the Smooth plate (which you should be using to print these tokens), I'm guessing because the z-offset of the smooth plate is used as the baseline and has a z-offset of 0 as the default. A negative value lowers the nozzle closer to plate. If you're having adhesion issues, you can experiment with lowering the z-offset to see if it fixes your problem. As mentioned earlier, doing this incorrectly can actually damage your printer, so use caution.
I'd suggest making this change incrementally in 0.01mm steps. To move the z-offset lower by 0.01, add the following below the g-code shown above.
{if curr_bed_type=="High Temp Plate"}
G29.1 Z{-0.01} ;
{endif}
Try another print and see if this addresses your adhesion problems and make sure that the nozzle is not digging into the plate. A value of “-0.02” ended up working for me.
Stickers
Print every other page of the sticker sheets from the pdf referenced above (at 100% scale). You could apply these stickers to the token inserts and call it a day, but given the rough handling these tokens will likely be subjected to, I'd suggest protecting them by overlaying another clear sticker sheet on top of them (see the Bill of Materials for the clear sticker sheets that I used). Applying this clear sticker sheet can be a little tricky. I made quick video showing how I did it.
To apply a sticker to an insert, cut around the sticker roughly. Don't be concerned about excess material around it – once the sticker is applied to the insert, the excess will be cut to the insert's exact shape.
To align the sticker to the insert, I used a backlight.
Once the sticker is applied to the insert, cut the sticker to the insert's shape using an exacto knife.
As a final step, push the insert into the outer shell of the token.
(Note the other tokens in this picture are from my previous approach).
 The Castles of Burgundy: Special Edition 2023
Layer by Layer
The Castles of Burgundy: Special Edition 2023
Layer by Layer
Cover Colors
3D printed "acrylic" hex and vineyard tiles.
More by WearyOfTrying