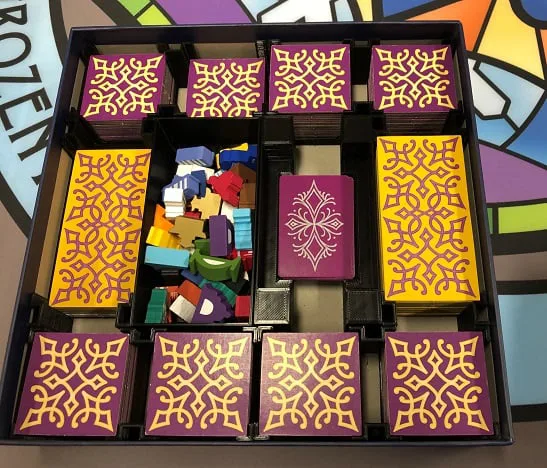
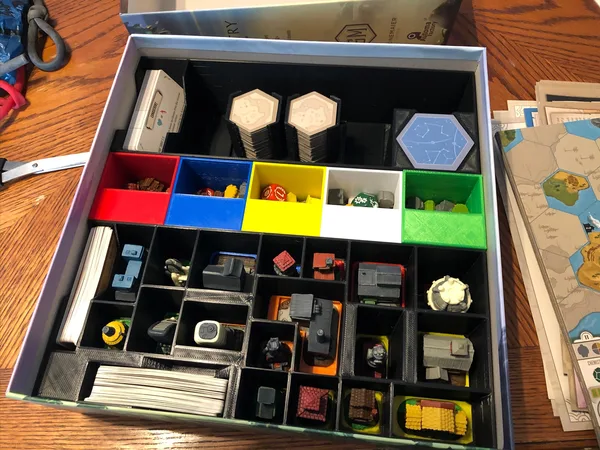
Log in to join the conversation.
Clank Legacy 2 Insert (no spoilers)
Print Profile 8h 27m 299 g PLA
Plate Details (5)
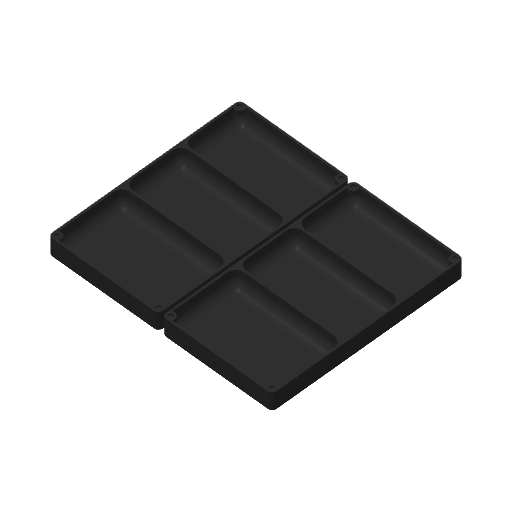
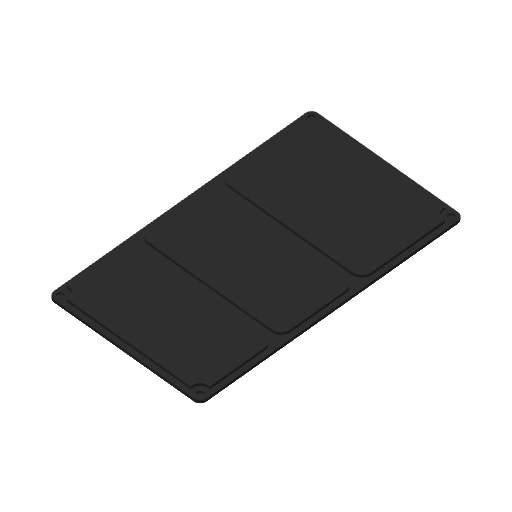
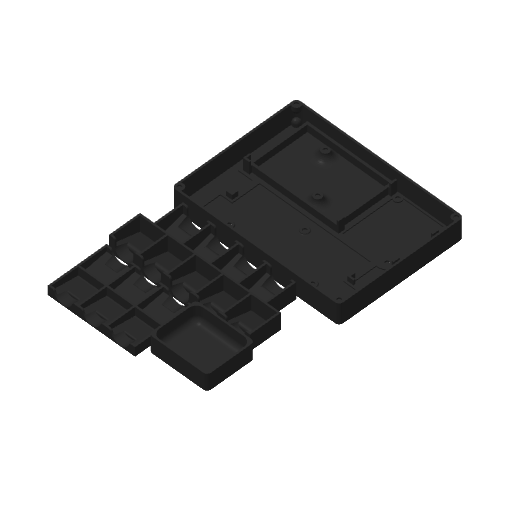
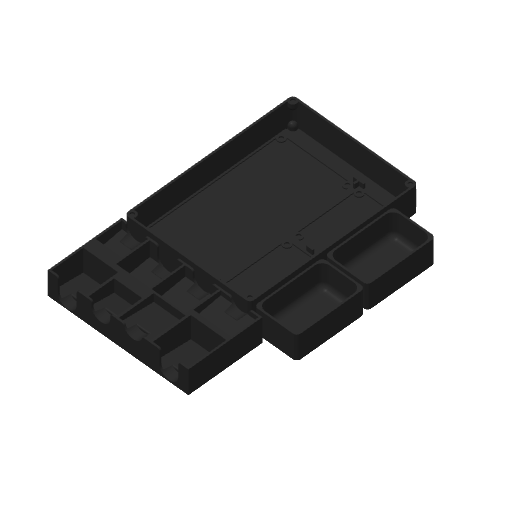
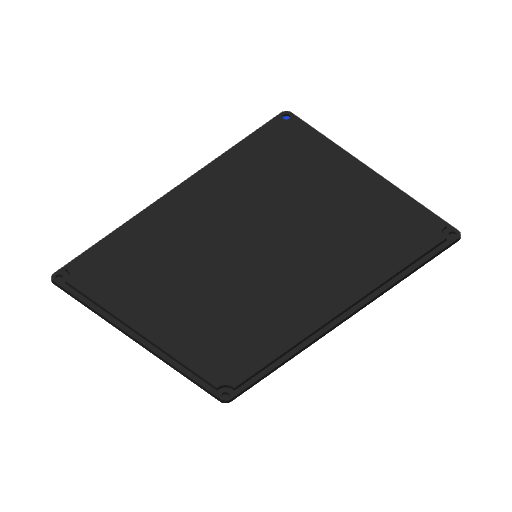
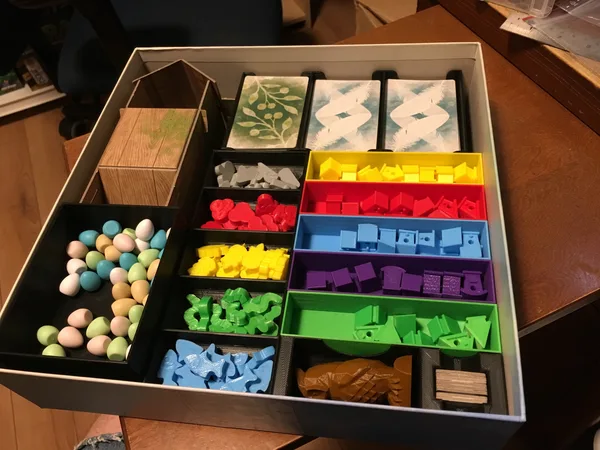
I was finding the setup for Clank Legacy 2 painful, so I put together an insert to help manage setup. I've also recently discovered the pure joy of having magnetic lids on my game inserts, so I made up some fancy lids for the insert to keep everything in place (and impress my friends!)
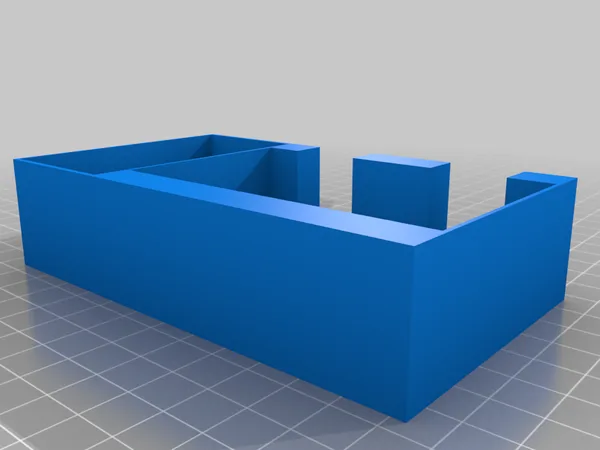
The insert features multiple pieces that are held in place using magnets. The larger boxes hold smaller inserts to hold all of the pieces, and each can be removed and set around the board quickly, easing setup signifiantly. In order to prevent spoilers, I've pulled all of
the pieces that are given over the game out and provided a map of what goes where. The numbers refer to the numbered punchboard. As the game progresses, the game will tell you when to punch these pieces and add them to the game.
For printing, you will want an AMS to handle the colour changes. I made sure to limit the colour count on any plate to four at most, so a single AMS is sufficient. None of the boxes are overly large, so this should also print on an A1 if someone wants to try it.
This insert will require the use of ca glue and approx ~76 3mm by 1mm magnets. I ordered 300 of them from Amazon for this project. This set comes with a larger magnet that can be used to set the small magnets in place. For assembly, place a small dab of ca glue into the magnet hole, and then use the larger magnet to press a small magnet into the hole. Slide the large magnet to the side to finish…pulling it straight upwards can pull the small magnet out of the hole. If you have problems with a magnet refusing to stay in place, I found that using a small ziplock bag between the small and large magnet helped, you can hold the bag in place while moving the large magnet away.
One thing to note, you MUST mark the large magnet so you know the polarity! I marked one end green and one end red, so I could keep track. Any magnets facing upwards were placed against green, any facing downwards were placed against red. If you mix it up, the insert won't work, so make sure you pay attention to your polarity!
Boost Me I make game inserts for my own sanity, I find it to be a fun hobby. If you feel these are worthy of a boost, please do so. If not, I won't lose sleep over it...these inserts are for me, sharing them is just more dopamine for my ADHD riddled brain :)
I will put any boosts towards more filament for more insert designs :) Thanks!