Log in to join the conversation.
Cascadia + Landmarks Organiser: 3 Modes, 6 Players
Print Profile (2) Two colours (AMS), 0.2mm layer, 3 walls, 15% infill 80h 41m 1,599 g PLA
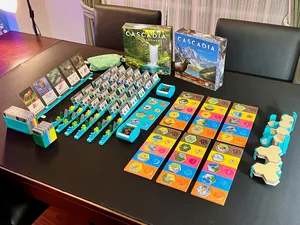
Plate Details (18)
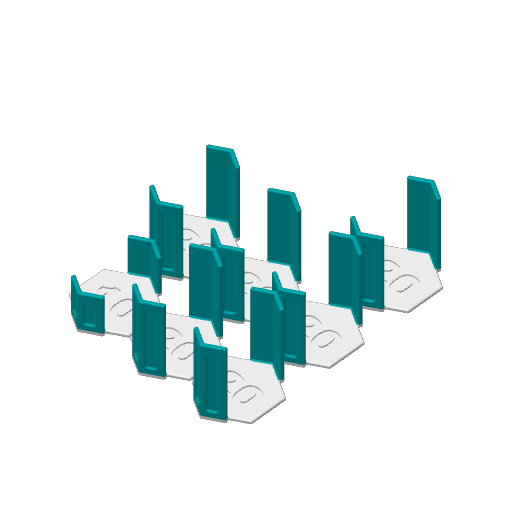
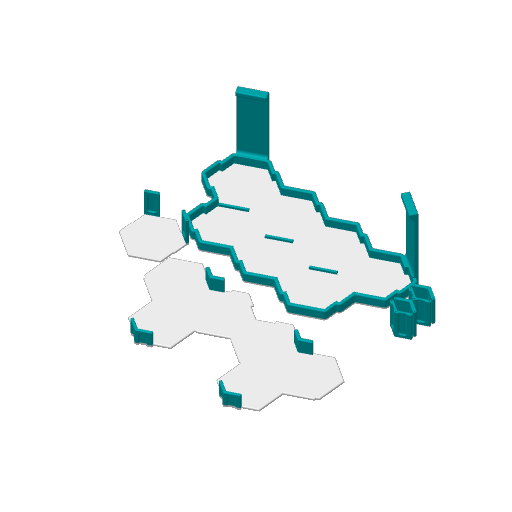
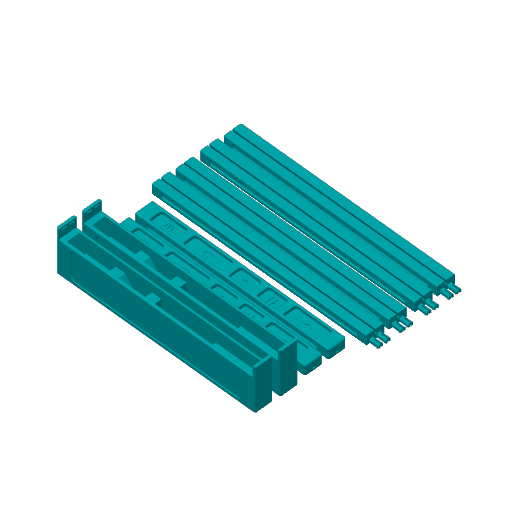
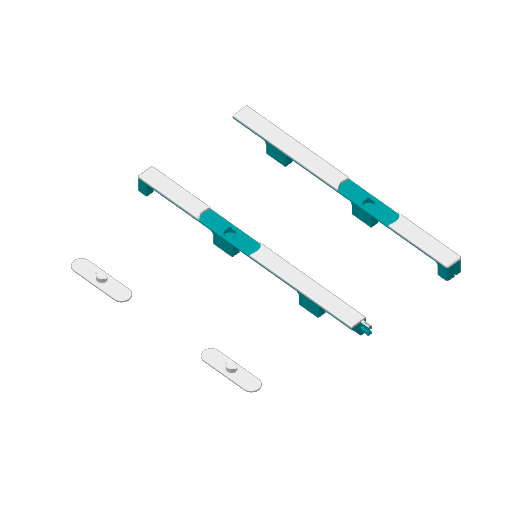
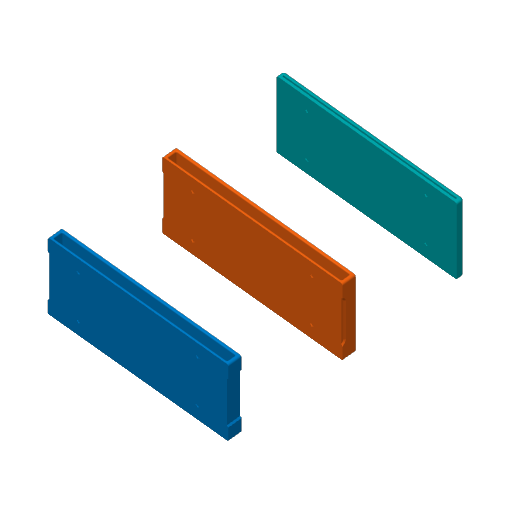
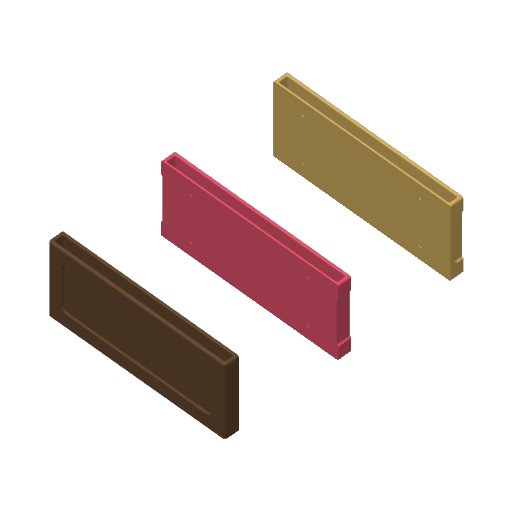
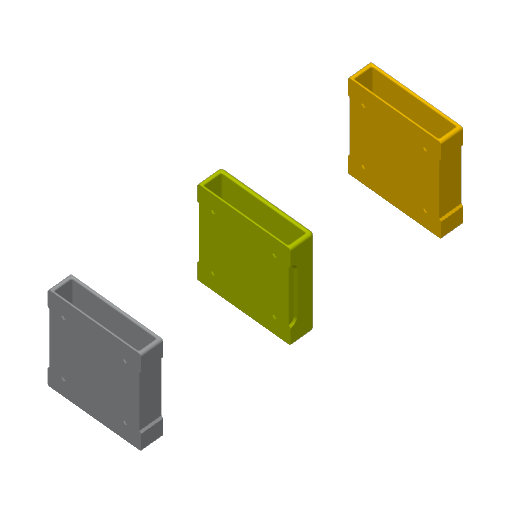
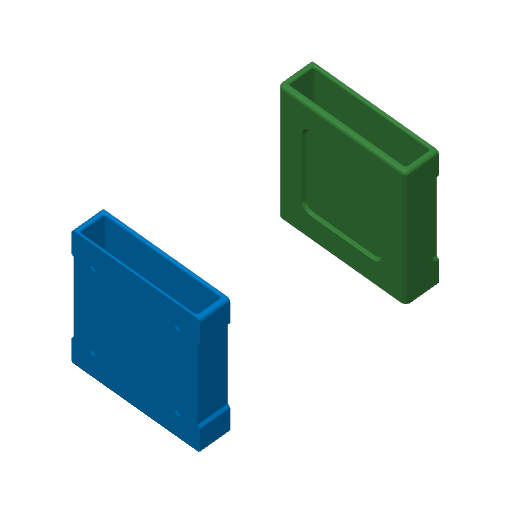
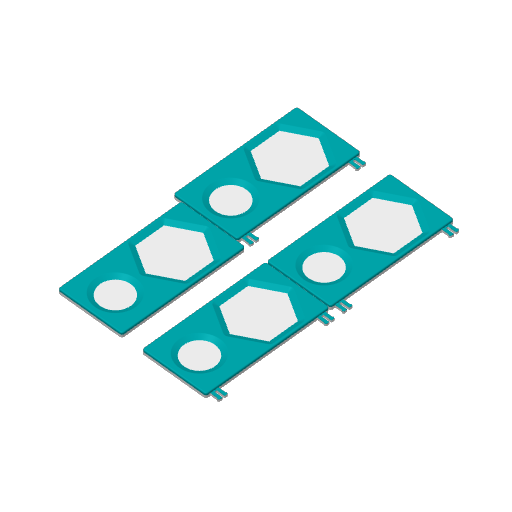
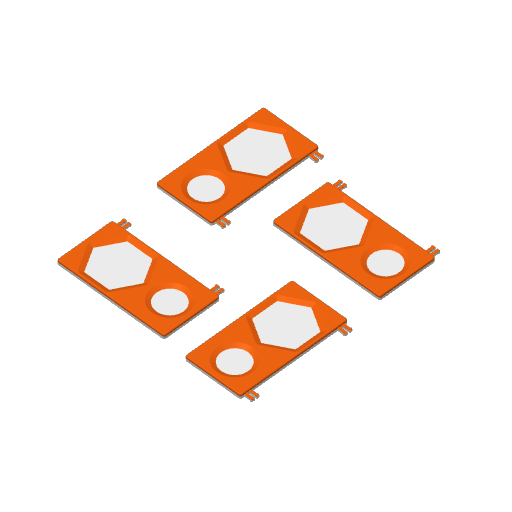

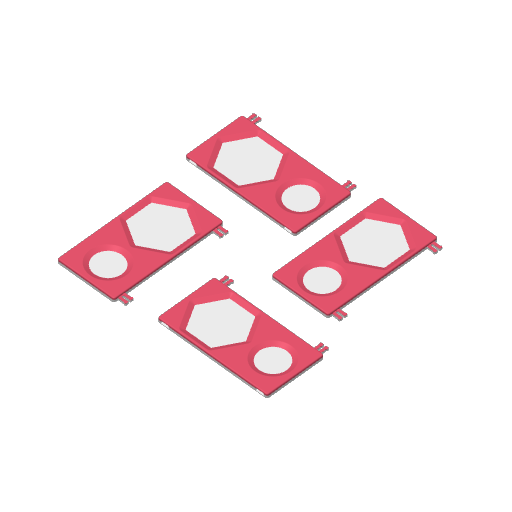
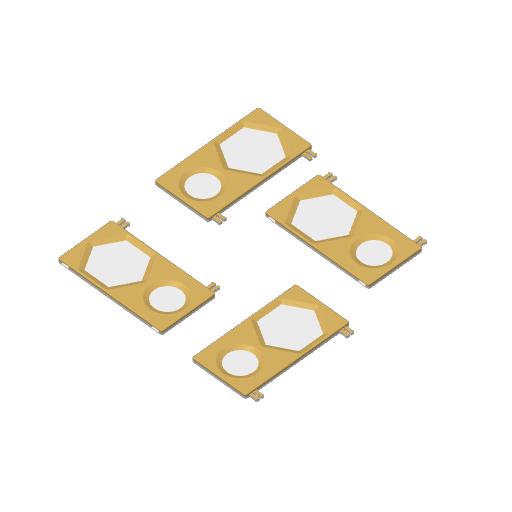

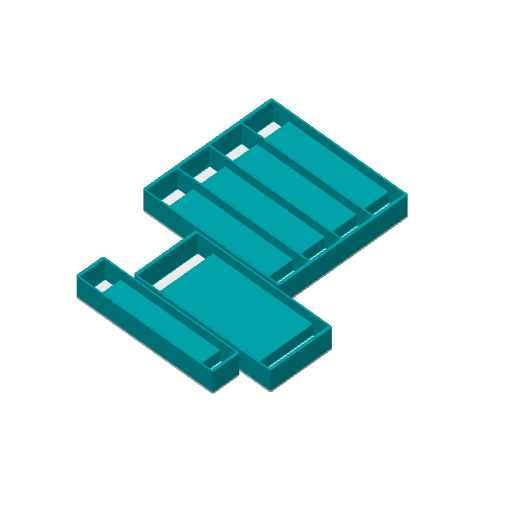
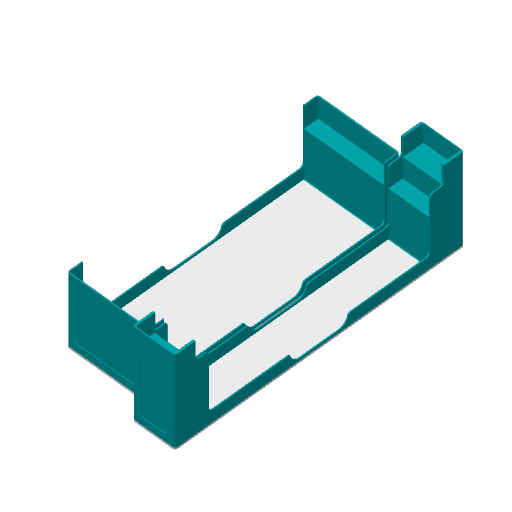
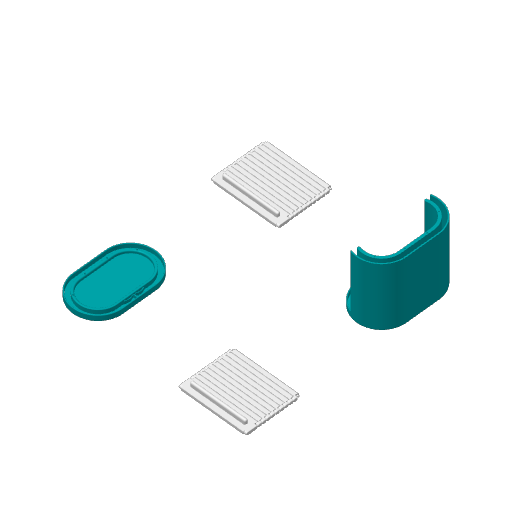
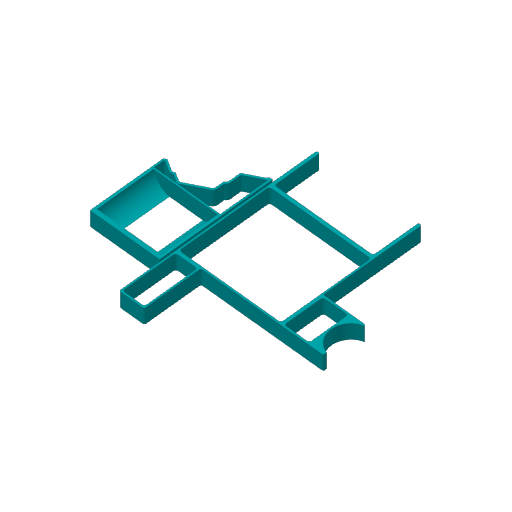
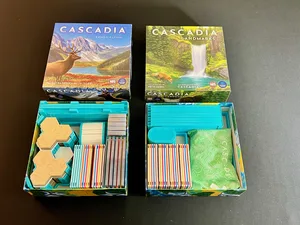
Plate Details (11)
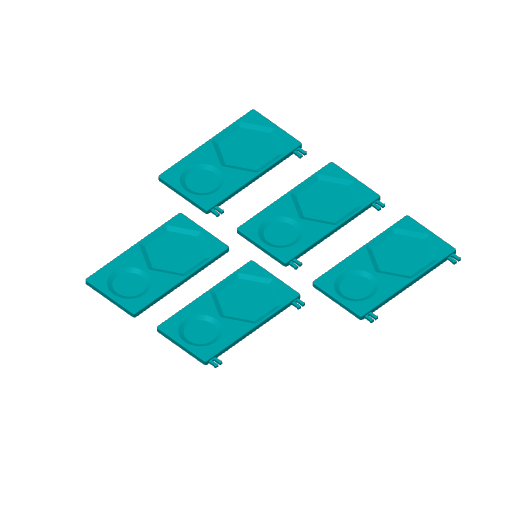
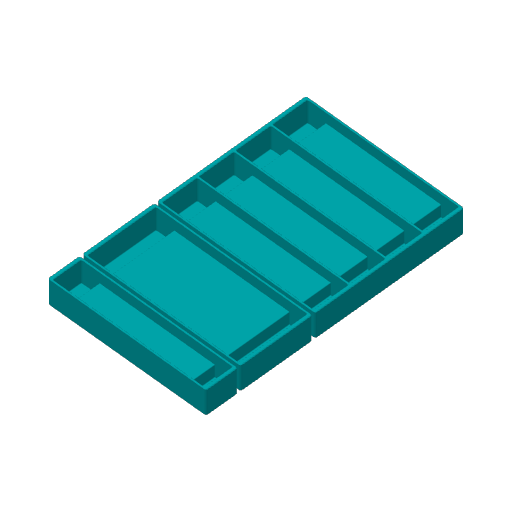
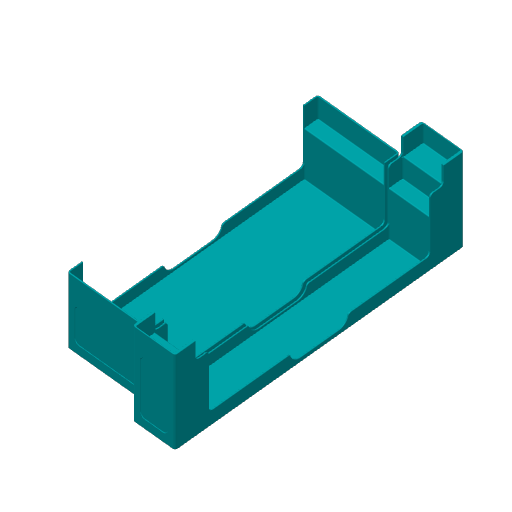
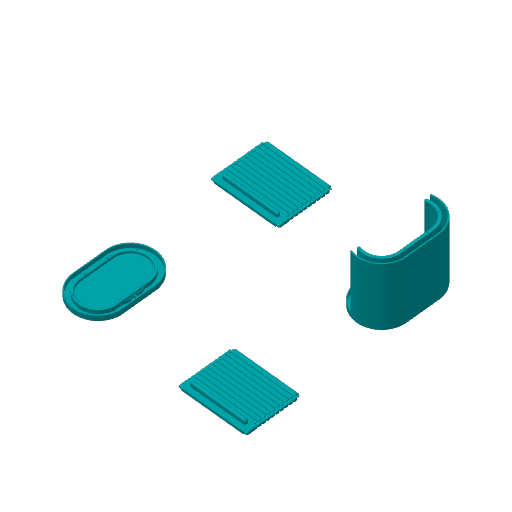
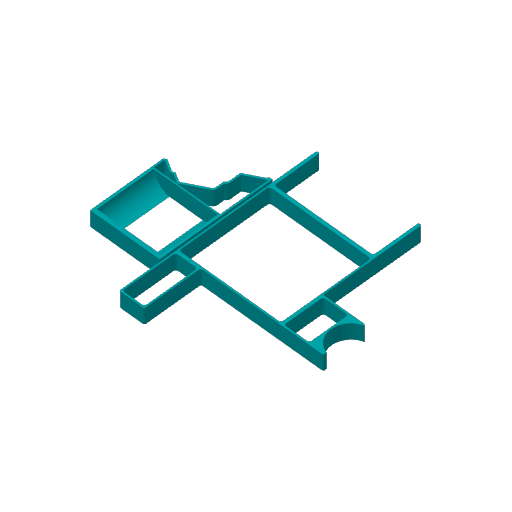
A complete organiser for Cascadia plus the Landmarks expansion with support for up to 6 players. It covers three game modes (original, alternative rules, and landmark expansion), sleeved cards, and vertical storage. Focus was less on compact storage, and more on quick and easy setup, support throughout the game play, and table presence (I think it looks quite pleasant on the table this way).
The whole organiser, laid out. Six personal supply trays and six landmark sets, one of each per player, both colour-coded card boxes, the wildlife card display, two roll-top bins for the nature tokens, and the habitat tiles in their towers.
It fills two game boxes: the complete game plus two players' worth in the first, and everything a three to six player game adds in the second.
Cascadia set up for a standard game.
Habitat tiles come out in towers of twenty. Setup asks for twenty tiles per player plus three, so there is nothing to count: shuffle everything at the start, take one tower per player, add three, and you are ready. The starter tiles have their own tray.
The five wildlife scoring cards stand face-out on a display bar, so everyone can read them all game. Picking them is quick because the card box behind holds the rest with one colour-coded segment per wildlife.
The nature tokens live in a roll-top bin. Both doors ride one closed loop of track: shut, they meet at the top; open, each rolls around its end and parks under a false floor, out of the way. No magnets, just groove friction, and a full-length handle bar on each door to work it. It takes the cardboard tokens from the box, or printed pinecones if you want them fancier. Mine are printed (see the credits below).
In the middle is the supply tray: four habitat tiles with their four paired wildlife tokens, held in the pairs the rules put them in, so the shared supply reads at a glance and stays paired when someone takes from it.
The faster-play rules from the Landmarks expansion. Each player gets a personal supply of five habitat tiles and five wildlife tokens, and the tokens have to be one of each wildlife type.
So the segments are printed in the wildlife colours: fox orange, hawk blue, salmon pink, elk yellow, bear brown. Setup is one segment of each colour, and a glance down the tray tells you it is right. The habitat tiles are drawn at random and go on top.
One tray per player. The first box carries two, the second box carries four more.
One player's tray, closer. Every segment takes one habitat tile in the hex dish and one wildlife token in the round one. The dishes are tapered with rounded rims, so pieces slide out under a fingertip.
Left to right here: fox, hawk, salmon, elk, bear. The colour is the whole point. You are not checking icons at setup, you are just laying out one segment of each colour.
The Landmarks expansion, played with the faster-play rules. Landmarks add a set of landmark tokens and a matching scoring card for every player, on top of everything the other two modes already put on the table.
So the organiser gives each player two more pieces: a tray for their landmark tokens and a holder for their landmark cards. One set per player, and they snap together from printed parts.
The landmark tokens stand profile-out, a well for each type, so a glance tells you what a player has left. Their landmark scoring cards lean face-out on the holder beside them, readable across the table all game.
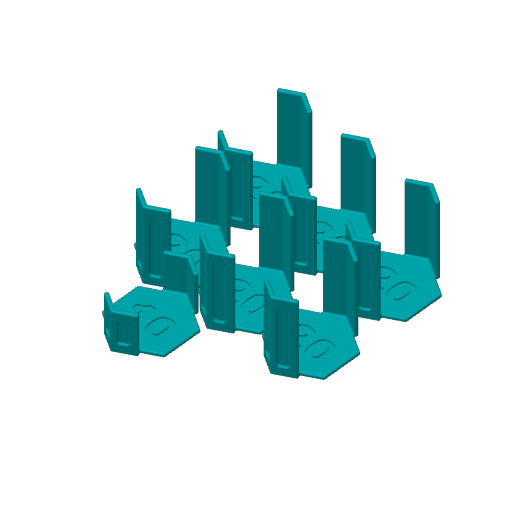
Habitat tiles store twenty to a rack, and the rack counts for you. At twenty the top tile sits flush with the tops of the posts, so you can feel that a stack is full without counting a single tile. Each base is marked with its count.
That matters at setup, because the game asks for twenty tiles per player plus three.
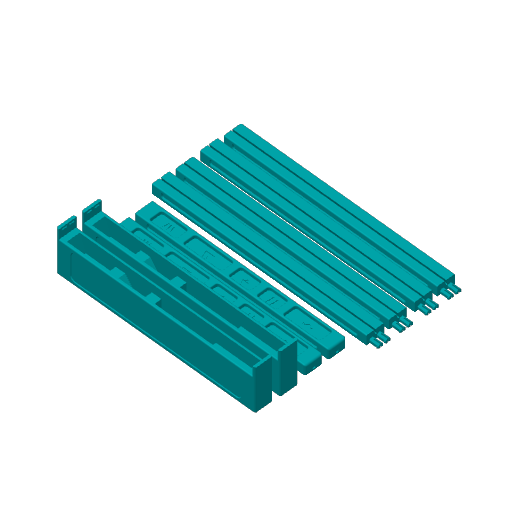
Seven racks hold all 130 habitat tiles: six of twenty and one of ten. They drop into the hex tray in a honeycomb, and the raised keys between them mean no rack can slide once it is seated.
The ten starter tiles are a different shape, so they get their own tray: two stacks of five, cradled at the corners.
The starter tray is also the hex tray's lid. It seats on the post tops, and the two together become one block holding everything habitat related.
The two tall pillars are the handle. Grip those and the whole block lifts out of the box in one movement, and moves around the table the same way.
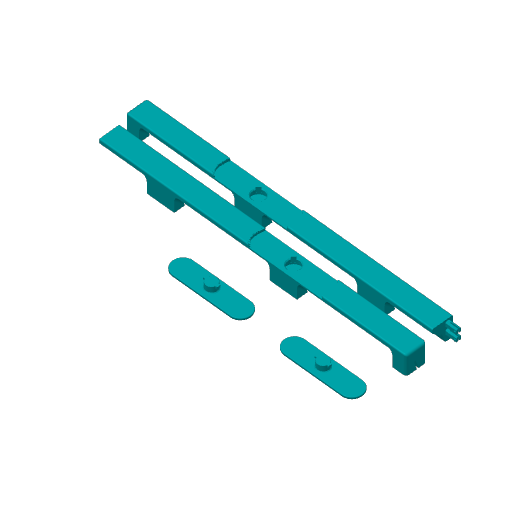
One landmark set per player, six here. Each set is three printed pieces: a token holder and two card holders, clicked into one line.
One player's set. Their five landmark tokens sit on the left, their five landmark scoring cards stand face-up along the rest, so everything that belongs to them is in one strip in front of them.
The token holder has a place for each of the five landmark types, and each well is marked with its own icon, so there is one right way to load it and you can see at a glance if a token is missing.
The lid is for storage, not for play. With it on, nothing rattles loose in the box.
Hook it on one side first, then press the other side down, the way it is being done here. It is a little fiddly the first few times and quick once you have the knack.
Packing a set away: lid on the token tray, both card holders stacked on top, and the whole stack drops into its insert as one piece.
There are two of these inserts, one holding two sets and one holding four, which is how the six sets split between the two boxes.
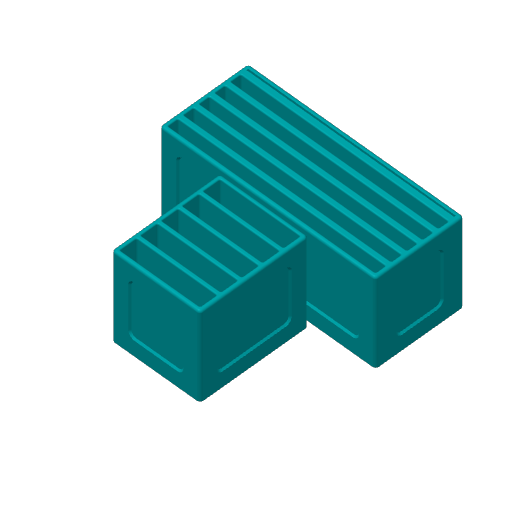
The landmark scoring cards live in their own box, one compartment per landmark type and colour coded to match, so a deck goes back where it came from without reading anything.
The five wildlife scoring cards stand face-up on a display bar where everyone can read them all game. The rest of the decks live in their own box beside it, one compartment per wildlife and colour coded to the token colours, so picking the five at setup is quick and putting them back is quicker.
The display comes as two parts that click into one bar. Its feet fold inline for storage and swing out to give it a base wide enough that a knock will not put it over. Each foot goes on with a quarter turn: hold it at 45°, push it into the bar and turn it.
To pack them away, the bars go into the same insert as the landmark sets, in a space kept for them on top. One insert, everything for a player's cards and tokens.
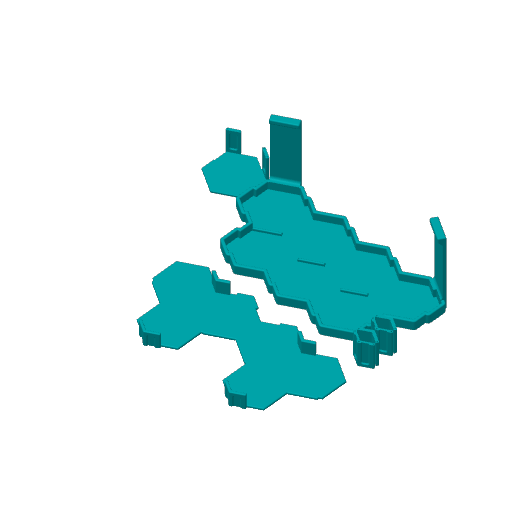
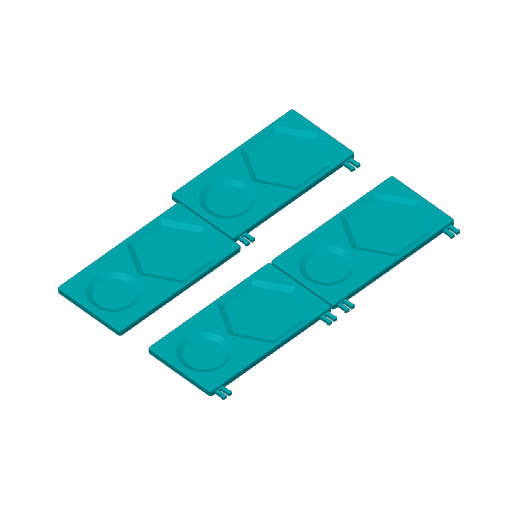
A supply tray is built from segments, one habitat tile, and one wildlife token each, which click together. The top row here is the standard game's shared supply tray, four segments. The bottom row is one player's personal supply tray for the faster-play rules, with five segments in the wildlife colours.
There is no glue and no tool. Snap the tray together to play, pull it apart to put it away, and the segments stack flat in the box.
Tip: Fresh from the print bed, the connection for the trays is pretty strong. Push them firmly together; to tear them apart, start ripping them apart from one side, as scissors would open.
Most of the organiser clicks together with no glue at all. What does need gluing depends on which download you took: the hex tray's lid and the pinecone bin in both, plus the two card boxes in the two-colour set. In the one-colour set each card box prints as a single piece, so there is nothing to join.
The hex tray's lid goes together from six printed parts: the base, a downwards extension, and four pillars that hang below it. The pillars only fit one way. Each drops into its own divots in the base, and the two pairs carry a different number of pegs, two on one pair and three on the other, so a pillar cannot end up in the wrong place. Glue the pegs and press them home.
The card boxes, if you are printing them in two colours, come as one segment per compartment. Run glue between the segments and press them together. Small pegs and divots line the segments up for you, so there is nothing to measure or hold square.
The bin takes more care, so here it is step by step.
Lay everything out first: the base, the lid, the two doors, and the glue. I use Gorilla Clear Grip.
Work each door back and forth in your hands until its segments bend freely and the friction is gone, then feed the doors into the grooves in the base. Press the lid on: four pegs and divots pull it into alignment. No glue at this stage, it is a dry fit to get the doors sitting in the right place.
Now pinch the base and lid together and run the doors open and closed. They are stiff for the first five or ten cycles, so keep working them until they move without fighting you. What matters here is that the doors close fully .
With the doors closed, lift the lid off again carefully, leaving the doors exactly where they are.
Glue goes on the lid's inner segment, around the pegs and nowhere else. That is plenty. Keep it well clear of the groove the doors run in.
Lid back onto the base, lined up, then hold it. Ten minutes by hand, or clamp it. Hair ties do the job nicely. The glue is usable after ten minutes and fully cured after twenty four hours.
Then fill it with pinecones.
Taken apart, the segments go back into their racks, standing on edge. There are two: a narrow rack for the standard game's four-segment shared supply tray, and a wider one for the two five-segment personal supply trays.
The standard way. The base game box takes the whole game plus two players' worth, and the Landmarks box takes what a three to six player game adds, with the cloth bag in there.
Both boxes have a floor tray under everything else, shaped to fill whatever room the other parts leave. That is what holds the contents tight, and it is why either box can be stored standing on its side without anything rearranging itself.
Packed like this the base game box lifts its lid a little, and the Landmarks box closes flat.
The two-player way. Most of my Cascadia is two-player, and when I take it to a friend I would rather carry one box. So the cloth bag goes into the first box as well, tucked into the space beside the pinecone bin.
That buys everything in one box and costs more lid lift. It might not be everyone's taste. It does not bother me, and it is the trade I make to carry one box instead of two.
The solo way. Solo does not use the two personal supply trays, so the wide rack that holds them goes across to the Landmarks box instead. Its floor tray has a seat waiting for it, sized so it slides in and stops against the box wall.
That empties a bay in the base game box, the full height of the cavity, and the cloth bag drops straight into it. It is lying in a space meant for it rather than wedged into what was left over.
This one came from a reader on BoardGameGeek asking whether the organiser did anything for solo . It did not, and now it does. Thanks, Valerie!
The lid sits lower than in either of the other two ways. The bag is inside the box, not under the lid, and that is the whole difference.
Every part comes in a one-colour and a two-colour version. The photos here show mostly the two-colour ones, printed in Bambu PLA Basic Turquoise (#00B1B7) and Jade White (#FFFFFF).
The two-colour version is designed with an AMS in mind, but with only a few colour swaps, to reduce print time and filament waste.
The two live in separate downloads , one for the one-colour prints and one for the two-colour prints, so you take the set that suits your printer and never scroll past plates you will not use.
The pinecones in the photos are printed, not the cardboard nature tokens from the box. They are not my models, and both sets are worth a look. I printed 40 in total across the two:
- Cascadia Pinecone Set, 5 unique models
- Cascadia Nature Token
The bin fits the cardboard tokens too, so printed pinecones are optional.
Licence: CC BY-NC-SA. Use it, remix it, share it on, but not commercially, and keep the same licence on anything you build from it.
25 September 2026
- New feet for the wildlife card display. The old clip that held each foot on was a design fault: it gripped by less than the normal variation between printers, so on some printers it came out loose and on others it snapped when pushed on. Each foot now goes on with a quarter turn, with nothing to flex or break. Hold the foot at 45°, push it into the bar and turn it. It locks both folded and standing. The feet also sit a little further in, between the card windows. Changed parts: both display bars and the feet.
26 August 2026
- Solo packing, a third way to put the boxes away. The supply rack is now two pieces instead of one: a narrow rack for the shared setup tray and a wide one for the two personal supply trays. For solo, the wide one moves across to the Landmarks box, whose floor tray has gained a seat for it, and the cloth bag takes the bay it leaves in the base game box. Less lid lift, and nothing riding on top. The standard and two-player packings are unchanged, and the two racks together still fit exactly where the old single rack did. Changed parts: the two supply racks, and the Landmarks box floor tray.
- The print files are now two downloads instead of one , split by colour: one set for one-colour printing, one for two-colour. Same parts either way.
23 August 2026
- First release.

