Log in to join the conversation.
Living Forest Spiele-Organizer Remix sleeved Cards
Print Profile 28h 39m 1,168 g PETG, PLA
Plate Details (11)
(English version below)
Remix des großartigen „Living Forest Game Organizer“ von futuria : https://makerworld.com/de/models/2594783-living-forest-game-organizer Vielen Dank an futuria für das tolle Original. Alle Ideen, die Grundform und das Stapelkonzept stammen von dort.
⚠️ Hinweis: Das ist mein erstes eigenes Projekt bzw. Remix. Ich habe alle Teile sorgfältig geprüft und alle Trays selbst gedruckt. Bitte prüft die Einstellungen trotzdem vor dem Druck und druckt im Zweifel erst ein einzelnes Tray zum Testen.
Das Original ist ausdrücklich nicht für gesleevte Karten gedacht. In diesem Remix passen alle Kartenfächer für Karten in Sleeves mit 66 × 91 mm . Außenmaße und Stapelhöhe bleiben gleich, und wie im Original hebt sich der Deckel nicht an .
- Alle Kartenfächer: 92 × 67 mm (Original 89 × 64 mm)
- Stege unter den Karten: 1,4–1,6 mm statt 3–7 mm, dadurch mehr Stapelhöhe
- Trennwände meist 2 mm statt 4–5 mm. Das spart Material und schafft Platz.
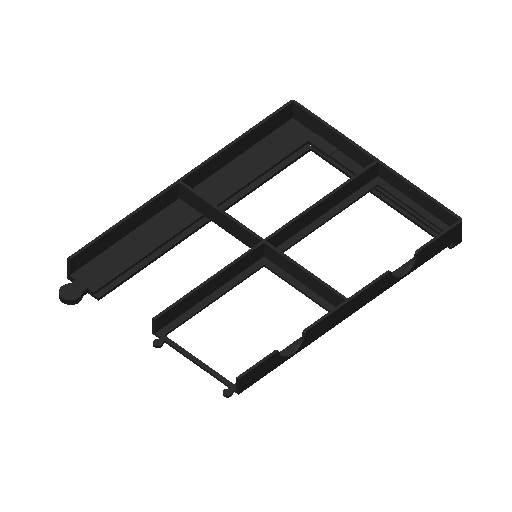
- Shoptray 1 + 2: drei gleich große Kartenfächer, Steg rundum 5 mm breit. Die Token-Fächer dahinter sind dafür etwas weniger tief (68,5 mm).
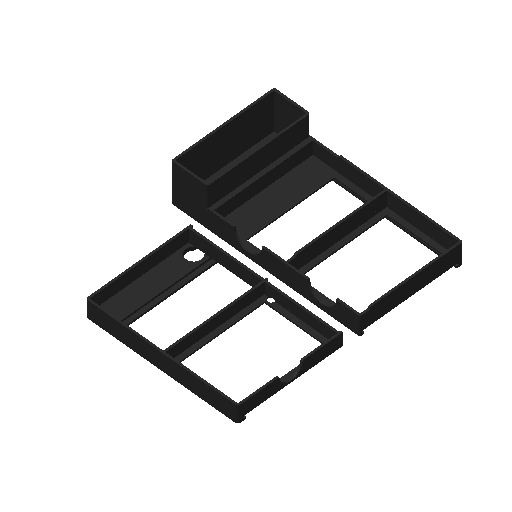
- Feuerwarantray: 2 mm breiter (96 mm). Zwei gleich große Kartenfächer mit Eingriff an der linken Seite. Mit Standard-Sleeves passen alle Feuerwarankarten in ein Fach, und das zweite nimmt wie im Original die X-Marker auf. Bei dickeren Sleeves teilt man die Karten auf beide Fächer auf und legt die X-Marker in das obere Fach. Dieses ist komplett hohl (92 × 30 × 38 mm).
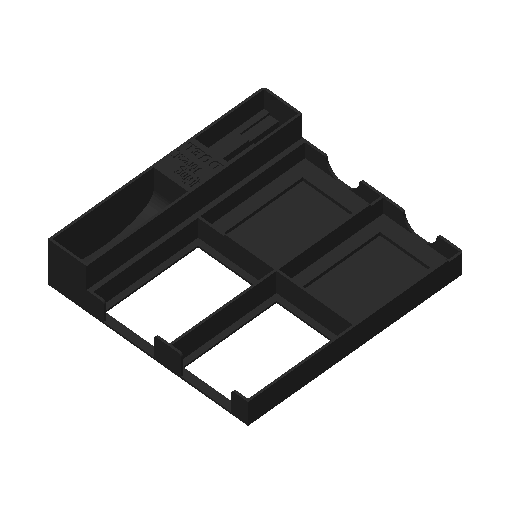
- Duelltray: alle vier Kartenfächer 92 × 67 mm. Dafür ist das Tray 1 mm breiter (190 mm), Feuerwaran- und Duelltray zusammen also 286 statt 285 mm. In meiner Schachtel ist dafür genug Platz, bitte prüft das bei euch. Die rechten Fächer haben einen 2 mm tieferen Kartenboden und darin eine 3 mm tiefe Mulde. Der Eingriff am rechten Rand reicht nur bis zum Kartenboden.
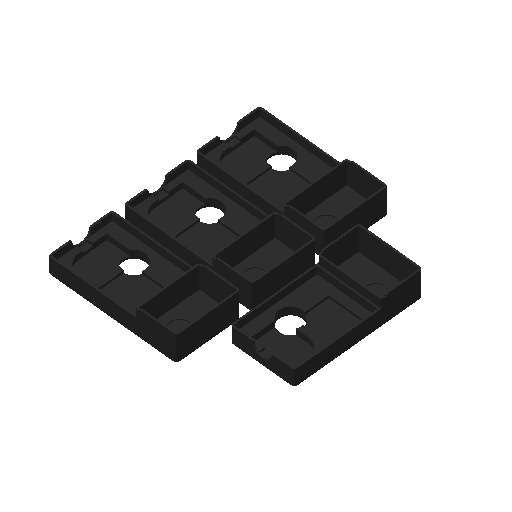
- Charaktertrays (4×): Kartenfach 92 × 67 mm, 9,2 mm hoch, passend für 10 gesleevte Karten (bei mir 8 mm). Das hohe Fach ist komplett hohl (42 × 67 × 29 mm).
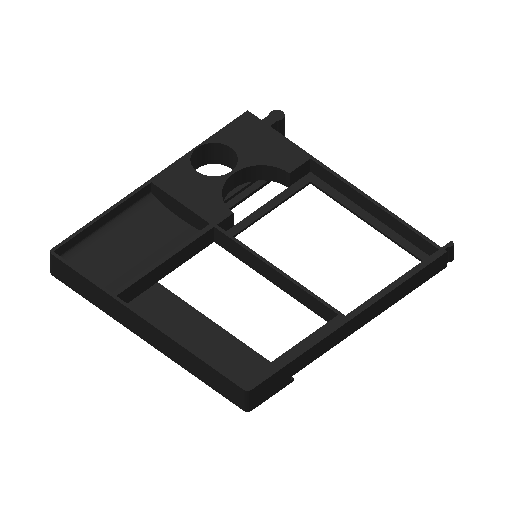
- Kodama 1 + 2: Teilungslinie um 3 mm verschoben, Kartenfächer 67 × 92 mm, 9,4 mm hoch. Kodama 1 hat an der Teilung eine eigene Wand, die Steckverbindung hat 0,15 mm Spiel. Mit Karten ungetestet, da ich die Erweiterung noch nicht besitze.
- Die Auflagerippen unter dem Shoptray sind an die neuen Wände angepasst. Alle Teile lassen sich weiterhin aufeinanderstapeln.
- Nicht enthalten: die leere Ersatzbox für Spieler ohne Duell-Version. Sie passt nicht mehr zum breiteren Feuerwarantray.
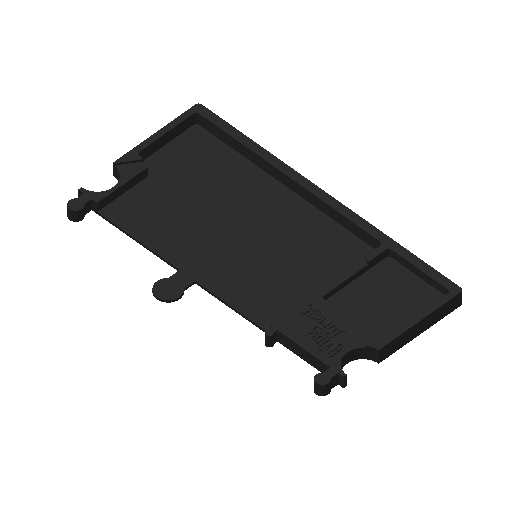
- Plättchenhalter 1–3: Grundform unverändert. Die Schienen für das Kartonteil haben etwas mehr Spiel (2,3 mm hoch, 0,25 mm breiter je Seite), damit es leicht hineingleitet. Die untere Nut ist jetzt 5 mm tief. Dadurch entsteht ein breiterer Rand, die Symbole auf dem Karton bleiben sichtbar.
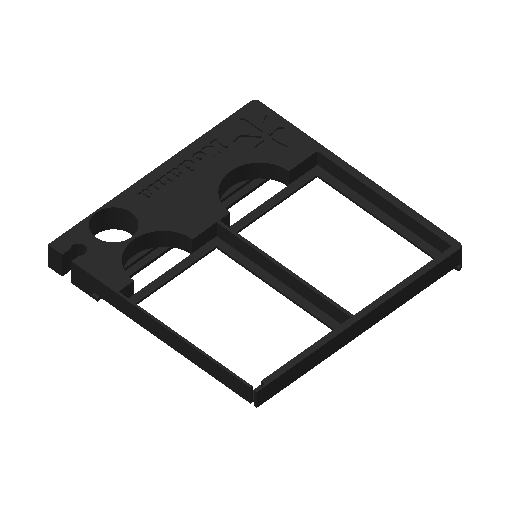
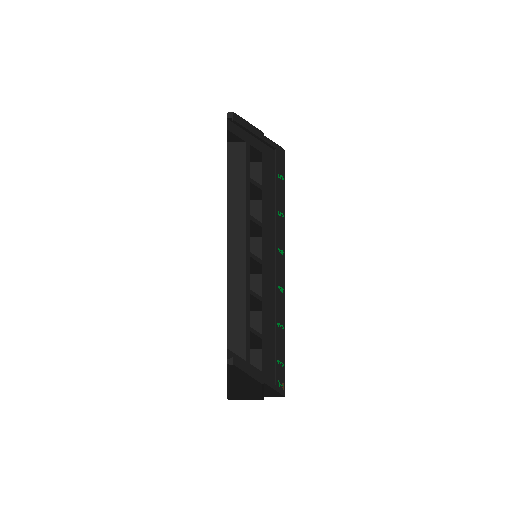
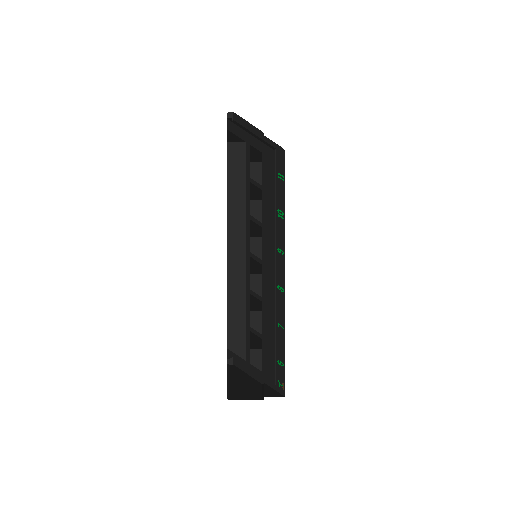
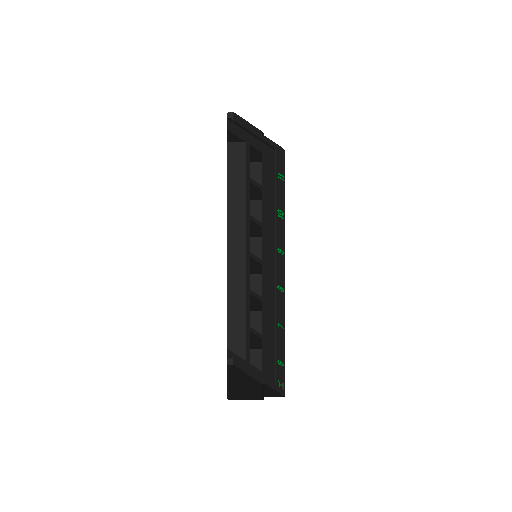
- Beschriftung: Auf allen drei Haltern ist im Rand ein mehrfarbiges Inlay eingelassen: das Spross-Symbol (braun/grün) und darunter je Fach die Kosten (Halter 1: 3 3 4 4 5 5, Halter 2 und 3 (Kodama): 6 7 8 9 10 11). Die Teile „Symbol Erde“, „Symbol Spross“ und „Beschriftung Zahlen“ sind eigene Bauteile im Objekt, ihre Farbe könnt ihr in Bambu Studio frei zuweisen.
- Unverändert: Obere Ablage 1 + 2
Platte Inhalt Stützen
01 Shoptray 1 ja
02 Shoptray 2 + Feuerwarantray ja
03 Kodama 1 ja
04 Kodama 2 ja
05 / 06 Obere Ablage 1 / 2 nein
07 Charaktertrays (4×) nein
08 Duelltray nein
09–11 Plättchenhalter 1–3 (mehrfarbig) nein
Die Stützen sind in der Datei für die betroffenen Teile bereits aktiviert (Normalstützen, nur auf der Druckplatte). Als Trennschicht habe ich PETG verwendet, weshalb auf den Platten mit Stützen auch ein Reinigungsturm existiert.
- PLA, 0,2 mm Schichthöhe, Profil wie im Original (2 Wände, 15 % Infill)
- Für die Charaktertrays habe ich 2 Wände + „Alternierende Zusatzwand“ genutzt. Das ergibt stabile Wände mit guter Haptik.
- Stützen-Schnittstelle: Ich habe PETG als Schnittstellenmaterial mit oberem Z-Abstand 0 verwendet. Ohne AMS gehen auch normale PLA-Stützen, der Schlitz für die Spielplatte kann dann etwas enger ausfallen.
- Stützen vorsichtig entfernen: nicht nach oben hebeln, sondern von unten bzw. durch die Sichtfenster herausdrücken und nach vorne aus dem Schlitz ziehen. Die schmalen Außenschienen können sonst abreißen.
- Die Stützen im Schlitz unter dem Steg bitte vorsichtig mit einem spitzen Werkzeug entfernen (wie im Original beschrieben).
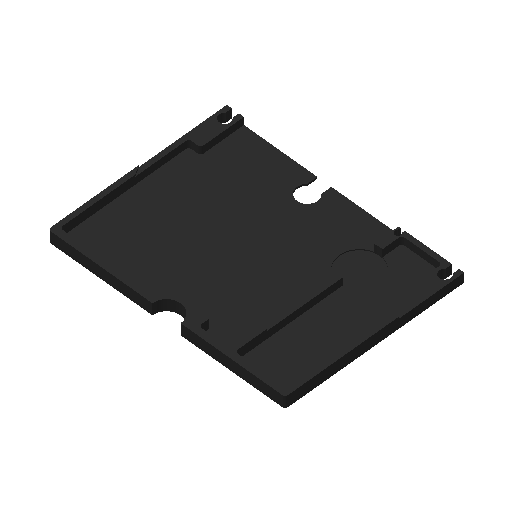
Die Spielplatten (Grundspiel 270 × 120 × 2 mm, Feuerwaran 118 × 90 × 2 mm, Kodama) werden wie im Original von vorne eingeschoben. Im Unterschied zum Original müssen sie nur noch sehr leicht hineingepresst werden , die Kanten bekommen kaum noch Abriebspuren:
- Der Schlitz ist 2,2 mm hoch und hat seitlich 0,2 mm Spiel, die Platte gleitet ohne Kraft hinein.
- Auf den letzten ca. 6 mm greifen federnde Klemmnasen an der Plattenkante und halten die Platte sicher. Sie fällt auch kopfüber nicht heraus. Shoptray: links und rechts, Feuerwarantray: rechts, Kodama: links.
- Herausnehmen: Platte mit dem Daumen durch ein Sichtfenster nach vorne schieben.
- Die Werte habe ich mit Testkörpern ermittelt (Grundspiel- und Feuerwaranplatte). Kodama ist ungetestet.
- Nach dem Druck kurz prüfen: Jede Federzunge muss sich mit dem Fingernagel leicht zur Seite drücken lassen. Falls nicht, hängt Material im 0,8-mm-Spalt dahinter, das lässt sich mit einem Cuttermesser freischneiden.
- Unten: Feuerwarantray und Duelltray vorne, dahinter die drei Plättchenhalter ineinandergesteckt.
- Mitte: Shoptray 1 + 2 vorne auf dem Feuerwaran- und Duelltray, Kodama 1 + 2 hinten auf den Plättchenhaltern.
- Oben: die vier Charaktertrays vorne auf dem Shoptray, die Obere Ablage hinten auf Kodama und über den Kartenfächern der Charaktertrays.
- Shoptray: Gesleevt reicht die Höhe für die günstigste Kartenkategorie nicht ganz. Verteilt beim Einräumen ein paar dieser Karten auf die beiden anderen Kartenfächer.
- Plättchenhalter: Ich wollte nicht wie futuria an der Karton-Einlage herumschneiden, deshalb passen bei mir 3 Plättchen je Fach (recht fest), ein viertes nicht. Das jeweils vierte Plättchen lege ich in den frei gewordenen Platz im Feuerwarantray.
Wie das Original unter der MakerWorld Exclusive License : nur auf MakerWorld, mit Nennung des Originals, keine kommerzielle Nutzung.
Remix of the great “Living Forest Game Organizer” by futuria : https://makerworld.com/de/models/2594783-living-forest-game-organizer Big thanks to futuria for the original design. All the ideas, the basic shapes and the stacking concept come from there.
⚠️ Please note: This is my very first project / remix. I checked every part carefully and printed all trays myself. Still, please double-check the settings before printing, and if in doubt, print a single tray first as a test.
The original is explicitly not made for sleeved cards. In this remix all card compartments fit cards in 66 × 91 mm sleeves . Outer dimensions and stack height are unchanged, and like the original, there is no lid lift .
- All card compartments: 92 × 67 mm (original 89 × 64 mm)
- Ledges under the cards: 1.4–1.6 mm instead of 3–7 mm, which gives more stack height
- Divider walls mostly 2 mm instead of 4–5 mm. This saves material and makes room.
- Shop tray 1 + 2: three equally sized card compartments with a 5 mm ledge all around. The token compartments behind them are slightly shorter (68.5 mm).
- Fire Varan tray: 2 mm wider (96 mm). Two equal card compartments with a finger cut-out on the left side. With standard sleeves all Fire Varan cards fit into one compartment, and the second one holds the X markers as in the original. With thicker sleeves, split the cards between both compartments and put the X markers into the upper compartment, which is fully hollow (92 × 30 × 38 mm).
- Duel tray: all four card compartments 92 × 67 mm. For this the tray is 1 mm wider (190 mm), so Fire Varan and Duel tray together are 286 instead of 285 mm. My box has enough room for that, but please check yours. The right compartments have a card floor 2 mm lower, with a 3 mm deep recess in it. The finger cut-out on the right edge only goes down to the card floor.
- Character trays (4×): card compartment 92 × 67 mm, 9.2 mm high, for 10 sleeved cards (8 mm in my case). The tall compartment is fully hollow (42 × 67 × 29 mm).
- Kodama 1 + 2: split line moved by 3 mm, card compartments 67 × 92 mm, 9.4 mm high. Kodama 1 has its own wall at the split line, and the press-fit joint has 0.15 mm clearance. Not yet tested with cards, because I don’t own the expansion yet.
- The support ribs under the shop tray were adapted to the new walls. All parts still stack on top of each other.
- Not included: the empty replacement box for players without the duel version. It no longer fits next to the wider Fire Varan tray.
- Tile holders 1–3: basic shape unchanged. The rails for the cardboard piece have a bit more clearance (2.3 mm high, 0.25 mm wider per side), so it slides in easily. The lower groove is now 5 mm deep, which creates a wider rim while the symbols on the cardboard stay visible.
- Labels: all three holders have a multi-color inlay in the rim: the sprout symbol (brown/green) and the cost under each slot (holder 1: 3 3 4 4 5 5, holders 2 and 3 (Kodama): 6 7 8 9 10 11). “Symbol Erde” (soil), “Symbol Spross” (sprout) and “Beschriftung Zahlen” (numbers) are separate parts of the object, so you can assign any filament in Bambu Studio.
- Unchanged: top trays 1 + 2
01 Shop tray 1 (supports) · 02 Shop tray 2 + Fire Varan tray (supports) · 03 Kodama 1 (supports) · 04 Kodama 2 (supports) · 05/06 Top tray 1/2 · 07 Character trays (4×) · 08 Duel tray · 09–11 Tile holders 1–3 (multi-color)
Supports are already enabled in the file for the parts that need them (normal supports, on build plate only). I used PETG as the interface layer, which is why the plates with supports also have a prime tower.
- PLA, 0.2 mm layer height, profile as in the original (2 walls, 15 % infill)
- Character trays: 2 walls + “alternate extra wall” , which gives solid walls with a nice feel
- Support interface: PETG as interface material with top Z distance 0 . Without an AMS, plain PLA supports also work, but the slot for the game board may come out a bit tighter.
- Remove supports carefully: don’t pry them upwards. Push them out from below or through the windows, and pull them forward out of the slot. Otherwise the narrow outer rails can break off.
- Carefully remove the supports in the slot under the ledge with a pointed tool (as described in the original).
The game boards (base game 270 × 120 × 2 mm, Fire Varan 118 × 90 × 2 mm, Kodama) slide in from the front as in the original. Unlike the original, they only need a very light push , so the edges barely get scuffed:
- The slot is 2.2 mm high with 0.2 mm side clearance, so the board slides in without force.
- During the last ~6 mm, spring clips grip the board edge and hold it securely, even upside down. Shop tray: left and right, Fire Varan tray: right, Kodama: left.
- To remove a board, push it forward with your thumb through one of the windows.
- I determined the values with test pieces (base game and Fire Varan board). Kodama is untested.
- Check after printing: each spring tongue should flex slightly when pushed with a fingernail. If it doesn’t, there is material stuck in the 0.8 mm gap behind it; cut it free with a craft knife.
- Bottom: Fire Varan tray and Duel tray at the front, the three tile holders nested behind them.
- Middle: shop trays 1 + 2 at the front on the Fire Varan and Duel trays, Kodama 1 + 2 at the back on the tile holders.
- Top: the four character trays at the front on the shop tray, the top trays at the back on Kodama and over the card compartments of the character trays.
- Shop tray: with sleeves, the height for the cheapest card category is not quite enough. When packing, move a few of these cards into the other two card compartments.
- Tile holders: unlike futuria, I didn’t want to cut the cardboard insert, so 3 tiles per slot fit (quite snugly) and a fourth does not. I put the fourth tile of each slot into the free space in the Fire Varan tray.
Same as the original: MakerWorld Exclusive License . MakerWorld only, with attribution to the original, no commercial use.