Log in to join the conversation.
Remake of Board Game The Estates/Neue Heimat
Print Profile 19h 5m 387 g PLA
Plate Details (10)
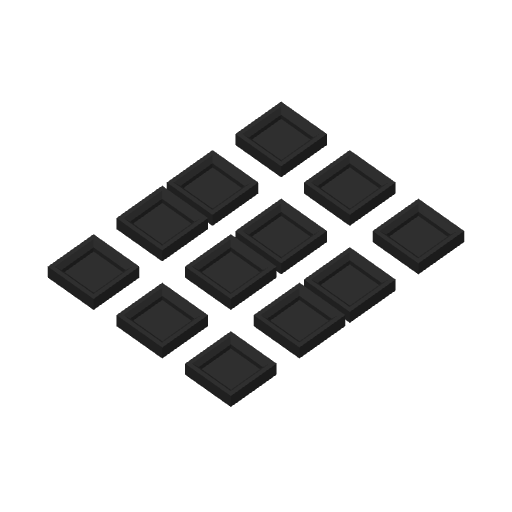
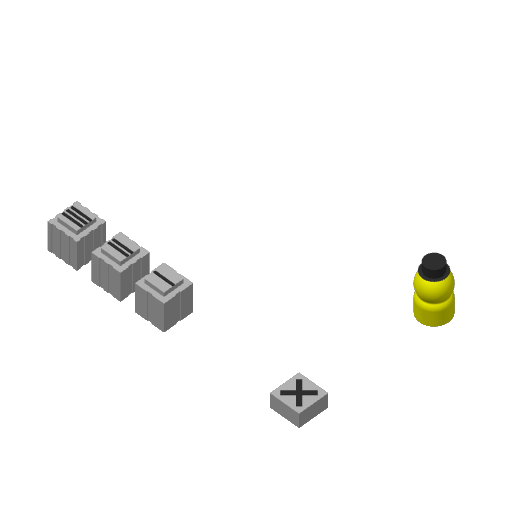
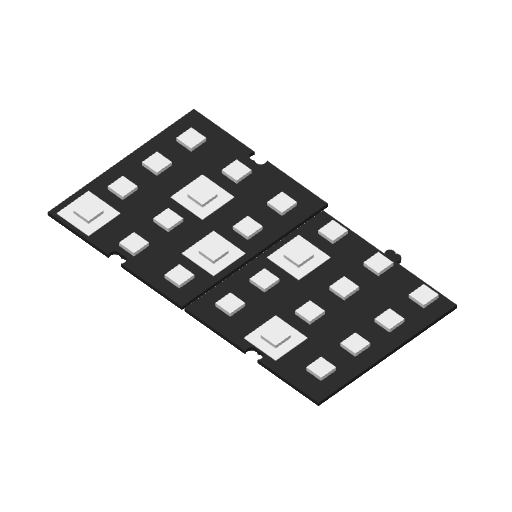
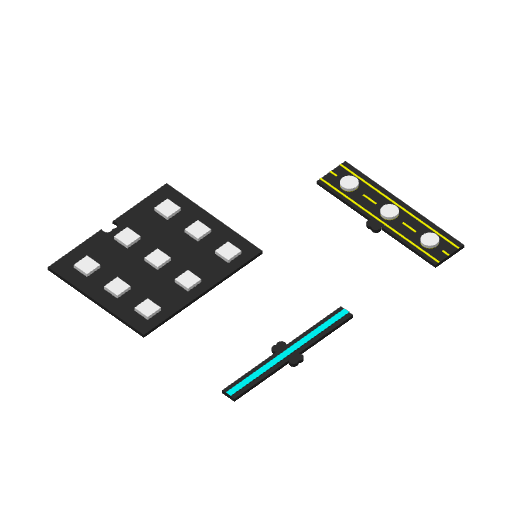
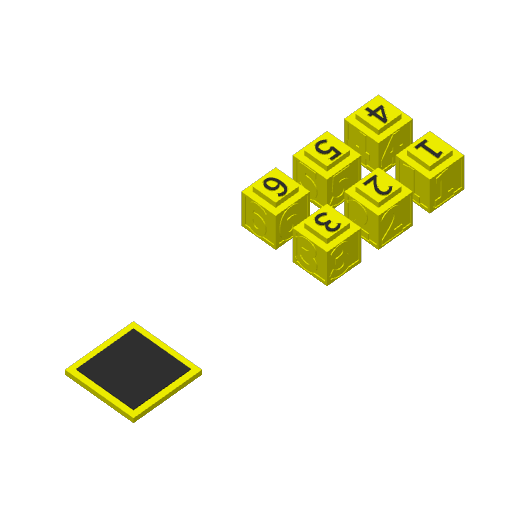
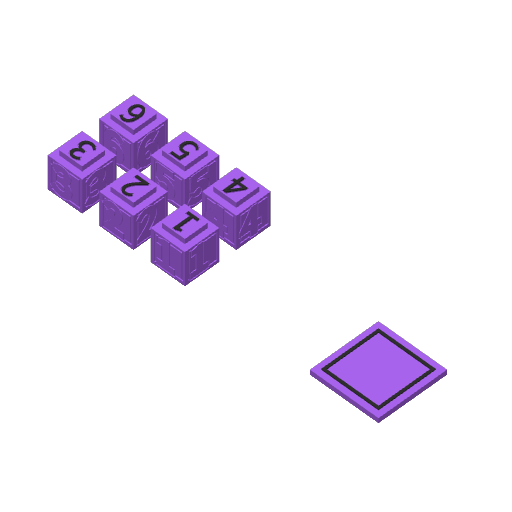
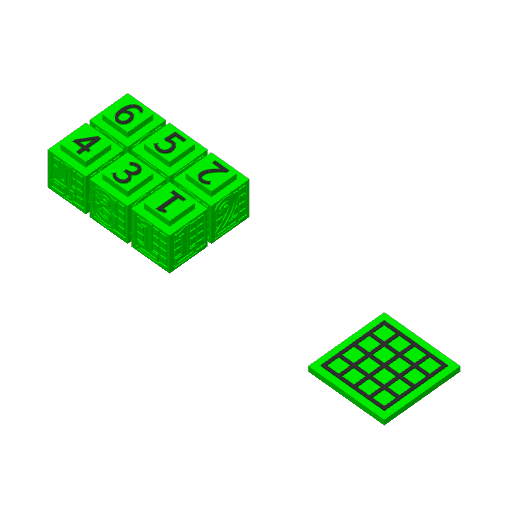
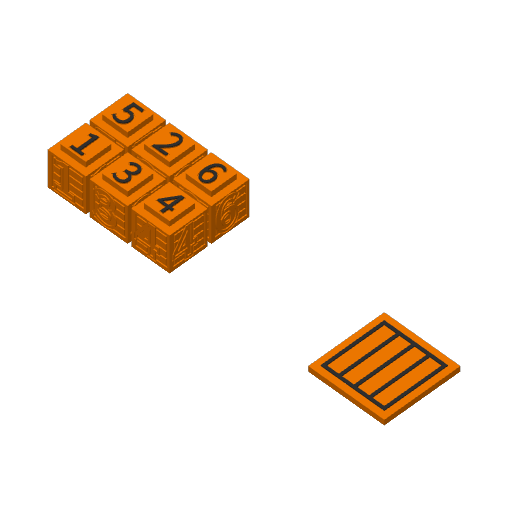
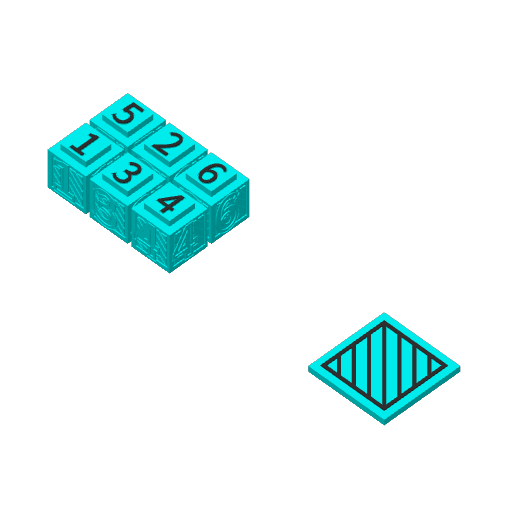
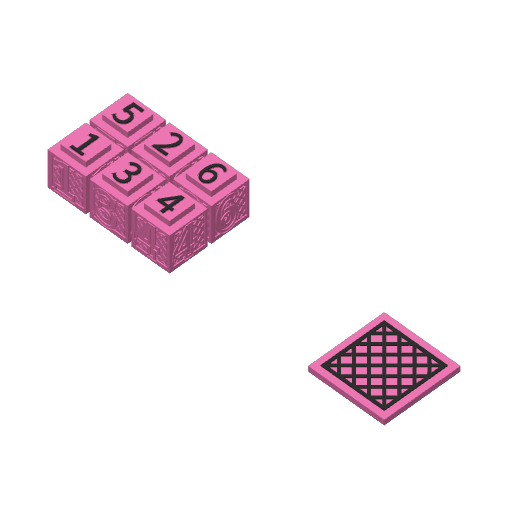
You can find the rules here https://capstone-games.com/wp-content/uploads/2020/04/TheEstates_Rulebook_LR-web.pdf with bgg page here https://boardgamegeek.com/boardgame/249381/the-estates
Backgrounds of each other color is adjustable, along with clearance and engraving depth, though you might need an onshape account to copy the document and change those. Default clearance and engraving depth is .3mm and .5mm respectively.
There are two versions of the building tiles and building blocks. One is better for visibility with filling in the engraving, and I would recommend an engraving depth of .5mm if you are going to fill them in.
For the rooftop tiles, they are printed with two colors on the first layer using these instructions:
The photos I uploaded are with an engraving depth of 1mm. If your printer can't handle any 90 degree overhangs, then there will likely be an option in the slicer to “make overhangs printable” that will help.
Any and all feedback is appreciated!! I worked really hard on this project and am super happy with how everything came out.
For the game you will need to print
- 36 building cubes, 6 of each 1-6 in 6 different colors/designs
- 12 rooftop tiles, 2 sets of 1-6
- Board with road, river, and 3 building sections
- Cancel Cube
- 3 building permits with markings I, II, and III
- 1 Mayor toke
- 6 building certificates, one of each in 6 different colors matching cubes
You will also need money, but I just used paper money for that.
I designed all the files to be printable on a 150mm^3 print area so it should theoretically be printable on most printers.
More details:
- The insides of the cubes are chamfered so that they don't have overhangs and can be printed easily
- The square raises on the board and cubes ensure that everything sits together neatly without sliding around
- Every part of the board that needs a third color, like the road and river, are separated so that filament changes are easier
- The building permits are stackable, making it easier to tell what's going on when a single row has two permits.
- I added an extra row to the board compared to the original game so that the building permits fit even if all of them are used to augment a single row.
- The bottoms of cubes/building permits are chamfered to make them easier to slide onto the square raises.
- The numbers/symbols on the tops of cubes/building permits go up a tiny amount (adjustable) so that you don't need two colors on the same top layer.
- The mayor piece is a combination of both the original/neue hemait (a pawn) and the newer/the estates (a tophat) into a pawn with a tophat. Whose bottom is also chamfured to both print well and fit nicely on the road.