Table Talk
Nothing here yet. Love this design? Say so - the designer might see it.
Log in to join the conversation.
Mechanical Dice Box Storage
Dice Towers & Trays
Free
Plan Your Print
Sign in
to track this print from Want to Printed.
About 138 g of filament
From the designer's print profile
Print Profile (2) 0.2mm layer, 2 walls, 10% infill 6h 22m 138 g PLA

0.2mm layer, 2 walls, 10% infill
1 plate
6h 22m
138 g PLA
P1S, P1P, X1, X1 Carbon, X1E, A1, A1 mini, H2D, H2D Pro, H2S, P2S, H2C, X2D, A2L
Plate Details (1)
0.4 mm nozzle, all plates
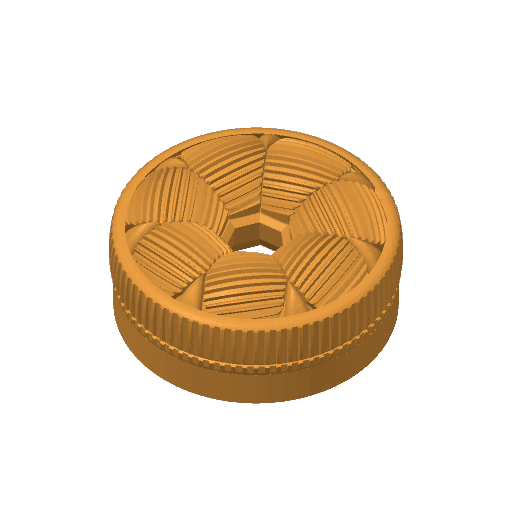
Plate 1
6h 22m
138 g
PLA · 138 g
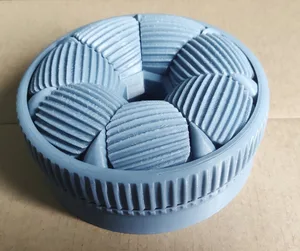
Optimized: Easy Support Removal & Print Stability
1 plate
7h 59m
142 g PLA
A1, X1E, P2S, H2D Pro, P1S, H2C, H2S, X1, P1P, A1 mini, X1 Carbon, H2D, X2D, A2L
## Optimized Print Profile: High Reliability & Easy Support Removal
This profile has been fine-tuned to solve common printing issues with this mechanical model. I’ve slightly increased the support density to ensure maximum stability and zero print failures .
⚠️ IMPORTANT - FILAMENT CHOICE: > This profile is optimized EXCLUSIVELY for Bambu PLA . In my extensive testing, prints with other brands or types of filament frequently failed. If you choose to use different filaments, you do so at your own risk .
## 🛠 Support Removal Instructions
Removing the supports is quick and clean if you follow these steps:
• Use a pair of pliers to pierce the base of the support structure.
• Firmly pull the support away; the entire structure is designed to tear off easily in one or two pieces.
## ⚙️ Breaking-in the Mechanism
Mechanical parts might feel "stuck" immediately after printing. This is normal!
• Initial Loosening: Gently wiggle and press the top components and the rotating base. Applying a bit of pressure while moving them helps "break" the tiny plastic bonds.
• Smoothing it out: Simply open and close the box about 10 times. This will wear down any internal friction and make the mechanism run perfectly smooth.
• Pro Tip for Extra Fluidity: If you want an even smoother action, lightly sand the underside of the model where the supports were attached. Focus on the area where the "teeth" slide in when the dice holder is opened. Removing any tiny leftover bumps from the supports will make the mechanism glide perfectly.
Plate Details (1)
0.4 mm nozzle, all plates
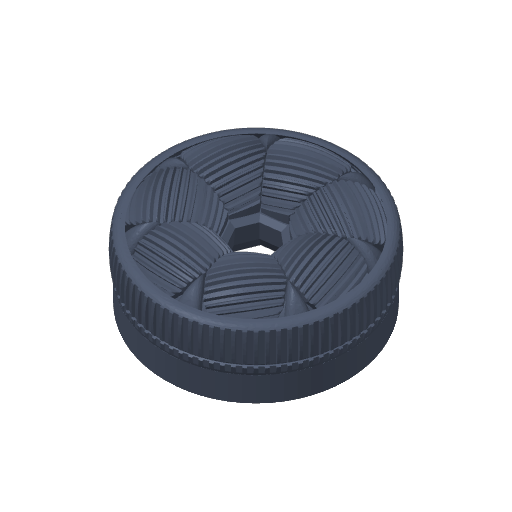
Plate 1
7h 59m
142 g
PLA · 142 g
As sliced by the designer. Your printer, filament, and settings may change these numbers.
Designer's Description
This is an remix of the mechanical dice box.
I extended the bottom part to have more surface to slide it easily. The original one was to thin to slide it with your fingers. (it's hurt)
After the print you have to remove all the supports, before you can slide it.
Here is an good description what you need to do:
Video Instructions: https://www.tiktok.com/t/ZTYfMyGVm/
After printing the file, the dial and doors will not be immediately moveable. Each will need to be carefully separated from the box underbody, without disassembling or breaking any component. Depending on your print settings, this may be more or less difficult than it is for others.