Table Talk
Nothing here yet. Love this design? Say so - the designer might see it.
Log in to join the conversation.
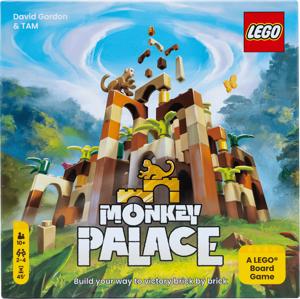
Magnetic Insert/Boxes for LEGO Monkey Palace boardgame
Inserts
Free
Plan Your Print
Sign in
to track this print from Want to Printed.
✓ Optional multicolor profile
The designer also offers a multicolor way to print this (an MMU/AMS profile or per-color parts)
Designer's Description
I created these boxes using my parametric design , customizing the boxes with two different sizes (one large for the main LEGO pieces, several small ones for the cards and the remaining tokens and LEGO pieces).
As a nice side effect, the game setup is now a matter of a few seconds, and the card trays hold together as a nice pyramid:
I've customized the lids with some fun icons directly in PrusaSlicer (I've included the svg-files), but you can of course customize these to your own tastes.
Printing Notes
- You need 3 copies of the small-card-tray-3.8mm.stl (for the dark green, light green, and golden cards, respectively)
- You need 1 copy of the small-card-tray-5.6mm.stl (for the multi-colored cards)
- Choose 1 lid of your liking for the long box, and two short lids.
- 1 copy of all other trays/boxes each.
Notes about the magnets
- I use round 6mm magnets ( these ones ) which might not exactly match the ones you have, and your printer's tolerances might differ from mine, so you should print a small test print first (see the note below about the “magnet-test-stick”) before committing to printing all the boxes. In the worst case scenario, you might have to use the Fusion file provided on the original design page to customize the cutouts for the magnets (and possibly other things you might want to change).
- I have now included a small “magnet-test-print” model, as well as a taller “magnet-test-stick”: Use this to test if your magnets fits well - and as a bonus, you can then use the stick as a tool to more easily place your magnets, using the correct orientation: Mark one end of the stick as the “up” end, and use it as a reference for the future!
- Most of the card trays are very thin and only hold one magnet per corner, the taller boxes take two magnets per corner.
- I recommend using a bit of superglue to fix the magnets in place.
- This should go without saying, but just in case: Triple-check your magnets' orientation before glueing them in! (ask me how I know… O:-) )
- I recommend putting in magnets at the bottom even for boxes/trays you think might always stay at the bottom: That way you have the most flexibility and can swap the boxes around in any order you like.
Enjoy and share your makes or remixes!
Update (2025-01-10):
- readjusted depths for the magnet holes, they are now 2.8mm deep at the top, and 3mm deep at the bottom (the “3mm” magnets I use actually have a thickness of 2.8mm, and the bottom hole ceiling sometimes has a tiny bit of sag, so I added a “bottommagnetclearance” parameter of 0.2mm to my design). This should ensure a completely flush fit - assuming you have the exact same magnets.
- added a “magnet-test-print” and a taller “magnet-test-stick” which you can use to test the fit of your magnets before printing the full boxes. As a bonus, you can then use the stick as a tool to more easily place the magnets, with the correct orientation.
/pic9248450.jpg)
/pic8456931.jpg)