Log in to join the conversation.
Generic Dominion Storage System - no sleeves
Print Profile (3) Inserts and Spacers 6h 30m 203 g PLA
Plate Details (5)
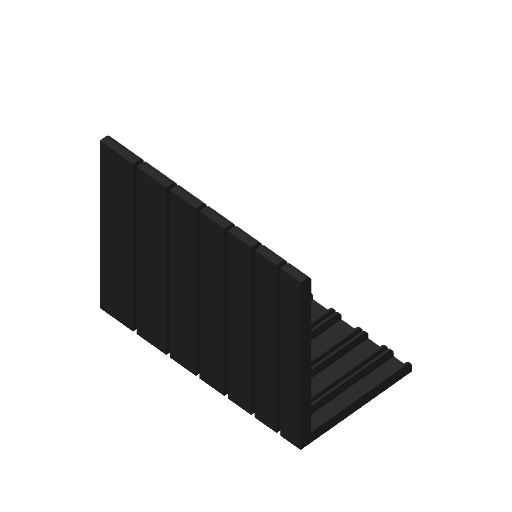
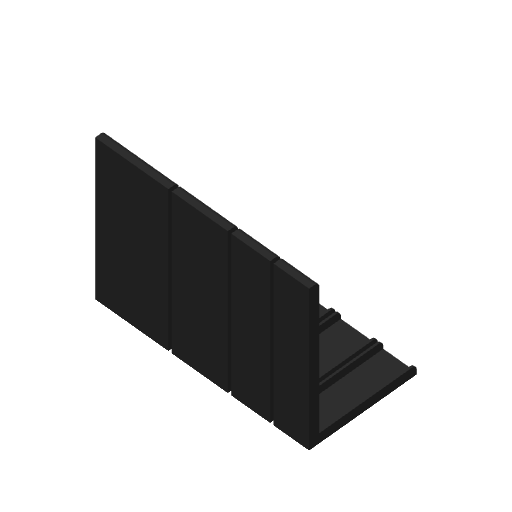

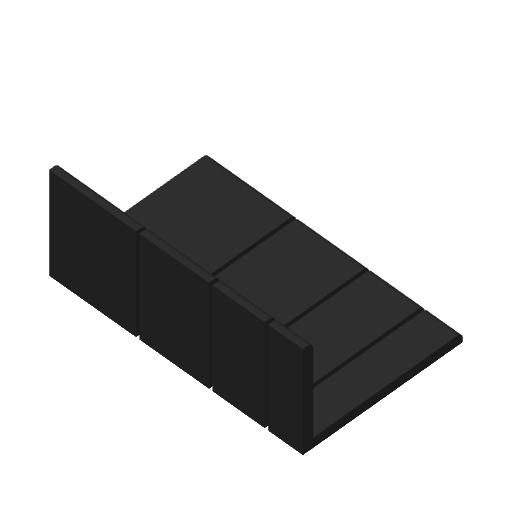
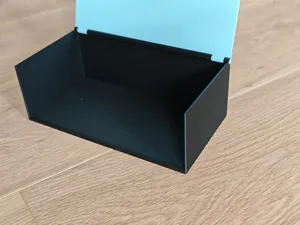
Plate Details (18)
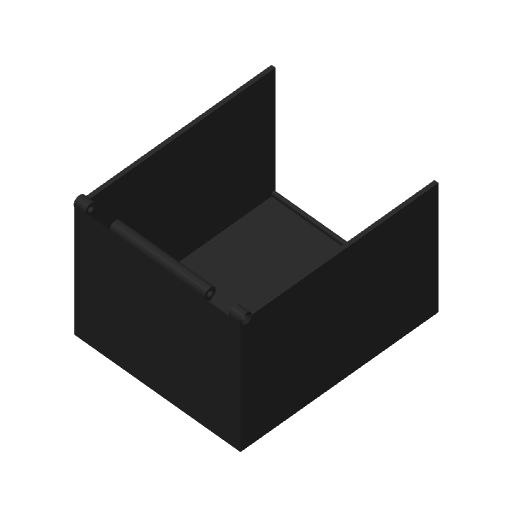
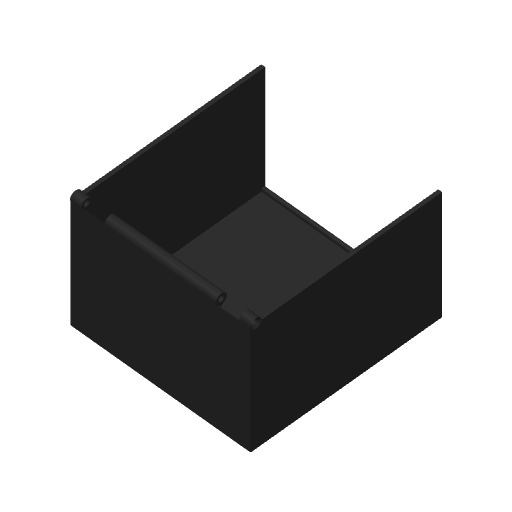
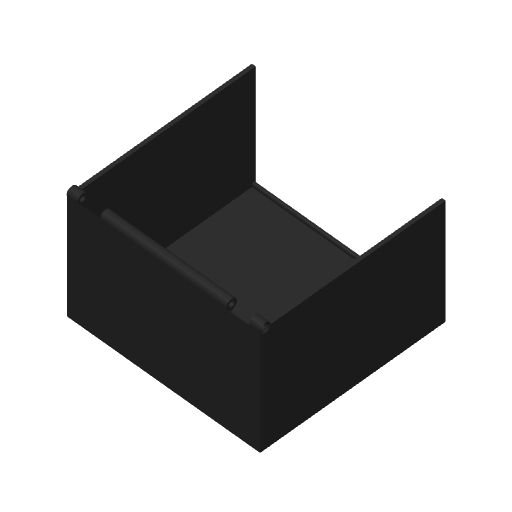
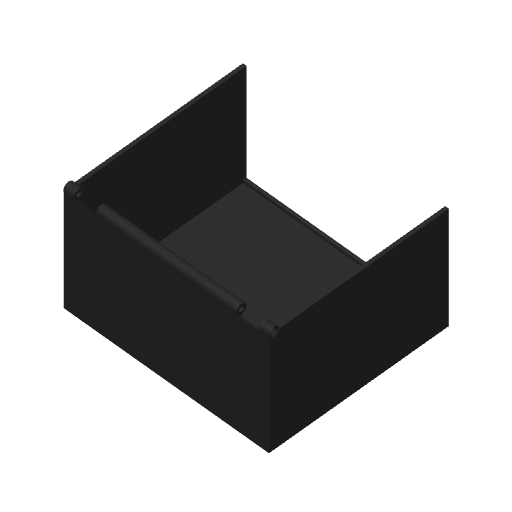
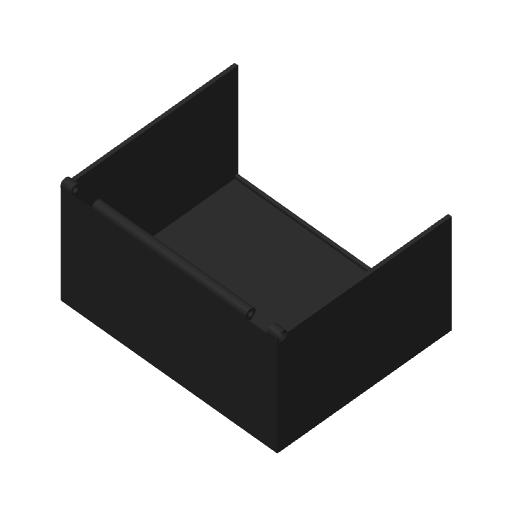
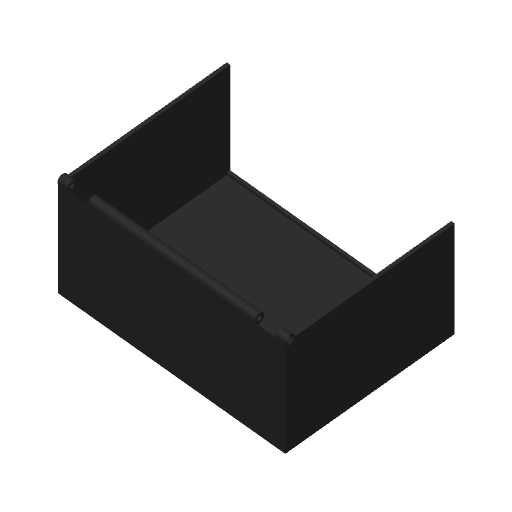
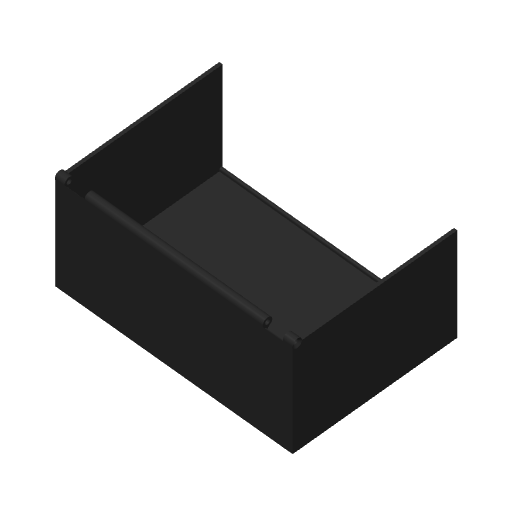
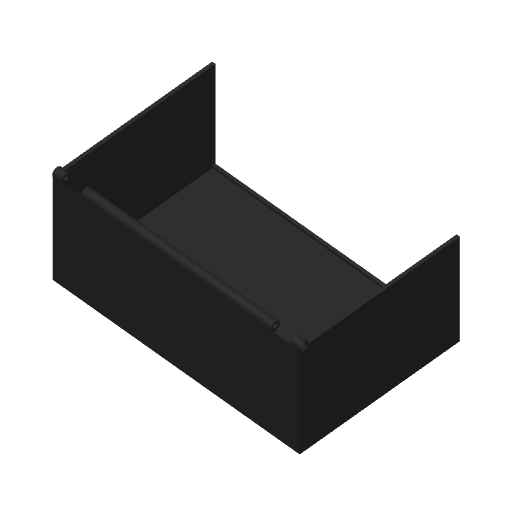
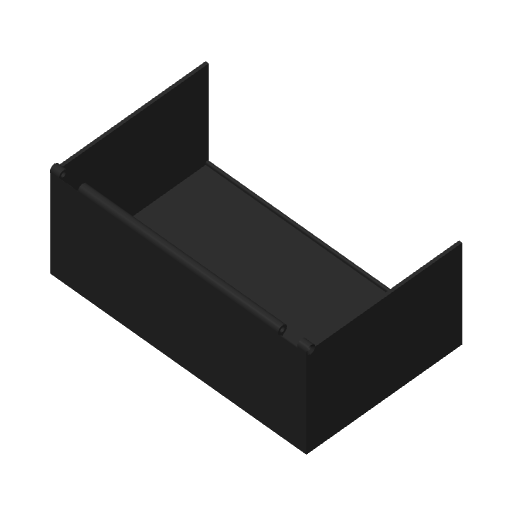
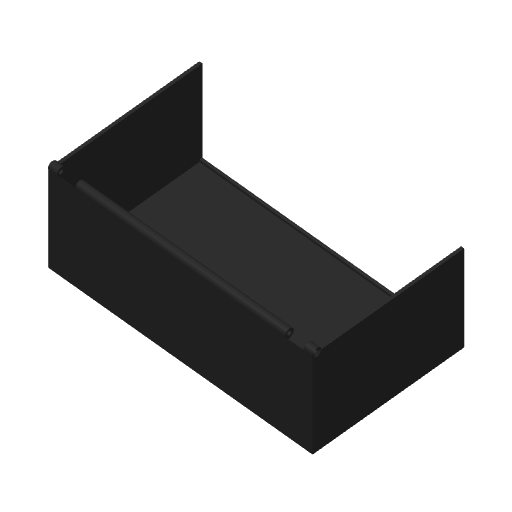
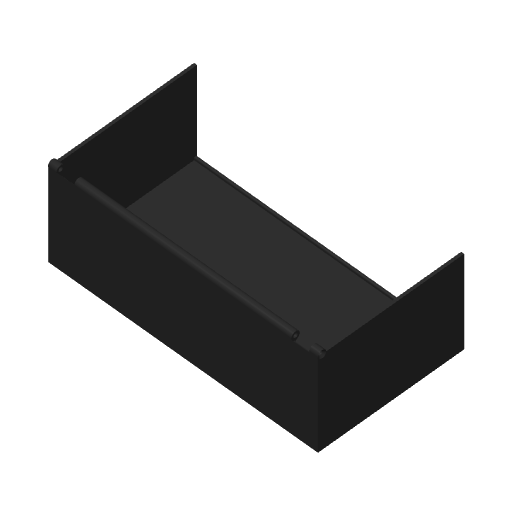
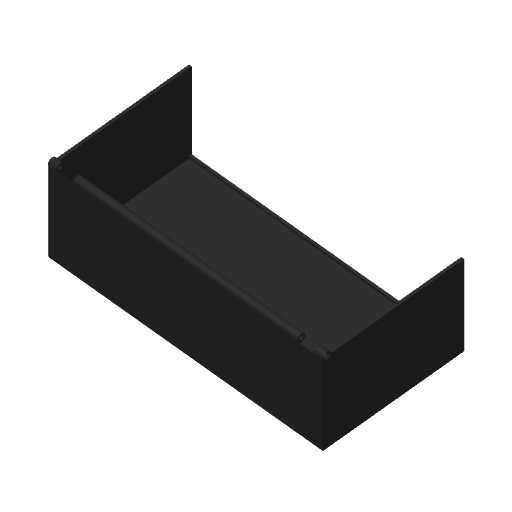
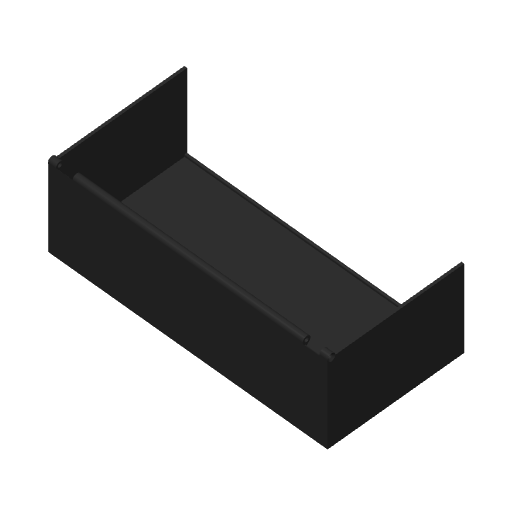
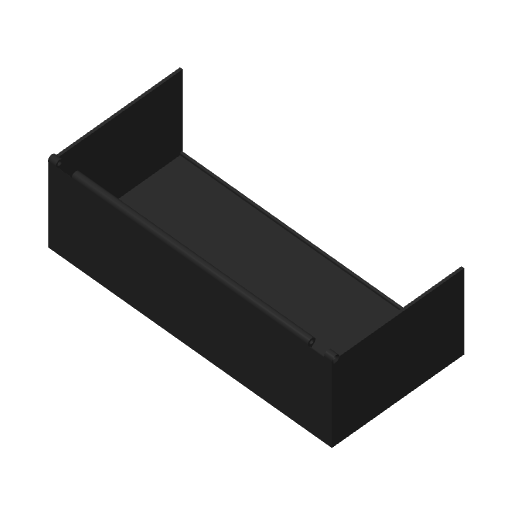
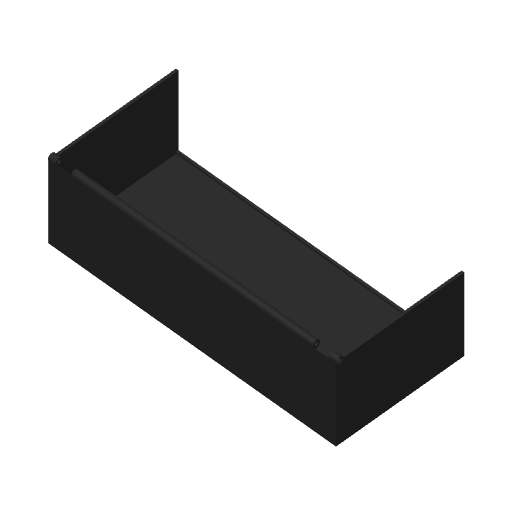
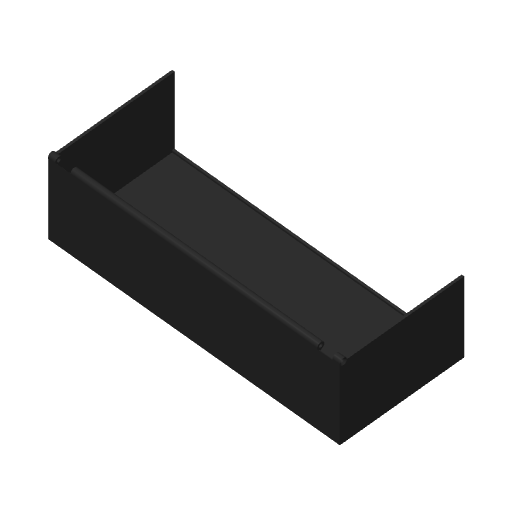
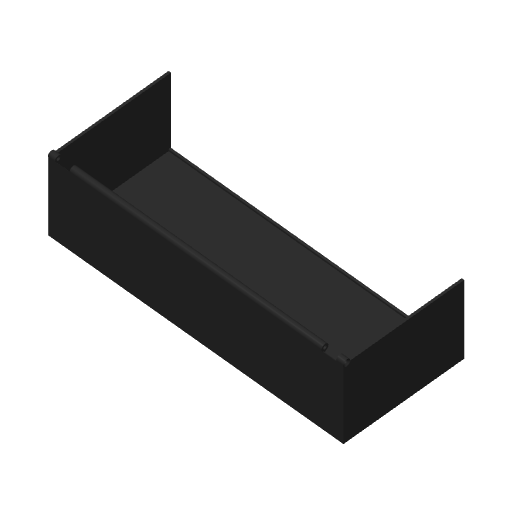
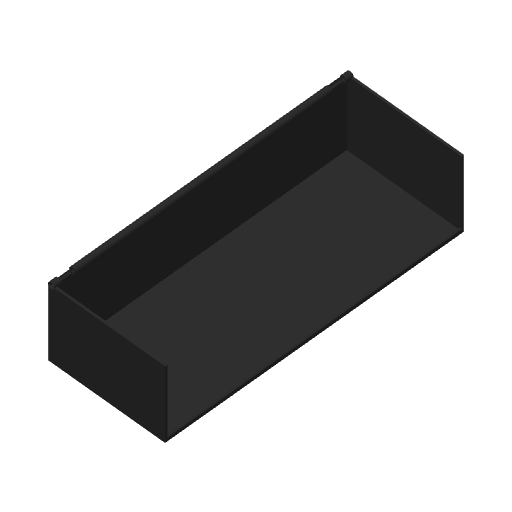
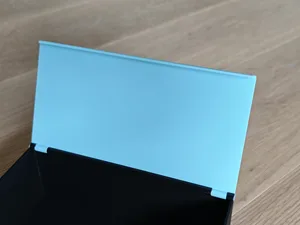
Plate Details (19)









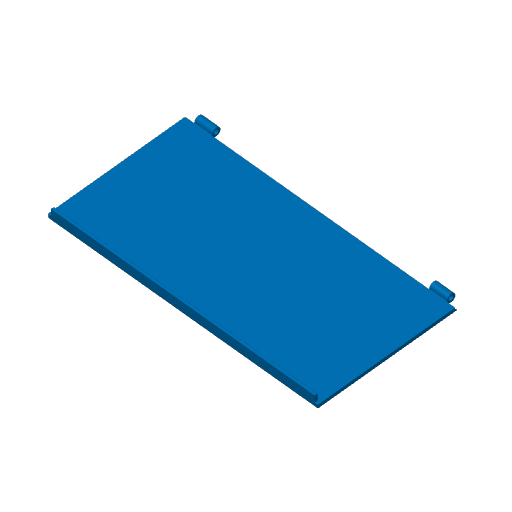



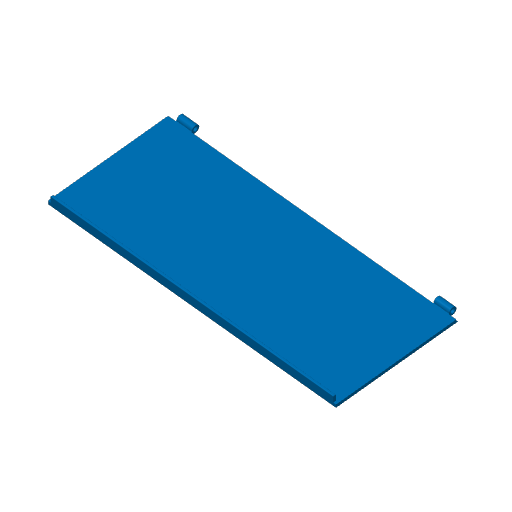

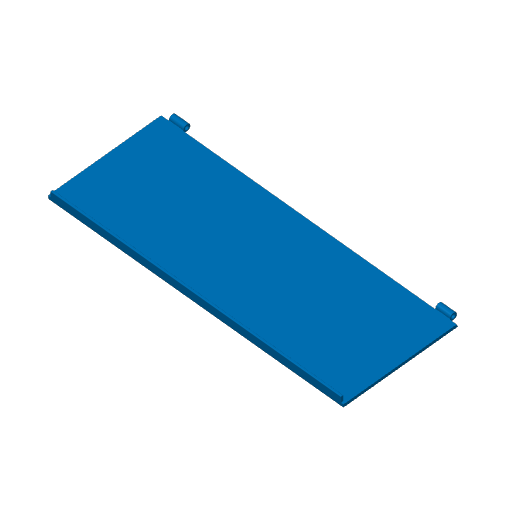
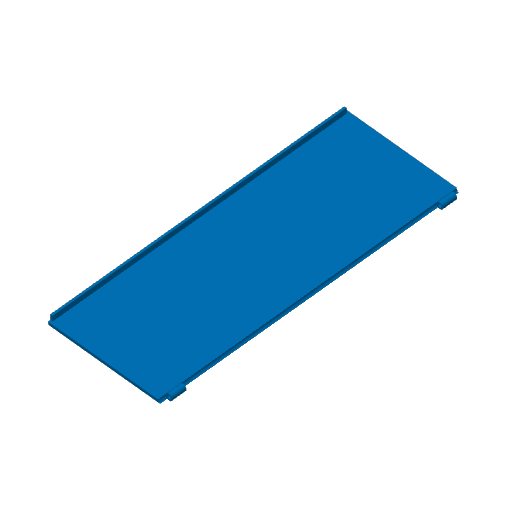

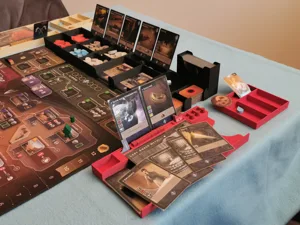
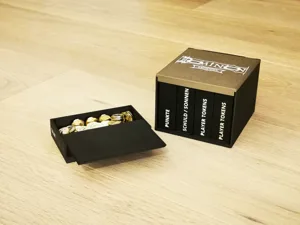
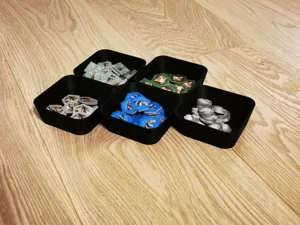
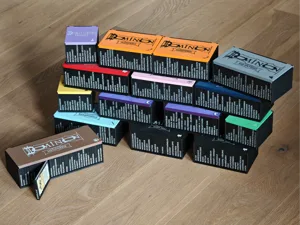
I've created a flexible version of my Dominion storage system, so everyone can build their boxes the way they like.
Parts from 3 Print-Profiles are needed for a complete box:
- Inserts and Spacers
- Boxes in different sizes
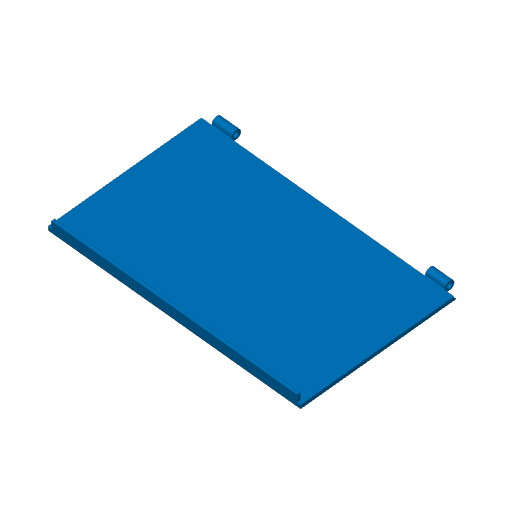
- Covers and Bolts, different sizes
Step-by-step to avoid surprises:
- Create and print all the inserts you need for one box.
→ Use the main print profile for this.
1.1 The name tells you roughly how many cards the insert is designed for. For example, “Insert 10” fits about 10 cards. Usually, a few more will also fit – especially in the larger inserts, there’s a bit of tolerance that allows extra space.
1.2 To help align the label text, you can set color #2 to a lighter shade. This will show a bar on the insert that helps with positioning the text.
- Measure the required box length and use the box print profile to print the correct box .
- Print the matching lid from the lid print profile.
- Print the bolts from the same lid print profile – in any color you like.
- Assemble everything .
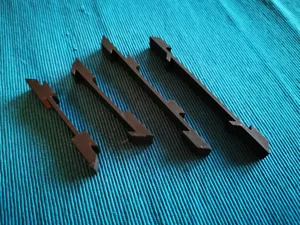
If the inserts are too loose in the box, print matching spacers from the main insert print profile.
→ If there isn’t a perfect spacer available, you can scale one by length, or simply use multiple spacers together.
If you need anything else or have suggestions for improvement, feel free to let me know.
I'll keep working on the main project, but unfortunately, I don’t have as much time as I’d like.
----------------------------------------------
Ich habe eine flexible Version meines Dominion Storage-Systems erstellt, damit jeder die Boxen so gestalten kann, wie er möchte.
Es werden teile von 3 Print-Profiles benötigt um eine komplette Box zu erstellen:
- Inserts and Spacers
- Boxes in different sizes
- Covers and Bolts, different sizes
Ablauf, um möglichst wenige Überraschungen zu erleben:
- Erstelle und drucke alle Inserts , die du für eine einzelne Box benötigst.
→ Verwende dafür das Haupt-Print-Profil.
1.1 Aus dem Namen lässt sich ableiten, für wie viele Karten das Insert ungefähr gedacht ist. „Insert 10“ passt z. B. für etwa 10 Karten. Es gehen aber meist ein paar mehr hinein – gerade bei den größeren Inserts bleibt durch Toleranzen oft noch etwas zusätzlicher Platz.
1.2 Um den Text richtig zu positionieren, kannst du Farbe #2 auf eine hellere Farbe setzen. Dann erscheint auf dem Insert ein Balken, an dem du den Text ausrichten kannst.
- Ermittle die benötigte Länge und verwende das Print-Profil mit den Boxen, um die passende Box zu drucken .
- Drucke den passenden Deckel aus dem Print-Profil mit den Deckeln.
- Drucke die Bolzen aus dem Print-Profil mit den Deckeln – in der Farbe deiner Wahl.
- Setze alles zusammen .
Wenn die Inserts zu locker in der Box sitzen, drucke passende „Spacer“ aus dem Haupt-Print-Profil mit den Inserts.
→ Sollte kein passender Spacer vorhanden sein, kannst du ihn der Breite nach skalieren – oder einfach mehrere kombinieren.
Wenn du noch etwas brauchst oder Verbesserungsvorschläge hast, gib mir einfach Bescheid.
Ich werde weiterhin am Hauptprojekt arbeiten, aber leider fehlt mir die nötige Zeit.
 Dominion 2008
Layer by Layer
Dominion 2008
Layer by Layer
Cover Colors
/pic8157036.jpg) Dominion: Cornucopia & Guilds – Update Pack 2024
Dominion: Cornucopia & Guilds – Update Pack 2024
 Dominion: Cornucopia & Guilds (Second Edition) 2024
/pic8184091.jpg) Dominion: Rising Sun 2024
Dominion: Rising Sun 2024
/pic8342856.jpg) Dominion: Farm 2023
Dominion: Farm 2023
 Dominion: Allies 2022
Show 30 more
/pic6920901.jpg) Dominion: Hinterlands – Update Pack 2022
Dominion: Hinterlands – Update Pack 2022
/pic6924579.jpg) Dominion: Hinterlands (Second Edition) 2022
Dominion: Hinterlands (Second Edition) 2022
/pic7035290.jpg) Dominion: Plunder 2022
Dominion: Plunder 2022
 Dominion: Prosperity – Update Pack 2022
/pic6849008.jpg) Dominion: Prosperity (Second Edition) 2022
Dominion: Prosperity (Second Edition) 2022
 Dominion: Seaside – Update Pack 2022
 Dominion: Seaside (Second Edition) 2022
/pic7632143.png) Dominion: Verlies 2021
Dominion: Verlies 2021
 Dominion: Menagerie 2020
/pic7528621.png) Dominion: Sammler-Box 2020
Dominion: Sammler-Box 2020
 Dominion: Renaissance 2018
/pic3635906.jpg) Dominion: Erweiterung – Basisspiel & Die Intrige 2017
Dominion: Erweiterung – Basisspiel & Die Intrige 2017
/pic3677538.jpg) Dominion: Nocturne 2017
Dominion: Nocturne 2017
 Dominion: Empires 2016
/pic3187291.jpg) Dominion: Intrigue – Update Pack 2016
Dominion: Intrigue – Update Pack 2016
 Dominion: Intrigue (Second Edition) 2016
 Dominion: Update Pack 2016
/pic4971664.jpg) Stadt Land Spielt Minierweiterungen 2016 2016
Stadt Land Spielt Minierweiterungen 2016 2016
 Dominion: Adventures 2015
1
Dominion: Adventures 2015
1
 Dominion: Guilds & Cornucopia 2015
/pic7947393.jpg) Dominion: Alchemisten & Reiche Ernte – Mixbox 2014
Dominion: Alchemisten & Reiche Ernte – Mixbox 2014
/pic2056570.jpg) Dominion: Die Intrige – Erweiterung 2014
Dominion: Die Intrige – Erweiterung 2014
/pic3027148.jpg) Dominion: Fan-Edition I 2014
Dominion: Fan-Edition I 2014
/pic1646917.jpg) Dominion: Guilds 2013
Dominion: Guilds 2013
 Dominion: Dark Ages 2012
/pic950200.jpg) Dominion: Cornucopia 2011
Dominion: Cornucopia 2011
 Dominion: Hinterlands 2011
 Dominion: Alchemy 2010
 Dominion: Prosperity 2010
 Dominion: Seaside 2009
1
Dominion: Seaside 2009
1