Table Talk
Nothing here yet. Love this design? Say so - the designer might see it.

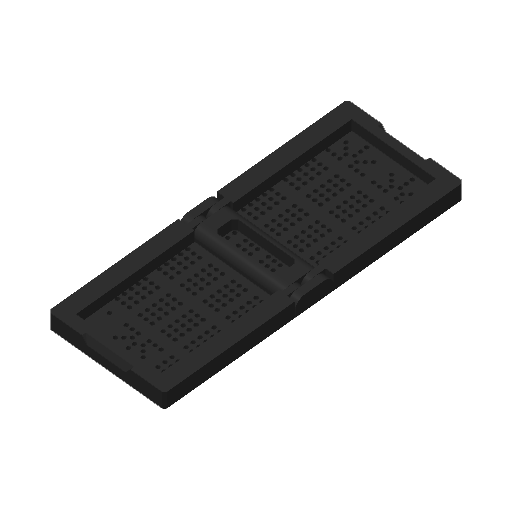
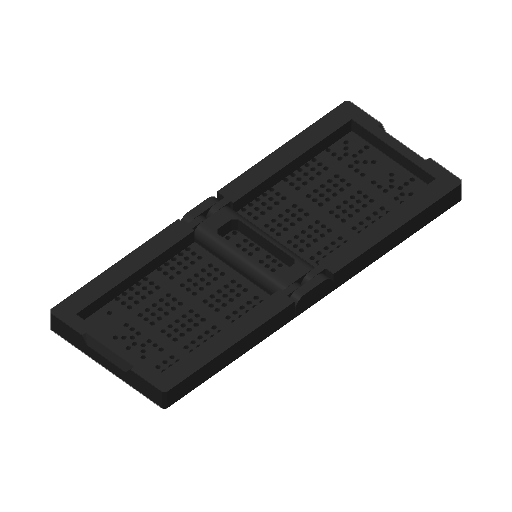
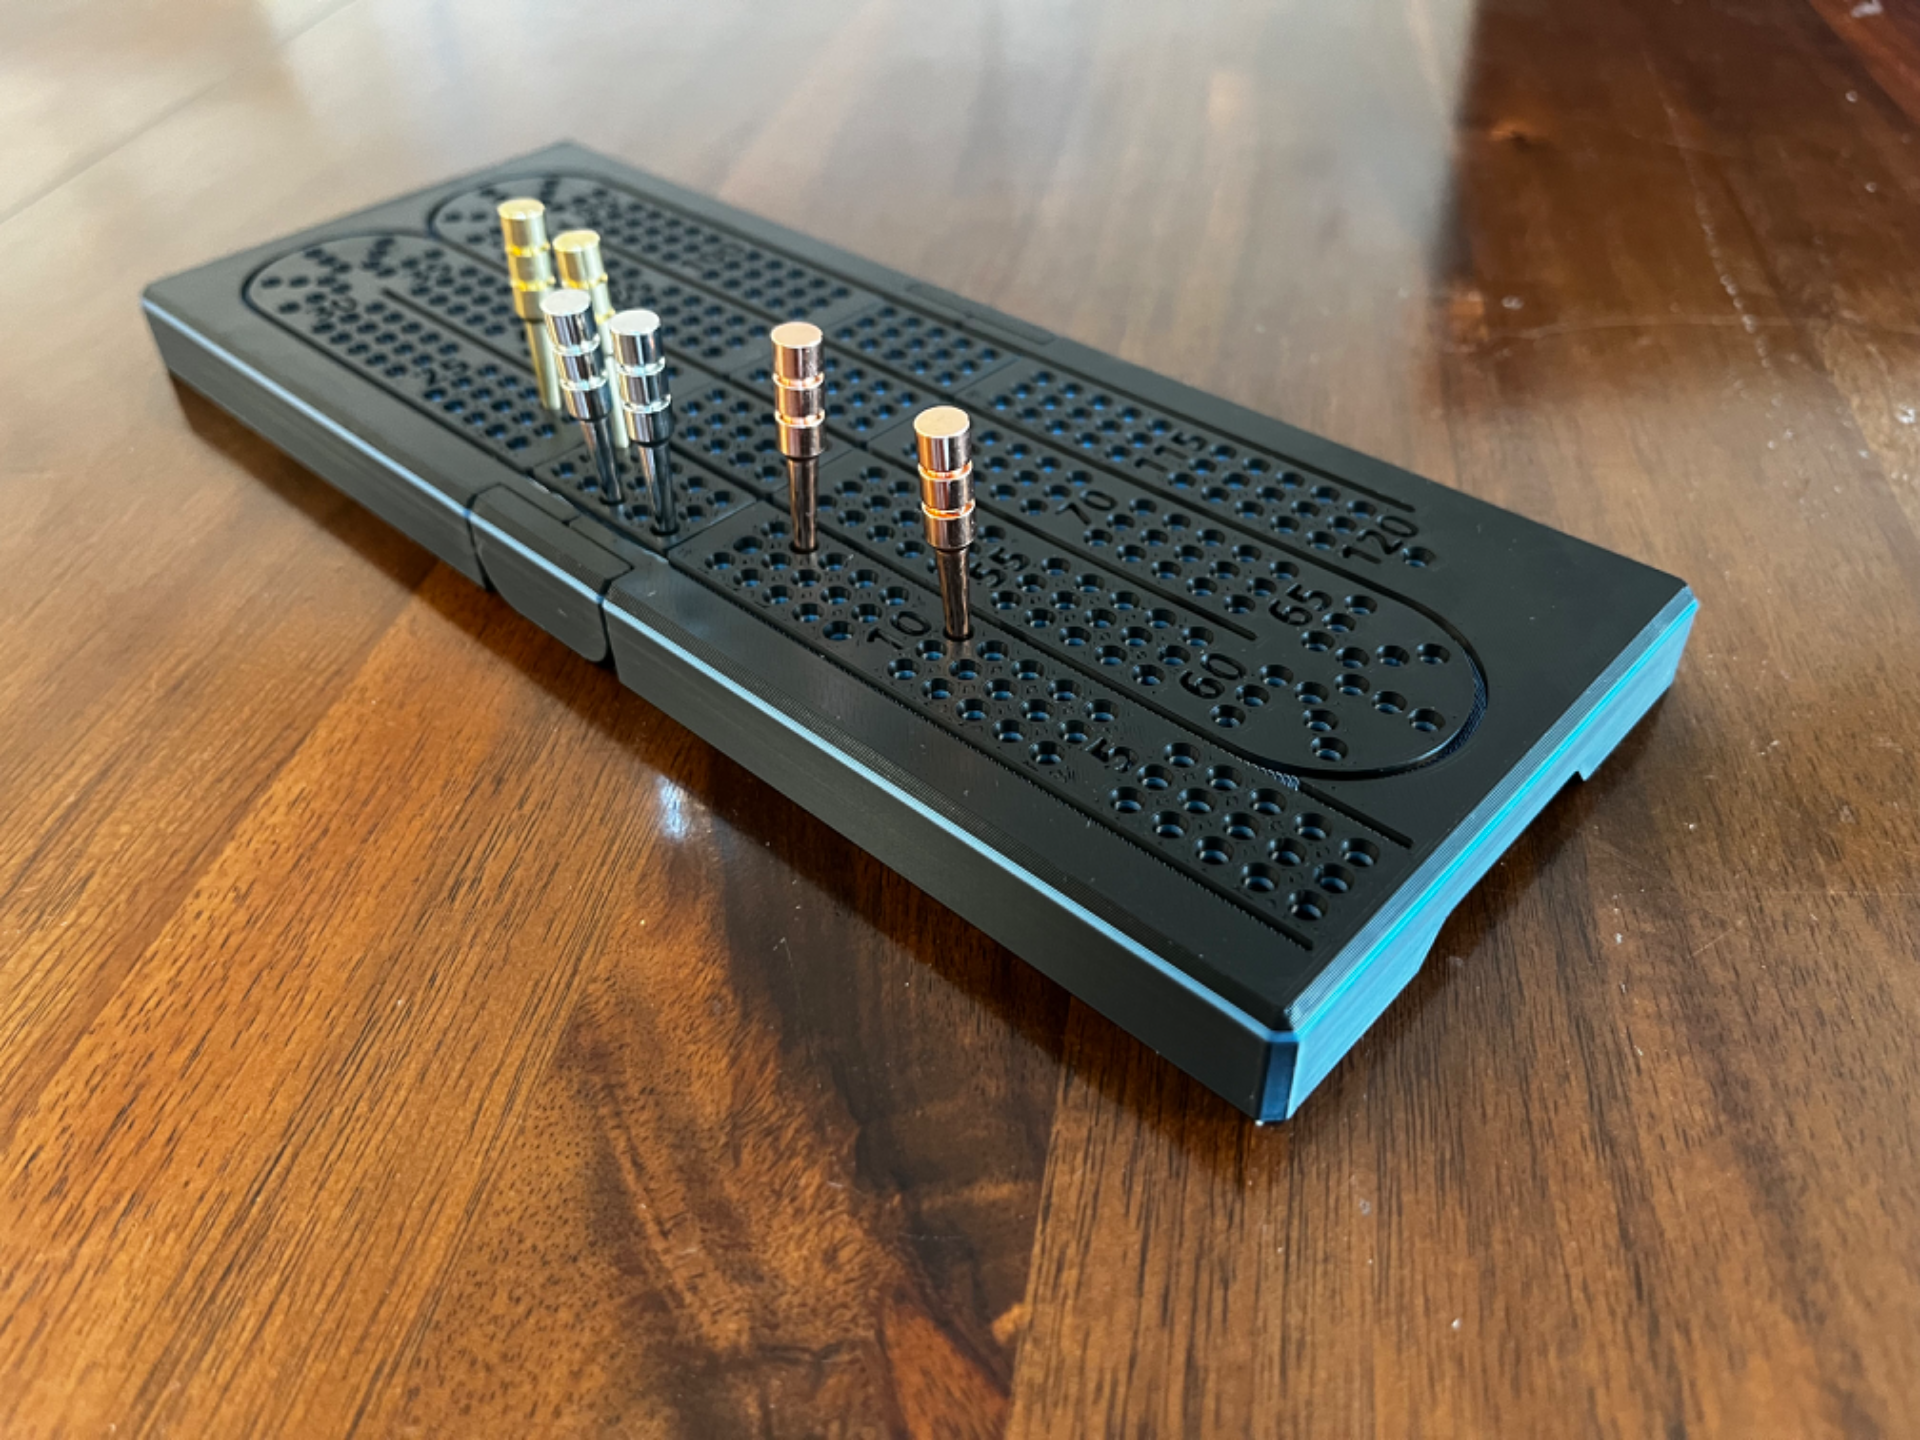
Travel Foldable Crib (Cribbage) Board

Plan Your Print
About 99 g of filament From the designer's print profile
Print Profile (3) 0.2mm layer, 2 walls, 5% infill 5h 7m 99 g PLA
0.2mm layer, 2 walls, 5% infill
1 plate 5h 7m 99 g PLA
A1, P1S, P1P, X1 Carbon, X1E, X1, H2D, H2D Pro, H2S, P2S, H2C, X2D, A2L
Standard .2mm Slower walls, super slow first layer and 5% infill is plenty.
Plate Details (1)
0.4 mm nozzle, all plates
Plate 1
5h 7m 99 g PLA · 88 g PLA · 11 g
Colored Holes
1 plate 7h 122 g PLA
A1, P1S, P1P, X1 Carbon, X1E, X1, H2D, H2D Pro, H2S, P2S, H2C, X2D, A2L
Had some print artifacts with non-Bambu filament. Would recommend good, dry filament.
Plate Details (1)
0.4 mm nozzle, all plates
Plate 1
7h 122 g PLA · 91 g PLA · 8 g PLA · 14 g PLA · 9 g
Disassembled Crib Board - A1 Mini Compatible
2 plates 8h 52m 146 g PLA
A1 mini, P1S, P1P, X1, X1 Carbon, X1E, A1, H2D, H2D Pro, H2S, P2S, H2C, X2D, A2L
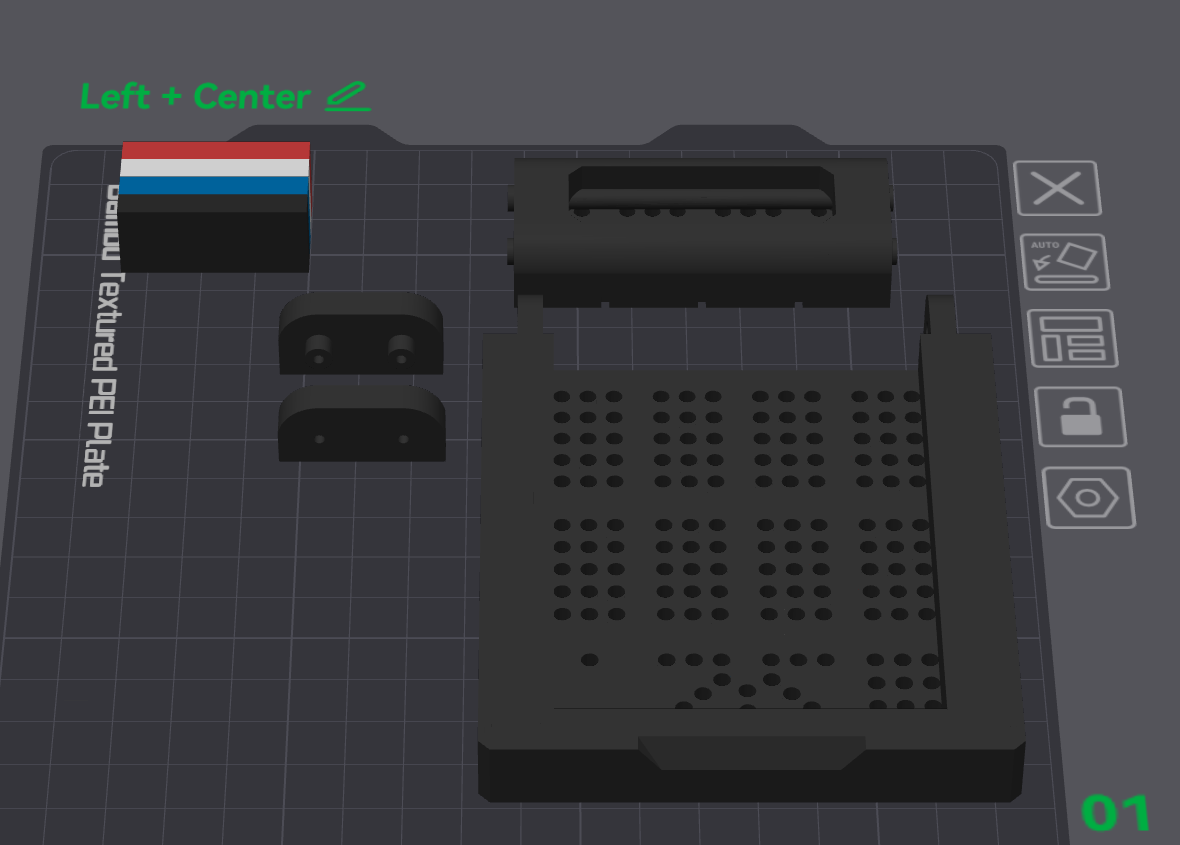
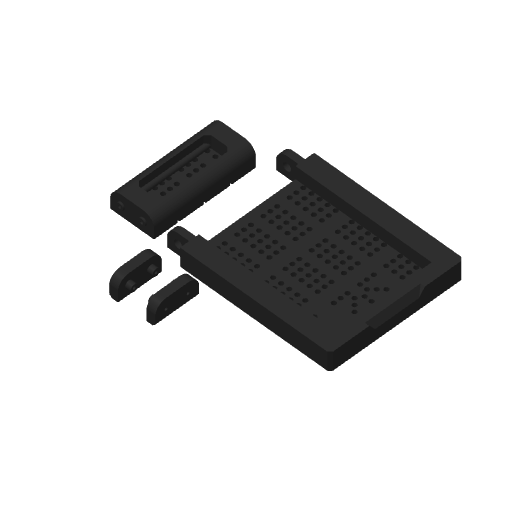
I modified the model so it could be printed at full size on the A1 Mini. I achieved this by splitting the center / hinge piece where it interlocked with the main pieces. The center is then reassembled using a strand of filament to align and affix the parts. I also changed the magnets to be 10mm x 3mm as I had these laying around instead. There should be a pause in the print profile. Print both plates. You will need to force the center piece a little to snap together with the left and right sides. Then I feed the filament into the middle with a bit of superglue to hold it in place. Then take the two smaller pieces from the center and feed them onto the filament. You will want to apply glue again to the filament and the end of the knob on the small parts. Make sure all the sides printed on the bed face out the same way, this will ensure the rounded ends let the board fold up. I know the middle is missing color, for some reason cutting the model in Studio erases all color painting. Let me know your thoughts or if you need any help putting it together! Thank you for trying out my mod / remix. And thank you to the designer for the great model!
Plate Details (2)
0.4 mm nozzle, all plates
Plate 1 · Left + Center
4h 59m 83 g PLA · 65 g PLA · 5 g PLA · 8 g PLA · 5 g
Plate 2 · Right
3h 54m 63 g PLA · 46 g PLA · 5 g PLA · 8 g PLA · 4 g
As sliced by the designer. Your printer, filament, and settings may change these numbers.
Designer's Description

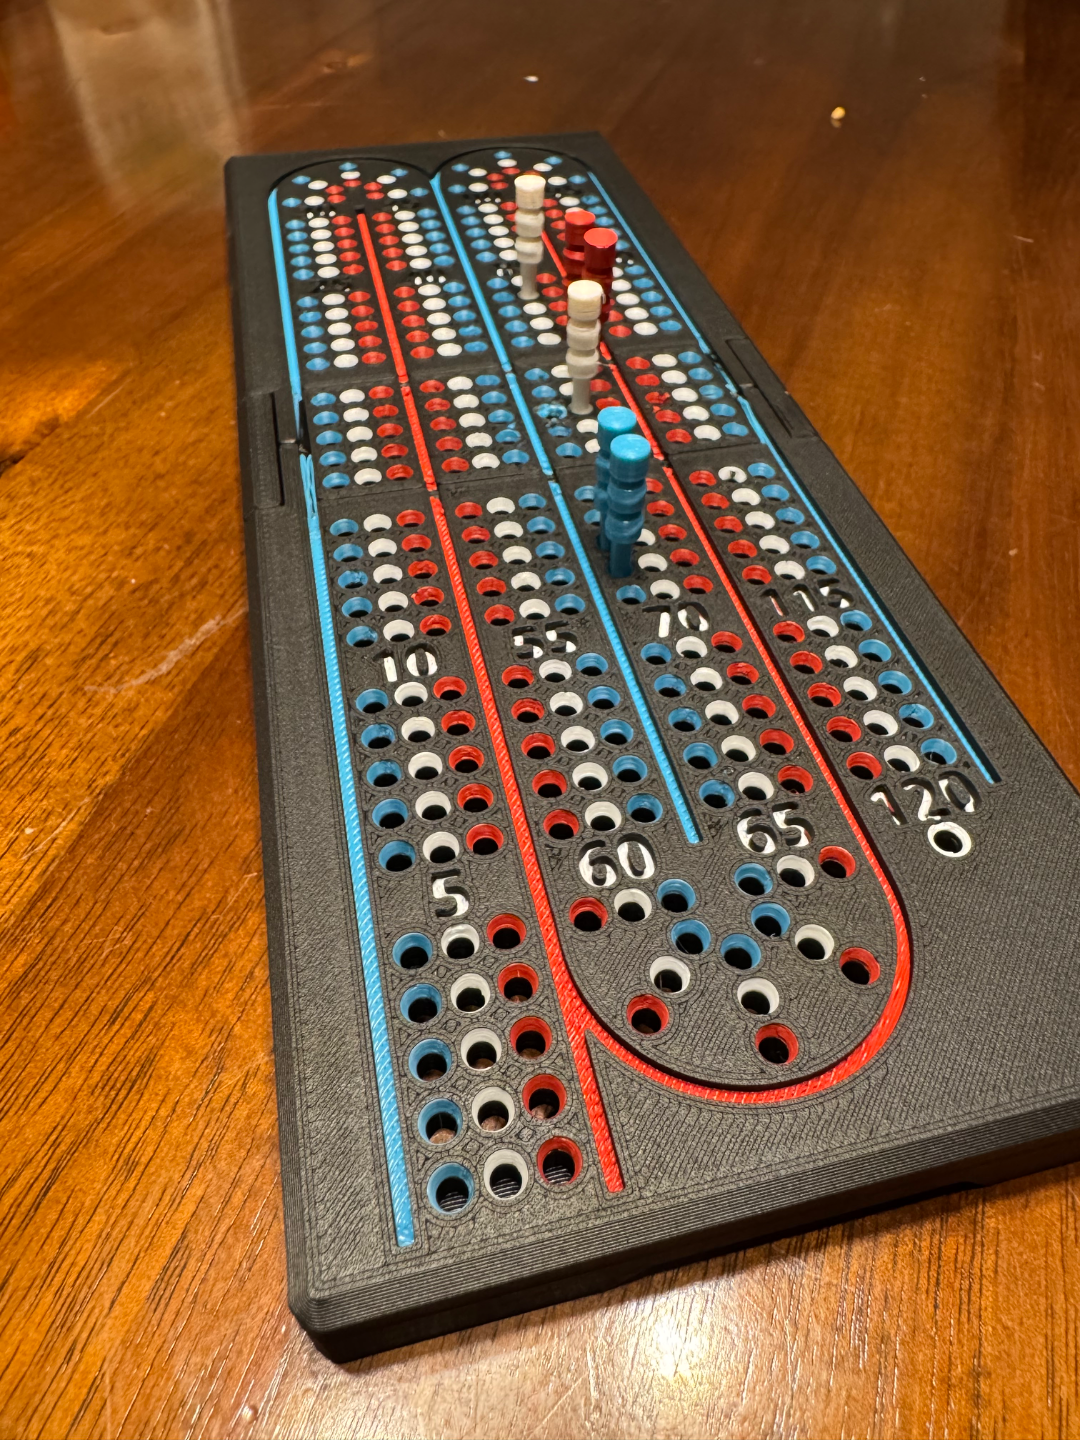
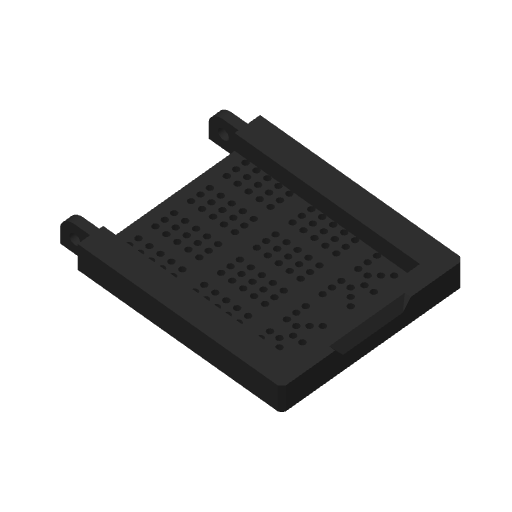
Travel Crib Board!

This one fits a deck of cards and pegs when it folds together.

Magnets are used to hold the case together when closed. Pause is added in the print profile to allow you to insert magnets. Increased the size of the opening for the magnets from the original design as my magnets (8x3mm round) from Bambu did not fit the original. I didn't find any glue was necessary as they are still a snug fit. 4 Magnets needed, make sure to place with opposing poles.

I added a 1mm layer of color that looks nice on the design and is placed so the bottom of the engraved areas show the color. The whole layer is one color allowing for minimal color changes.

This is the first time I've used glue on my print bed. Because of all the small circles I was having adhesion issues despite slowing down the first layer significantly. I would highly recommend glue, but if you are successful otherwise, that's great!

I've also created my own crib pegs as the metal ones pictured didn't fit nicely in the storage compartment:

https://makerworld.com/en/models/580424

(These also fit very nicely into the crib board holes)

Update: Added a print profile with colored holes around the board. Did not find that this printed as well as the previous model, but this could have been due to non-Bambu filament. I'm adding the profile as per request. It should turn out good, but my own print was not great (still quite useable). The line colors are on purpose as matching with the nearest hole color allowed for better bridging over the opening. I would not change this.

Boost Me Appreciate a boost!
crib cribbage
Cribbage box art Cribbage 1630 Layer by Layer
Cover Colors

Main colors from the cover art. Find matching filament, or tap swatches to narrow.

Matching filament