Log in to join the conversation.
Project L + ghost expansion quick set-up insert
Print Profile 11h 12m 359 g PLA
Plate Details (6)
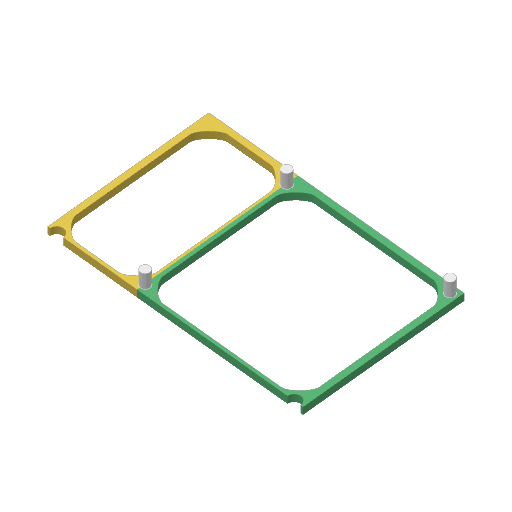
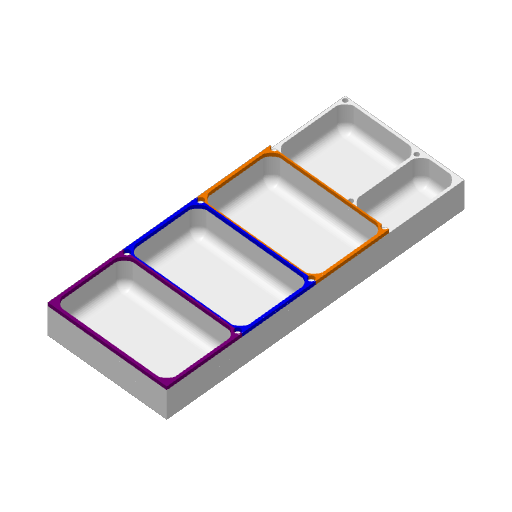
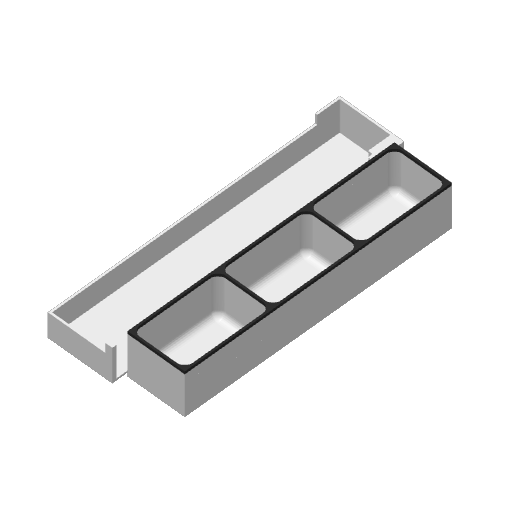
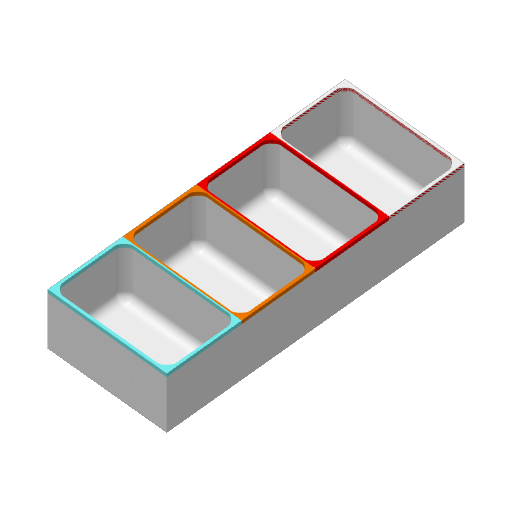
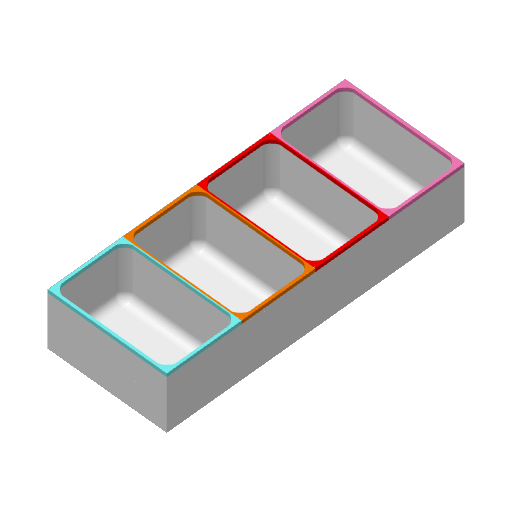
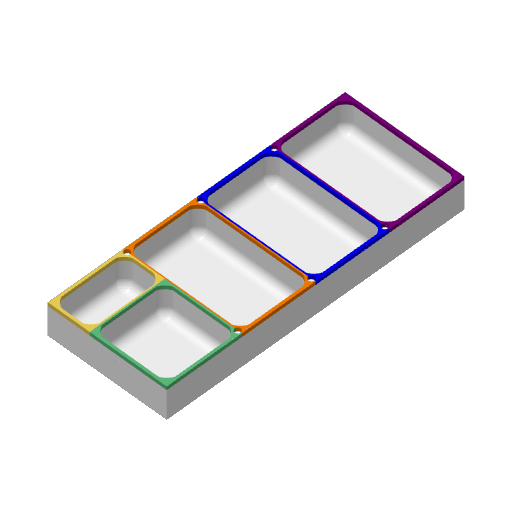
INTENDED FOR THE RETAIL BOX
I really like project L with the ghost expansion but the extreme inelegance of setting it up doesn't fit how nice it is on the other aspects of its production. I was quite happy with the insert found here: https://www.thingiverse.com/thing:4950613 modified to have a lid on it for some time but once I got the ghost expansion (which I highly recommend) I needed to change to a more compact design to fit everything in so I made this.
FEATURES:
- Quick setup. Just take out the boxes!
- Snug fit so it can be easily transported without things ending up everywhere.
- Magnet holes (3mmx2mm+ clearance) to lock the two main boxes together. This way the smaller box with the smaller pieces that could more easily escape all over the place are held in tight. I've tried holding the box upside down at an angle and shaking it around. No pieces got scrambled inside. Still if you're carrying it in something loose like a grocery bag try to orient it so the lid of the main box can't just slide off.
NOTES:
This is designed with my own limitations in mind. I have 1 ams which means I can do 4 colours at a time + I didn't feel like getting a roll of pink filament just for this. This means the 5 container box has to be printed in 2 parts if you want all 5 colours differentiated. The 2nd part fit perfectly for me and the alignment pegs worked at getting it into position while gluing it down. But it is a step of post processing to be mindful of. The 4 container piece is intended to hold the pink pieces among others, my janky workaround for this without having pink myself is to do tiny stripes of red + white to sort of give the appearance of pink. If you do have pink to print it fully you will still need a multi AMS set up as this will use 5 colours, or you could figure out a mid print pause to swap your base filament for the pink when it gets there. Beware.
I have also included the parts that used my janky workarounds without said workarounds for those with multiple AMS. Users printing with such a setup or in just a single colour should use plates 3, 5 and 6.
Some free space is left at the bottom. The “filler” piece is made to be possible to orient in two ways. One way takes up all the remaining space so the cards are held in place. The other leaves a sort of window open into this extra space that could hopefully be used to store the other tiny expansions for someone that has them. I say hopefully because I don't have them or plan to get them and as such I didn't prioritize getting measurements and ensuring a fit for them but I figured I'd leave the option open. I make no guarantees it will work, I just left the option open in case!

/pic7442290.jpg)
/pic8091220.jpg)