Log in to join the conversation.
Insert Mage Knight Ultimate Edition - avec Sleeves
Print Profile 69h 7m 2,256 g PLA
Plate Details (26)

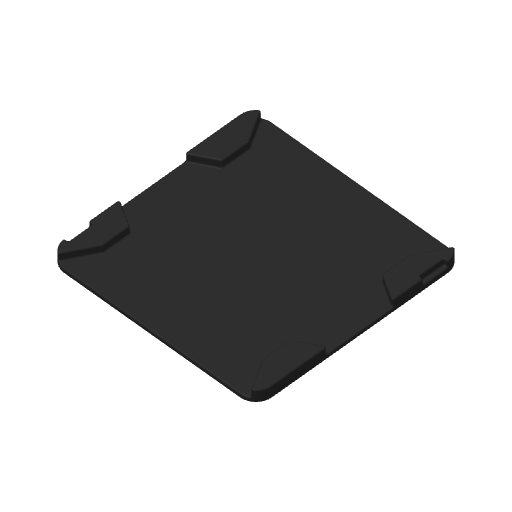
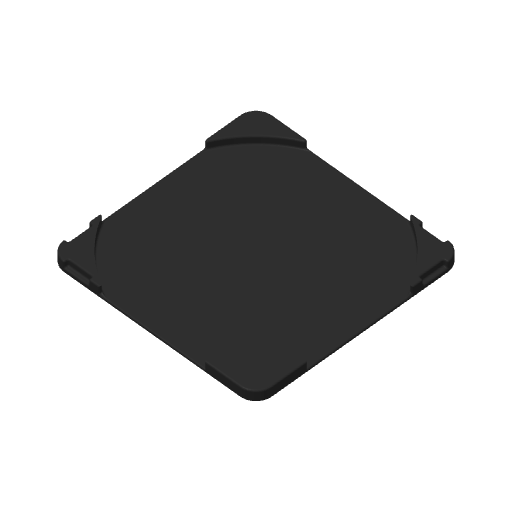
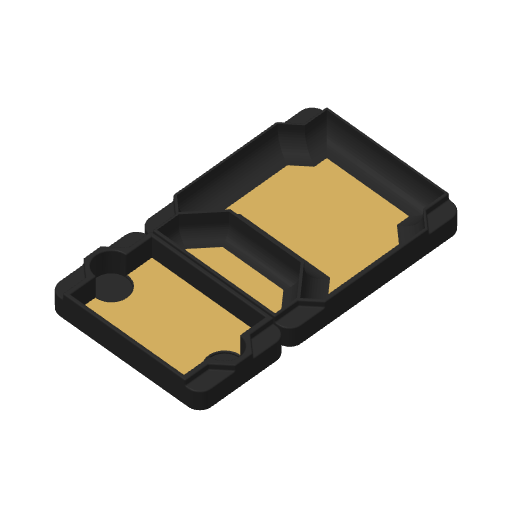
Hello everyone,
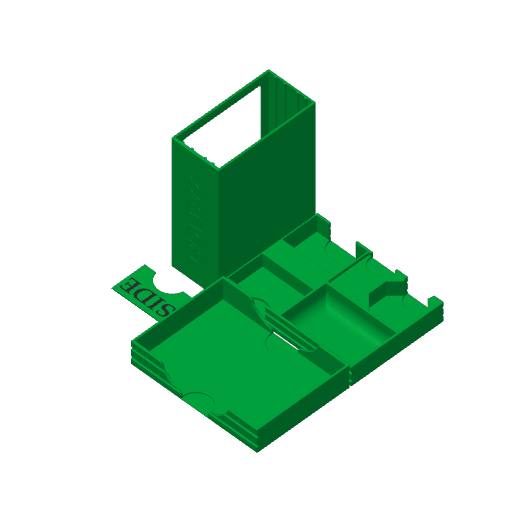
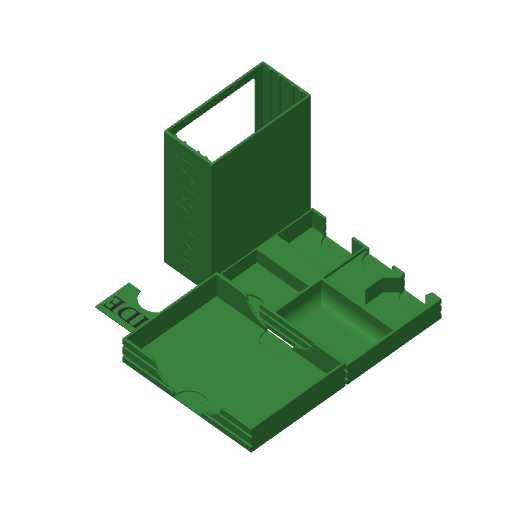
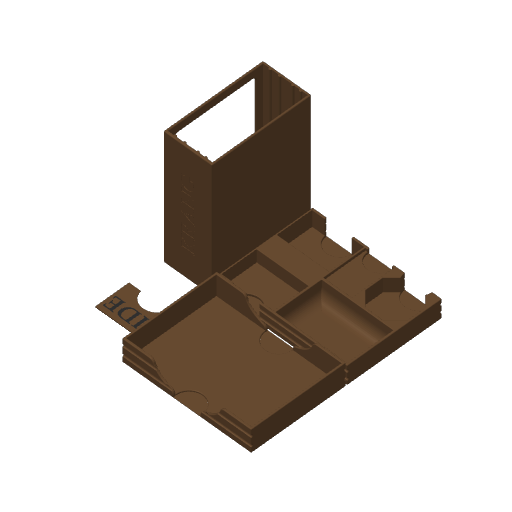
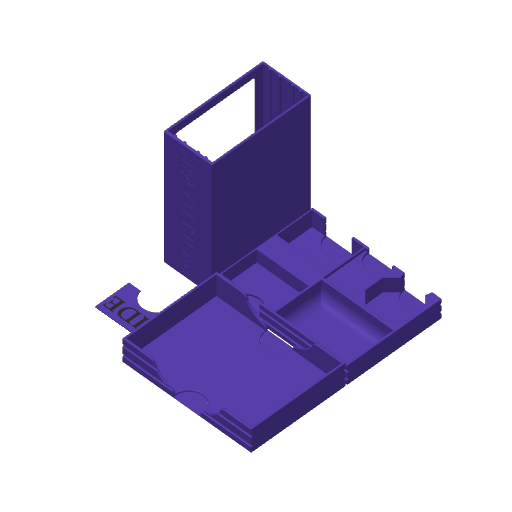
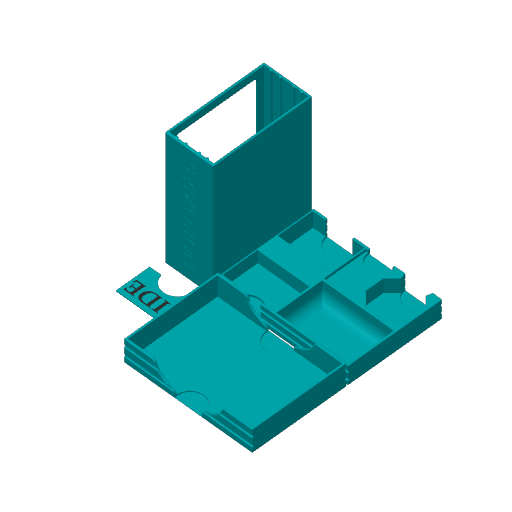
I offer you a Mage Knight insert.
The initial idea: to be able to release the game quickly and with a minimum of manipulation.
I also like to know how to store it without asking myself too many questions.
I was lucky enough to have 2 playmats and I wanted to store them in the game. I also planned to take advantage of the new expansion; so I planned the place to store it.
Sleeves: the insert is designed for cards with a maximum of 92x66x0.2
So here you have:
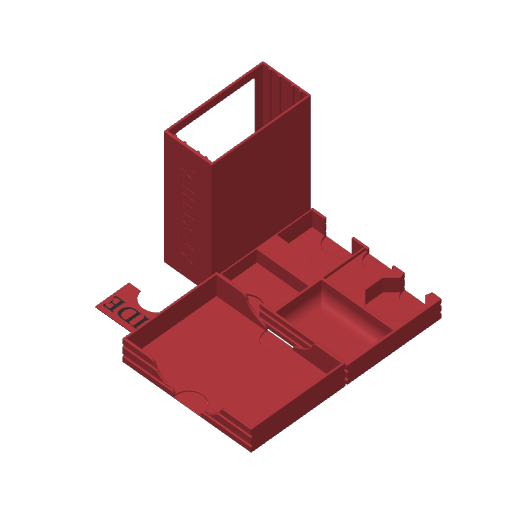
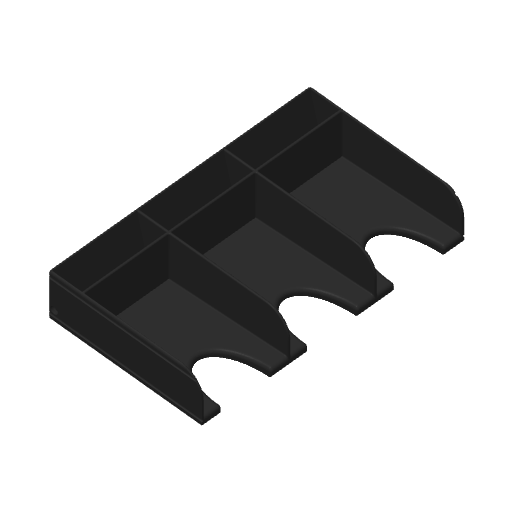
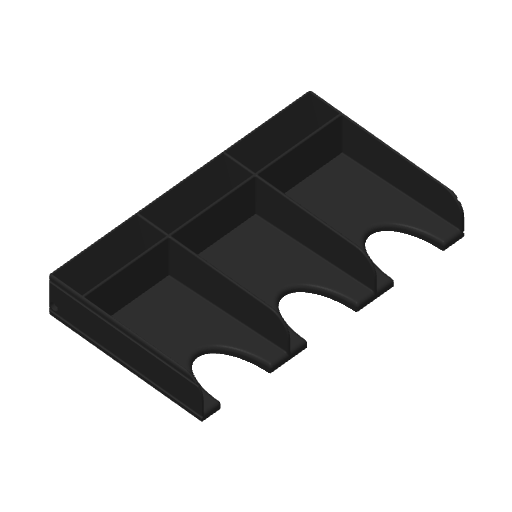
Storage in 4 strips:
- Tokens that overlap with those of the SOT extension (which must be separated from the usual tokens)
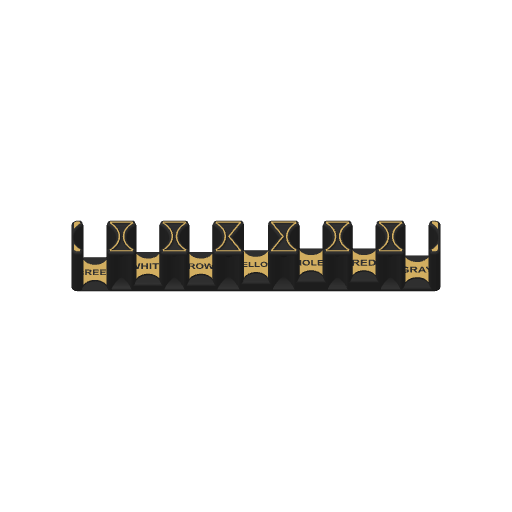
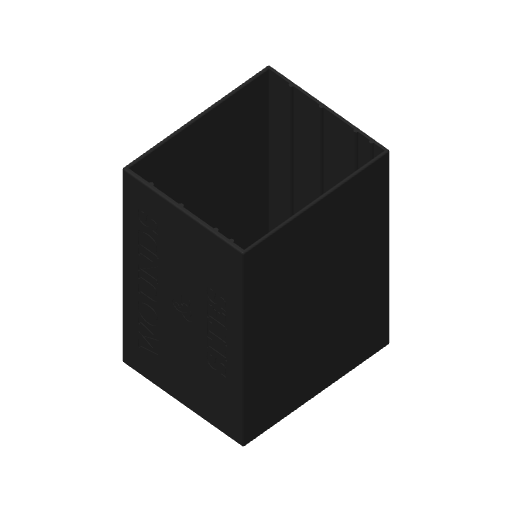
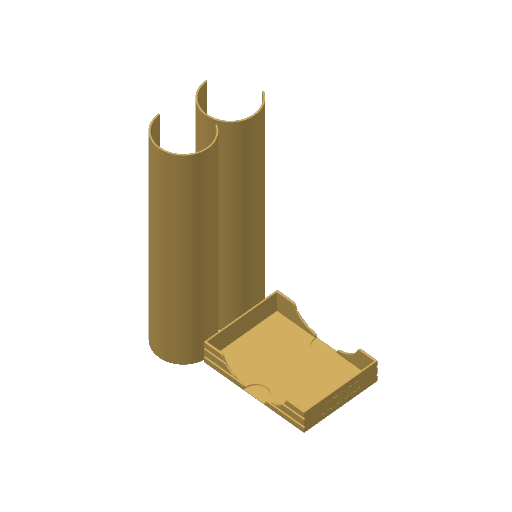
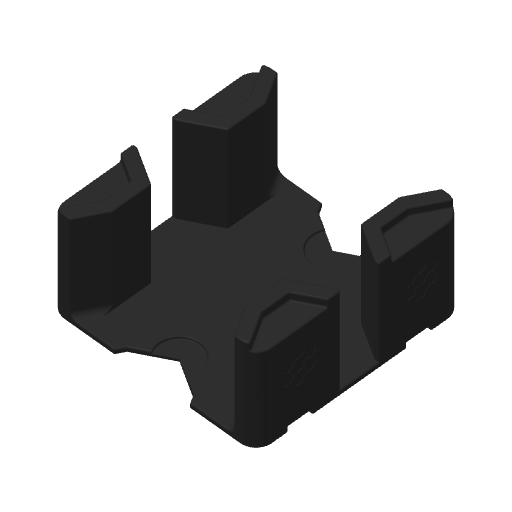
- Player decks + wound cards + quoted cards
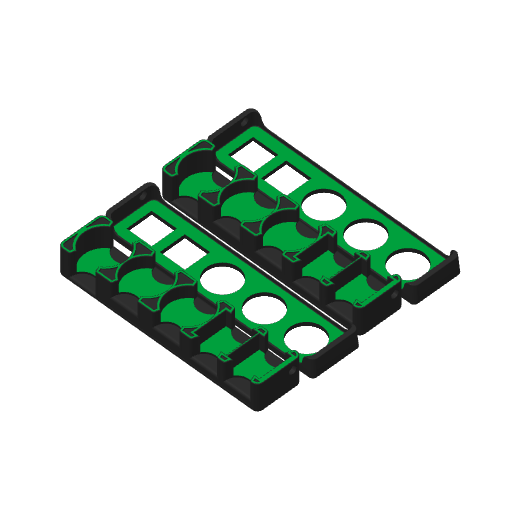
- Miniatures
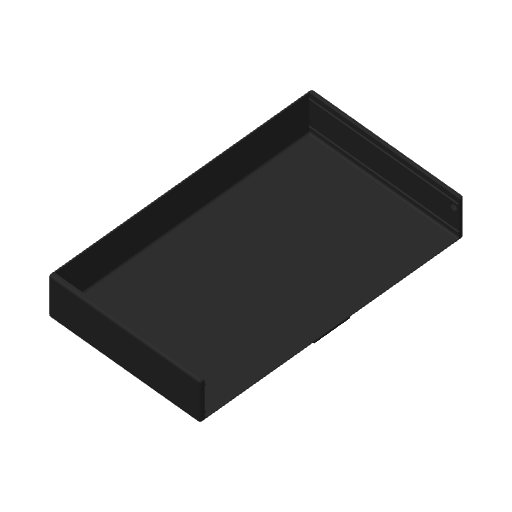
- The rest: Tiles, SOT and Volkare expansion tokens, Player cards, Mana, dice and scenario cards.
Normally, storage remains intuitive!
"The Dragon of the Apocalypse" Expansion
I ordered it but haven't received it yet. I've tried to get an idea of how much space I need to store it while still being consistent with the storage.
- Row 2 will host the new heroine.
- Row 3 will host the dragon minifigure
- Row 4 will host the new tokens
Construction:
For the player / injury + decks mentioned → it's tightening. I hope the tolerances of your printers are like mine:p
Personally: after printing the player deck, I make it go back and forth several times so that the plastic adapts a little. The cards don't fall by themselves and that's fine with me.
For the figurines: I have a hook that prevents the figurines from falling off unfortunately but which are very easy to remove. For this box of figurines, you just have to glue the top (no need to put a lot of glue, the weight remains very light)
For the other boxes: I chose to put 6x3 magnets with 2 different magnet positions:
Vertical hook: for token boxes and player cards. These magnets are not hidden. Depending on the supplier and your printer it may be a little harder to fit but just put the magnet on a clamp or spoon and press vertically.
Example with tokens:
Horizontal hook: These magnets are hidden from printing, I increased the tolerance so that I don't need a tool and avoid pressing too hard when the part is on the bed but also to prevent it from coming out unintentionally. For most of the boxes, I put 2 magnets because not too much weight.
Only the box for the tiles has 4 magnets which is effective without hanging too much.
Pay attention to the direction of the magnets: make sure that the magnets are all oriented in the same way
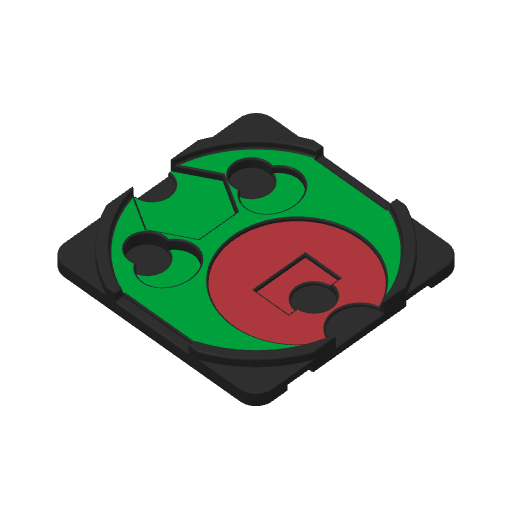
Ultimate Edition Expansions:
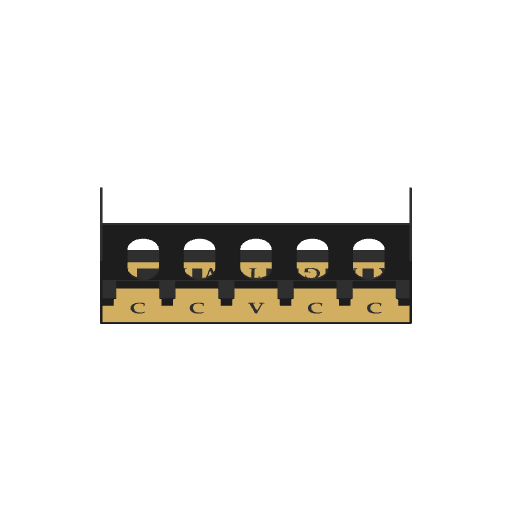
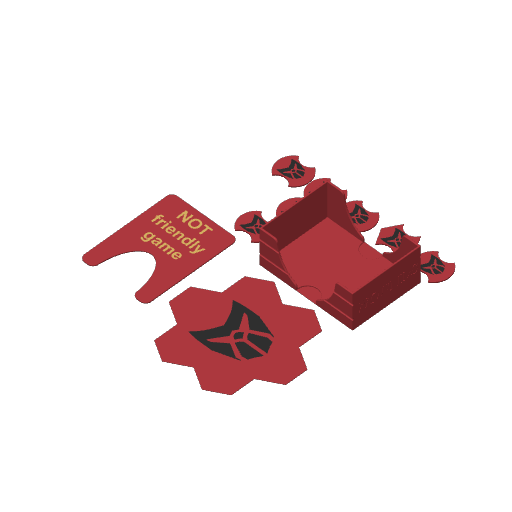
I put dividers for the Volkare expansion; it can be useful when you don't want to mix up the whole game (especially when you're just starting out).
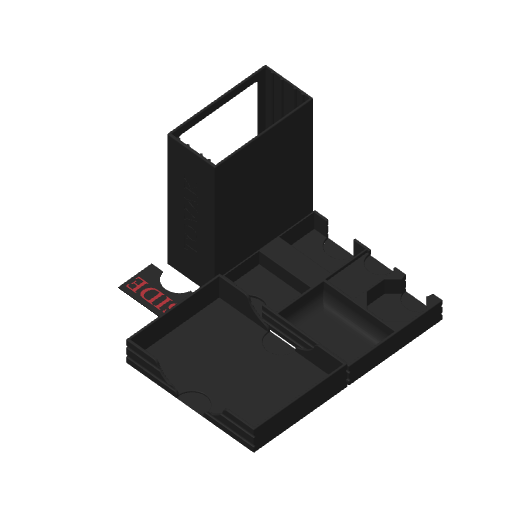
The code red concerns the Volkare expansion.
The green code is for Shades of Tezla.
Printing:
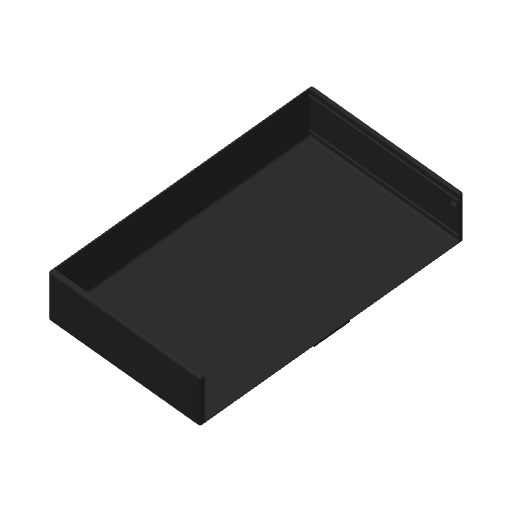
I multiplied the trays because I wanted to have a different color for each hero
I created a profile where I separated the prints with hidden magnets that need a break.
→ Little tip (unless you have better!): since I'm working; I can't start my printing in the morning and be there when the break comes to put the magnets on (and I don't want to let my bed heat up for hours). I shift my printing to make sure I have the break that comes when I get home from work. To be able to do this, I start the print job in the morning before leaving and I cancel it right away; the print is then displayed in my history in the mobile app. As a result, I can restart the print from my phone when I'm at work and arrange for the break to come when I just got home (if you have better, tell me!).
I put supports otherwise the printing of the hero decks is of lower quality; I put support blockers to avoid filling the holes of the magnets:D
There you go, I hope you liked it.
If you ever really appreciate my work, don't hesitate to buy me a coffee:)
Translated from French - show original
Bonjour à tous,
Je vous propose un insert Mage Knight.
L'idée de départ : pouvoir sortir le jeu rapidement et avec un minimum de manipulations.
J'aime aussi savoir le ranger sans me poser trop de questions .
J'ai eu la chance d'avoir 2 tapis de jeu et je voulais les stocker dans le jeu. J'ai aussi prévu de profiter de la nouvelle extension ; j'ai donc prévu la place pour la stocker.
Sleeves : l'insert est prévu pour des cartes sleevées au max 92x66x0,2
Vous avez donc ici :
Un rangement en 4 bandes :
- Tokens qui se superposent avec ceux de l'extension SOT (qui doivent être séparés des tokens habituels)
- Les decks joueurs + cartes blessures + cartes cités
- Les figurines
- Le reste : Tuiles, jetons d'extension SOT et Volkare, Cartes joueurs, Mana, dés et cartes de scénarios.
Normalement, le rangement reste intuitif !
Extension “ Le Dragon de l'Apocalypse ”
Je l'ai commandé mais pas encore reçu. J'ai essayé de me faire une idée de l'espace nécessaire pour le stocker tout en restant cohérent avec le rangement.
- La rangée n°2 accueillera la nouvelle héroine.
- La rangée n°3 accueillera la figurine du dragon
- La rangée n°4 accueillera les nouveaux tokens
Construction :
Pour les decks joueurs / blessures + cités → c'est du serrage. J'espère que les tolérances de vos imprimantes sont comme les miennes :p
Perso : après l'impression du deck joueur, je lui fais faire plusieurs aller/retours pour que le plastique s'adapte un peu. Les cartes ne tombent pas toutes seules et ça me va.
Pour les figurines : j'ai une accroche qui évite aux figurines de tomber malencontreusement mais qui sont très simples à retirer. Pour cette boite de figurines, il suffit juste de coller le dessus (pas besoin de mettre beaucoup de colle, le poids reste très léger)
Pour les autres boites : j'ai choisi de mettre des aimants 6x3 avec 2 positionnements d'aimants différents :
Accroche verticale : pour les boites de tokens et les cartes joueurs. Ces aimants ne sont pas masqués. Selon le fournisseur et votre imprimante ça peut être un peu plus dur à rentrer mais il suffit de mettre l'aimant sur une pince ou une cuillère et d'appuyer verticalement.
Exemple avec les tokens :
Accroche horizontale : Ces aimants sont masqués à l'impression, j'ai agrandi la tolérance pour ne pas avoir besoin d'outil et éviter d'appuyer trop fort quand la pièce est sur le bed mais aussi pour éviter qu'il ne sorte sans le vouloir. Pour la majeure partie des boites, j'ai mis 2 aimants car pas trop de poids.
Seule la boite pour les tuiles a 4 aimants ce qui est efficace sans accrocher trop.
Attention au sens des aimants : faites en sorte que les aimants soient tous orientés de la même façon
Extensions de l'Ultimate Edition :
J'ai mis des séparateurs pour l'extension Volkare ; ça peut servir quand on ne veut pas mélanger tout le jeu (surtout quand on commence).
Le code rouge concerne l'extension Volkare.
Le code vert concerne Shades of Tezla.
Impression :
J'ai multiplié les plateaux car j'ai souhaité avec une couleur différente pour chaque héros
J'ai crée un profil où j'ai bien séparé les impressions avec aimants masqués qui nécessitent une pause.
→ Petite astuce (à moins que vous n'ayez mieux !) : vu que je travaille ; je ne peux pas lancer mon impression le matin et être là quand la pause arrive pour mettre les aimants (et je ne veux pas laisser mon bed chauffer pendant des heures). Je décale mon impression pour m'arranger à avoir la pause qui arrive quand je rentre du travail. Pour pouvoir faire ça, je lance le travail d'impression le matin avant de partir et je l'annule de suite ; l'impression s'affiche alors dans mon historique dans l'application mobile. Du coup, je peux relancer l'impression à partir de mon téléphone quand je suis au travail et m'arranger pour que la pause arrive quand je viens de rentrer (si vous avez mieux dites moi !).
J'ai mis des supports sinon l'impression des decks héros est de moindre qualité ; j'ai mis des bloqueurs de support pour éviter de remplir les trous des aimants :D
Voilà, j'espère que ça vous a plus.
Si jamais vous appréciez vraiment mon travail, n'hésitez pas à me payer un café :)

