Log in to join the conversation.
Magnet tool / Magnet dispenser / Magnet insertion
Print Profile 48m 12 g PLA
Plate Details (2)
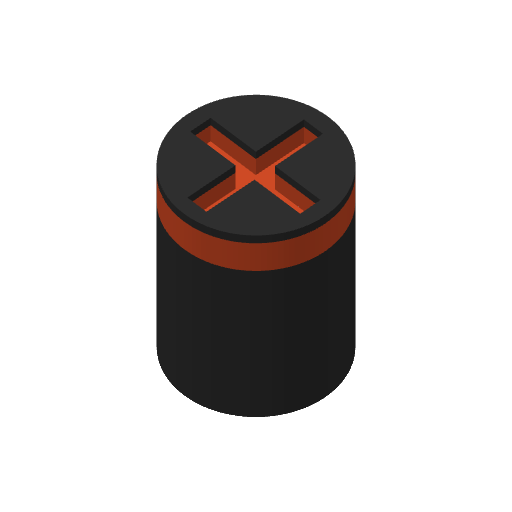
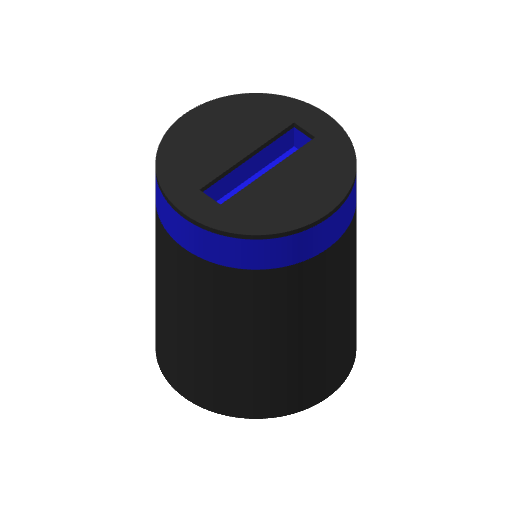
To perform this print, additional components are required:
- 2 x round neodymium magnets (6x2mm)
Introducing our magnet insertion tool:
Looking for a faster, cleaner, and fool-proof way to embed magnets directly into your 3D prints? Meet our magnet tool, the clever little jig that holds your magnet in perfect position so you can drop it into your print’s pocket effortlessly—every single time.
Say goodbye to lost magnets, misaligned poles, and tedious post-print fixes. With our tool every magnet lands precisely where it needs to be—first time, every time.
1. Start the Print
This model is pre-configured to pause the print at the right moments for magnet insertion.
2. First Plate Print – Insert First Magnet / Tool with +
When the printer pauses, you'll notice a small pocket has been printed into the model. Time to install the first magnet!
- simply drop your magnet in—orientation doesn’t matter at this stage.
- Resume the print.
3. Second Plate Print – Insert Second Magnet / Tool with -
The printer will pause when it’s time to insert the second magnet.
- When the printer pauses at the second pocket, grab your freshly printed Plus tool.
- Press the new magnet onto the Plus tool’s “+” face to set its down-pole.
- Without flipping , transfer that magnet straight from the Plus tool into the pocket of the paused Minus tool print. Ensure the magnet’s attractive face is oriented downward into the printed pocket.
- Resume the print and let it finish.
Tip #1 – Using the Plus Tool for Polarity
Always use the printed Plus tool’s “+” face to orient your magnets before inserting into the Minus tool’s pocket. This ensures complementary poles when assembled.
Tip #2 – Magnet Jumps After Resuming?
If the magnet pops out after the print resumes, it may be attracted to the hot nozzle.
👉 Solution: Use a tiny drop of glue (cyanoacrylate/super glue works well) to secure it in place before continuing.
Tip #3 – The Repel Test: Magnet Jedi Style
After inserting the magnet into the “Minus” tool (before resuming the print), you can quickly verify if it's oriented correctly:
👉 Gently bring the already printed “Plus” tool close to the pocket in the paused “Minus” tool print.
If the tools repel each other at that position, the magnet is properly aligned!
If they attract , remove the magnet, reorient it using the Plus tool’s “+” face, and insert it again.
Boost Me Hey Makers! 🎨🛠️ If you enjoy our 3D models and find them useful, consider giving them a Boost! Your support helps us create more high-quality designs, improve existing models, and share even more creative ideas with the community. Every Boost motivates us to keep innovating and bringing fun, functional, and unique designs to life.
Thanks for being awesome – happy printing! 🎉😊
M&G