Table Talk
Nothing here yet. Love this design? Say so - the designer might see it.

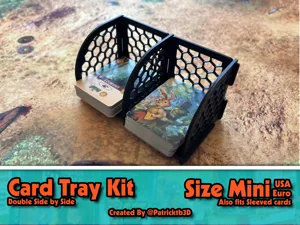
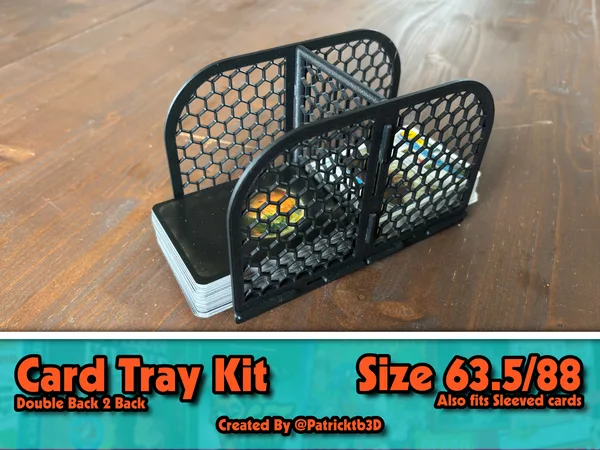
Card draw/discard tray Double Decker kit Mini

Plan Your Print
Fits sleeved cards
About 25 g of filament From the designer's print profile
Print Profile (5) Single tray 1h 4m 25 g PLA
Single tray
1 plate 1h 4m 25 g PLA
P1S, H2S, H2D, X1 Carbon, A1, X1E, H2D Pro, X1, P1P, P2S, H2C, X2D, A2L
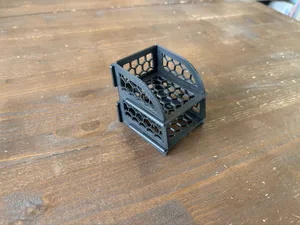
The Single version of the card tray.
Plate Details (1)
0.4 mm nozzle, all plates
Plate 1
1h 4m 25 g PLA · 25 g
Single Magnetic tray
1 plate 1h 8m 26 g PLA
P1S, X1 Carbon, A1, X1, H2D Pro, H2S, X1E, H2D, P1P, P2S, H2C, X2D, A2L
The Single Magnetic version of the card tray.
Plate Details (1)
0.4 mm nozzle, all plates
Plate 1
1h 8m 26 g PLA · 26 g
Double tray
1 plate 1h 44m 42 g PLA
P1S, H2S, X1 Carbon, H2D, X1E, H2D Pro, P1P, A1, X1, P2S, H2C, X2D, A2L
The Double version of the card tray.
Plate Details (1)
0.4 mm nozzle, all plates
Plate 1
1h 44m 42 g PLA · 42 g
Tripple tray
2 plates 2h 32m 59 g PLA
P1S, X1 Carbon, A1, X1, H2D Pro, H2S, X1E, H2D, P1P, P2S, H2C, X2D, A2L
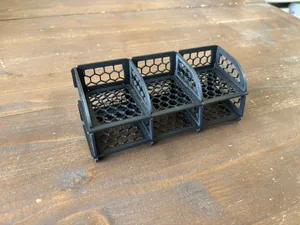
The Tripple version of the card tray.
Plate Details (2)
0.4 mm nozzle, all plates
Plate 1
1h 38m 38 g PLA · 38 g
Plate 2
54m 21 g PLA · 21 g
Quattro tray
2 plates 3h 12m 76 g PLA
P1S, X1 Carbon, A1, X1, H2D Pro, H2S, X1E, H2D, P1P, P2S, H2C, X2D, A2L
The quattro version of the card tray.
Plate Details (2)
0.4 mm nozzle, all plates
Plate 1
2h 6m 50 g PLA · 50 g
Plate 2
1h 6m 26 g PLA · 26 g
As sliced by the designer. Your printer, filament, and settings may change these numbers.
Designer's Description

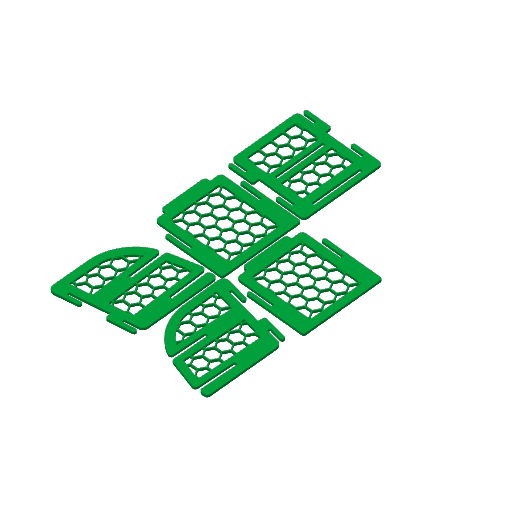
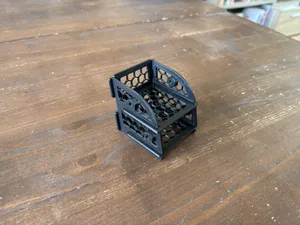
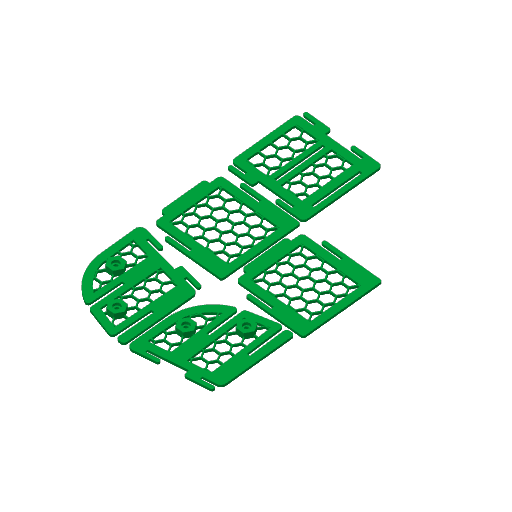
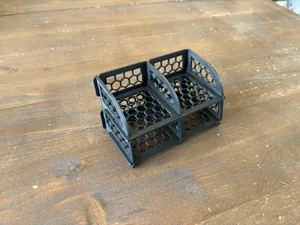
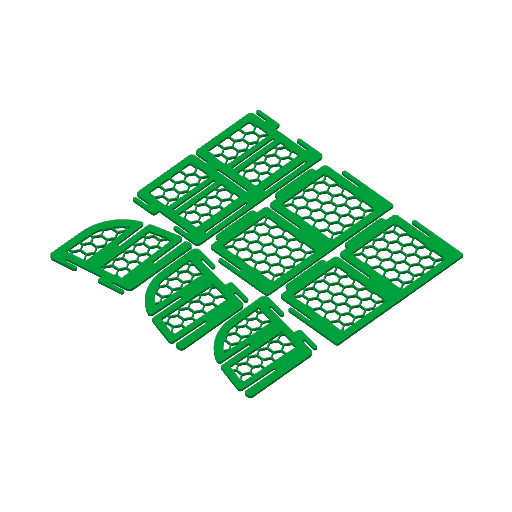
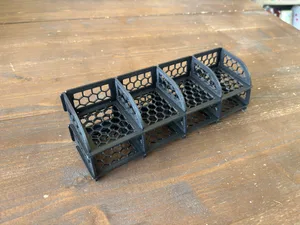
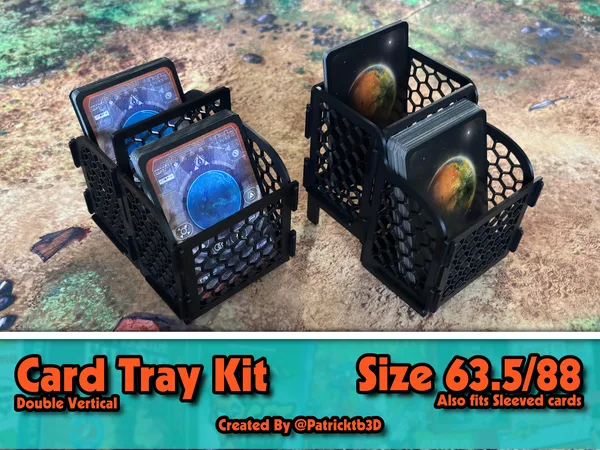
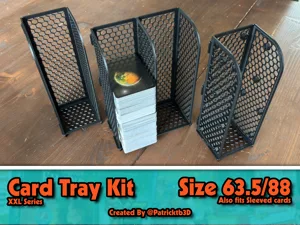
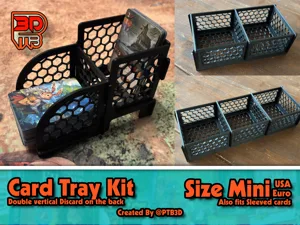
A card tray series holds 2 deck atop each other. This way you have your draw and discard piles stacked. This tray also fits sleeved cards. There are 5 versions. A single, single with magnets, a double, a tripple and a quattro version. The magnet dimensions are 2x5mm. These card trays can be assembled and disassembled, is so thin that is fits in to almost every board game box. Due to the magnets you can connect as many treys to each other on the sides and back. Do keep in mind of the polarity. I suggest the left side north, right side south and on the back the left one north and the right one south. I will be designing more magnetic modules the go on the back so you need to have two different polarities. No more draw or discard piles that fall over!

Check my profile for other versions and sizes.

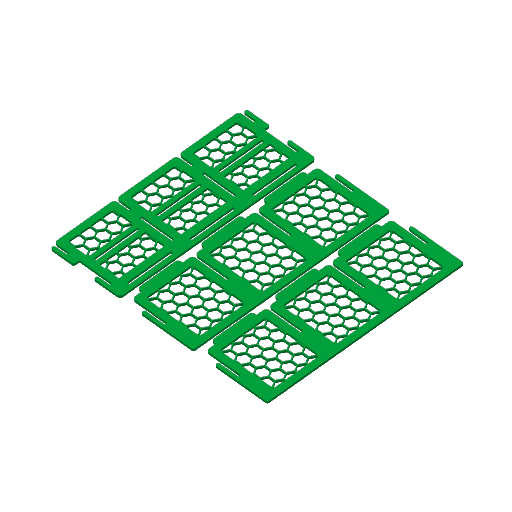
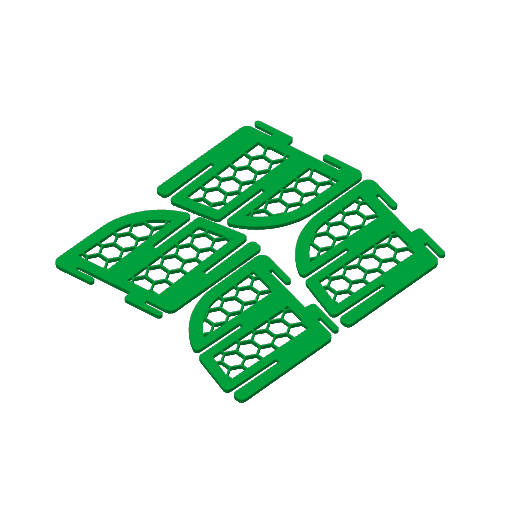
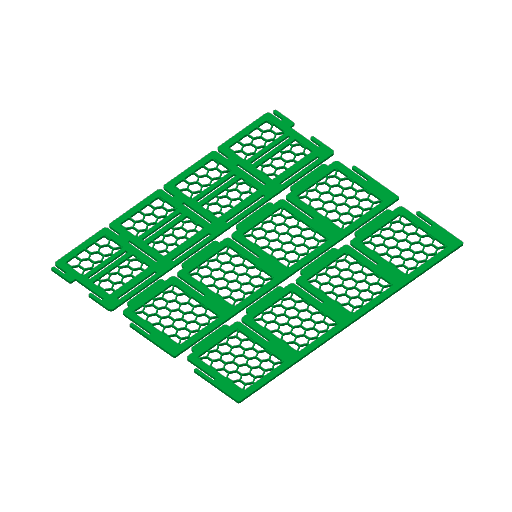
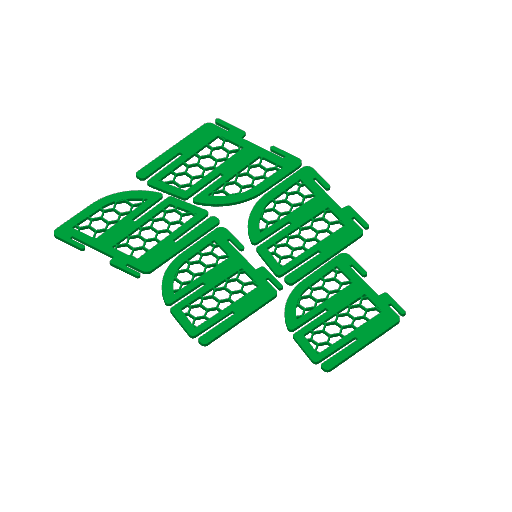
To assemble, first (if it’s the magnetic version, put the magnets in the sides) put the sides on the back. Then slide the bottoms into the sides. Happy gaming!

card game card game accesories card game accessories card game accessory board game accessories print settlers of catan assemble disassemble build