Log in to join the conversation.
Grid for Hive Pocket edition
Print Profile 3h 9m 76 g PLA
Plate Details (4)
Update 19 November 2025
⬢ Parametric Hive Tile Tray (Customizable)
A fully customizable storage tray for Hive tiles. Designed to be Parametric , meaning you can change the size, shape, and layout to fit your specific edition of the game (Pocket, Standard, or Carbon) and your specific 3D printer bed size.
👉 Click "Customize" to generate your perfect tray!
- Perfect Fit: Define the exact size of your tiles (Tile Measurements).
- Bed Optimization: Switch Grid Shape to "Square" to create a rectangular array that fills your build plate efficiently (no more wasted space from hexagonal shapes!).
- Material Saver: Use the "Perforated Base" option to create "feet" (ledges) instead of a solid floor. This holds the tiles securely while saving 30-40% filament and print time.
- Bambu Lab / Prusa Friendly: The "Square" mode creates axis-aligned rows perfect for efficient travel moves.
1. Tile Measurements
- Tile Flat to Flat: Measure your tile from one flat side to the opposite flat side (in mm).
- Standard Hive: Approx 38mm (Check your specific set!).
- Pocket Hive: Approx 24mm ggle Room: Tolerance gap. 0.5mm is standard. Increase to 0.8mm if you want them to fall in loosely.
2. Grid Layout
- Grid Shape:
- Select Square to make a rectangle (uses Columns/Rows settings). Best for storage boxes.
- Select Hexagonal to make a honeycomb shape (uses Radius setting). Best for table display.
- Grid Columns/Rows: Defines the width and height in "Square" mode.
3. Base & Feet
- Base Type: Select "Perforated Base" to cut holes in the bottom, leaving a ledge (feet) for the tile to rest on.
- Perforation Fraction: Controls the size of the ledge. 0.85 leaves a small rim. 0.50 leaves a wide rim.
Non customizable version:
Enjoy this Grid to ease play for Hive Pocket edition Tiles.
I thoroughly enjoy the Hive pocket edition created by https://makerworld.com/en/@G__W__ with the tiles: https://makerworld.com/en/models/151315-hive-board-game-box-included#profileId-165174
However, if you are clumsy like me, you will find it is easy to stumble and fumble the pieces knocking them out of their board position.
Hence I created this grid for the POCKET EDITION. It will only work with tiles that measures 24mm from flat side to flat side
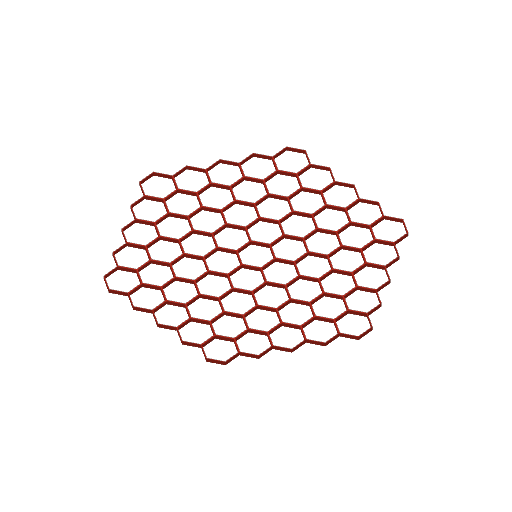
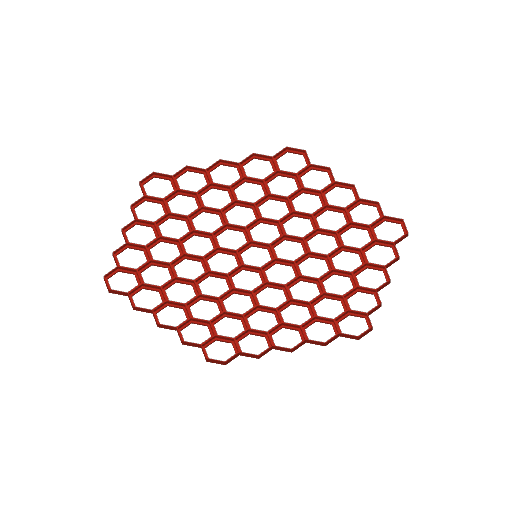
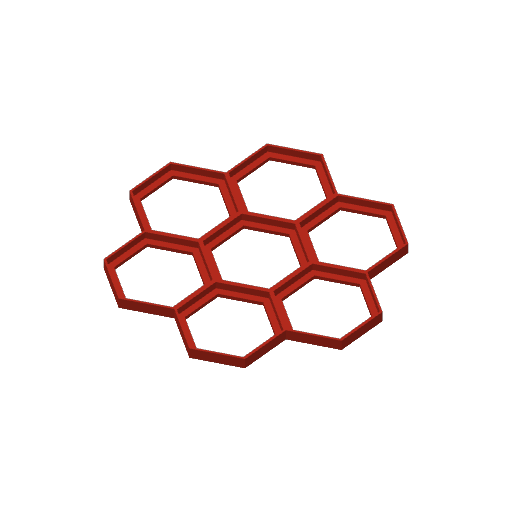
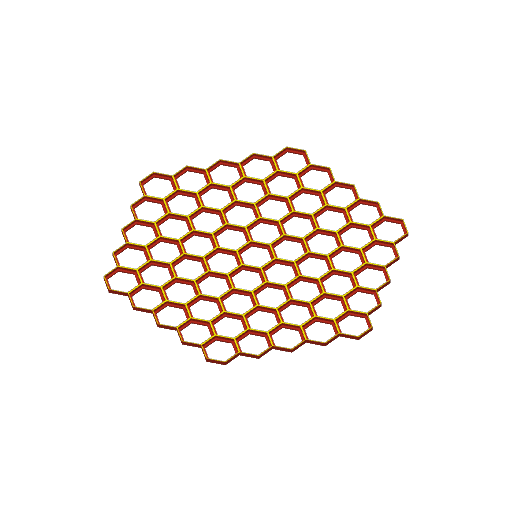
There are 4 plates to Choose from:
1) Bare bones, grid only - quick print
2) Grid with feet pads at the bottom, allowing the entire game to be picked up and moved elsewhere! Pretty cool!
3) Crucially a size tester
4) A Multi-colour version of plate 2 if you feel fancy
I strongly recommend you print the size tester first (plate if you are using any other tiles other than these: https://makerworld.com/en/models/151315-hive-board-game-box-included#profileId-165174
Plate 1 can easily be printed on Sport mode or perhaps even Ludicrous (if you are feeling ludicrous ;) )
You can also use this to display a game you played or even store pieces in (for this purpose use the version with the feet pads, i.e. Plate 2 or 4)
NB: Do not scale this print otherwise your pieces won't fit!
Enjoy!