Table Talk
Nothing here yet. Love this design? Say so - the designer might see it.

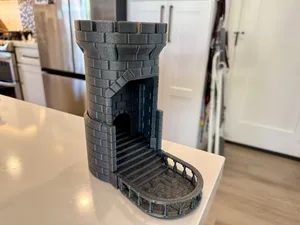
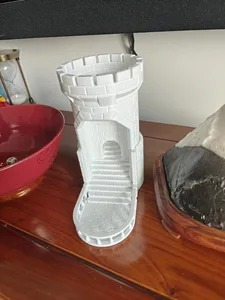
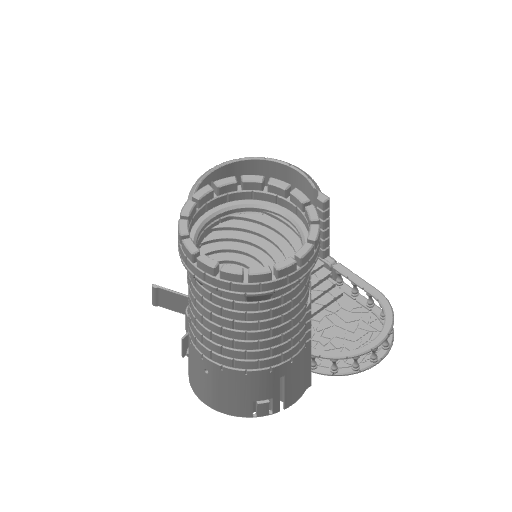
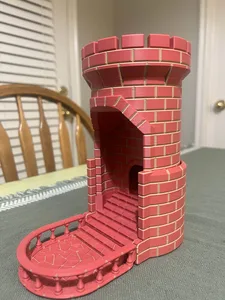
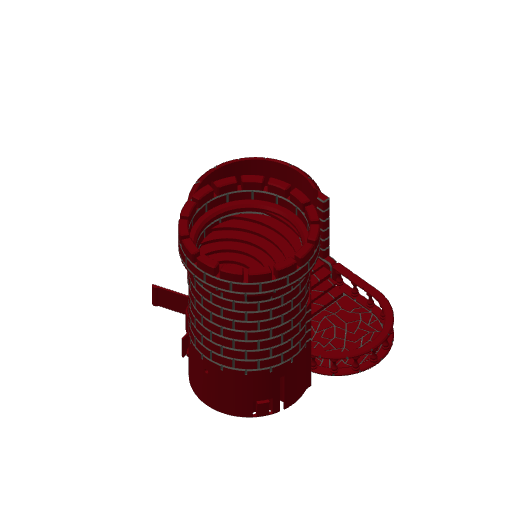
Smash! The Auto-Reload Dice Tower

Plan Your Print
About 288 g of filament From the designer's print profile
Print Profile (15) V4 - Silent slider version 8h 59m 279 g PLA
V4 - Silent slider version
1 plate 8h 59m 279 g PLA
X1 Carbon, P2S, H2S, P1P, H2D, X1, A1 mini, H2D Pro, A2L, H2C, A1, P1S, X1E, X2D
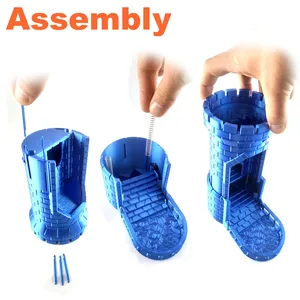
0.2mm layer, 2 walls, 10% infill This is a slightly more complex version to assemble but it is much more silent than V3. It has stronger hinges and has sliders that need to be inserted to prevent the layer lines from rubbing
Plate Details (1)
0.4 mm nozzle, all plates
Plate 1
8h 59m 279 g PLA · 279 g
V3 - ALL Printers (One plate) 0.2mm layer height
1 plate 8h 34m 283 g PLA
P1S, X1E, P1P, P2S, A1, A1 mini, X1, H2D Pro, H2D, H2S, X1 Carbon, H2C, X2D, A2L
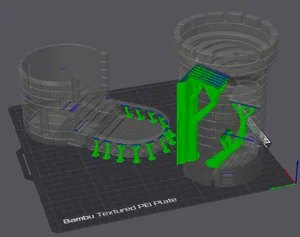
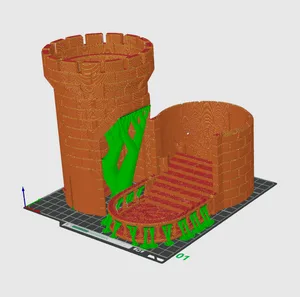
0.2mm layer, 2 walls, 10% infill and no supports The no supports is quite important, so if Bambu Studio tries to convince you otherwise you can just ignore it. This is an improved print profile which also fits the A1 mini. V2 improvements: Stiffer, longer lasting, spring Easier removal of spring Tiled pattern on the stairs Better Maze (reduce chance of dice jumping out when using the top) V3 improvements: Made tab connection bigger with a fillet Added an M3 grub screw hole above the stairs as backup if your tabs break Added thickness to the bottom prevents spring from protruding and makes the terrace a bit heavier
Plate Details (1)
0.4 mm nozzle, all plates
Plate 1
8h 34m 283 g PLA · 283 g
V2 Replacement springs - 0.20mm layer height
1 plate 46m 28 g PLA
A1, P1P, P1S, X1E, H2D Pro, X1 Carbon, X1, H2D, H2S, P2S, H2C, A1 mini, X2D, A2L
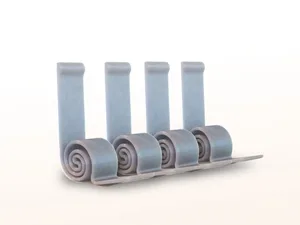
These are spare springs for if your old ones get fatigued or misshapen. This heavily depends on your filament choice, but the best solution is using steel springs. To replace the spring, remove the op of the tower by pressing in the release clips through the small holes in the side of the bottom.
Plate Details (1)
0.4 mm nozzle, all plates
Plate 1
46m 28 g PLA · 28 g
Replacement springs - 0.20mm layer height
1 plate 35m 21 g PLA
A1 mini, P1P, X1E, P2S, A1, X1, H2D Pro, H2D, H2S, P1S, X1 Carbon, H2C, X2D, A2L
0.2mm layer, 2 walls, 15% infill These are spare springs for if your old ones get fatigued or misshapen. This heavily depends on your filament choice, but the best solution is using steel springs. To replace the spring, remove the op of the tower by pressing in the release clips through the small holes in the side of the bottom.
Plate Details (1)
0.4 mm nozzle, all plates
Plate 1
35m 21 g PLA · 21 g
(OLD) A1 and up (one plate) - 0.2mm layer height
1 plate 10h 2m 288 g PLA
A1, P1P, X1E, H2C, H2D, X1 Carbon, H2S, H2D Pro, P2S, P1S, X1, X2D, A2L
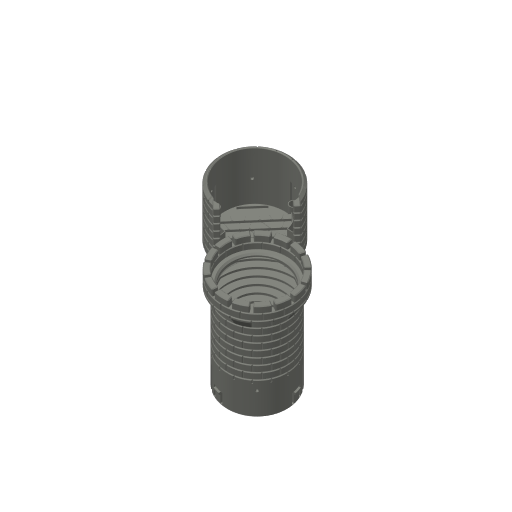
0.2mm layer, 2 walls, 15% infill This is the profile for the complete tower! If you decide to go with steel springs you can disable the printed spring in Handy.
Plate Details (1)
0.4 mm nozzle, all plates
Plate 1
10h 2m 288 g PLA · 288 g
(OLD) A1 mini (2 plates) - 0.2mm layer height
2 plates 10h 1m 290 g PLA
A1 mini, H2D Pro, H2D, H2S, H2C, P2S, X2D, A2L
0.2mm layer, 2 walls, 15% infill This is a two plate version for the A1 mini, settings are the same
Plate Details (2)
0.4 mm nozzle, all plates
Plate 1
3h 57m 115 g PLA · 115 g
Plate 2
6h 3m 175 g PLA · 175 g
V3 HIGH QUALITY - PLA Sparkle, 150mm Walls, Slower Overhangs
1 plate 9h 33m 283 g PLA
P1S, X1E, P1P, P2S, A1, A1 mini, X1, H2D Pro, H2D, H2S, X1 Carbon, H2C, X2D, A2L
Standard V3 designer settings/profile other than 150mm walls and slower overhangs. Slightly longer print time for higher quality but perfect for an overnight print. Printed flawlessly on my P1S with Bambu PLA Slate Gray Sparkle (13102). Printed spring works great!
Plate Details (1)
0.4 mm nozzle, all plates
Plate 1
9h 33m 283 g PLA · 283 g
Colored Tiles V3
1 plate 13h 13m 325 g PLA
P1S, X1E, P1P, P2S, A1, X1, H2D Pro, H2D, H2S, X1 Carbon, H2C, X2D, A2L
• fast two color print • unique aesthetics • Arachne
Plate Details (1)
0.4 mm nozzle, all plates
Plate 1
13h 13m 325 g PLA · 299 g PLA · 26 g
0.2mm layer, 2 walls, 10% infill, painted supports
1 plate 9h 28m 273 g PLA
X1 Carbon, P1P, P1S, A1 mini, X1E, H2D Pro, X1, H2D, H2S, A1, H2C, P2S, X2D, A2L
• Painted supports to the inner/upper roof, looks very smooth now • Adjusted to gyroid with only 10% infill
Plate Details (1)
0.4 mm nozzle, all plates
Plate 1
9h 28m 273 g PLA · 273 g
V3 0.4mm A1 PLA, adaptive layers & tree supports
1 plate 11h 45m 405 g PLA
A1, H2S, H2C, H2D Pro, H2D, P2S, X2D, A2L
• gif attached • no spring on this plate • variable layer height and tuned shell settings for detailed finish • hotter nozzle and plate for better bed adhesion and faster printing • painted supports and speed/cooling settings for clean overhangs
Plate Details (1)
0.4 mm nozzle, all plates
Plate 1
11h 45m 405 g PLA · 405 g
PETG
1 plate 12h 6m 277 g PETG
A1 mini, X1E, X1, H2C, H2S, H2D Pro, P2S, P1S, X1 Carbon, A1, P1P, H2D, X2D, A2L
Plate Details (1)
0.4 mm nozzle, all plates
Plate 1
12h 6m 277 g PETG · 277 g
2 Color AMS, 0.2mm layer, 3 walls, 10% infill
1 plate 37h 53m 707 g PLA
P1S, H2S, H2C, H2D Pro, X1 Carbon, A1, X1E, X1, H2D, P2S, P1P, X2D, A2L
Original V3 Model with painted brick mortar. Takes a very long time to print, silent speed setting suggested to lower the risk of failure mid-print. Also suggest drying filament and fine-tuning your flow rate before starting. The very beginning of this print's brown color has some rough spots from sub-optimal filament. Same 0.2mm layer height and 10% infill, but added 3 walls to hopefully help strengthen the spring and tower, especially around the pivot points
Plate Details (1)
0.4 mm nozzle, all plates
Plate 1
37h 53m 707 g PLA · 453 g PLA · 254 g
0.2mm layer, 2 walls, 10% infill
1 plate 10h 36m 297 g PLA
A1 mini, P1P, X1E, P2S, A1, X1, H2D Pro, H2D, H2S, P1S, X1 Carbon, H2C, X2D, A2L
V3 of Smash dice Tower but with pre defined custom tree support for better print quality. The resot fo the parameters are the same as original
Plate Details (1)
0.4 mm nozzle, all plates
Plate 1
10h 36m 297 g PLA · 297 g
same as original except all monotonic top surfaces
1 plate 9h 54m 274 g PLA
A1, P1P, X1E, H2C, H2D, X1 Carbon, H2S, H2D Pro, P2S, P1S, X1, X2D, A2L
This profile has a modified base that makes the balcony angle 45° at the back instead of 35°. Also moved the pivot point to increase the strength around the pivot (mine broke around the pivot too easily). Other improvements include a chamfer on the back of the balcony arms to reduce the chance of the base fusing to the arms. Should also make it print cleaner there too.
Plate Details (1)
0.4 mm nozzle, all plates
Plate 1
9h 54m 274 g PLA · 274 g
Multicolor Smash Dice Tower H2 Series Recommended
1 plate 20h 428 g PLA
H2C, H2S, A1, P2S, H2D, H2D Pro, A2L
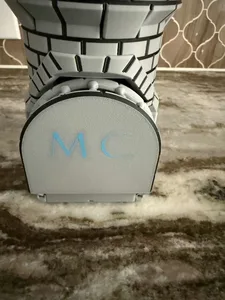
A friend of mine liked the smash tower I printed when I first got my X1C, but he didn't like how it was all one color. As a birthday gift, and to play with the dual extrusion of my new H2C I colorized all the gaps between bricks to make it look more distinct. I also added a text field to the underside of the part that flips up with his initials so that when he smashes the tower the initials will be right side up. Definitely, adds to the print time, but I can imagine more interesting color combiniations looking very striking.
Plate Details (1)
0.4 mm nozzle, all plates
Plate 1
20h 428 g PLA · 312 g PLA · 115 g PLA · 1 g
As sliced by the designer. Your printer, filament, and settings may change these numbers.
Designer's Description

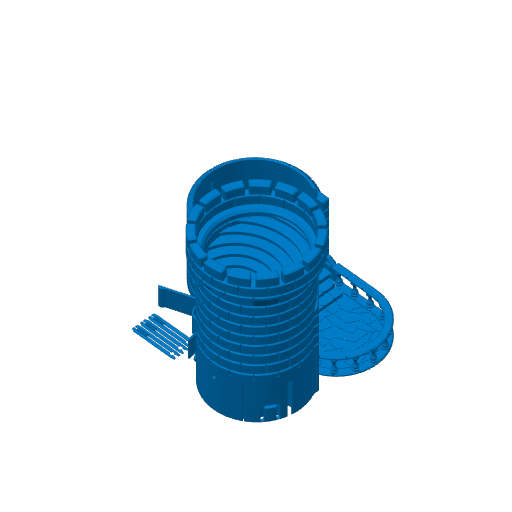
Smash!

For commercial use, please have a look at my

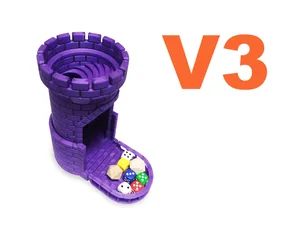
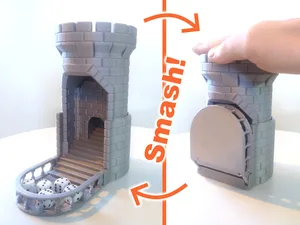
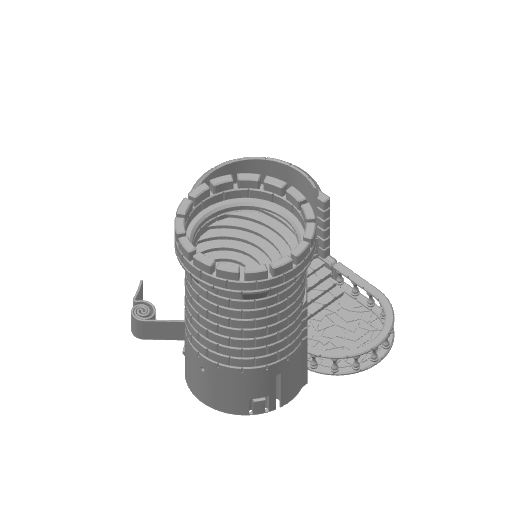
Most Dice Towers are awesome additions to your board game experience. But it doesn't make rolling the dice any easier. If anything, it makes it more fun but also slightly more inconvenient.

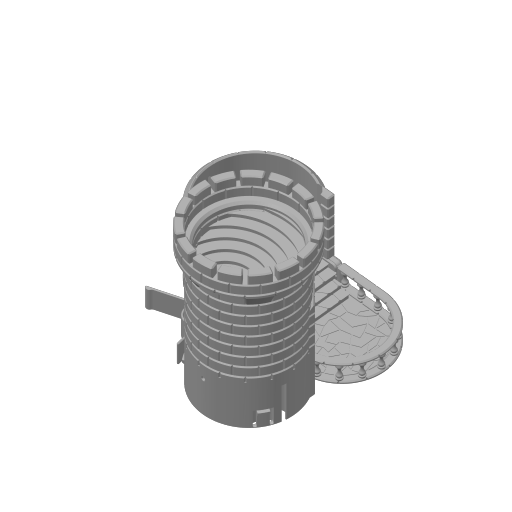
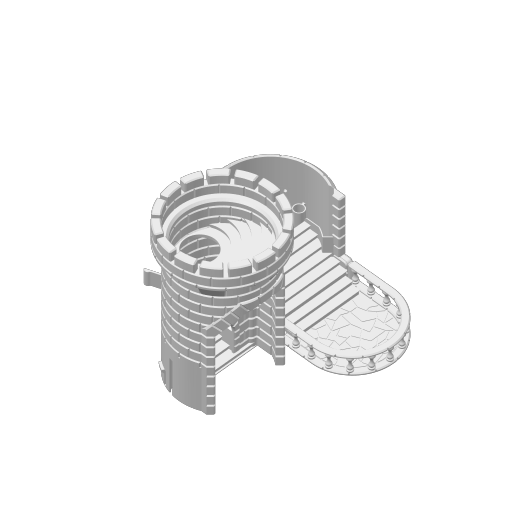
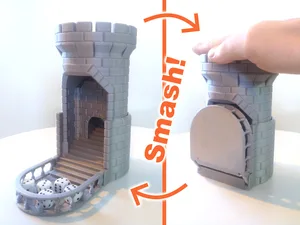
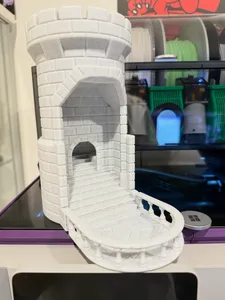
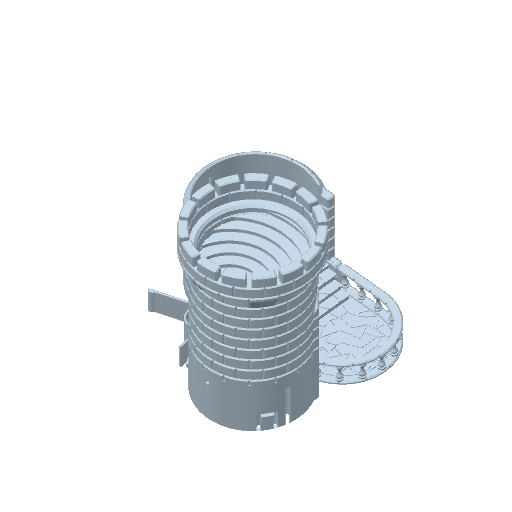
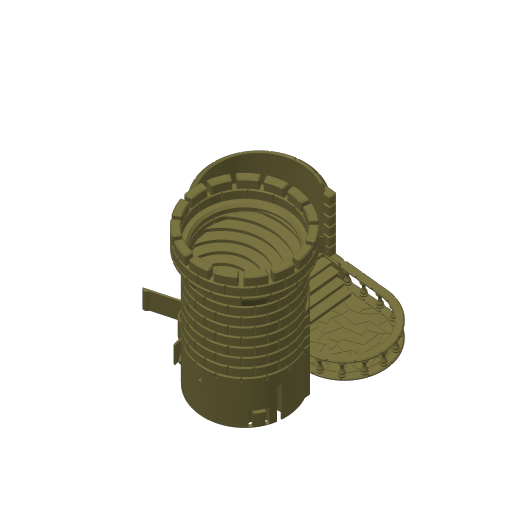
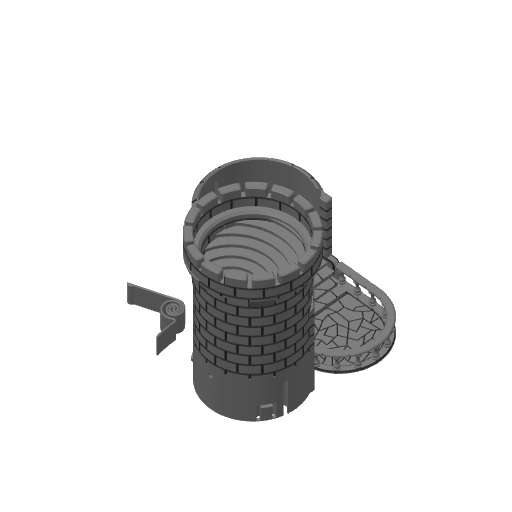
Smash! resolves this by having an auto reload functionality. Just smash the top and the dice are automatically rerolled for you. You can still drop them in from the top or change them out. But then, just Smash!

The dice tower should handle any dice up to a diagonal/diameter of 30mm.

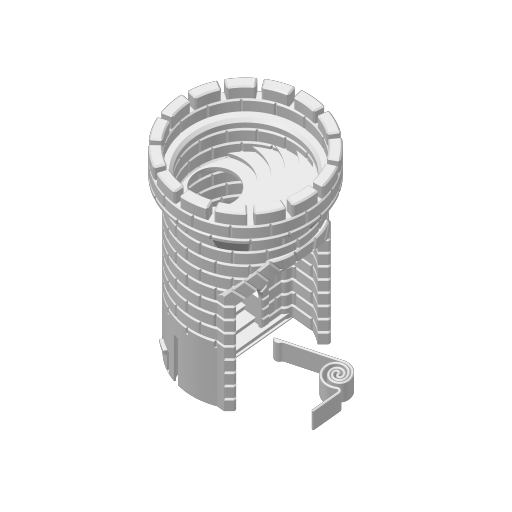
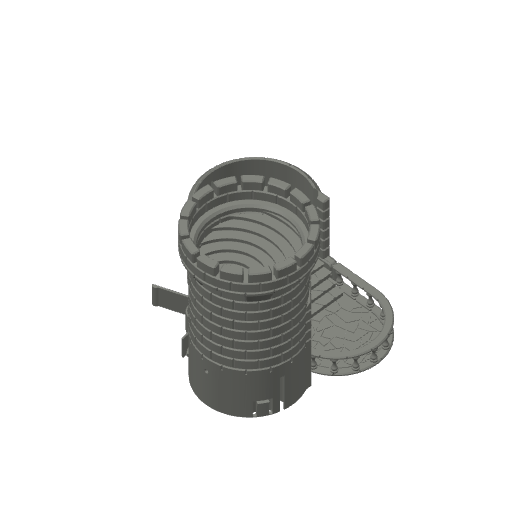
There is a printable spring included in the print file, but due to creep this spring can fatigue over time and not lift the top of the dice tower up again (but can easily be replaced). It is therefore advised to use an 80*8mm spring (not yet tested because of Bambu shipping mess, but it should work).

If you go the printable spring route, it works better if you lube the coils of the spring and the bottom of the top part (ptfe/silicone) to reduce friction. Depending on the filament used you might need to swap it out once in a while, or upgrade to the coil springs mentioned above.

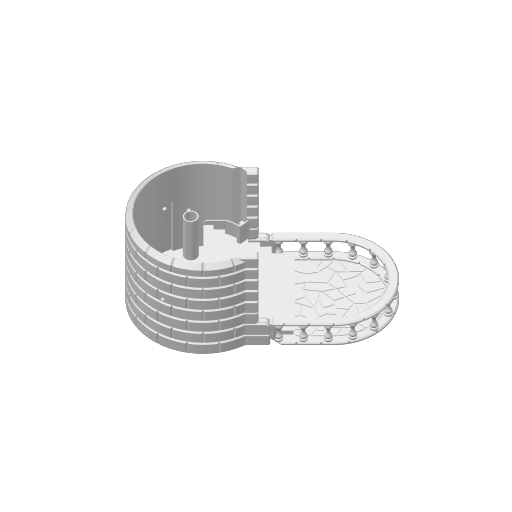
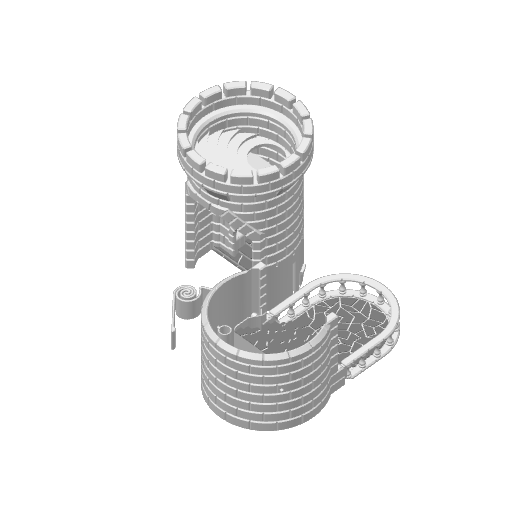
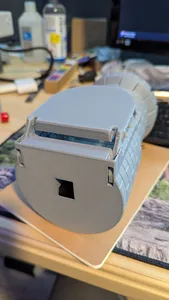
Just drop the coil springs (or slide the printed spring) in place and slide the top part of he tower down. It will click in place and if you use the printed spring you might need to nudge the top backwards. If you ever want to take the castle apart again, there are two holes in de side through which you can unlock the clips that keep the castle together.

If the bridge doesn't come down by itself you might need to work the hinges a bit before it becomes a smooth action. If that still didn't help, use a bit of lube on the hinges. If the top parts has issues reach the bottom, lube like described above and make sure the spring is pushed all the way into the slot. If you are not using the provided print profile, make sure to disable supports , whatever Bambu Studio tries to tell you.

V2 improvements:

Stiffer, longer lasting, spring

Easier removal of printed spring

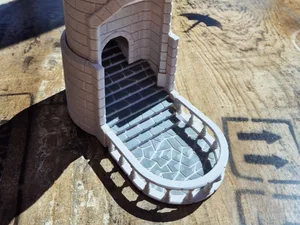
Tiled pattern on the stairs

Better Maze (reduced chance of dice jumping out when using the top)

V3 improvements:
Made tab connection bigger with a fillet
Added an M3 grub screw hole above the stairs as backup if your tabs break
Added thickness to the bottom prevents spring from protruding and makes the terrace a bit heavier

Other than that, just Smash! it and have fun!

Happy Printing!

- Rossero

Coil spring: BB019

http://store.bambulab.com/products/compression-spring?variant=49424974446940
dicetower dice tower dice