Table Talk
Nothing here yet. Love this design? Say so - the designer might see it.

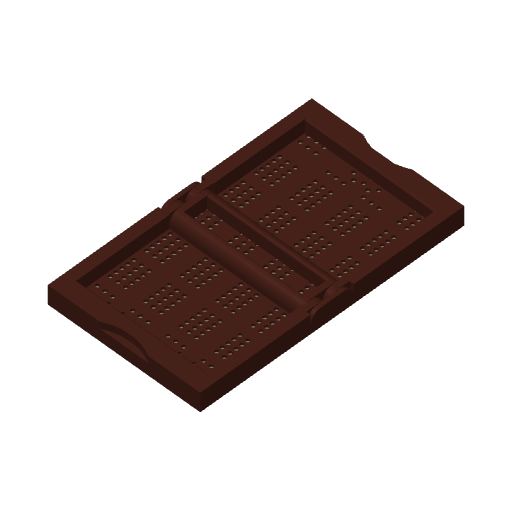
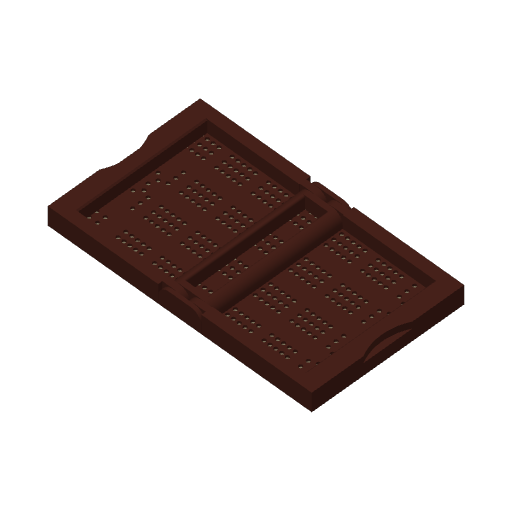
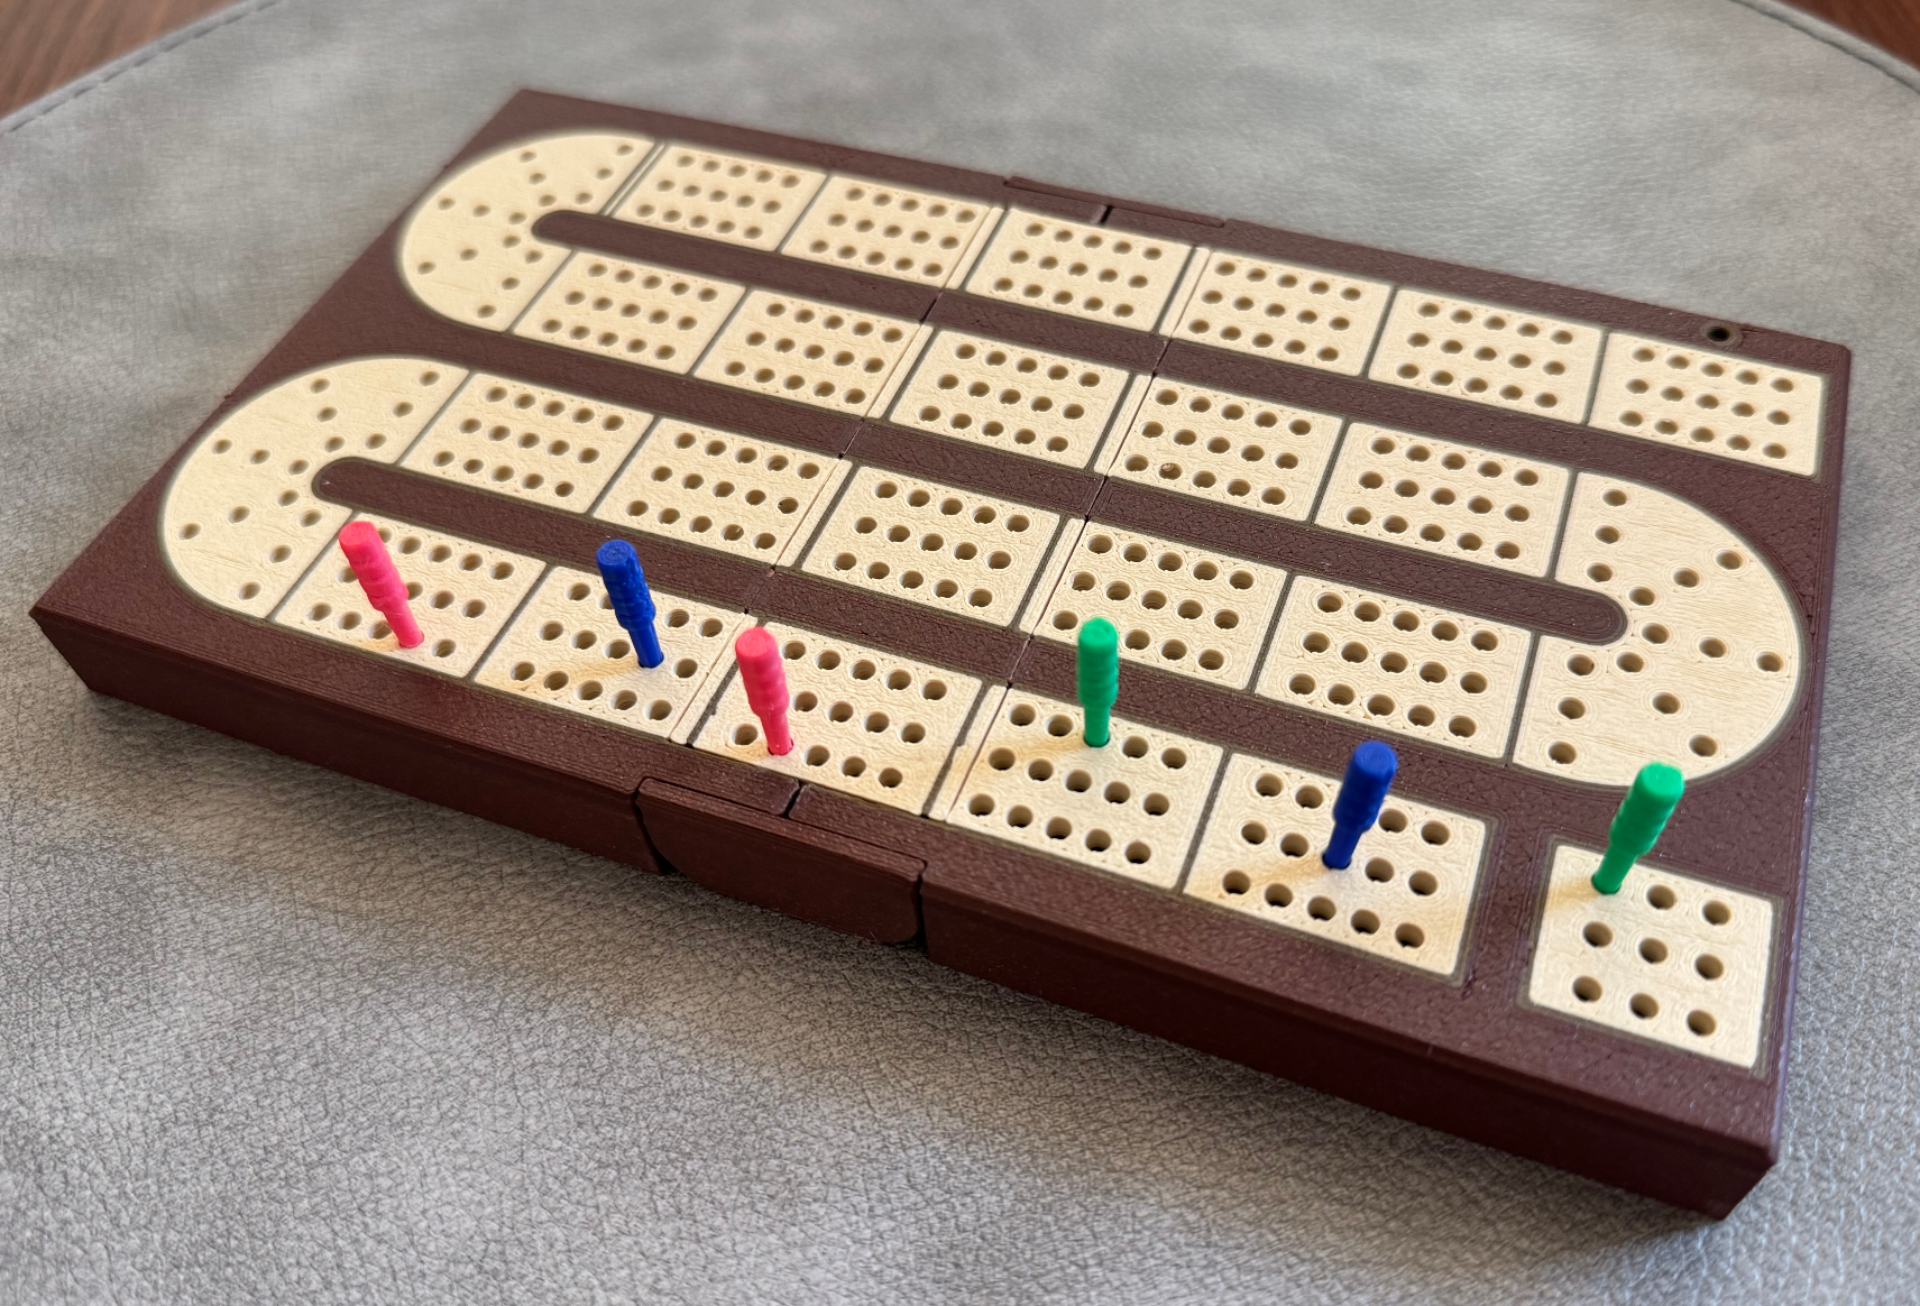
Travel cribbage board with Color

Plan Your Print
About 168 g of filament From the designer's print profile
Print Profile (5) Classic 18h 45m 168 g PLA
Classic
6 plates 18h 45m 168 g PLA
P1S, P1P, X1, X1 Carbon, X1E
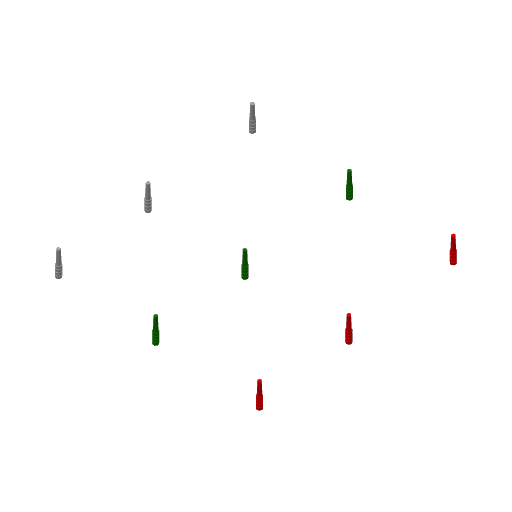
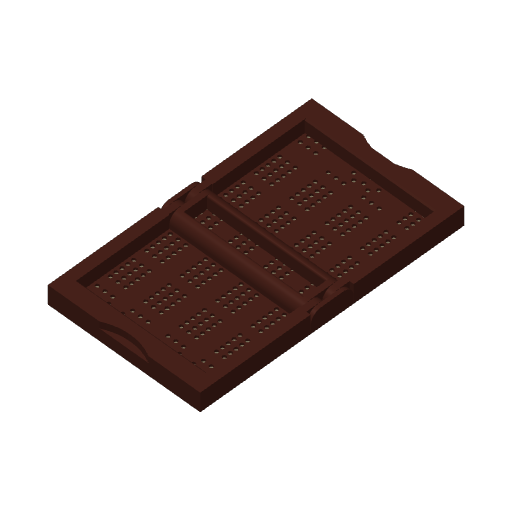
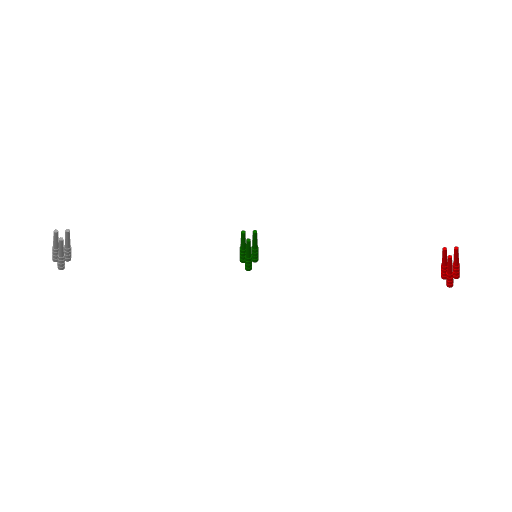
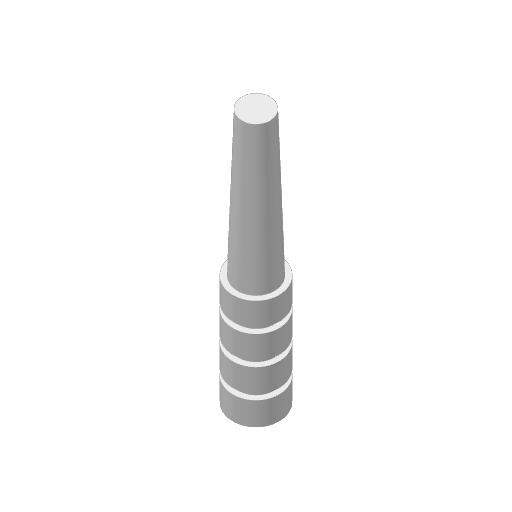
This is the classic version of the board more or less. Some minor changes have been made but it's not the most up to date. Left here for reliability. ## Board • Pauses at 2 locations: • First pause is for the middle middle insert magnets. Put them in so both magnets have the same polarity facing inwards. • Second pause is for inserting the edge magnets that help keep the board shut. Insert them so opposing sides have opposite polarities and will attract each other. • Slow initial layer speed to ensure detailed outline. • Main body uses hilbert curve on the bottom to break up long straight lines then concentric on the top to give the appearance of carving within the cavity. • The main track uses straight lines down the track to simulate wood grain and look better if sanded. • Outline color is laid first to ensure the detail shows through. ## Insert • Use classic wall generator to make the curve cleaner. • Concentric on top and bottom since I like the look for this piece. ## Pegs • Print by object to print each color set of pegs at once. • No brim on pegs since I usually don't need them and the top looks much nicer without.
Plate Details (6)
0.4 mm nozzle, all plates
Plate 1 · Board
16h 1m 153 g PLA · 88 g PLA · 49 g PLA · 16 g
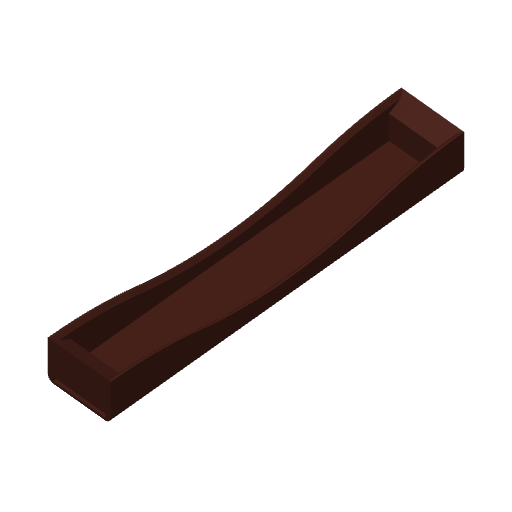
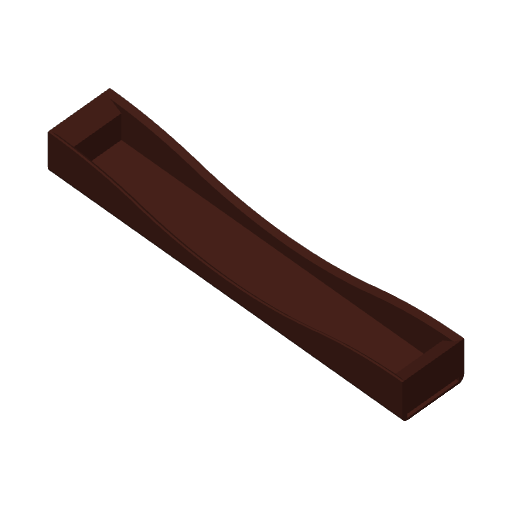
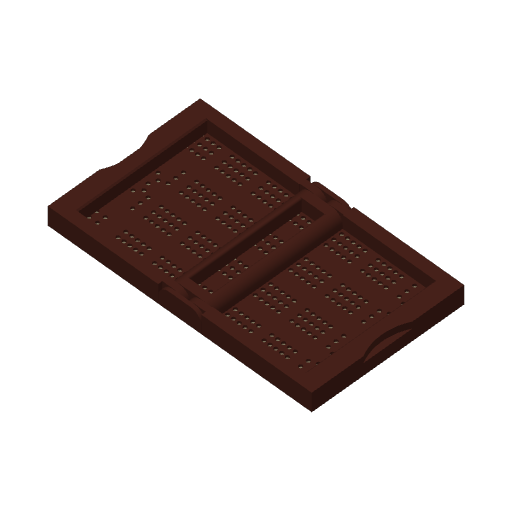
Plate 2 · MiddleInsert
27m 4 g PLA · 4 g
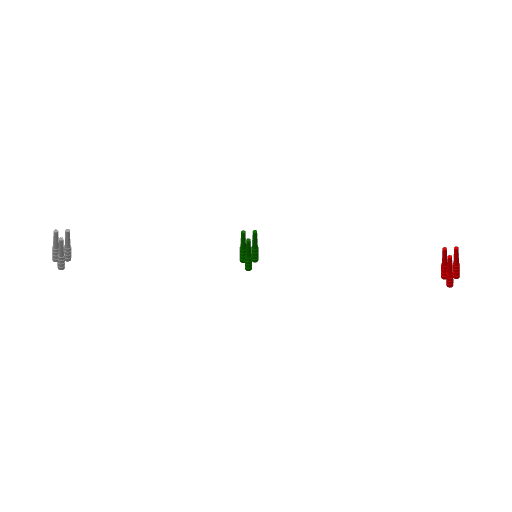
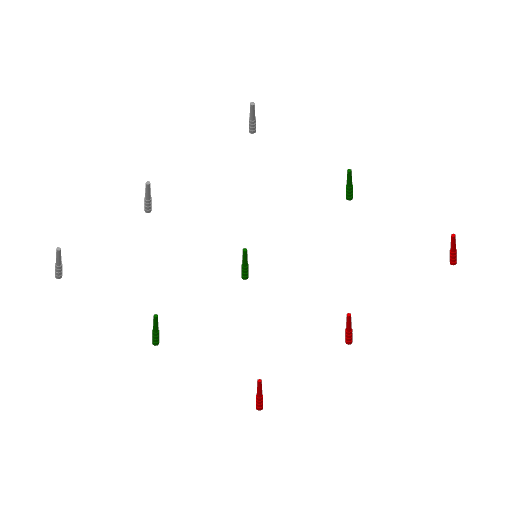
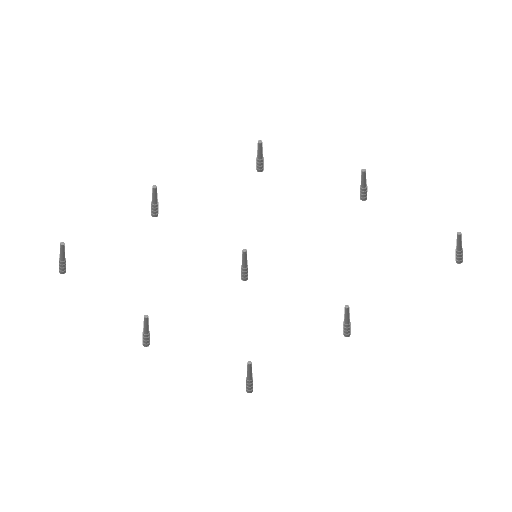
Plate 3 · Pegs
1h 2m 5 g PLA · 1 g PLA · 2 g PLA · 2 g
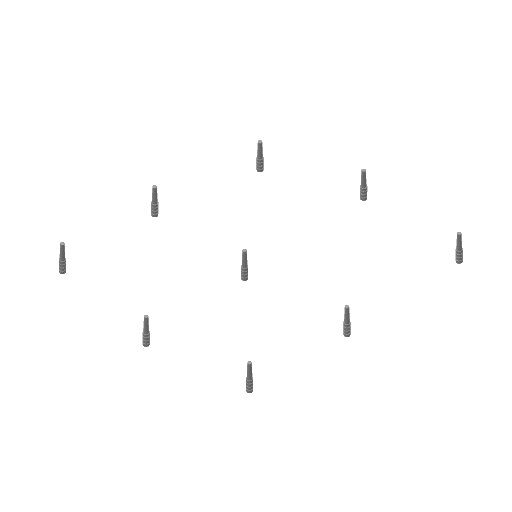
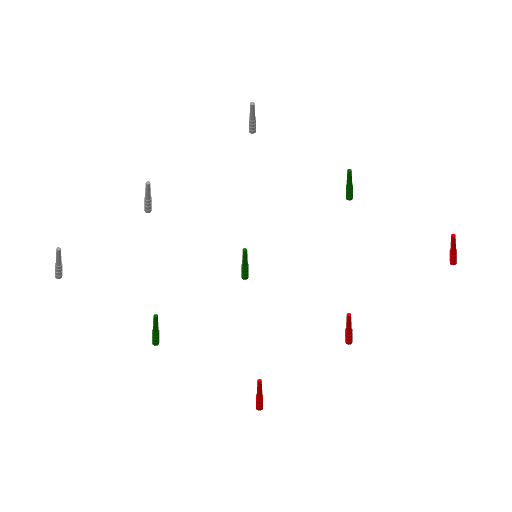
Plate 4 · Multiple pegs spread apart
45m 3 g PLA · 3 g
Plate 5 · MagnetFitTest
17m 2 g PLA · 2 g
Plate 6
13m 1 g PLA · 1 g
5x3 mm Magnets - loose
4 plates 11h 32m 150 g PLA
P1S, P1P, X1, X1 Carbon, X1E
This is the same as the main print profile but the only change is that this has a much looser tolerance on the magnet holes. This allows the magnets to be inserted fairly easily without much or any pressure. Perfect for using with the Stainless steel since the magnets aren't attracted out of the socket. If used with the hardened steel hotend (which is ferromagnetic), superglue is basically required at this tolerance.
Plate Details (4)
0.4 mm nozzle, all plates
Plate 1 · Cribbage Board
10h 4m 139 g PLA · 85 g PLA · 40 g PLA · 14 g
Plate 2 · Middle Insert
21m 4 g PLA · 4 g
Plate 3 · Pegs
52m 5 g PLA · 1 g PLA · 2 g PLA · 2 g
Plate 4 · Magnet Fit Test
14m 2 g PLA · 2 g
5x3 magnets - tight
4 plates 11h 31m 150 g PLA
P1S, P1P, X1, X1 Carbon, X1E
Newest version, recommended for anyone using a hardened steel hot end. ## Everywhere • .12 layer height to ensure more consistency, detail stability, speed, and reduce waste compared to a .08 setup. No majar detail difference noticed. ## Magnets Magnet tolerance is tight at < .1mm. This is a strong press fit to prevent magnets from popping out when the stainless steel hot end is used. This is a very tight press but I found more loose tolerances would still sometimes be too loose.
Plate Details (4)
0.4 mm nozzle, all plates
Plate 1 · Cribbage Board
10h 4m 139 g PLA · 85 g PLA · 40 g PLA · 14 g
Plate 2 · Middle Insert
21m 4 g PLA · 4 g
Plate 3 · Pegs
52m 5 g PLA · 1 g PLA · 2 g PLA · 2 g
Plate 4 · Magnet Fit Test
14m 2 g PLA · 2 g
6x3 magnets - loose
4 plates 11h 40m 150 g PLA
P1S, P1P, X1, X1 Carbon, X1E
Same settings as basic profile but uses 6x3 mm magnets instead. Very loose tolerance since I'm not testing this repeatedly like I have with 5x3. Will require super glue if used with hardened steel hot end.
Plate Details (4)
0.4 mm nozzle, all plates
Plate 1 · Cribbage Board
10h 11m 139 g PLA · 85 g PLA · 40 g PLA · 14 g
Plate 2 · Middle Insert
22m 4 g PLA · 4 g
Plate 3 · Pegs
52m 5 g PLA · 1 g PLA · 2 g PLA · 2 g
Plate 4 · Magnet Fit Test
15m 2 g PLA · 2 g
0.08mm layer, 3 walls, 12% infill A1 included
6 plates 20h 40m 163 g PLA
A1, A2L
This is not my work - all credit should go to @samrjack - I am just uploading it again to include the A1 as an option. Thank you for the work!
Plate Details (6)
0.4 mm nozzle, all plates
Plate 1 · Board
17h 11m 148 g PLA · 87 g PLA · 47 g PLA · 14 g
Plate 2 · MiddleInsert
35m 4 g PLA · 4 g
Plate 3 · Pegs
1h 10m 5 g PLA · 1 g PLA · 2 g PLA · 2 g
Plate 4 · Multiple pegs spread apart
59m 3 g PLA · 3 g
Plate 5 · MagnetFitTest
22m 2 g PLA · 2 g
Plate 6
24m 1 g PLA · 1 g
As sliced by the designer. Your printer, filament, and settings may change these numbers.
Designer's Description

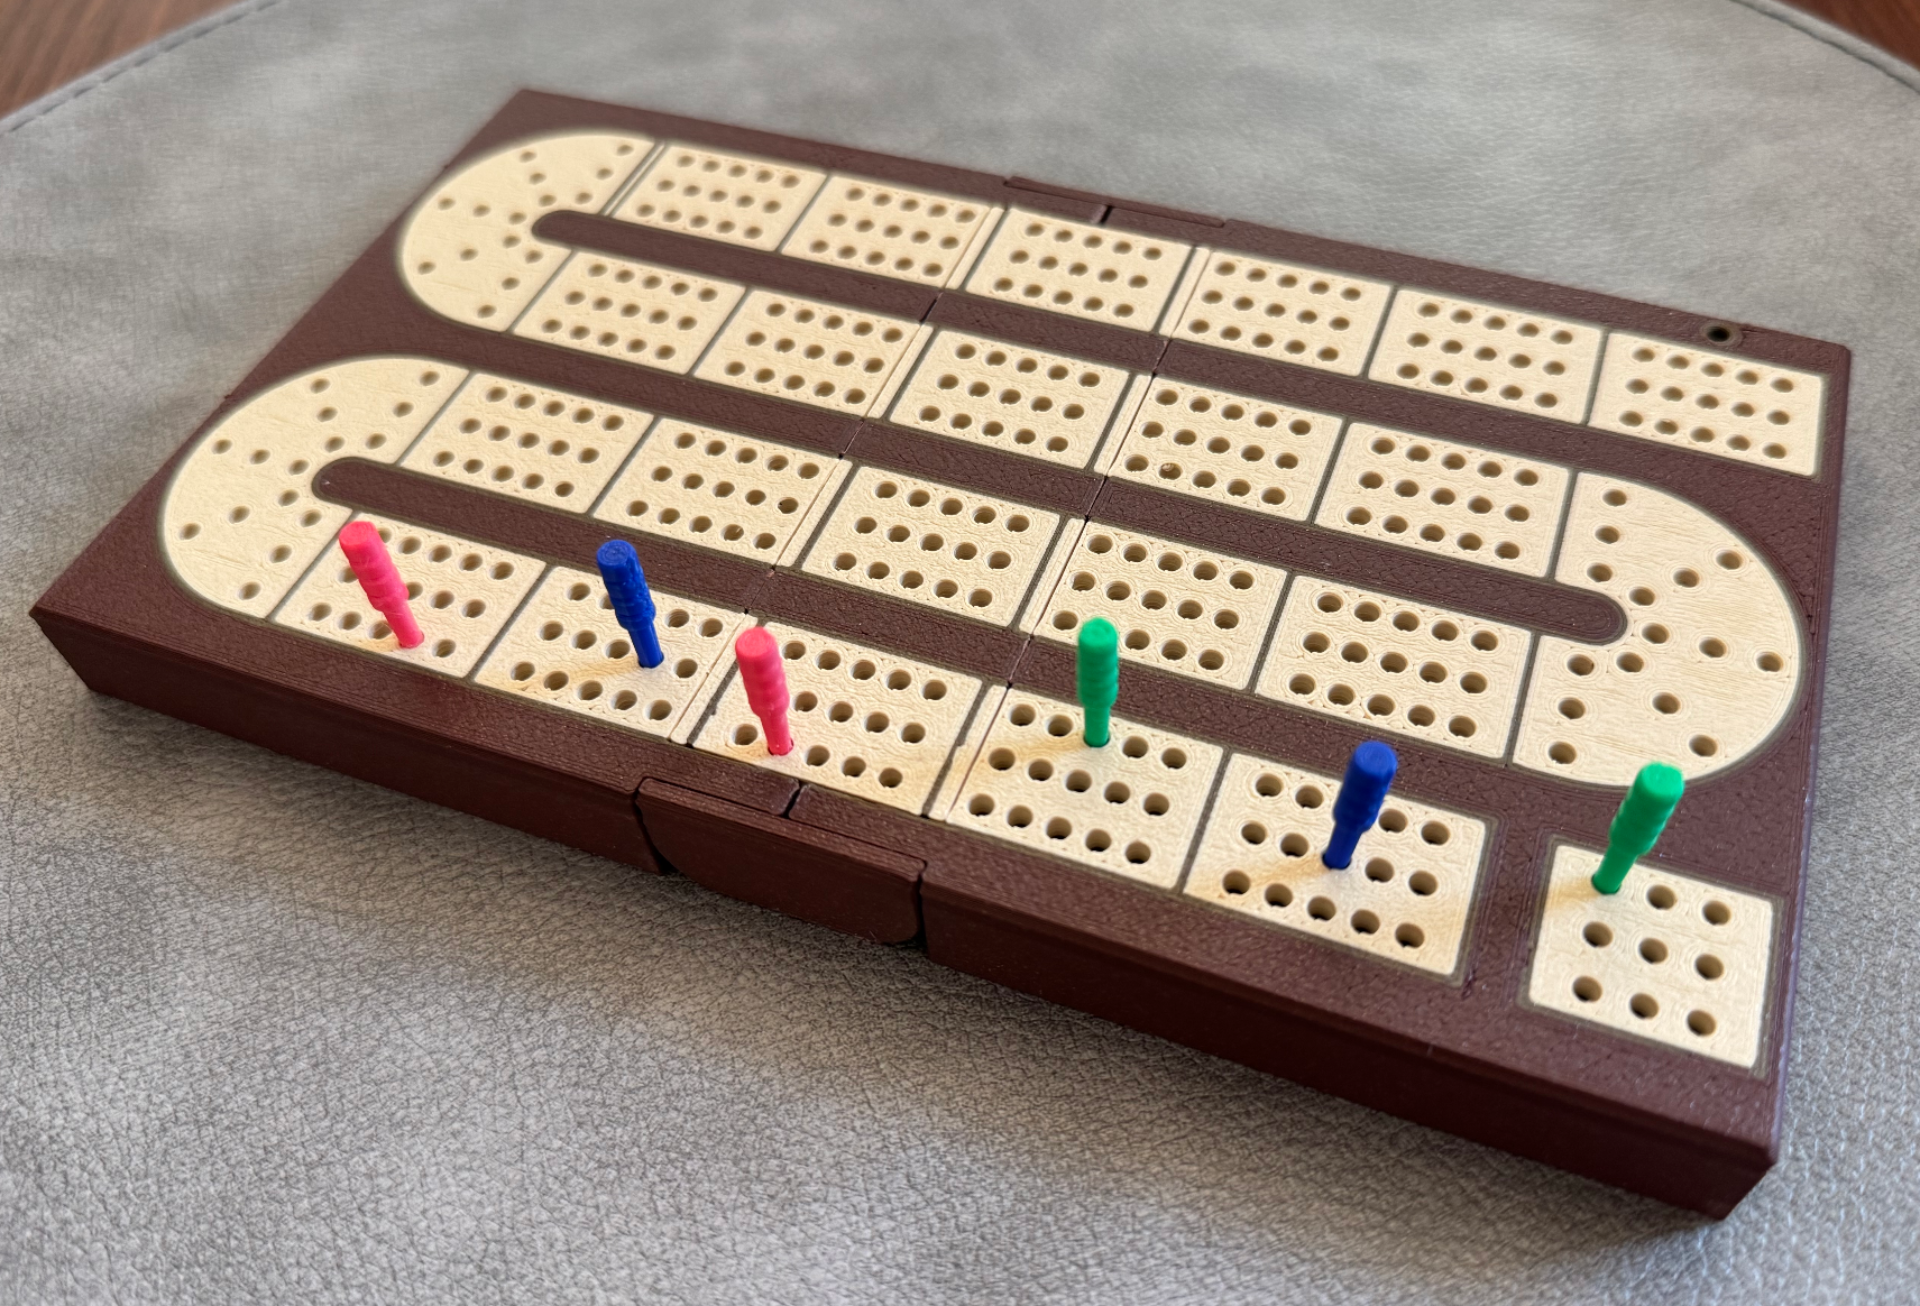
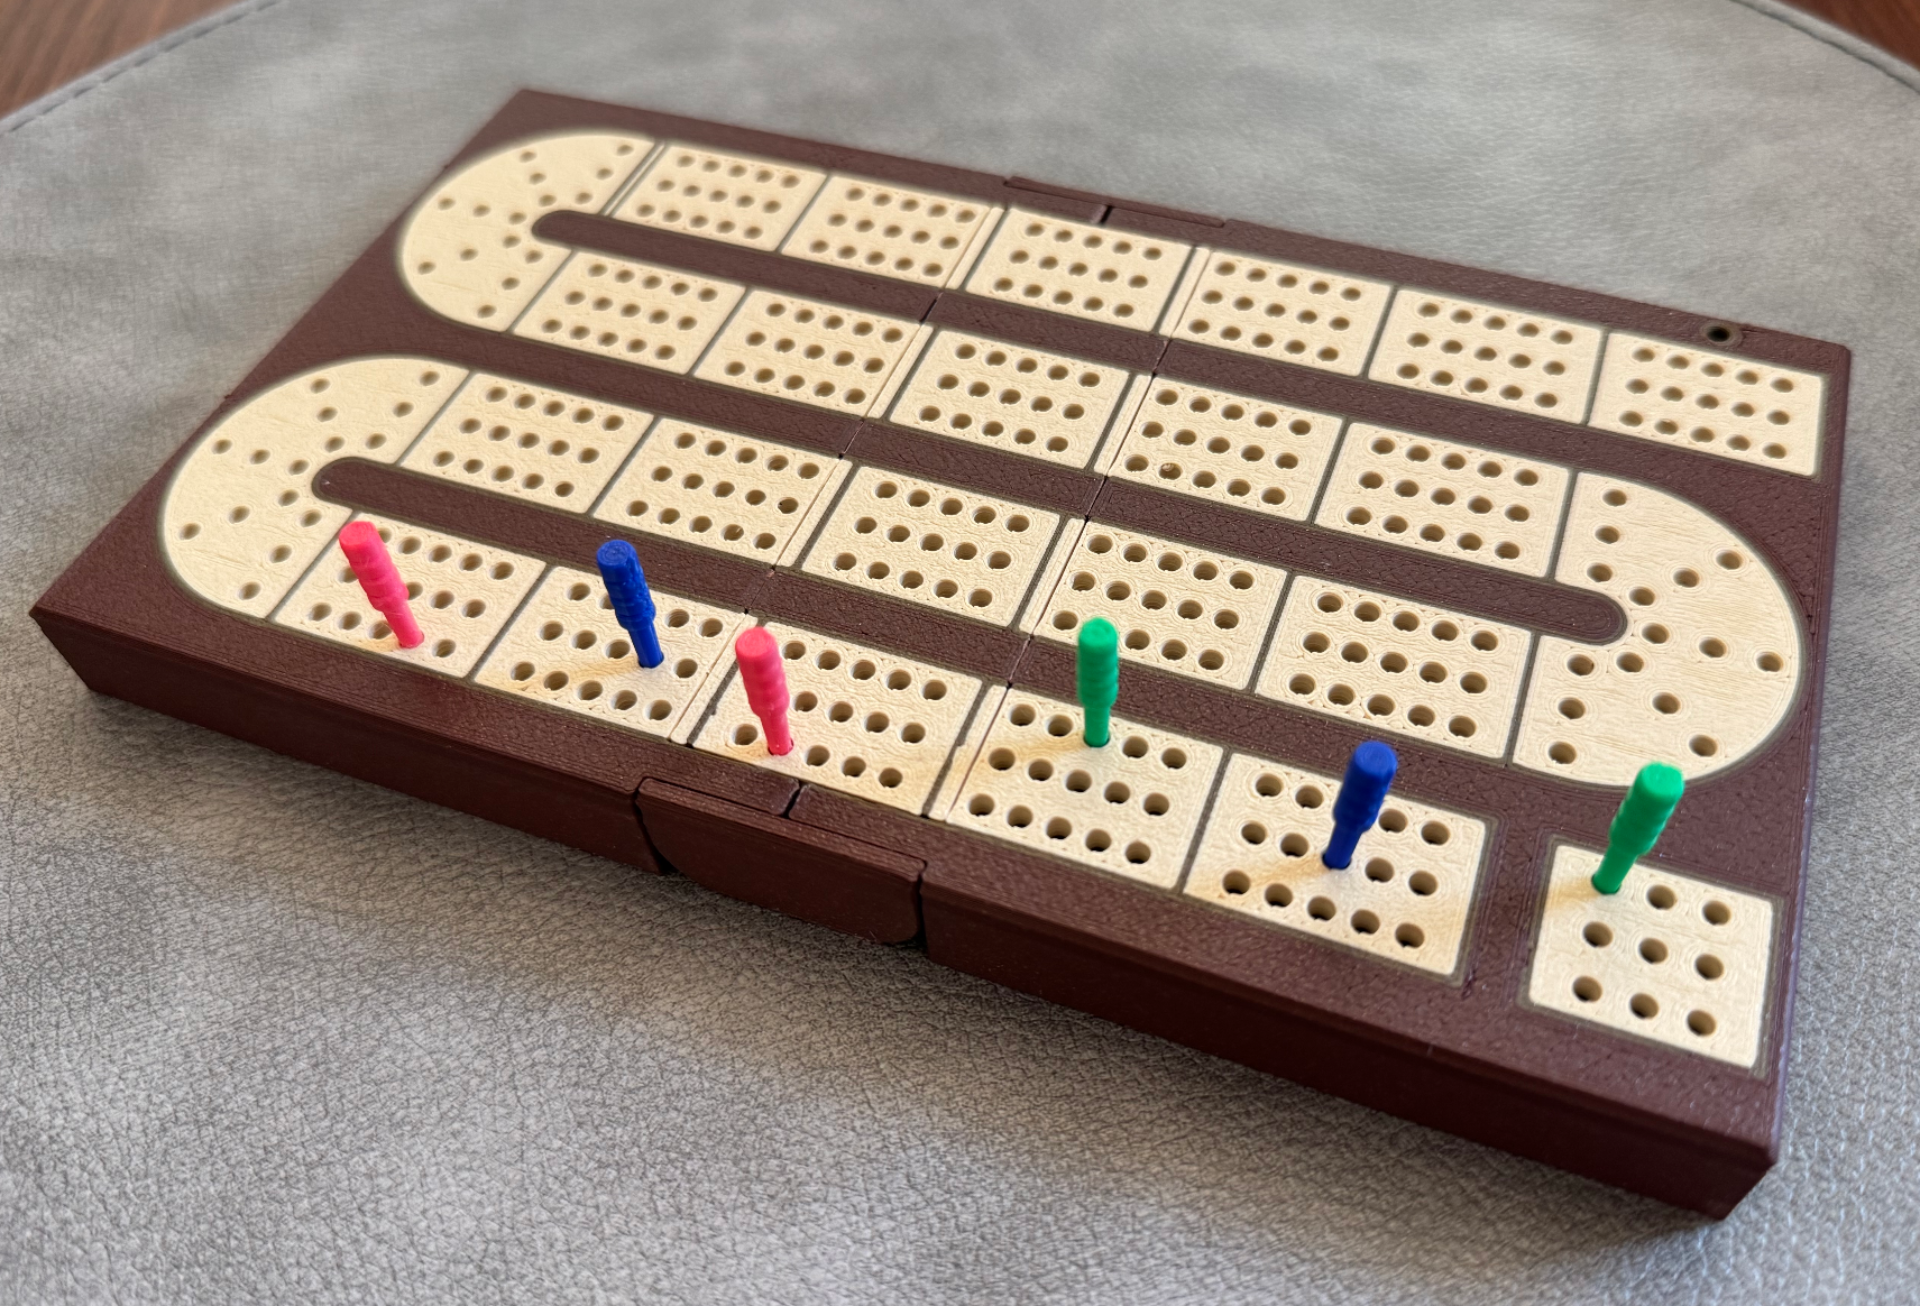
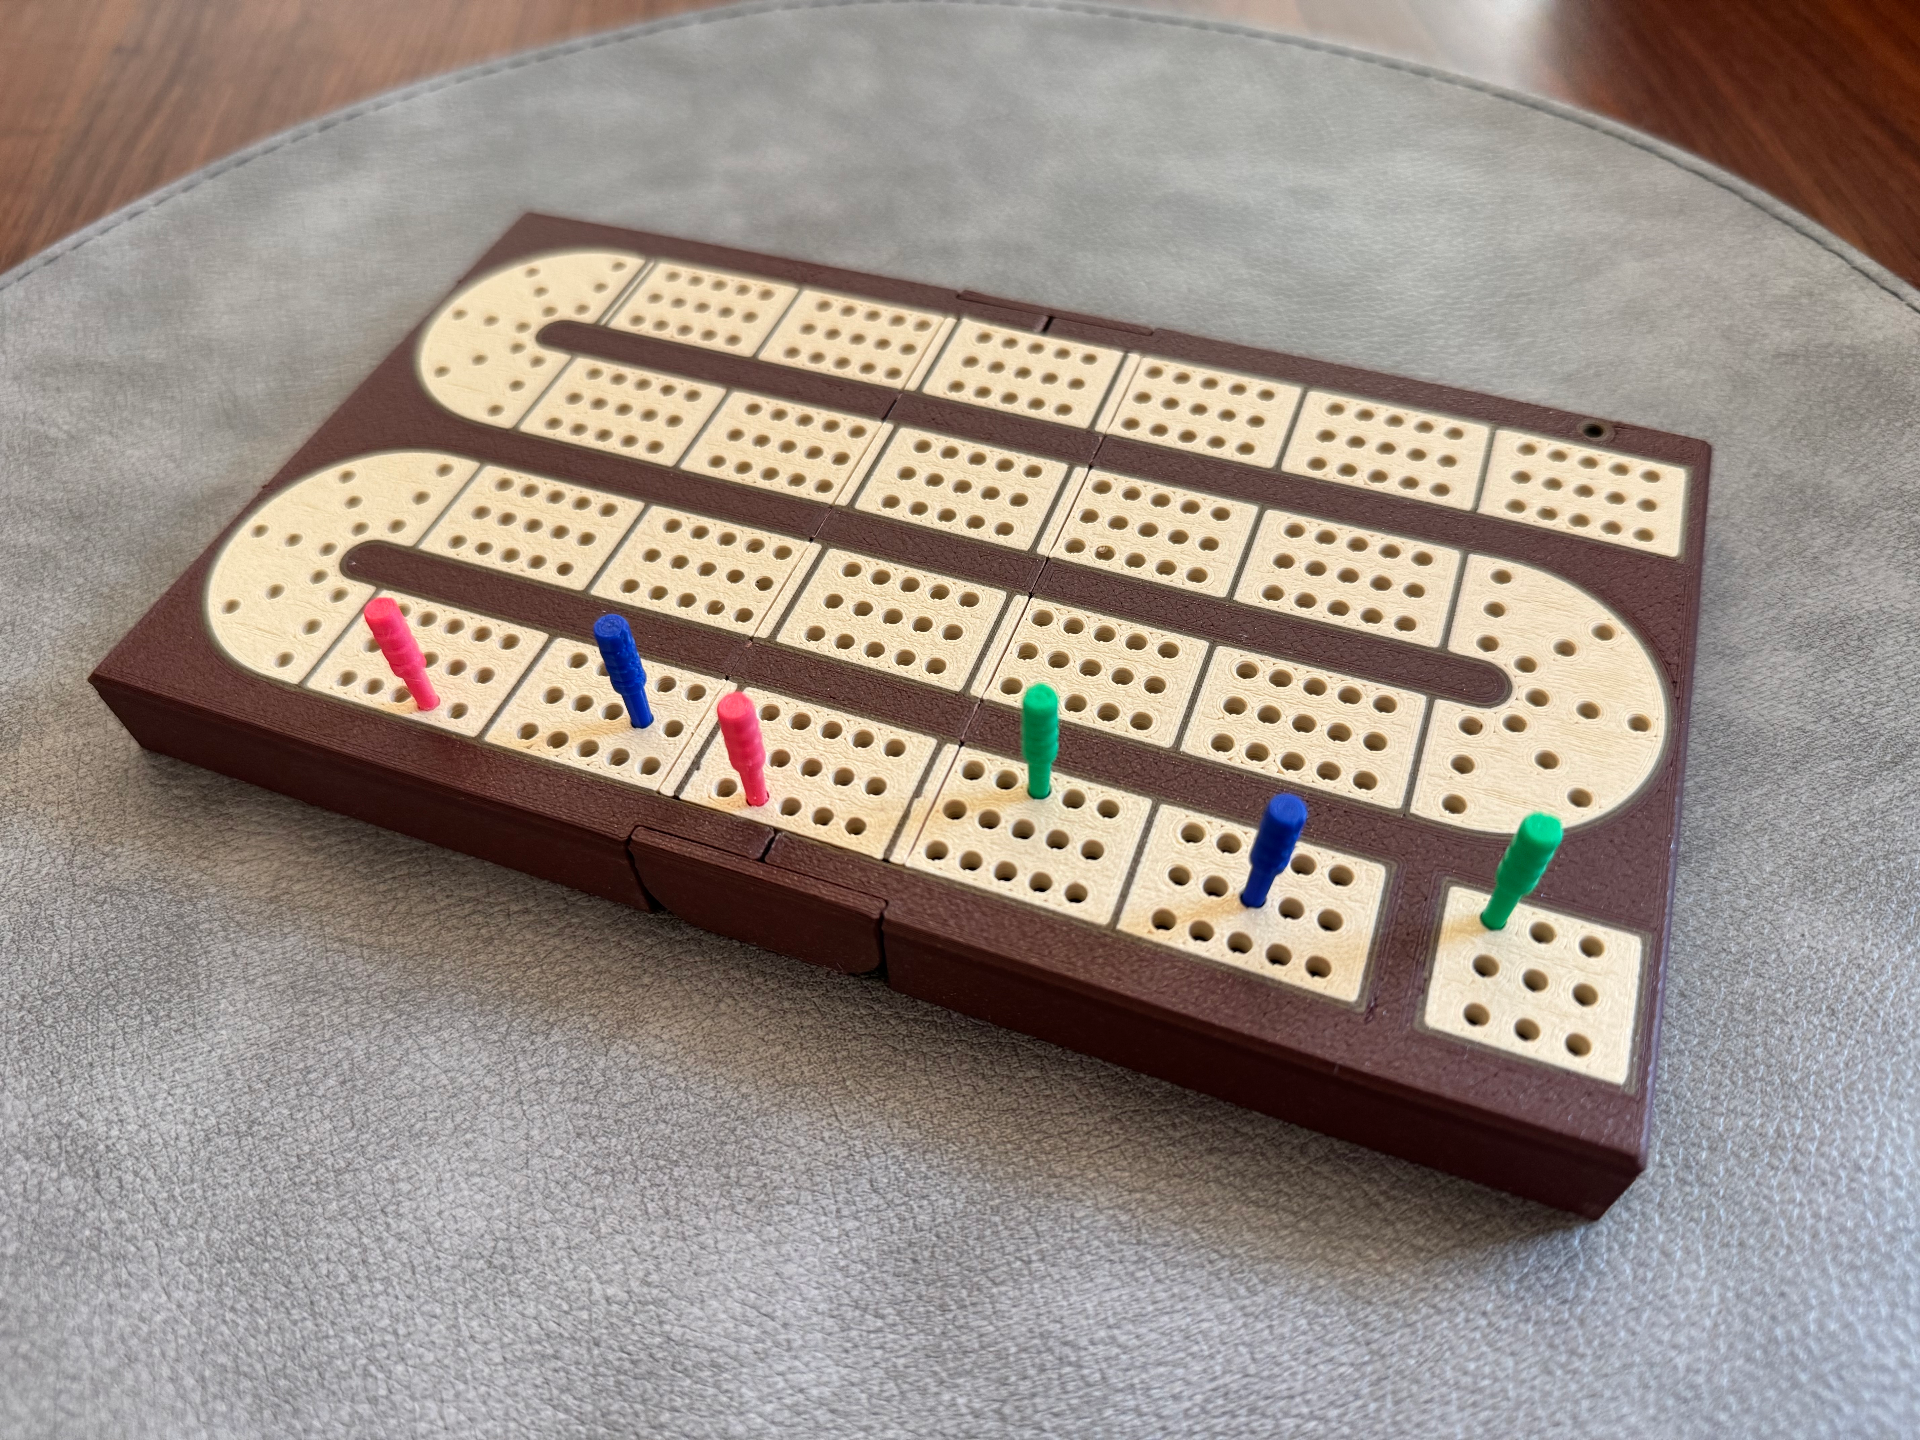
This is my ideal travel cribbage board. It has 3 clear lanes, a nice color aesthetic, reliable peg storage (even when in a bumpy environment) and stores a deck of cards within the board to make for a single convenient package.

Boost Me If this model is to your liking, please consider boosting! Boosting is free to you and means a whole lot to me!

Description

My family has always been big cribbage players but have always lamented the lack of a quality travel 3-lane board. After getting a 3d printer I realized I could print one so I searched but didn't find any to my liking since all the ones currently on maker sites use a single color print and are too crammed together. I decided to take what I liked about those and build my own model which was done just in time for Christmas 2024 (and it was a huge hit with the family).

Hardware Requirements

This model uses 16 5x3mm magnets. 12 of them hold the board closed and 2 hold the peg insert in place. They can be skipped if you don't have them and/or don't care about the board reliably staying shut.

Printing Process

During printing of the main board, there will be 2 pauses.

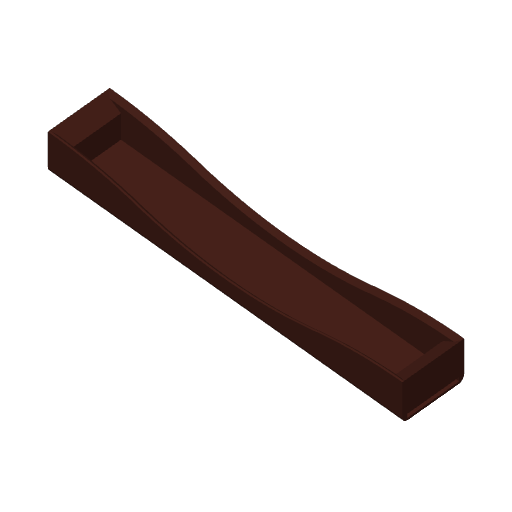
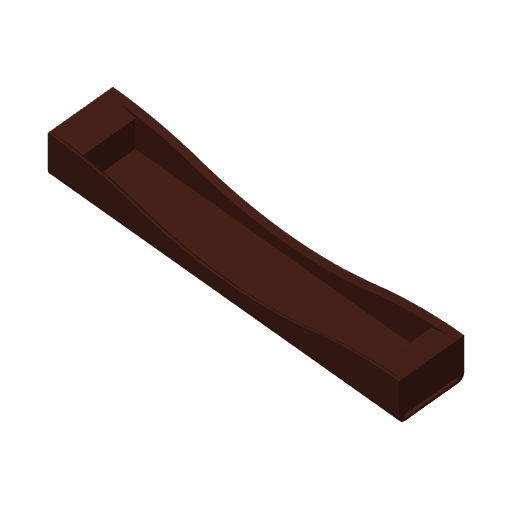
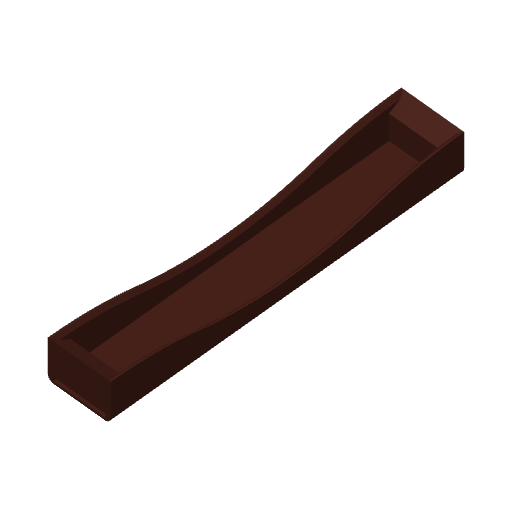
  • The first pause is for the peg cover insert. This will require two magnets inserted in the proper holes top and bottom of the middle section of the board . These magnets should have the same polarity facing inwards so that the middle insert piece can be placed in either direction.
  • The second pause is for the magnets around the edge. There are 12, 3 in each corner. Make sure that magnets on opposite sides of the board attract. If printing the tight tolerance version, the fit can be very tight. Apply firm pressure and make sure you are perpendicular to the hole as the magnet won't go in if angled. I use a hard plastic piece to apply force directly onto the magnet to get it all the way down. If you are unable to insert a magnet, you may try shaving the hole with a knife to be a bit larger or forgo the one troublesome magnet all together. I've found that even with only 4 of the 6 manget pairs in place, the board holds together nicely.
Post-Print Processing

There are a lot of peg holes in this model, I recommend looking them over and using a sharp hobby knife to remove intrusions into the hole. On the pegs themselves, using a hobby knife to shave along the seam line can help a lot with the fit of the peg.

Filaments

I've printed this board with Bambu Wood PLA and I've loved the result (texture, color, etc.). I had great results with standard PLA when I was working on the V1 of this project so use that if you'd like (just remember to change material profiles in the slicer).

Attribution

I took inspiration from this model for the hinge mechanism. I tried out a few hinges but settled on that one being pretty good for the purpose.

Change log

2025/08/09

Updated a ton of stuff for just a better quality print.

  • In the default print profile, the magnet tolerance is very tight to prevent pop out with hardened steel hot end.
  • Magnet sockets now are polygons to remove some of the impact of circular hole inaccuracies.
  • Added a loose magnets profile for people who don't want to push too hard to insert their magnets.
  • Hinge no longer needs extreme breaking instructions, haven't had bad merging in a while!
  • Increased size of inner card pocket to accommodate slightly larger decks of cards.

This will probably be the last update for a long while unless the profile starts breaking for people. I'm quite happy with how constant this is coming off my print bed and how everything functions. Contemplating a new version entirely but this one seems to be a completed project!

2025/01/05

Updated the spacing on the tracks ever so slightly to reduce infill gaps on the first layer.

Updated the .3mf file to have a slightly lower variable layer height which greatly reduces the effort required to snap the hinge open.

2024/12/31

I've updated the files to my newer model. It has better spacing all around, thicker lines, fewer color swaps, and was made with a far more parametric file to allow for easier future editing. For example, if anyone needs a magnet size change, I can help in a hurry, just comment!
cribbage cribbage board cribbage pegs travel travelgame magnets roadtrip ams multicolor
Cribbage box art Cribbage 1630 Layer by Layer
Cover Colors

Main colors from the cover art. Find matching filament, or tap swatches to narrow.

Matching filament