Table Talk
Nothing here yet. Love this design? Say so - the designer might see it.

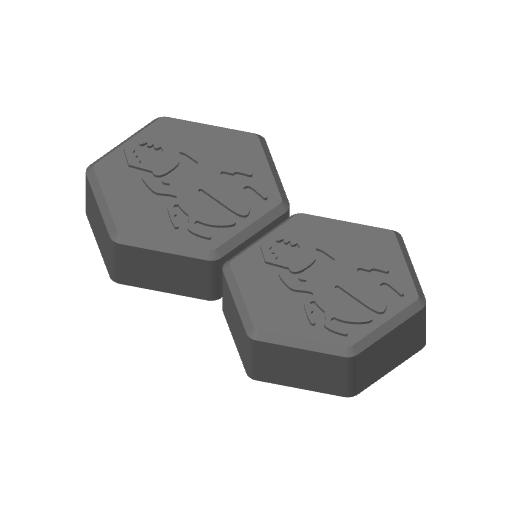
Pocket Hive Tiles

Free
Plan Your Print
Optional multicolor profile The designer also offers a multicolor way to print this (an MMU/AMS profile or per-color parts)
About 37 g of filament From the designer's print profile
Print Profile (8) 0.2mm layer, 2 walls, 15% infill, two color print, 0.4mm diameter nozzle 1h 18m 37 g PLA
0.2mm layer, 2 walls, 15% infill, two color print, 0.4mm diameter nozzle
1 plate 1h 18m 37 g PLA
A1 mini, P1S, P1P, X1, X1 Carbon, X1E, A1, H2D, H2D Pro, H2S, P2S, H2C, X2D, A2L
0.2 mm layer height, 0.4mm diameter nozzle Two color print, bugs in one color, tiles in the other.
Plate Details (1)
0.4 mm nozzle, all plates
Plate 1
1h 18m 37 g PLA · 36 g PLA · 1 g
thicker icons, 0.16mm layer, 2 walls, 15% infill
2 plates 5h 16m 79 g PLA
P1S, P1P, X1, X1 Carbon, X1E, A1, A1 mini, H2D, H2D Pro, H2S, P2S, H2C, X2D, A2L
The original print profile had just 1 layer of color for the icons. Printed with Bambu PLA Basic Jade White they came out grey. This profile has 3 layers to improve contrast.
Plate Details (2)
0.4 mm nozzle, all plates
Plate 1
2h 38m 39 g PLA · 37 g PLA · 2 g
Plate 2
2h 38m 40 g PLA · 2 g PLA · 38 g
Hive (ams friendly) Print P3-P10
10 plates 11h 42m 193 g PLA
A1, P1S, P1P, X1 Carbon, X1E, X1, H2D, H2D Pro, H2S, P2S, H2C, X2D, A2L
I want to print in colour with AMS so I have created a print profile for AMS. First two plates are to give you overview for all colours. Start from plate 3. My settings is to have black and white colour as base, and change to colours each time after two plates. Colour print for 3 layers to make it more prominent. It took more time to print but I think this makes the game more enjoyable.
Plate Details (10)
0.4 mm nozzle, all plates
Plate 1
2h 40m 46 g PLA · 35 g PLA · 1 g PLA · 2 g PLA · 1 g PLA · 1 g PLA · 2 g PLA · 2 g PLA · 1 g PLA · 1 g
Plate 2
2h 42m 46 g PLA · 1 g PLA · 36 g PLA · 1 g PLA · 1 g PLA · 1 g PLA · 2 g PLA · 2 g PLA · 1 g PLA · 1 g
Plate 3
57m 16 g PLA · 11 g PLA · 2 g PLA · 1 g PLA · 2 g
Plate 4
58m 16 g PLA · 1 g PLA · 12 g PLA · 1 g PLA · 2 g
Plate 5
1h 6m 19 g PLA · 15 g PLA · 2 g PLA · 2 g
Plate 6
1h 8m 19 g PLA · 16 g PLA · 1 g PLA · 2 g
Plate 7
41m 11 g PLA · 8 g PLA · 1 g PLA · 2 g
Plate 8
43m 11 g PLA · 9 g PLA · 1 g PLA · 1 g
Plate 9
23m 4 g PLA · 3 g PLA · 1 g
Plate 10
25m 5 g PLA · 4 g PLA · 1 g
Separate objects, 0.2mm layer, 2 walls, 15% infill
1 plate 1h 16m 37 g PLA
A1 mini, X1, X1E, P1S, X1 Carbon, H2S, H2D, H2D Pro, A1, P1P, P2S, H2C, X2D, A2L
Separate objects so selected objects can be enabled/disabled when printing, depth of insects increased to two layers so they show better with white on black, and added separate colour for the queen bee.
Plate Details (1)
0.4 mm nozzle, all plates
Plate 1
1h 16m 37 g PLA · 36 g PLA · 1 g
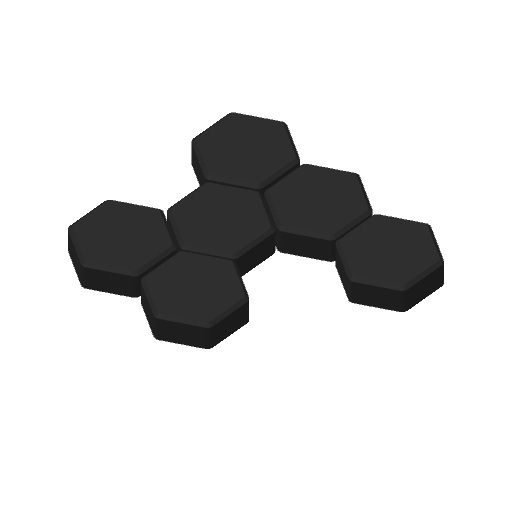
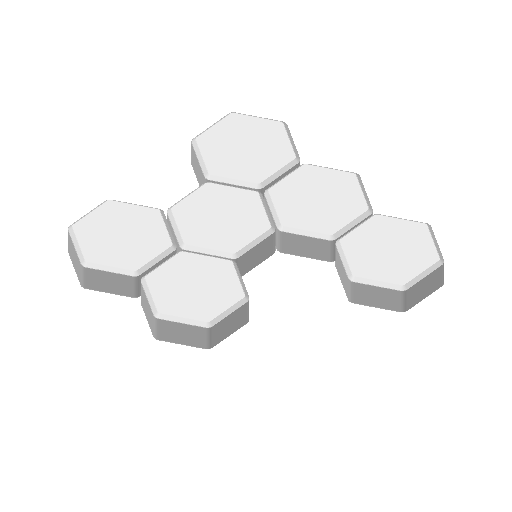
0.2mm Nozzle, two-color print, 0.1mm layer, 4 walls, 15%
2 plates 11h 57m 68 g PLA
P2S, P1P, H2D, H2S, P1S, X1 Carbon, X1E, H2D Pro, X1, A1 mini, H2C, A1, X2D, A2L
0.2 mm Nozzle for very high quality with very sharp detail. Also added the color-inverted second build plate
Plate Details (2)
0.2 mm nozzle, all plates
Plate 1 · Black
5h 55m 34 g PLA · 32 g PLA · 2 g
Plate 2 · White
6h 1m 34 g PLA · 1 g PLA · 33 g
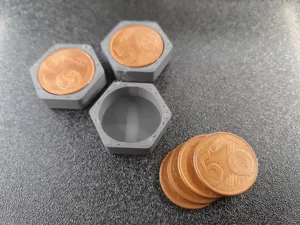
with Pockets for 4 x 5 eurocent coins, no AMS
8 plates 2h 39m 50 g PLA
P1S, P1P, X1, X1 Carbon, X1E, A1, A1 mini, H2D, H2D Pro, H2S, P2S, H2C, X2D, A2L
no AMS. the symbols are scaled in height, so they stick out 2 layers and there is a pause set for a manual colour change. they print with a pocket cut out and have a pause on layer 42 for you to insert 4 x 5 eurocent coins for extra weight. with this the pieces have an amazing feel and are very close to the original stones even though they are much smaller. The pieces are spread out over 8 plates to colour them like the original, but if you want to save a lot of work, just copy them on one plate that you print twice and colour them black/white and white/black. You will need 112 5 cent coins (5,60 euro) to print all 28 pieces, but it is really worth it. It's also possible to put other heavy things in there, like washers or nuts, but you would have to scale the negative cylinder on each piece accordingly and put an extra 0.2 - 0.4 mm height gap to not crash your nozzle. enjoy ;)
Plate Details (8)
0.4 mm nozzle, all plates
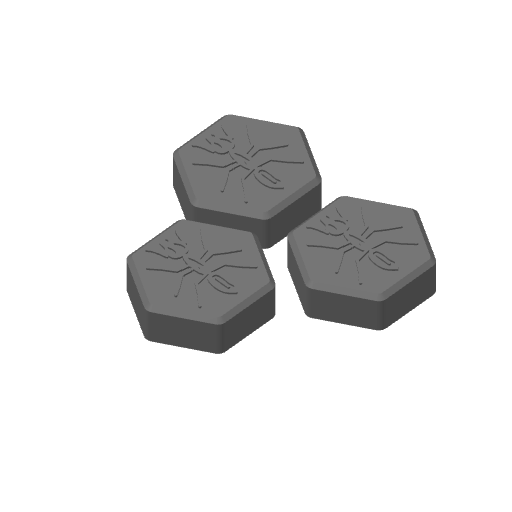
Plate 1 · Ants x3
28m 10 g PLA · 10 g
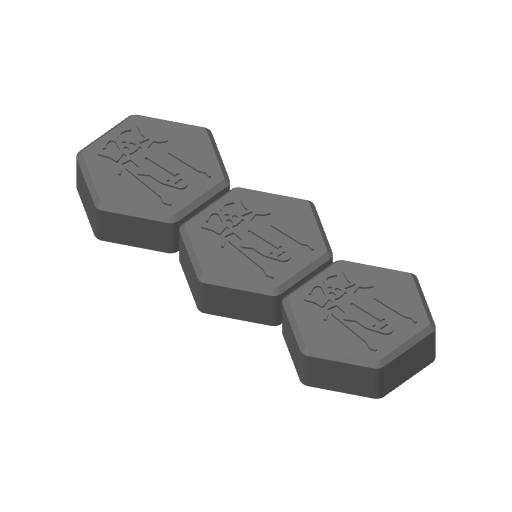
Plate 2 · Grasshopper x3
28m 10 g PLA · 10 g
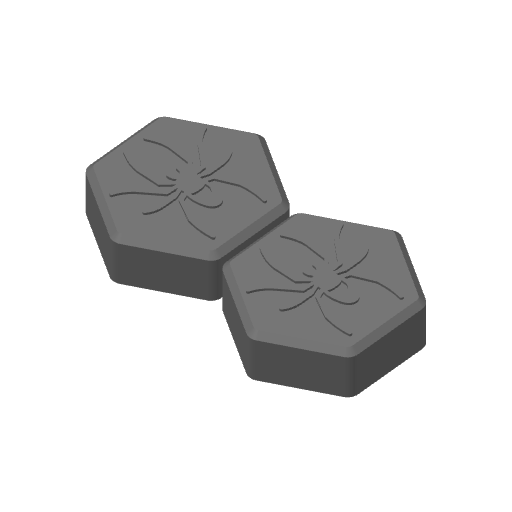
Plate 3 · Spiders x2
21m 7 g PLA · 7 g
Plate 4 · Beetles x2
21m 7 g PLA · 7 g
Plate 5 · Ladybug
16m 4 g PLA · 4 g
Plate 6 · Pillbug
15m 4 g PLA · 4 g
Plate 7 · Moskito
15m 4 g PLA · 4 g
Plate 8 · Queen Bee
16m 4 g PLA · 4 g
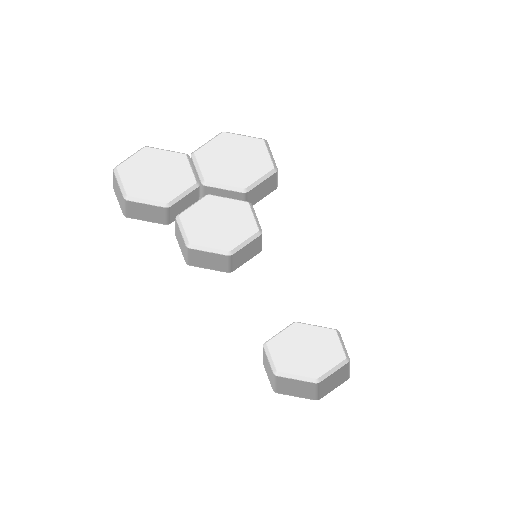
0.2mm layer, 2 walls, 15% infill - Tiles with magnet holes
1 plate 2h 2m 46 g PLA
A1, H2S, X1 Carbon, X1E, A2L, X2D, P1S, H2C, X1, P1P, H2D, H2D Pro, P2S
Playing this game on the go, or on uneven surfaces, is a bit challenging. For that reason, I've made a profile that places magnets on each side of each tile to allow for them to stick together a bit better. The holes are sized to fit either circular 4mm x 2mm magnets (likely less strong of an attraction) or rectangular 5x4x2mm magnets. You need 168 magnets for an entire set. The circular magnets are easier to put into the tiles during an establish pause in the printing and the rectangular magnets are a bit tougher (I used needle nose pliers). When placing the magnets in the tiles, you have to alternate which side of the magnet is facing outwards. For example, if you place the “N” side facing out on the top of a tile, the magnet to the right should have the “S” side facing out, then “N” again, etc.
Plate Details (1)
0.4 mm nozzle, all plates
Plate 1
2h 2m 46 g PLA · 45 g PLA · 1 g
Half time AMS single plate
1 plate 2h 18m 72 g PLA
A1, A2L
## 🎲 Print the Complete Set on a Single Plate! This print profile is optimized to make the entire game set as convenient and efficient to print as possible . All pieces are arranged so you can print the complete set in a single build plate , without having to manually start multiple print jobs or rearrange individual pieces. ✨ Highlights • 🖨️ Complete set on one plate • ⚡ Optimized arrangement for efficient printing • 🔧 No need to print individual pieces separately • 📦 Easy to remove and organize once finished • 🎮 Ready to assemble and play Simply load the profile, start the print, and let your printer do the work. One plate. One print. Complete set. 🚀
Plate Details (1)
0.4 mm nozzle, all plates
Plate 1
2h 18m 72 g PLA · 36 g PLA · 36 g
As sliced by the designer. Your printer, filament, and settings may change these numbers.
Designer's Description

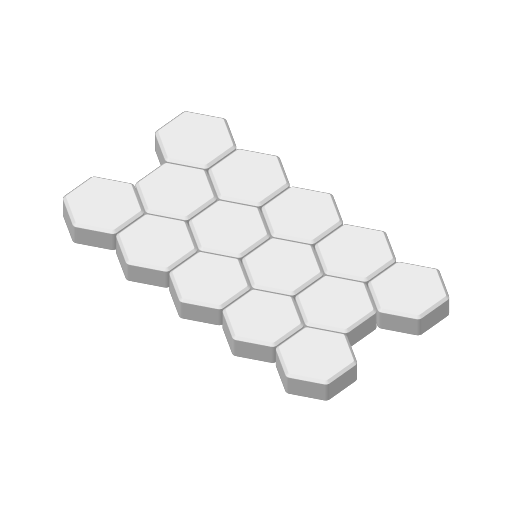
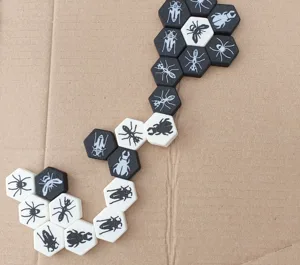
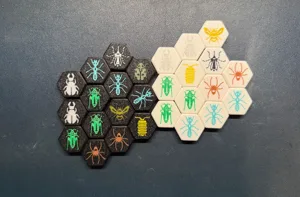
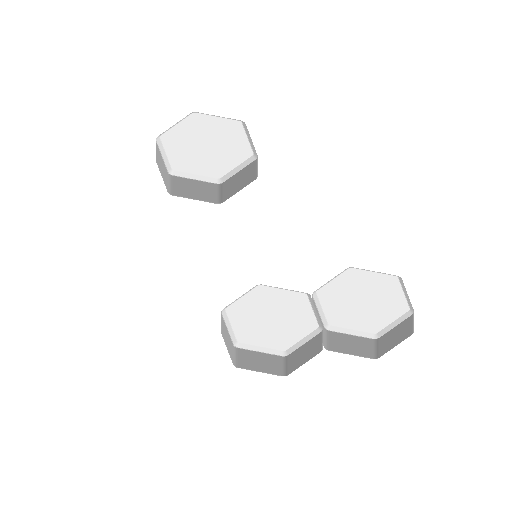
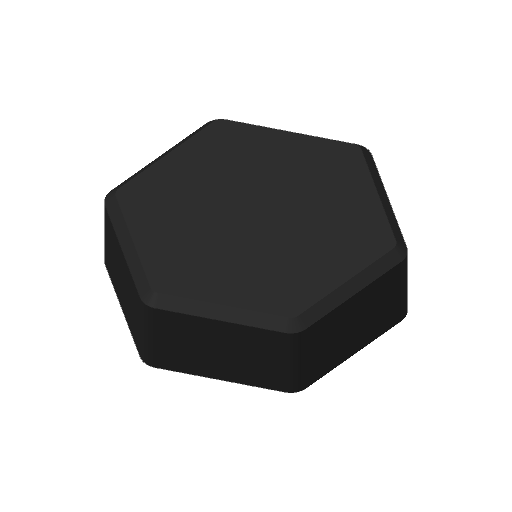
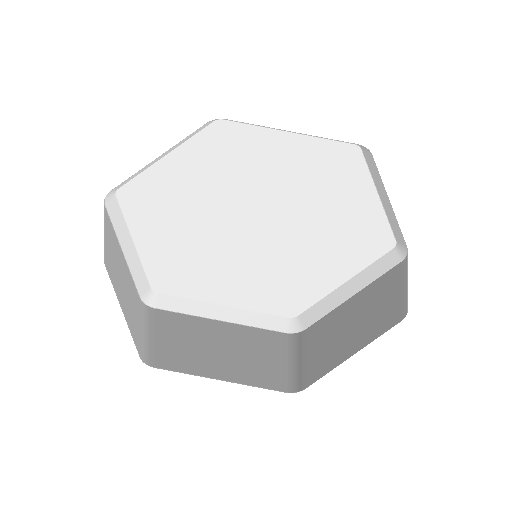
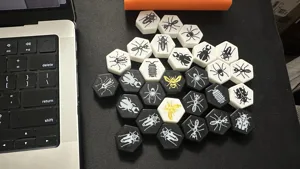
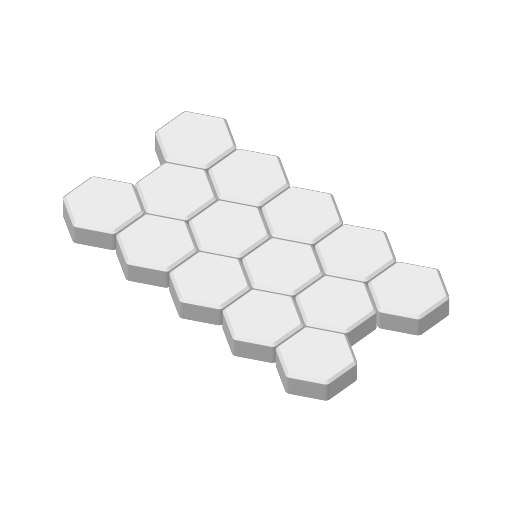
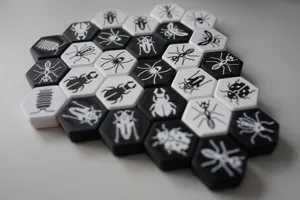
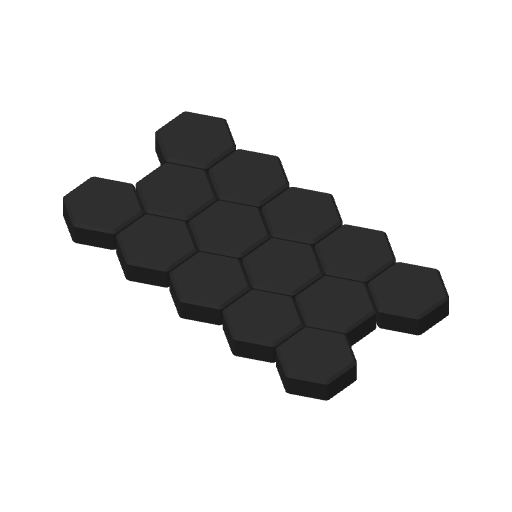
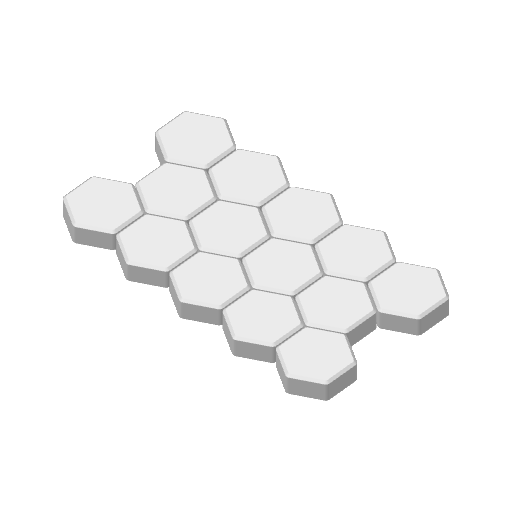
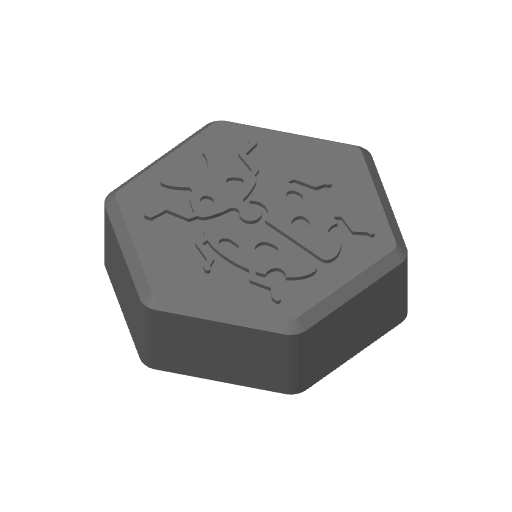
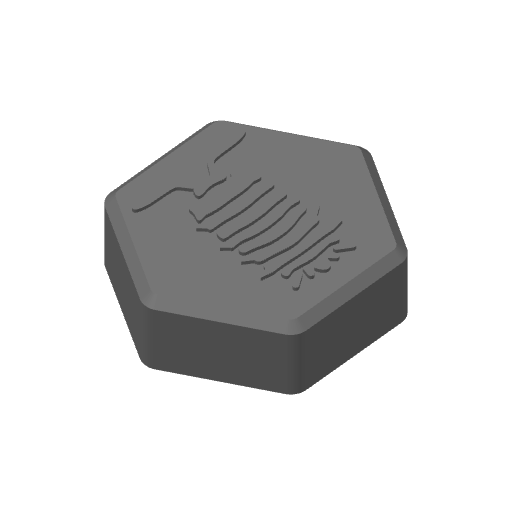
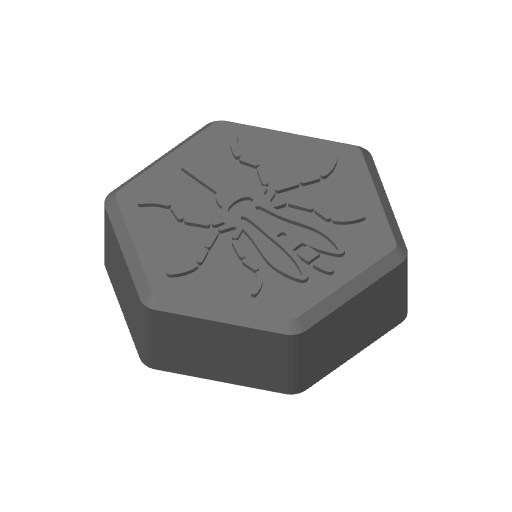
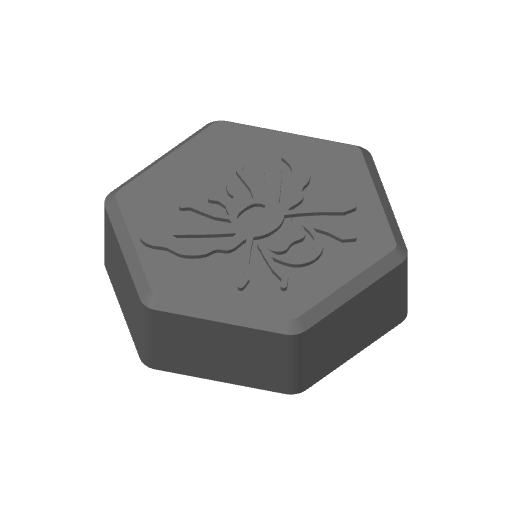

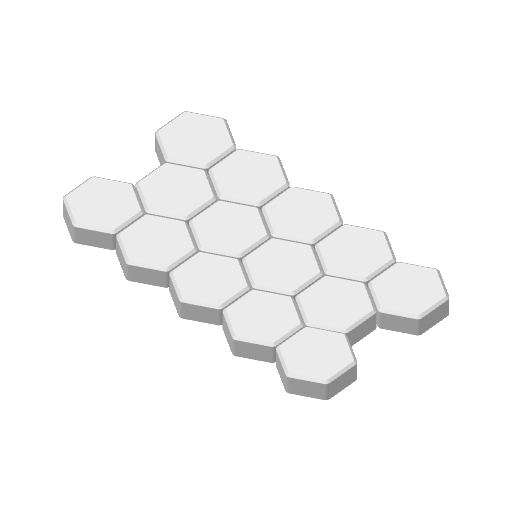
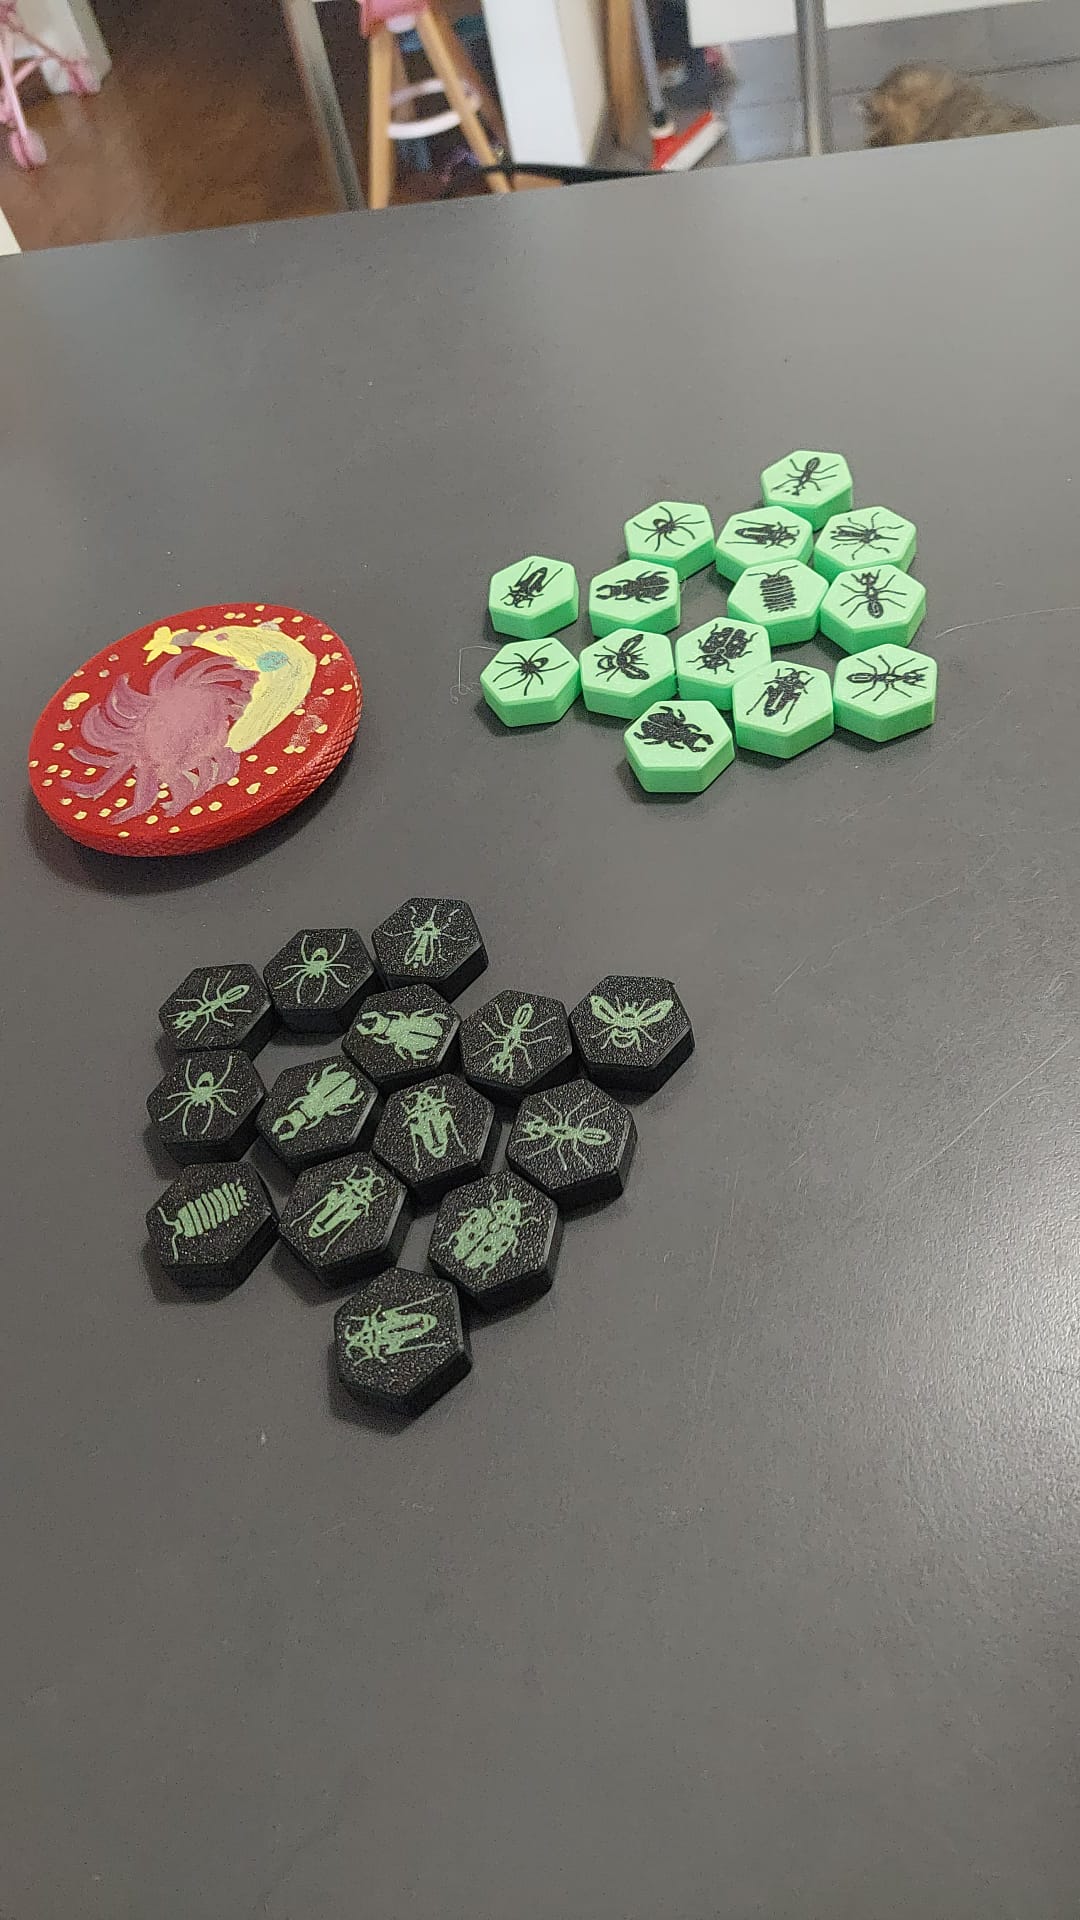
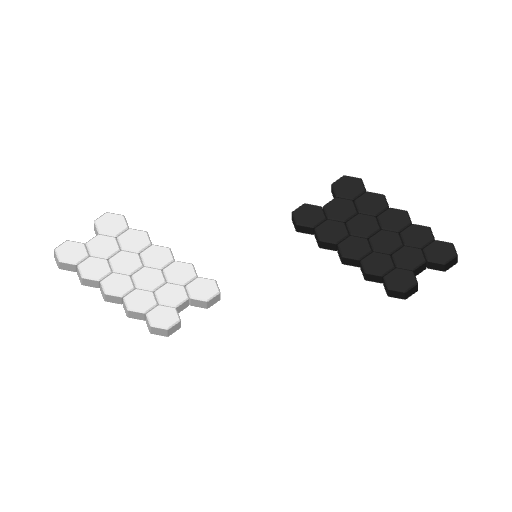
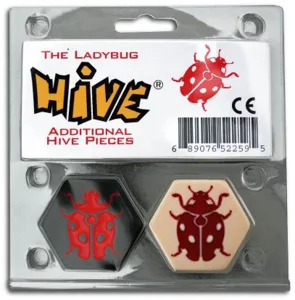
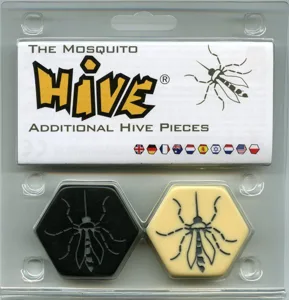
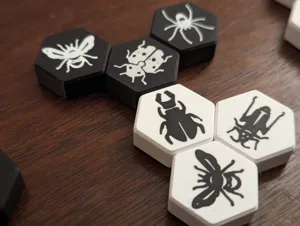
½ full set of Pocket Hive tiles. Designed to print in two colors. Print twice with reversed colors to make a full set. Includes pill bug expansion.

Box for it here

How I printed using Bambu Studio:

Import both files at once (Hive Bugs and Hive Hex Tiles). Click YES to combine the files when prompted.
Hive Bugs and Hive Hex Tiles will show up as different objects. I assigned one filament color to all of the Hive Bugs objects, and a second color to all of the Hive objects.
Only first layer uses two colors. All other layers are single color.
Printed with 0.2mm layer height, standard settings.

Repeat with a different set of colors to print second set of tiles for a complete set of 28 tiles.

I used a matte print bed for a nice finish on the bug print surface.

I printed without a MMU system by pausing the print and swapping filament out after the bugs printed and before the hex tiles started printing.

Tiles are same size as original Pocket hive tiles (25mm across hex flats, 9.6mm thick).

Art for bugs pulled from Hive Colony by Harkler: https://www.thingiverse.com/thing:6396726
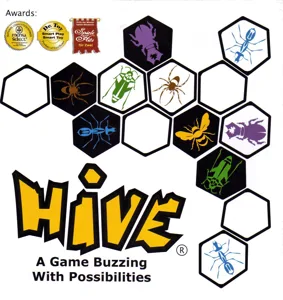
hive
Hive box art Hive 2001 Layer by Layer
Cover Colors

Main colors from the cover art. Find matching filament, or tap swatches to narrow.

Matching filament