Log in to join the conversation.
Sky Team Switches
Print Profile (2) Sky Team Switches for AMS 28m 7 g PLA
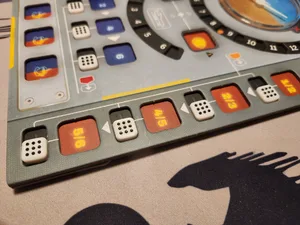
Plate Details (1)
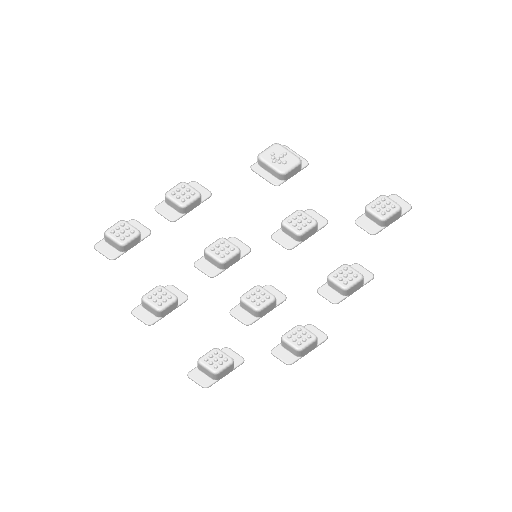
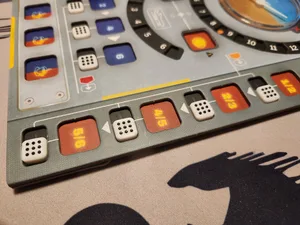
Plate Details (1)
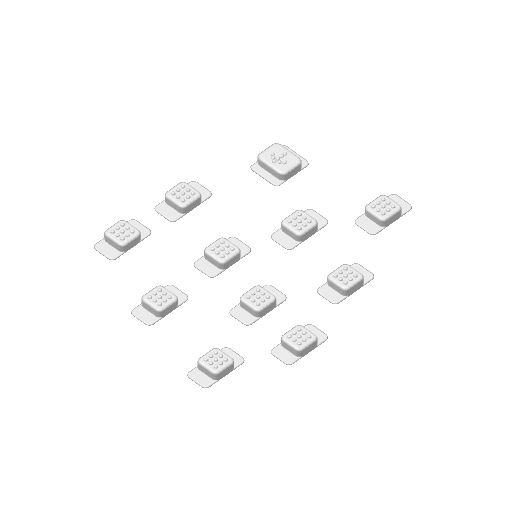
The tabs slide in between the cardboard layers and prevent the switches from falling out.
Two color print to highlight the button face designs. I've uploaded two profiles, one for AMS and one with a pause to manually change out the filament color.
I widened the Kerosene Gauge slider to fit better in the slot. I also shortened the tabs on the Kerosene Gauge slider so it would be less likely to get caught on any sticky tape while sliding.
These are easiest to insert if you haven't assembled your game board already. If you've already assembled it, you can cut off one of the switch tabs and slide the remaining tab in between the cardboard layers. Alternatively, you may be able to open the cardboard layers enough to slide the switches in between the layers. I had to use a utility knife to open the left edge of the main game board in order to slide in some switches.

/pic8194395.png)
/pic8441249.jpg)
/pic9371073.jpg)
/pic8259335.png)


/pic7829490.jpg)




/pic8629565.jpg)