Log in to join the conversation.
REFOREST Log Box Insert for card game
Print Profile 10h 5m 272 g PLA
Plate Details (6)
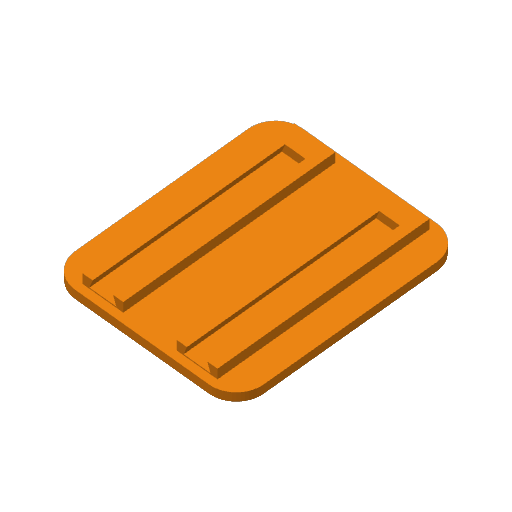
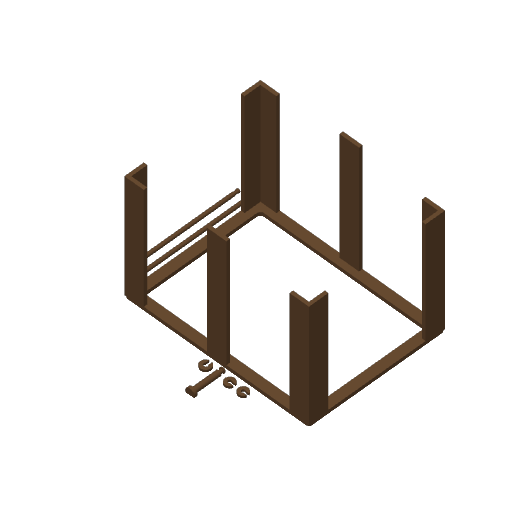
This model was born with a simple idea: that the REFOREST game storage itself would have as much personality as the game.
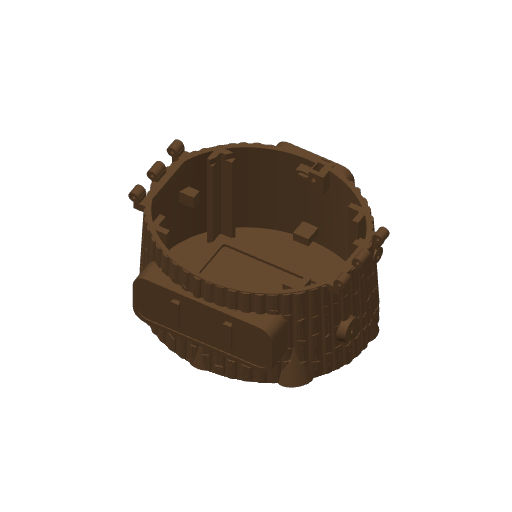
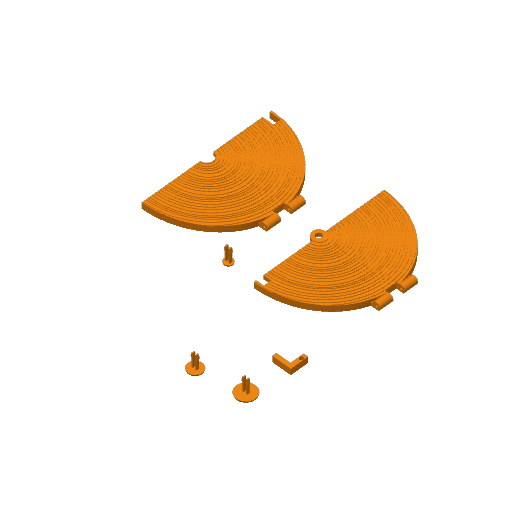
Instead of a conventional box, I designed a box shaped like a tree trunk, with bark texture, growth rings on the lid, and a small green bud on top.
The result is a piece that is functional, decorative and fully integrated with the theme of the game.
The inner insert is sized to hold the full REFOREST set using J-size Premium sleeves.
The useful space reserved for the cards is:
91.5 × 66.5 × 58 mm
In addition, the design maintains sufficient margin with respect to the closing mechanism: there are approximately 3.2 mm free between the top of a 58 mm stack and the lever, so the cards do not interfere with the closing.
The interior supports have an organic geometry inspired by tree shapes.
Although they can be removed if a cleaner interior is desired, they can also be intentionally left as part of the model's aesthetic.
Personally, I think they add a lot to the concept, as they make even the interior maintain the forest theme.
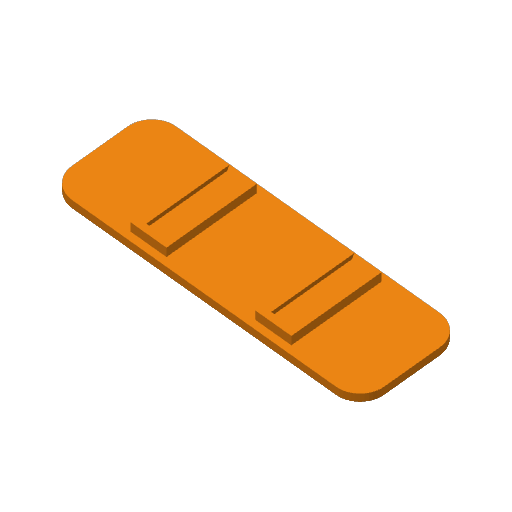
In the published version, both the title REFOREST and the QR part are independent elements.
They are installed using dovetail joints, allowing:
The model has been prepared using Bambu Lab AMS.
The color scheme used in the photographs is:
- Brown: bark, main structure and trunk details.
- Cream/Ivory: Cut wood section, lid and faceplate.
- Mint green: bud and upper leaves.
The combination seeks to maintain a natural and recognizable aesthetic, clearly differentiating the bark, wood and vegetation.
Of course, you can completely reinterpret the colors and create your own version.
Full box closed, including protrusions and sheet:
152.92 × 140.06 × 85.33 mm
Removable insert – external dimensions:
95.1 × 70.1 × 65.8 mm
Useful interior space for cards:
91.5 × 66.5 × 58 mm
Recommended print settings
- Printer: Bambu Lab P1S, 0.4mm nozzle.
- Material: PLA on textured PEI board.
- Layer height: 0.20 mm; 0.16 mm in caps and closing mechanism.
- Walls: 3 overall and 4 in the closure pieces.
- Padding: 6% adaptive cubic; 100% in closure, pins, locks and insert.
- Supports and edges: configured per piece on the 3MF. Keep the bracket blocker from the leaf socket.
- Distribution: 6 plates, with dark brown, light brown, green and black.
- Total estimate: 13 h 19 min and 291 g of PLA.
Open the 3MF as a project in Bambu Studio to preserve all settings.
Assembly instructions
- Prepare the parts. Remove brackets and small burrs, especially on hinges, pins, and sockets. Check the settings without forcing the parts.
- Install the latch receiver. Insert the anchor piece through the top opening on the back of the box, with its arm facing inwards. Place the pin from the inside and snap the C-shaped lock from above, with its opening facing downwards. Access is narrow: you can help yourself with fine-tipped tweezers. Do this step before attaching the QR plate.
- Assemble the caps. Align the hinges of each lid with those of the body, insert their pins and attach the corresponding locks. Check that both lids rotate freely.
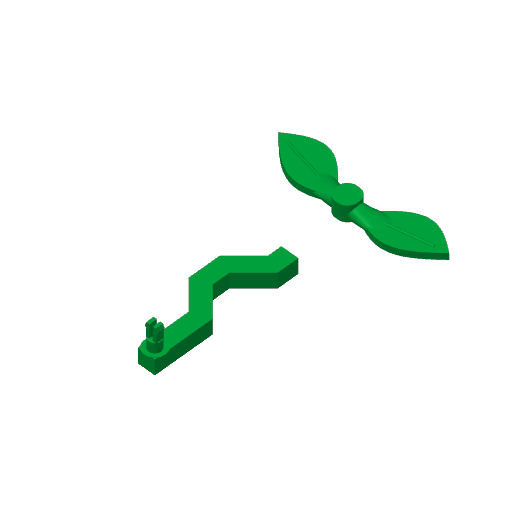
- Attach the leaf mechanism. Insert the green lever shaft from the bottom of the left cover and snap the sheet piece together from above. In the open position, the sheets should be aligned with the gasket between the covers and the lever retracted under the left cover.
- Add the exterior details. Snap the decorative knots into their corresponding positions. Slide the logo and QR plates along their outer guides until they are seated. Place the QR after finishing assembling the closure.
- Insert the removable insert. With the lids open, place the insert inside the box. The usable space for the cards is 91.5 × 66.5 mm, with a maximum stack height of 58 mm. These measurements should include the sleeves.
How to open and close
- Close: lower the right lid first and then the left, keeping the blades aligned with the joint. Rotate the blades 90° until they are transverse to the joint.
- Open: Rotate the sheets until they line up with the gasket again, and lift the left lid first, followed by the right.
Check the operation with the box empty before inserting the cards. Do not use the sheets as a handle to transport the box.
If you print the model, I'd love to see your version.
You can upload a photo of your print, share your color scheme, or create a Print Profile tailored to another printer.
And if the design is useful to you, a Boost helps a lot to keep creating and publishing new models.
Thank you for supporting 3D design and printing.
Translated from Spanish - show original
Este modelo nació con una idea sencilla: que el propio almacenamiento del juego REFOREST tuviese tanta personalidad como el juego.
En lugar de una caja convencional, diseñé una caja con forma de tronco de árbol , con textura de corteza, anillos de crecimiento en la tapa y un pequeño brote verde en la parte superior.
El resultado es una pieza funcional, decorativa y totalmente integrada con la temática del juego.
El inserto interior está dimensionado para guardar el juego completo de REFOREST utilizando fundas Premium tamaño J .
El espacio útil reservado para las cartas es de:
91,5 × 66,5 × 58 mm
Además, el diseño mantiene margen suficiente respecto al mecanismo de cierre: quedan aproximadamente 3,2 mm libres entre la parte superior de una pila de 58 mm y la palanca , por lo que las cartas no interfieren con el cierre.
Los soportes interiores tienen una geometría orgánica inspirada en formas de árbol.
Aunque pueden retirarse si se desea un interior más limpio, también se pueden dejar intencionadamente como parte de la estética del modelo .
Personalmente, creo que aportan mucho al concepto, ya que hacen que incluso el interior mantenga la temática forestal.
En la versión publicada, tanto el título REFOREST como la pieza del QR son elementos independientes.
Se instalan mediante uniones de cola de milano , permitiendo:
El modelo se ha preparado utilizando Bambu Lab AMS .
La combinación de colores utilizada en las fotografías es:
- Marrón: corteza, estructura principal y detalles del tronco.
- Crema / marfil: sección de madera cortada, tapa y placa frontal.
- Verde menta: brote y hojas superiores.
La combinación busca mantener una estética natural y reconocible, diferenciando claramente la corteza, la madera y la vegetación.
Por supuesto, puedes reinterpretar completamente los colores y crear tu propia versión.
Caja completa cerrada , incluyendo salientes y hoja:
152,92 × 140,06 × 85,33 mm
Inserto extraíble – medidas exteriores:
95,1 × 70,1 × 65,8 mm
Espacio útil interior para las cartas:
91,5 × 66,5 × 58 mm
Ajustes de impresión recomendados
- Impresora: Bambu Lab P1S, boquilla de 0,4 mm.
- Material: PLA sobre placa PEI texturizada.
- Altura de capa: 0,20 mm; 0,16 mm en tapas y mecanismo de cierre.
- Paredes: 3 en general y 4 en las piezas del cierre.
- Relleno: 6 % cúbico adaptativo; 100 % en cierre, pasadores, seguros e inserto.
- Soportes y bordes: configurados por pieza en el 3MF. Mantener el bloqueador de soportes del encaje de la hoja.
- Distribución: 6 placas, con marrón oscuro, marrón claro, verde y negro.
- Estimación total: 13 h 19 min y 291 g de PLA.
Abrir el 3MF como proyecto en Bambu Studio para conservar todos los ajustes.
Instrucciones de montaje
- Prepara las piezas. Retira los soportes y las pequeñas rebabas, especialmente en bisagras, pasadores y encajes. Comprueba los ajustes sin forzar las piezas.
- Instala el receptor del cierre. Introduce la pieza de anclaje por la abertura superior de la parte posterior de la caja, con su brazo orientado hacia el interior. Coloca el pasador desde el lado interior y encaja el seguro en forma de C desde arriba, con su abertura hacia abajo. El acceso es estrecho: puedes ayudarte con unas pinzas de punta fina. Realiza este paso antes de colocar la placa del QR.
- Monta las tapas. Alinea las bisagras de cada tapa con las del cuerpo, introduce sus pasadores y coloca los seguros correspondientes. Comprueba que ambas tapas giran libremente.
- Coloca el mecanismo de hojas. Introduce el eje de la palanca verde desde la cara inferior de la tapa izquierda y encaja la pieza de las hojas desde arriba. En posición abierta, las hojas deben quedar alineadas con la junta entre las tapas y la palanca recogida bajo la tapa izquierda.
- Añade los detalles exteriores. Encaja los nudos decorativos en sus posiciones correspondientes. Desliza las placas del logo y del QR por sus guías exteriores hasta que queden asentadas. Coloca el QR después de terminar el montaje del cierre.
- Introduce el inserto extraíble. Con las tapas abiertas, coloca el inserto dentro de la caja. El espacio útil para las cartas es de 91,5 × 66,5 mm , con una altura máxima de pila de 58 mm . Estas medidas deben incluir las fundas.
Cómo abrir y cerrar
- Cerrar: baja primero la tapa derecha y después la izquierda, manteniendo las hojas alineadas con la junta. Gira las hojas 90° hasta dejarlas transversales a la junta.
- Abrir: gira las hojas hasta alinearlas de nuevo con la junta y levanta primero la tapa izquierda, seguida de la derecha.
Comprueba el funcionamiento con la caja vacía antes de introducir las cartas. No utilices las hojas como asa para transportar la caja.
Si imprimes el modelo, me encantará ver tu versión.
Puedes subir una fotografía de tu impresión, compartir tu combinación de colores o crear un Print Profile adaptado a otra impresora.
Y si el diseño te resulta útil, un Boost ayuda muchísimo a seguir creando y publicando nuevos modelos .
Gracias por apoyar el diseño y la impresión 3D.
