Log in to join the conversation.
Calico Board Game Organizer
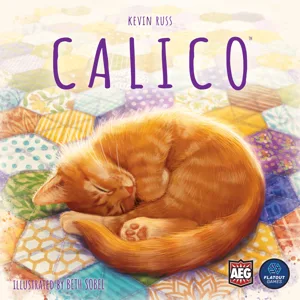
This is my insert/organizer for Calico by Flatout games.
- Cat display for easy viewing around the table
- Diagram for organizing in box
- Designed for vertical storage, snap tight lids
- Playable, modular insert with everything easily accessible
- Easy setup and cleanup
- Two color design for extra flair
- Bambu 3mf included
Printing Instructions: *** The cats lids are VERY tricky. This box has less flexibility than my other boxes and thus the sliding lids are very tricky to get right. You will have the best luck if you print them tight, and then sand the edges until you get the perfect tension. Don't force it too hard or you won't be able to get it out without a screwdriver. Message me if you need any help.
- Print 1 Cats box
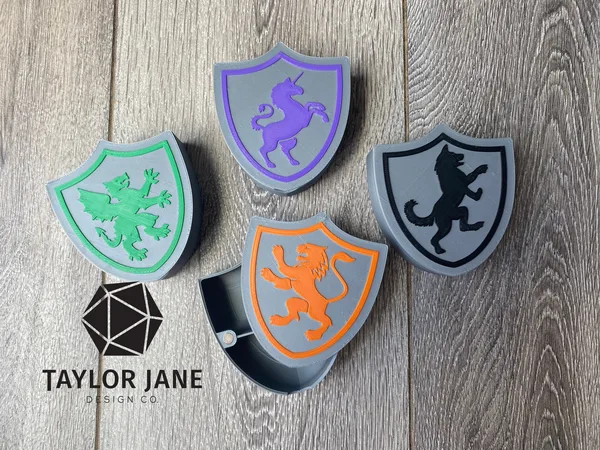
- Print 1 each of every cat lid (Almond, Callie, Cira...etc) (Notched lids and Layer Height change, details below)
- Print 1 Player hexes
- Print 5 Player Lids (notched lids, details below)
- Print 3 Cat Display
- Print 1 Buttons
- Print 1 Buttons Lid (tension fit lid, details below)
- OPTIONAL: Print 1 promo lid (multicolor or single color) and 1 Promo box
Notched Lids: The lids have small notches to align the lid closed. They should be slightly loose and snap shut with a click, and shouldn’t fall out if shaken. If the lid is too tight you can lightly sand the edges until fit. If too loose, reprint and increase the size by .1 or .2mm in the notched direction only.
Tension Lid: The lids are all designed to be printed flat side down, and are held on by tension. If you find them too tight or too loose you can reprint .1-.2 mm larger in the X and Y directions. Make sure to manually adjust the X and Y measurements and unlock scaling so it doesn’t scale the rest of the model. Be aware that it will slightly loosen over time, so err on the side of tight. Make sure your adhesion is good for best results.
Multicolor printing: In your slicer right click the object and select Split>to parts (NOT OBJECTS!!!). Select the colors for printing. PRO TIP: first make the entire object the color of the design and then you only have to change the color of the main piece instead of every small piece.
Layer Height Color Change: In your slicer you can add a pause/color change at the appropriate layer. This is a different process depending on the slicer, but usually follows these steps. Slice the object, then drag the viewer until you reach the layer you want to change color. Right click on the layer bar and select “Add Color Change” or “Change Filament”. Reslice the object and check to be sure you have selected the correct layer. Your printer will either pause and walk you through a color change, or automatically change color.
Happy Gaming!
_______________________________________________________________________________________
Check out all my free designs here on Printables! If you want to support my work and all of the free designs I bring to the community consider buying something from my Etsy shop or my Printables Store .