Table Talk
Nothing here yet. Love this design? Say so - the designer might see it.
Log in to join the conversation.
TCG Card Storage Box for IKEA Kallax Modular v1.1
Card & Tile Holders
Free
Plan Your Print
Sign in
to track this print from Want to Printed.
About 1,107 g of filament
From the designer's print profile
Print Profile 26h 33m 1,107 g PLA
What it takes
8 plates
26h 33m
1,107 g PLA
H2D, A2L, H2D Pro, H2C, H2S
Plate Details (8)
0.4 mm nozzle, all plates
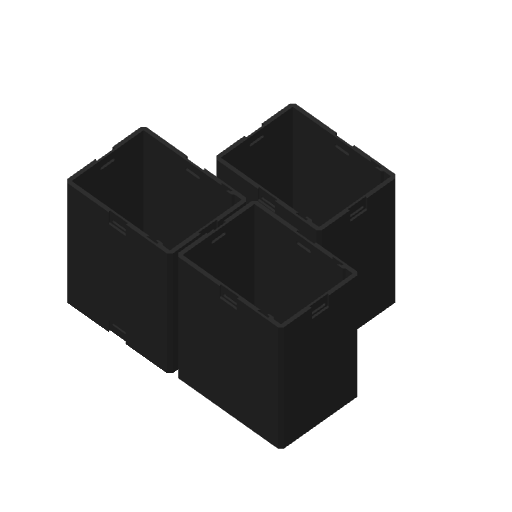
Plate 1 · Case - use with Sliding Rails
9h 28m
418 g
PLA · 418 g
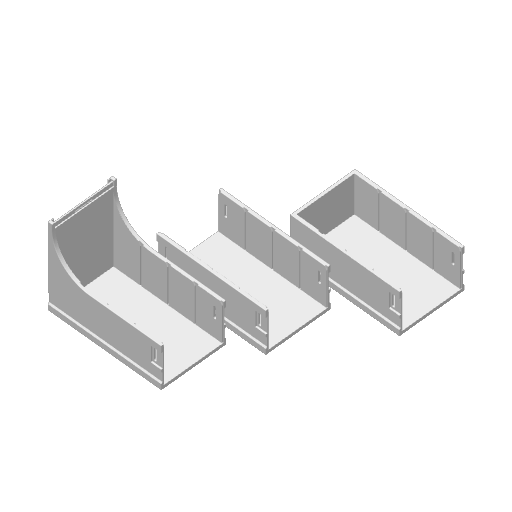
Plate 2 · Drawer
5h 31m
206 g
PLA · 206 g
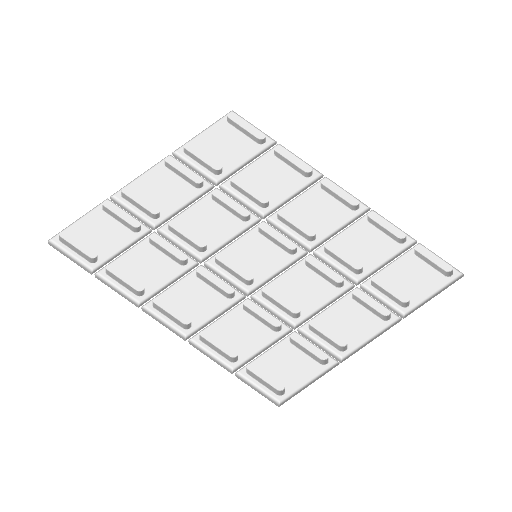
Plate 3 · Connector - High Tolerance
38m
17 g
PLA · 17 g
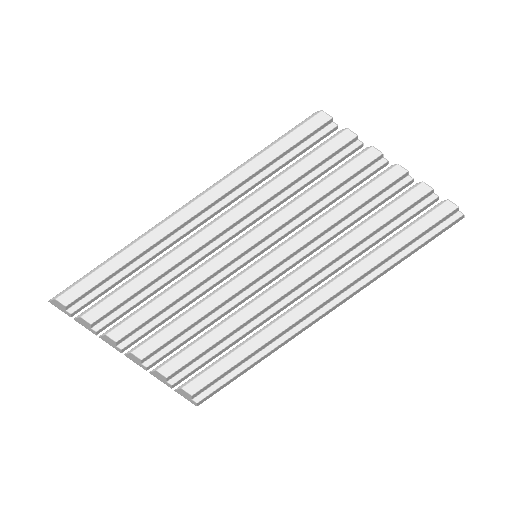
Plate 4 · Sliding Rails
41m
21 g
PLA · 21 g
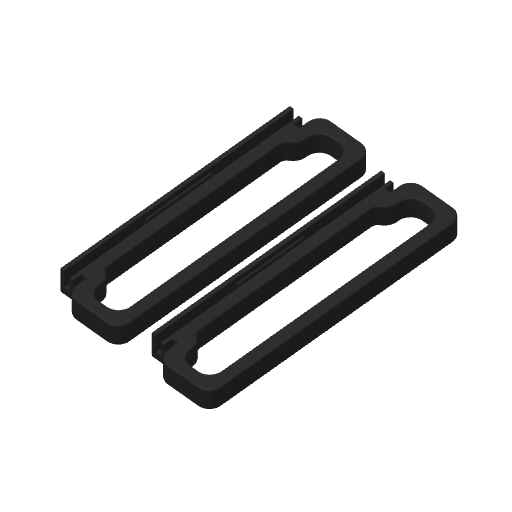
Plate 5 · Handle
20m
9 g
PLA · 9 g
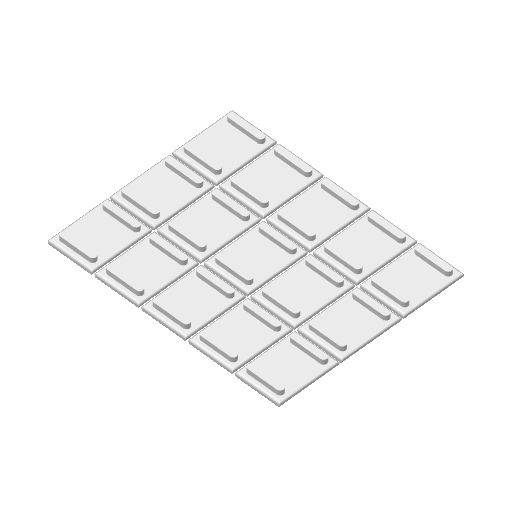
Plate 6 · Connector - Low Tolerance
38m
17 g
PLA · 17 g

Plate 7 · Card Divider
13m
7 g
PLA · 7 g
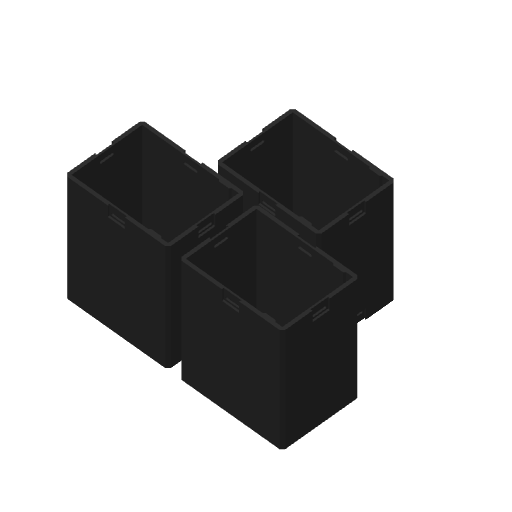
Plate 8 · Case - No Rails Needed
9h 4m
412 g
PLA · 412 g
Designer's Description
Organize your growing card collection with this modular, 3D-printable storage solution designed perfectly for your shelves. Build out your shelves as you grow your collection as necessary. No drilling necessary.
Update Notes:
V1.1 Update - We added a new hollow case to reduce the amount of plastic used. This will reduce the plastic over 150g of plastic per shelf. We heard your feedback and we're doing our best to add more features to the print.
Key Features
- Kallax Optimized: Fits neatly into IKEA Kallax shelves (supports up to a 4x3 grid or any variation you like).
- Modular Depth: Snap together 2 sections for standard storage, or add a 3rd section to utilize the full depth of your Kallax shelf.
- Quiet-Glide Rails: Includes a specialized rail version to reduce filament friction and scraping noises when sliding the box.
- Custom Art Display: The front handle is completely removable, allowing you to insert and display your favorite card or set artwork.
- Rail Lock System: The rail helps prevent you from being able to pull up the whole drawer and prevents card
- Secure Connectors: Join sections with custom pegs. Print the High Tolerance connector first; switch to the Low Tolerance version if your printer needs more clearance.
Installation Guide
- Slide the rails into each of the section (2 rails needed per section)
- Be aware that the front panel piece, the rail can only be installed from the back. This is so it doesn't come off when you slide out. This is by design.
- Use the connectors to connect each section. We recommend printing one of each connector tolerance to try it out before printing all the pieces.
Print Settings
- Material: PLA
- Supports: None required
- Infill: 15% (Gyroid or Grid)
Creator's Note:
- If there's too much slide, use anti-slip pads/tape or dots to help if necessary. (Not affiliate link)
- Print “Case - No Rail Needed” if you can tolerate the high pitch zippy noise. This will save time on print, but we recommend using our rail system for a quiet and smooth sliding experience.