Log in to join the conversation.
Cthulhu Death May Die Player Dashboard
Print Profile (4) Bottom Sections 1h 46m 69 g PLA
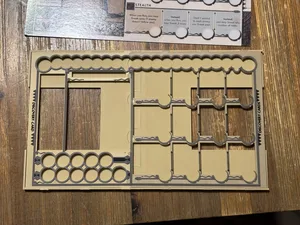
Plate Details (2)


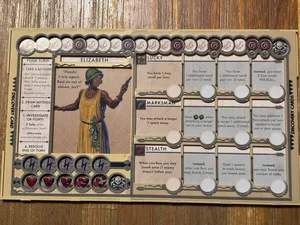
Plate Details (2)
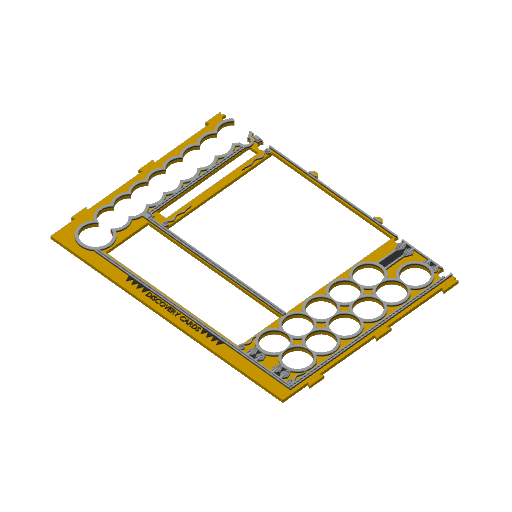
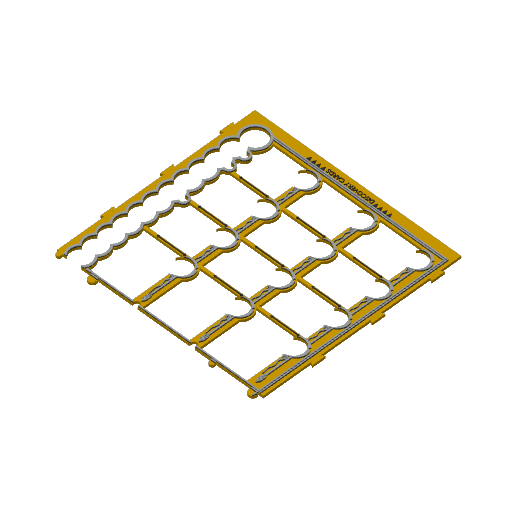
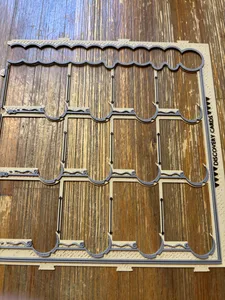
Plate Details (2)
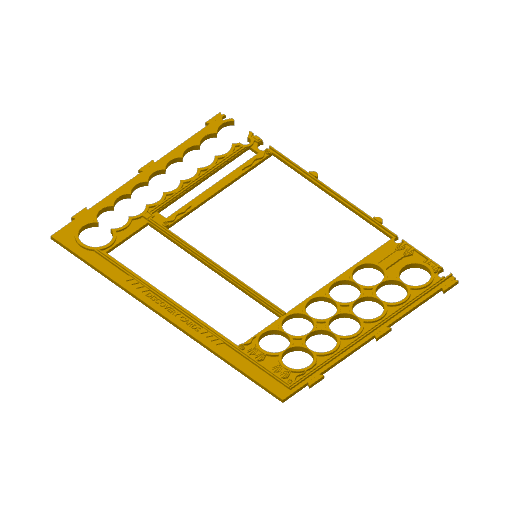
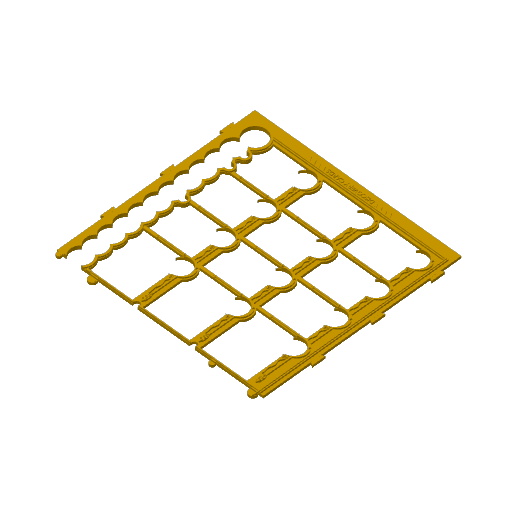
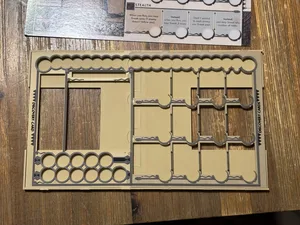
Plate Details (2)
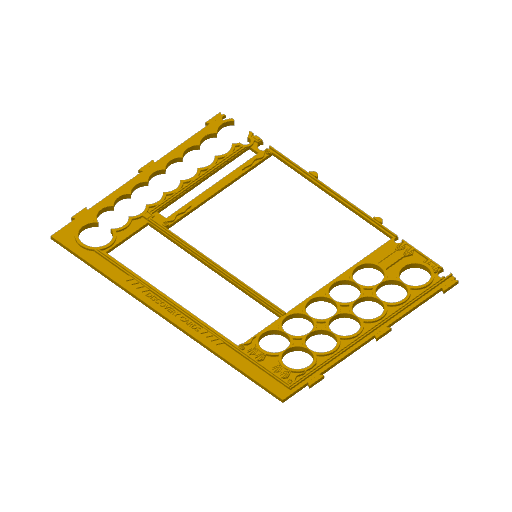
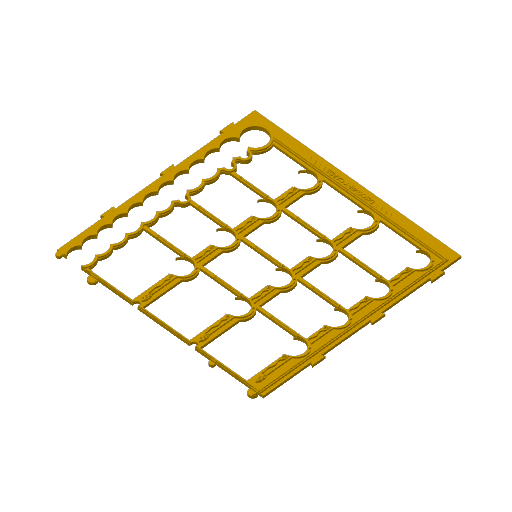
EDIT 2: There's a updated version of this project here : https://makerworld.com/en/models/2542639-cthulhu-death-may-die-player-dashboard-v1-1#profileId-2799513. The changes are relatively minor and it's even possible (but probably unlikely) that some people might actually prefer this older design (the markers sit deeper in the dashboard in this version). Note that although a very minor change was made to the bottom sections, the old ones here are still compatible with the newer top sections and shouldn't need to re-printed if you want to upgrade.
EDIT: After comparing the prints of the top sections using the 0.2mm nozzle and 0.4mm nozzle, I'd recommend printing the latter as very little detail is lost and the 0.4mm nozzle print takes ½ the time and the extruded details should be less fragile. Further (and unexpectedly), I prefer the results of the colored layers vs. the painted ones as it gives the gray details a little more “pop” to have their initial layers black. If you're using an AMS, it will print as expected without a pause. I didn't test it, but my understanding is it will pause at the color changes, if you're not.
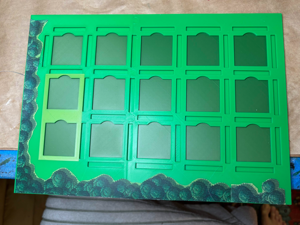
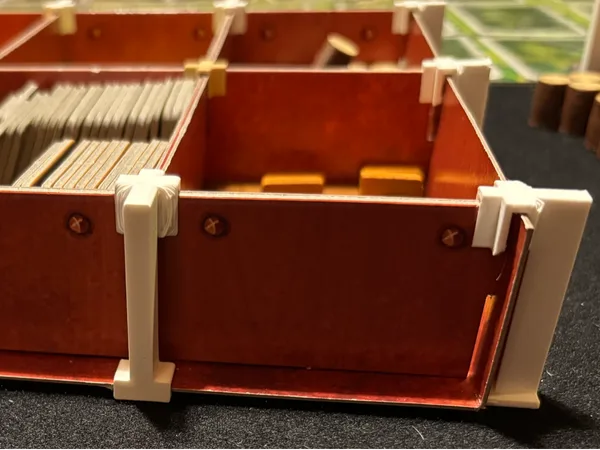
This can be printed on any Bambu printer, including the A1 mini and can be printed in multi-color with or without an AMS (colors are on separate layers). The parts snap together and shouldn't require glue. Once assembled, the player board simply slides into the dashboard from the right side.
The top sections are intricately detailed, so their provided profile uses a 0.2mm nozzle. If you can't handle the LONG print times required and are less concerned with the (non-essential) details, the profile can be easily modified to use a 0.4mm nozzle with a 0.20mm layer height without issue (I tested with this originally).
Attached is a quick video that discusses the dashboard's features/gotchas and demonstrates its use. Someday, I'll invest in a decent camera setup…
Here's a quick video demonstrating assembly the dashboard. A couple of notes of clarification, you'll likely need to exert more force then I'm doing in this video, because I likely assembled, disassembled and reassembled this dashboard multiple times. Also, the only slots that might need touching up with an exacto knife are the ones along top and bottom of the bottom sections. None of the circular shaped tabs/slots required adjustment in any of my prints, although they were often very tight fitting.
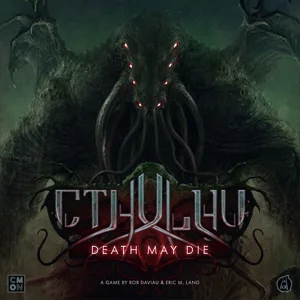 Cthulhu: Death May Die 2019
Layer by Layer
Cthulhu: Death May Die 2019
Layer by Layer
Cover Colors
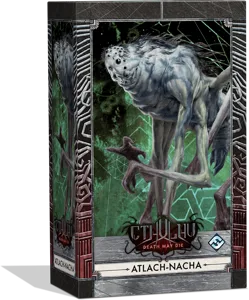 Cthulhu: Death May Die – Atlach-Nacha Elder One Box 2026
 Cthulhu: Death May Die – Exclusive Insanities 2026
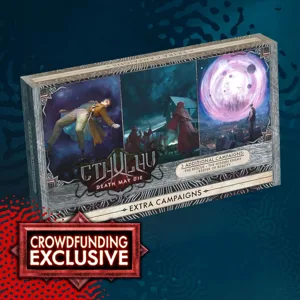 Cthulhu: Death May Die – Extra Campaigns 2026
/pic9540826.png) Cthulhu: Death May Die – Godzilla Rising 2026
Cthulhu: Death May Die – Godzilla Rising 2026
 Cthulhu: Death May Die – Season 6 2026
Show 12 more
 Cthulhu: Death May Die – Dark Providence Investigators 2024
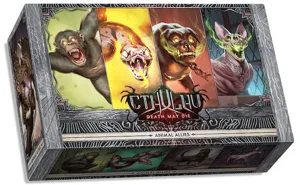 Cthulhu: Death May Die – Fear of the Unknown: Animal Allies 2024
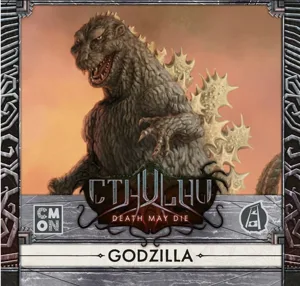 Cthulhu: Death May Die – Godzilla Vs Cthulhu 2024
/pic9712907.png) Cthulhu: Death May Die – Ithaqua the Wind-Walker 2024
Cthulhu: Death May Die – Ithaqua the Wind-Walker 2024
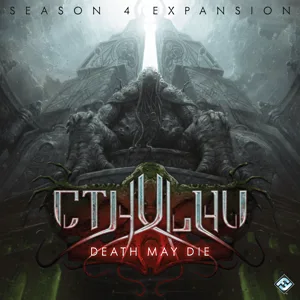 Cthulhu: Death May Die – Season 4 Expansion 2024
/pic7632242.jpg) Iron Maiden Pack #3 2023
Iron Maiden Pack #3 2023
/pic9712927.png) Cthulhu: Death May Die – Black Goat of the Woods 2019
Cthulhu: Death May Die – Black Goat of the Woods 2019
/pic9601853.png) Cthulhu: Death May Die – R'lyeh Rising 2019
Cthulhu: Death May Die – R'lyeh Rising 2019
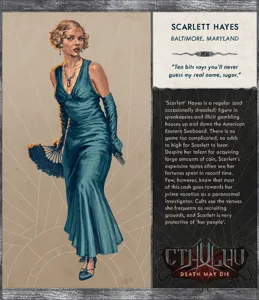 Cthulhu: Death May Die – Scarlett Hayes 2019
/pic9712889.png) Cthulhu: Death May Die – Season 2 Expansion 2019
Cthulhu: Death May Die – Season 2 Expansion 2019
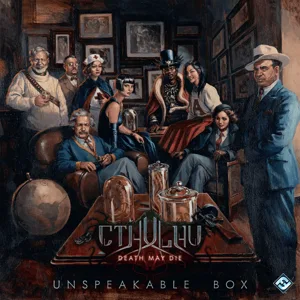 Cthulhu: Death May Die – Unspeakable Box 2019
/pic5055106.png) Cthulhu: Death May Die – Yog–Sothoth 2019
Cthulhu: Death May Die – Yog–Sothoth 2019
The (hopefully) ultimate free player dashboard:
More by WearyOfTrying