Log in to join the conversation.
Cthulhu Death May Die Player Dashboard V1.1
Print Profile (5) Top section as single piece for 256x256 bed printers 4h 46m 106 g PLA
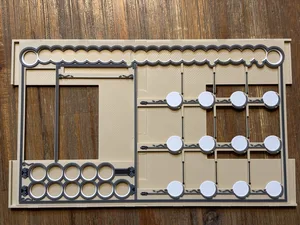
Plate Details (2)
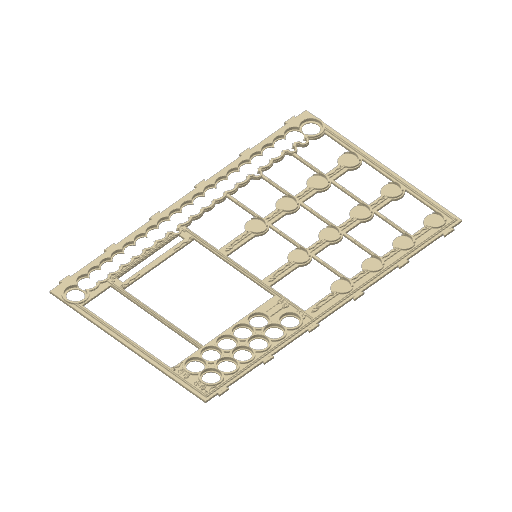

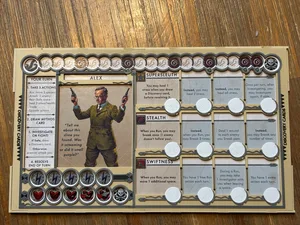
Plate Details (4)
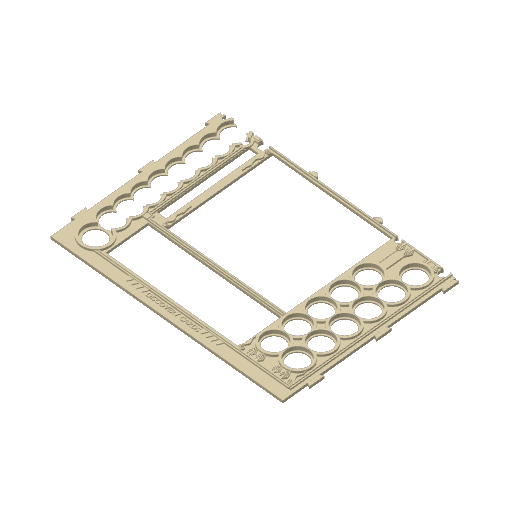
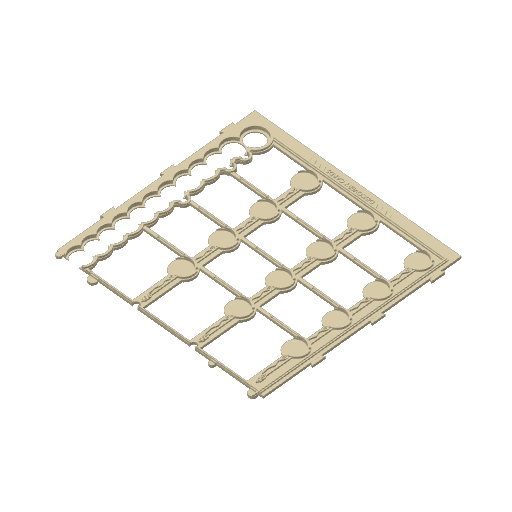


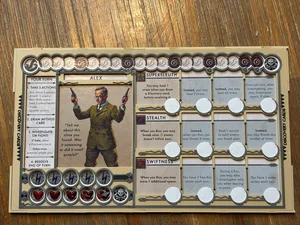
Plate Details (2)
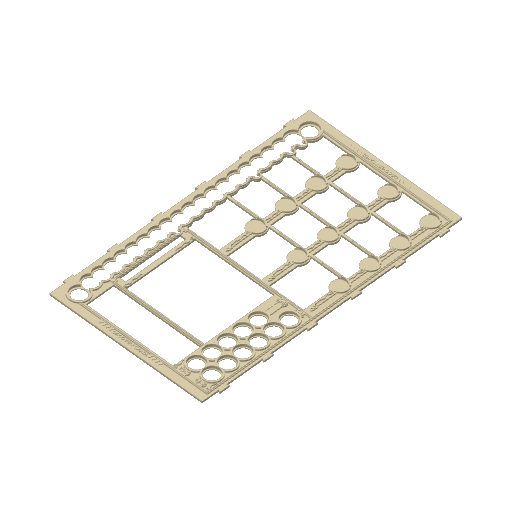

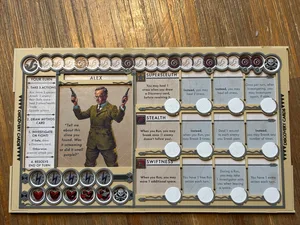
Plate Details (3)
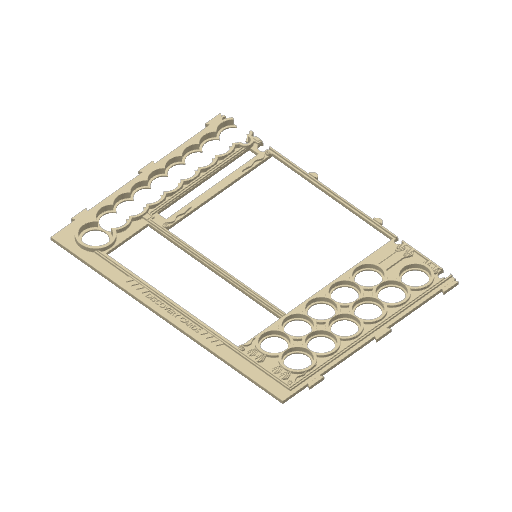
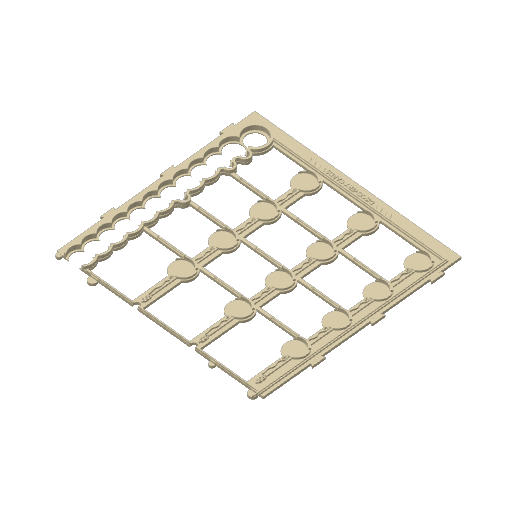

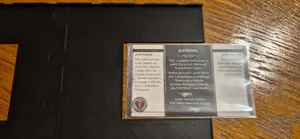
Plate Details (1)

4/22/26 UPDATE: Increased the size of the slots where the top and bottom sections join.
UPDATE: If you have a medium sized bed (256x256 – like the P1S or P2S), my recommendation is to use the “ Top section as single piece for 256x256 bed printers" printer profile.
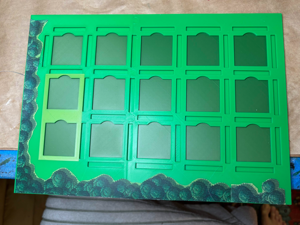
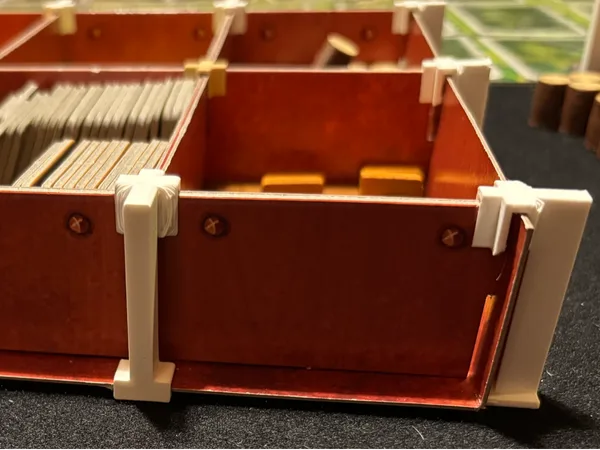
Minor revisions to the previous design, including reducing the depth that the tentacle markers sit inside the dashboard and making that depth fixed (not dependent on how flush the dashboard is to the actual cardboard dashboard underneath) See pics. Minor change to the bottom to bevel the joining edge of the left side to (hopefully) help reduce drag. As I no longer feel it's worth printing the top portion with a 0.2mm nozzle, all parts are included in this single profile. For more details and pictures, see the original project here: https://makerworld.com/en/models/2498228-cthulhu-death-may-die-player-dashboard
If you prefer not to color the added geometry (for enforcing the depth) white and keep it tan instead, delete the filament changes at layers 6 and 7 in the preview. I've printed it both ways and it looks good either way. If I didn't have an AMS, I wouldn't hassle with the additional filament changes to add white. I only made it the default because it more closely matches the cardboard player dashboard's artwork.
 Cthulhu: Death May Die 2019
Layer by Layer
Cthulhu: Death May Die 2019
Layer by Layer
Cover Colors
 Cthulhu: Death May Die – Atlach-Nacha Elder One Box 2026
 Cthulhu: Death May Die – Exclusive Insanities 2026
 Cthulhu: Death May Die – Extra Campaigns 2026
/pic9540826.png) Cthulhu: Death May Die – Godzilla Rising 2026
Cthulhu: Death May Die – Godzilla Rising 2026
 Cthulhu: Death May Die – Season 6 2026
Show 12 more
 Cthulhu: Death May Die – Dark Providence Investigators 2024
 Cthulhu: Death May Die – Fear of the Unknown: Animal Allies 2024
 Cthulhu: Death May Die – Godzilla Vs Cthulhu 2024
/pic9712907.png) Cthulhu: Death May Die – Ithaqua the Wind-Walker 2024
Cthulhu: Death May Die – Ithaqua the Wind-Walker 2024
 Cthulhu: Death May Die – Season 4 Expansion 2024
/pic7632242.jpg) Iron Maiden Pack #3 2023
Iron Maiden Pack #3 2023
/pic9712927.png) Cthulhu: Death May Die – Black Goat of the Woods 2019
Cthulhu: Death May Die – Black Goat of the Woods 2019
/pic9601853.png) Cthulhu: Death May Die – R'lyeh Rising 2019
Cthulhu: Death May Die – R'lyeh Rising 2019
 Cthulhu: Death May Die – Scarlett Hayes 2019
/pic9712889.png) Cthulhu: Death May Die – Season 2 Expansion 2019
Cthulhu: Death May Die – Season 2 Expansion 2019
 Cthulhu: Death May Die – Unspeakable Box 2019
/pic5055106.png) Cthulhu: Death May Die – Yog–Sothoth 2019
Cthulhu: Death May Die – Yog–Sothoth 2019
More by WearyOfTrying