Log in to join the conversation.
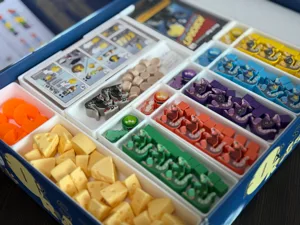
Critter Kitchen Standard Organizer KOR
Print Profile 36h 59m 692 g PLA
Plate Details (8)
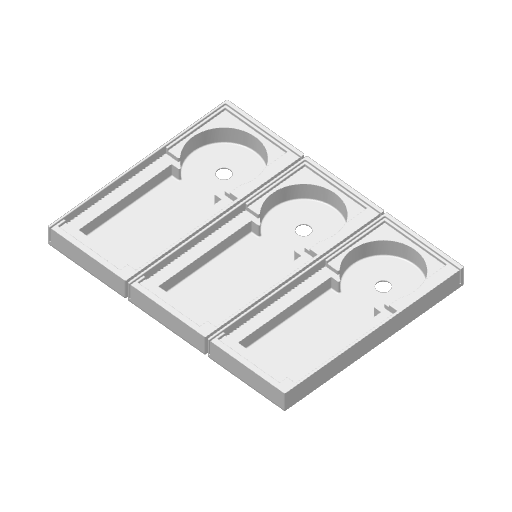
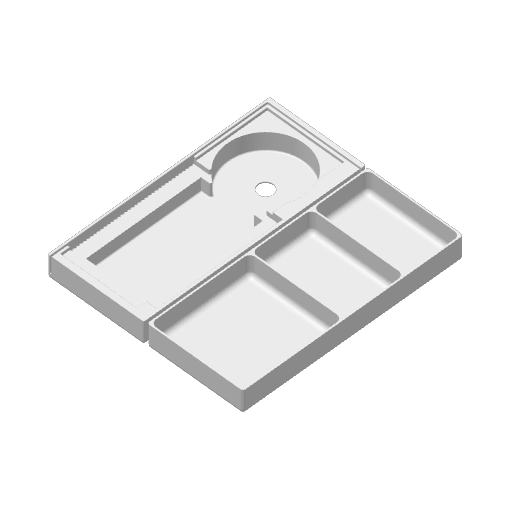
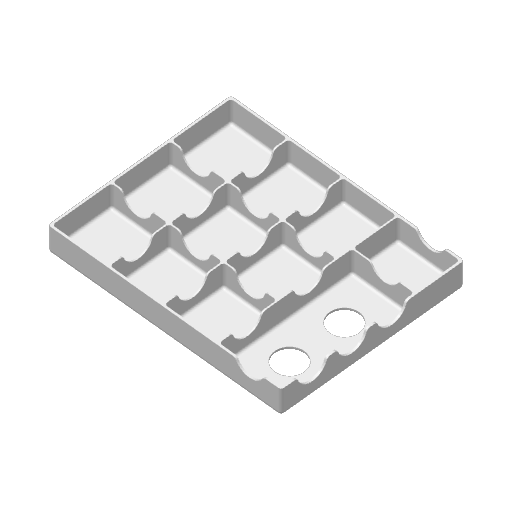
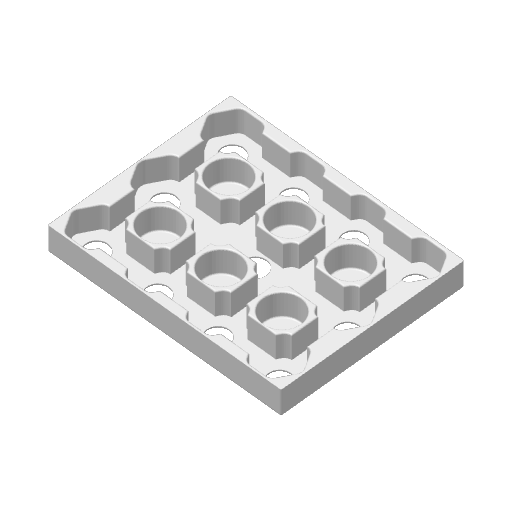
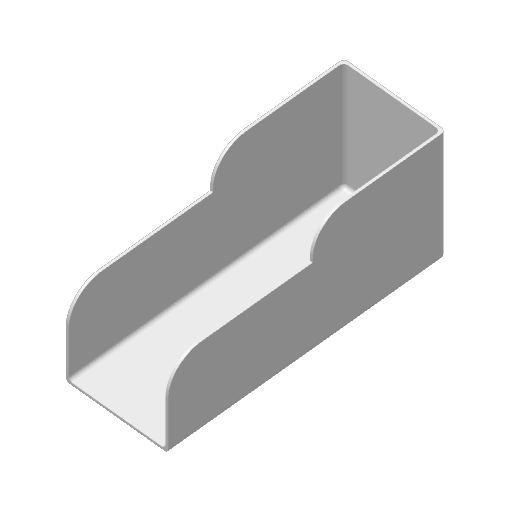
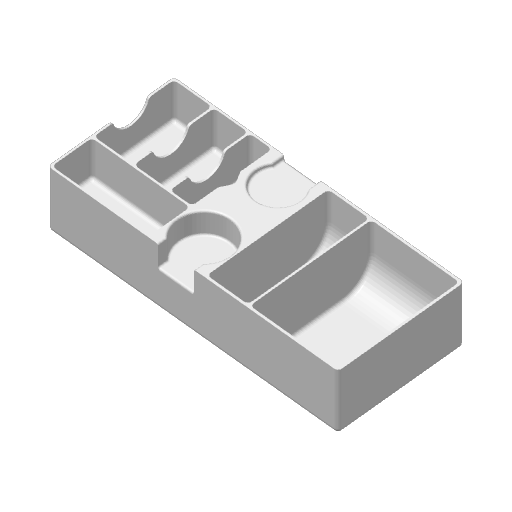
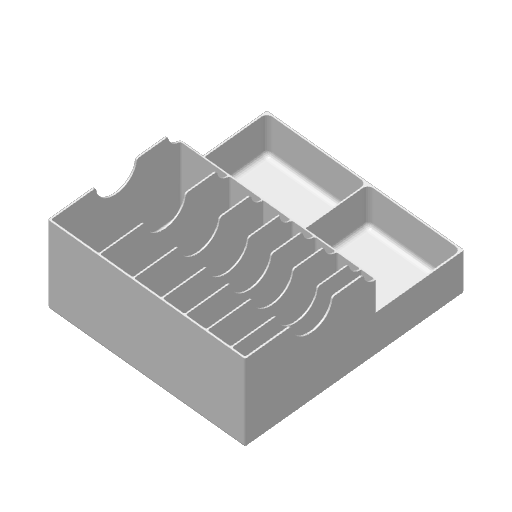
- The lid slightly opens.
- Only thin sleeves are allowed (personal trays are slightly over-height)
- The partition can be mounted in a "" shape (only one of the two wings is fixed)
Download and print the following parts from a separate post (link attached below).
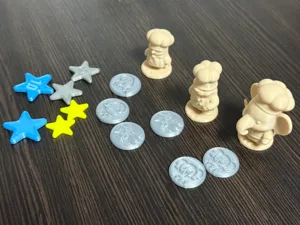
- 1, 5, and 10-point star tokens
- Pepper shaker for round marker replacement
- Plates as a substitute for individual plates
If you need upgrade components, please access the link below and print them out for use.
Below the organizer, place and stack the "all partitions" and "short place boards" first.
At this point, first gather five short place boards into the corners,
If you take out one Placeboard and place it about the center where the partition will fit,
Because the folding part of the partition blade causes the center of the partition to be held at an incorrect height.
From the side, it looks like this.
If you place "all the kitchen game boards" on top and attach them neatly on one side, there will be space for "parts that expand the street market" as shown in the photo above.
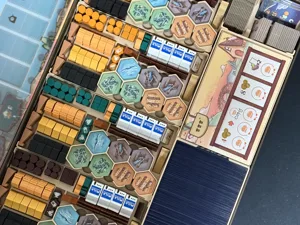
Tokens are organized like this.
Here are two token trays organized like this.
Place both on top of what you prepared earlier.
The personal tray is organized by player as follows.
Stack the personal trays organized like this in pairs as shown below.
There are 7 personal trays + star rating token trays, making a total of 8.
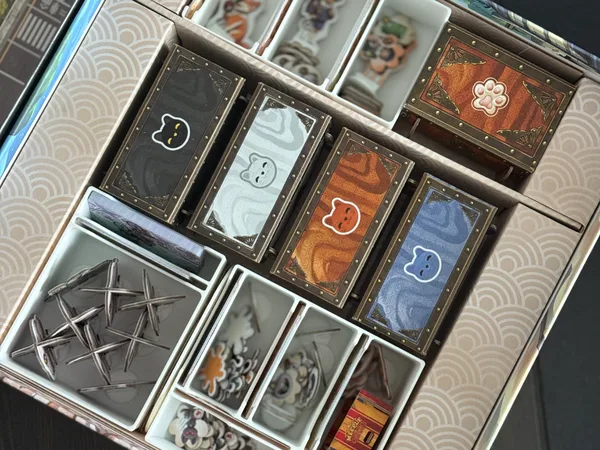
Now, put the tray containing various cards and Suchef tokens.
Put the tray containing soup, expansion tokens, and other items in the extra space above the chefs.
Now, place the token pouch into the remaining empty space and place the pouch's entrance on the stepped space as shown in the photo below.
Soup trucks and cooking school tiles are placed like lids on top of the card trays.
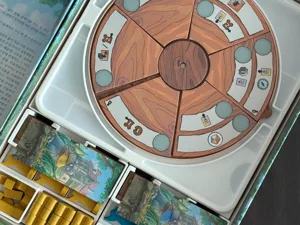
Finally, place the rulebook and waterfront game board on top, close the lid, and you're done.
ps. If you remove the box while keeping it organized, it will look like the shape shown in the photo below. Please take note.
End.
Translated from Korean - show original
- 뚜껑이 약간 뜹니다.
- 얇은 슬리브만 사용 가능 (개인트레이는 살짝 높이가 오버됨)
- 가림막은 “ㄱ”자 형태로 거치 가능 (양 날개 중 한쪽만 고정)
아래 파츠들은 별도 게시물(하단에 링크 첨부)에서 내려받아 출력하세요.
- 1·5·10점 별점 토큰
- 라운드마커 대체용 후추통
- 개인접시 대체용 접시
업그레이드 컴포는 필요시 아래 링크로 들어가서 추가로 출력해 사용 하세요.
오거나이저 아래쪽에 “ 가림막 전부 ”와 “ 짧은 장소보드 들”을 먼저 배치를 해서 쌓아둡니다.
이때 먼저 짧은 장소보드들 5개를 구석에 몰아주고
장소보드 1개를 빼서 가림막이 들어갈 위치 가운데쯤에 두면
가림막 날개가 접히는 부분때문에 가림막의 중심부 높이가 맞지 않는 부분을 잡아 줍니다.
옆에서 보면 이런형태.
그 위에 “ 모든 주방게임판 을 올려서 한쪽면으로 잘 붙여 주면 위사진처럼 ” 길거리마켓 확장을 담은 파츠"가 들어갈 공간이 생깁니다.
토큰들은 이렇게 정리 됩니다.
이렇게 정리한 토큰트레이 2개를
앞서 정리한 위에 2개 다 올려줍니다.
개인트레이는 플레이어 별로 이렇게 정리 합니다.
이렇게 정리한 개인트레이들은 아래처럼 2개씩 쌓아 올립니다.
7개의 개인트레이 + 별점토큰트레이 해서 총 8개 입니다.
이제 각종 카드들과 수셰프 토큰들이 담긴 트레이를 넣어줍니다.
수셰프들 상단의 여유공간에 스프와 확장토큰 및 기타등등이 들어있는 트레이를 올려줍니다.
이제 토큰 주머니를 남은 빈공간에 넣으면서 주머니 입구를 아래 사진처럼 단차공간에 올려주세요.
수프트럭과 요리학교타일은 카드트레이의 상단에 뚜껑처럼 덮어 줍니다.
마지막으로 규칙서와 워터프런트 게임판을 위에 올려주고 뚜껑을 닫으면 끝.
ps. 정리된 상태를 유지한채 박스를 제거한다면 아래 사진의 형태 일껍니다. 참고 하세요.
끝.
More by pizzicato