Table Talk
Nothing here yet. Love this design? Say so - the designer might see it.

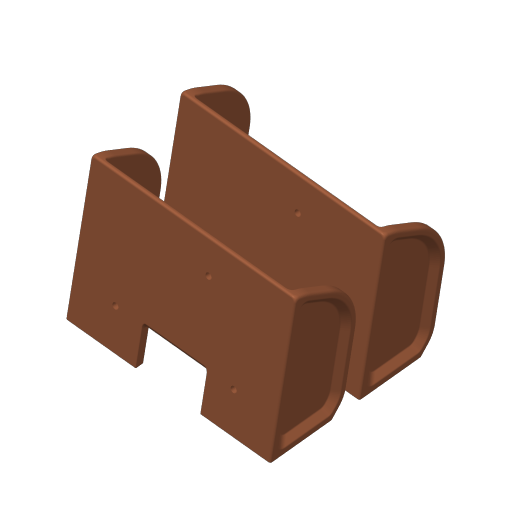
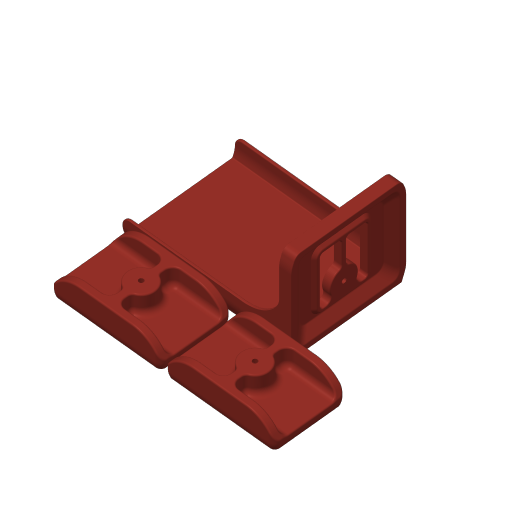
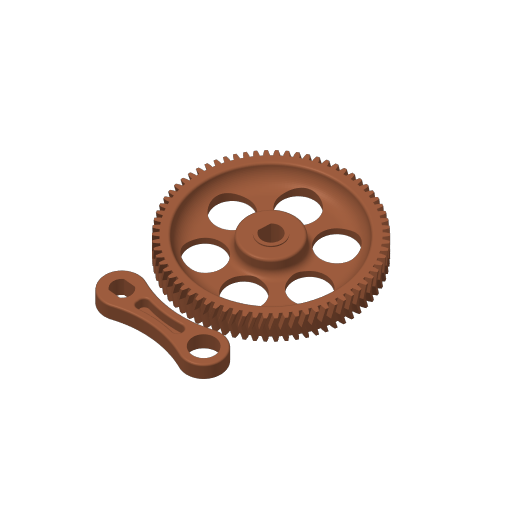
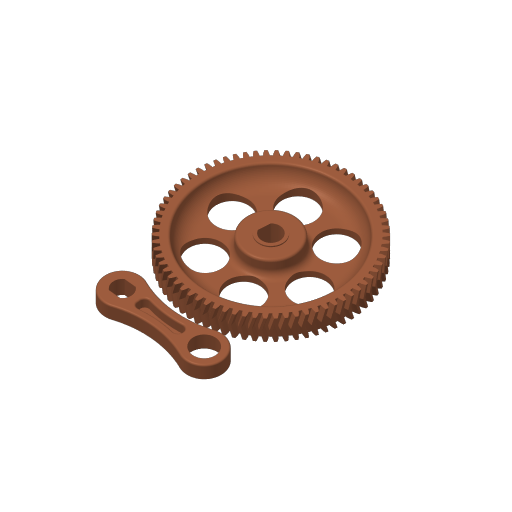
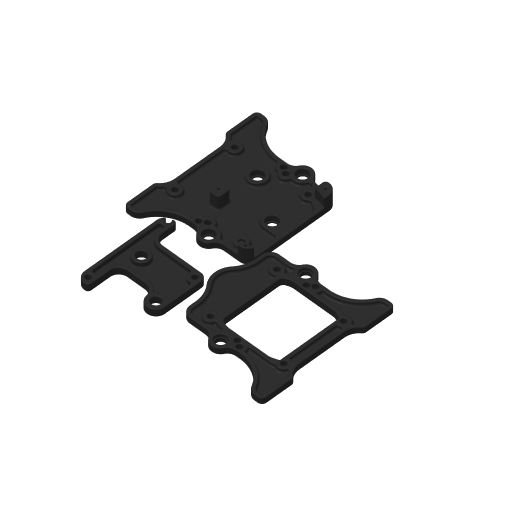
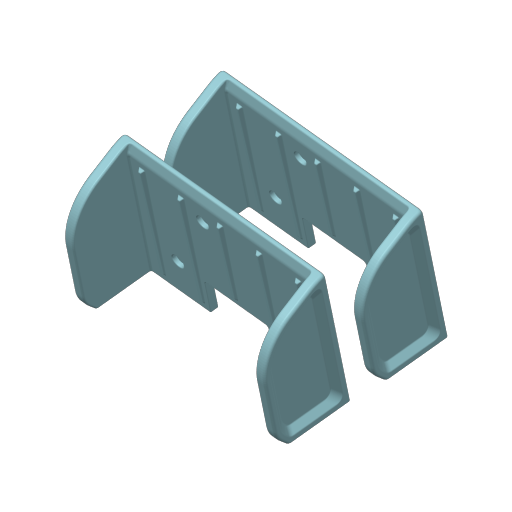
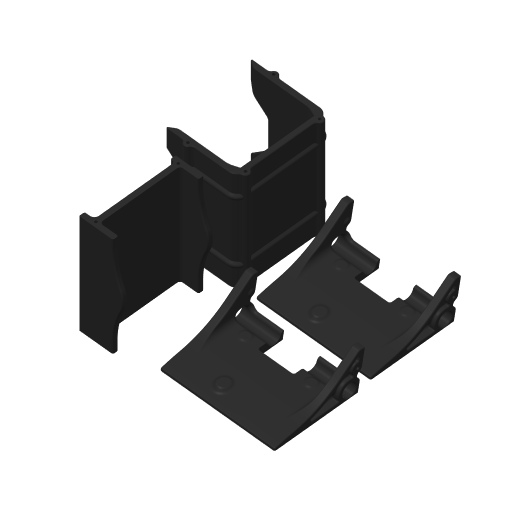
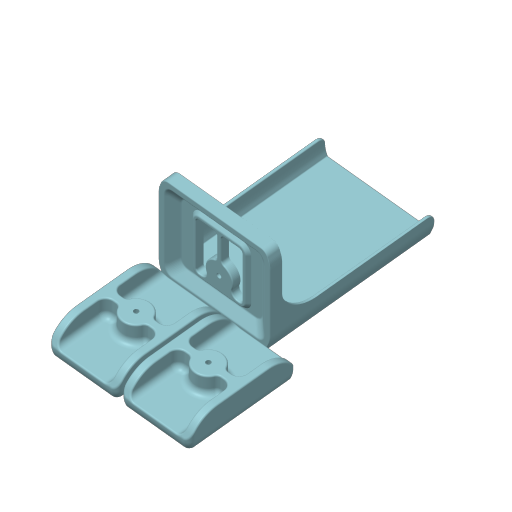
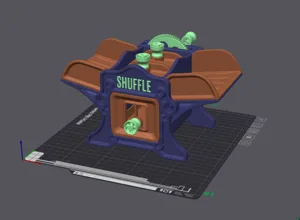
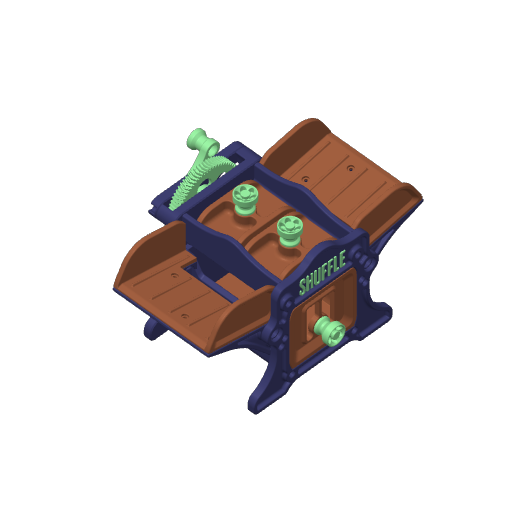
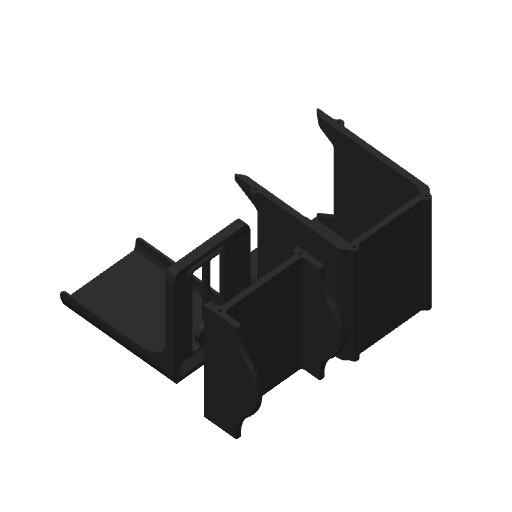
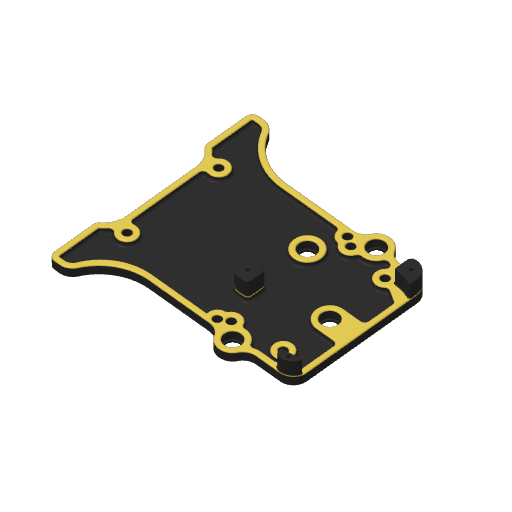
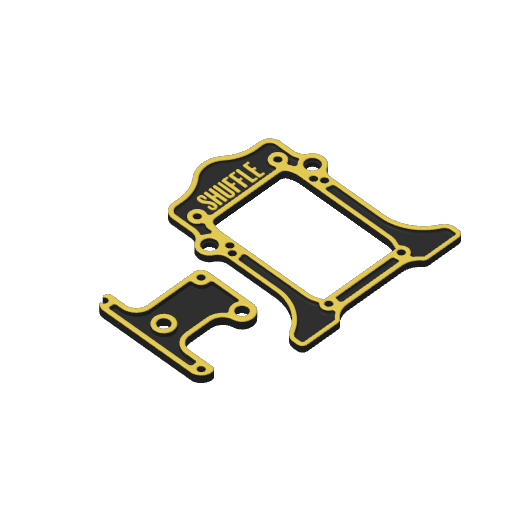
Card Shuffler

Inserts Free
Plan Your Print
About 671 g of filament
Print Profile (25) Card Shuffler - Regular - Rev3 21h 52m 633 g PLA
Card Shuffler - Regular - Rev3
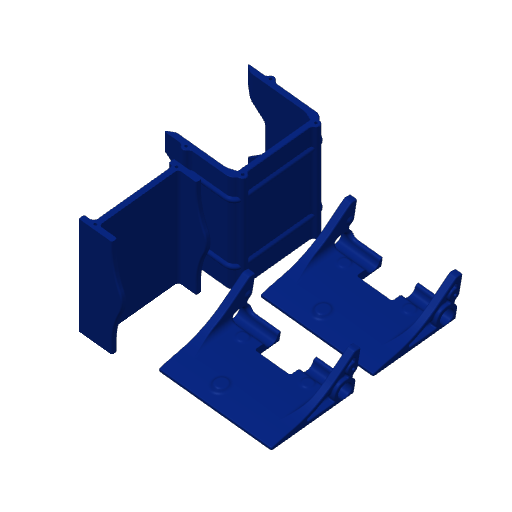
10 plates 21h 52m 633 g PLA
X1 Carbon, H2C, A1, P1P, H2S, P2S, P1S, H2D Pro, X1E, H2D, X1, X2D, A2L
Revision 2 of the card Shuffler. Widens the drums and adds a little notch on the card holder to help keep it from sliding out as easily. Revision 3 of the card Shuffler. Tweaked tolerances for the bearings so they're easier to insert and work with. Gave a bevel to the edge of the gears to make them easier to insert too.
Plate Details (10)
0.4 mm nozzle, all plates
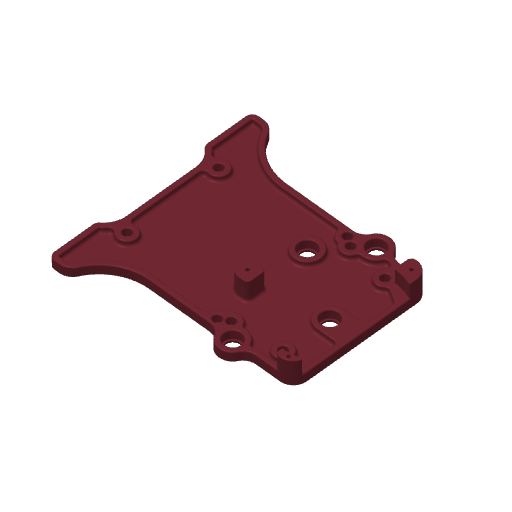
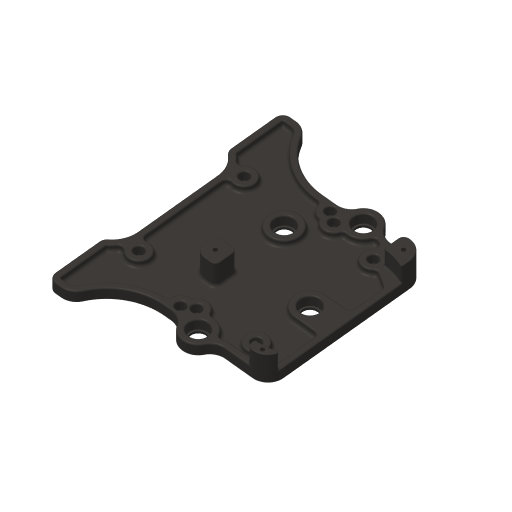
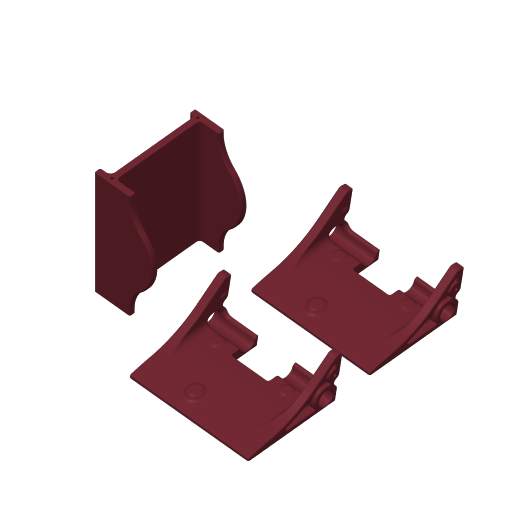
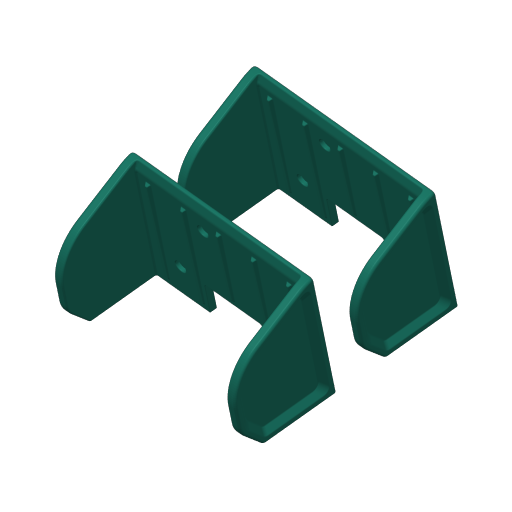
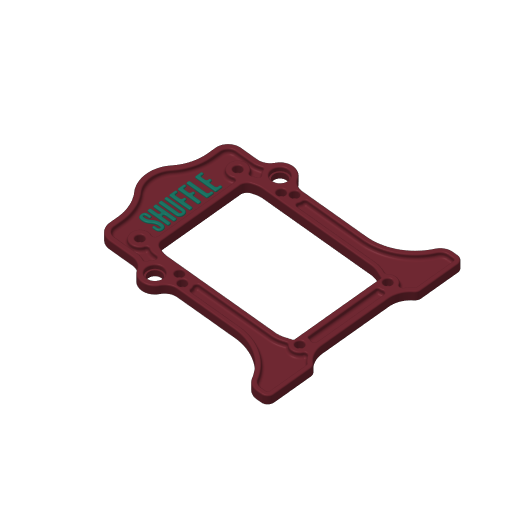
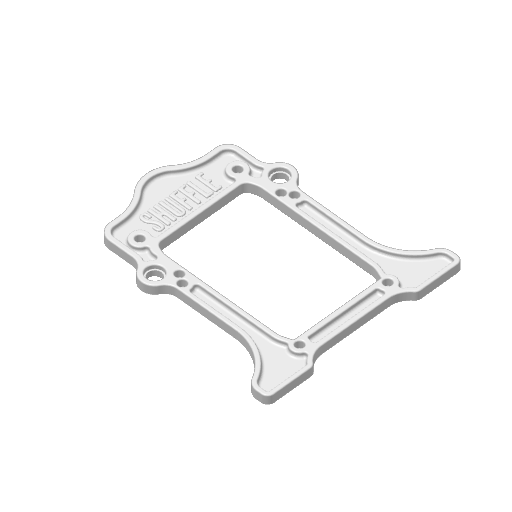
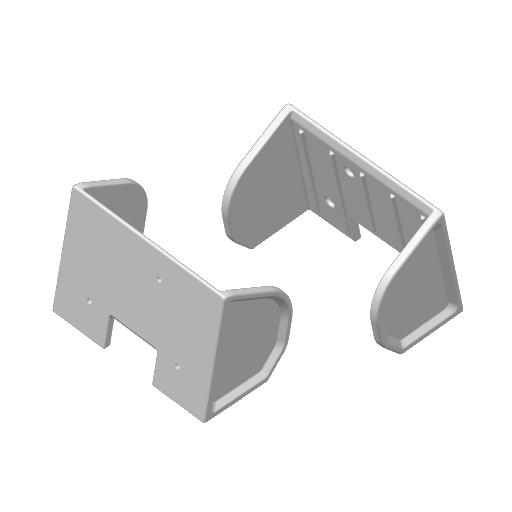
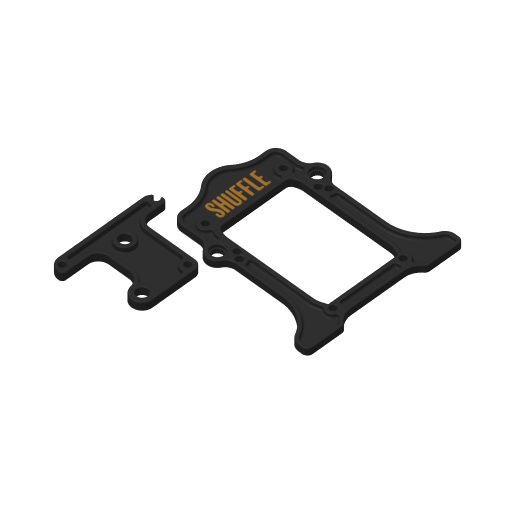
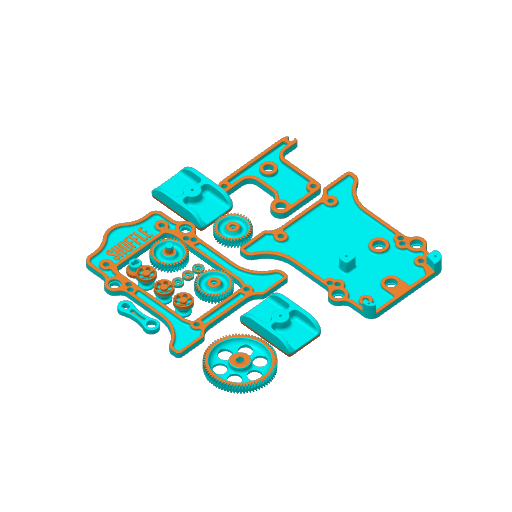
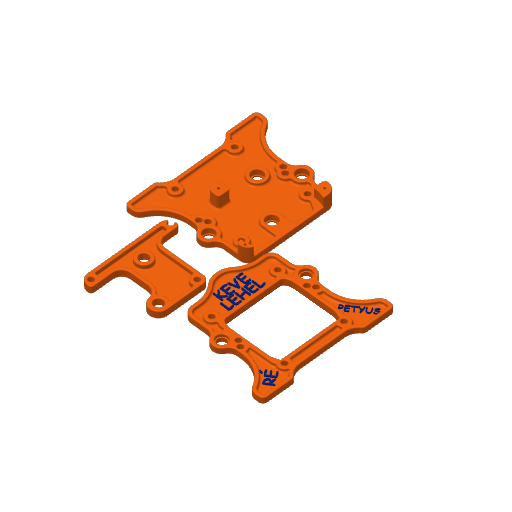
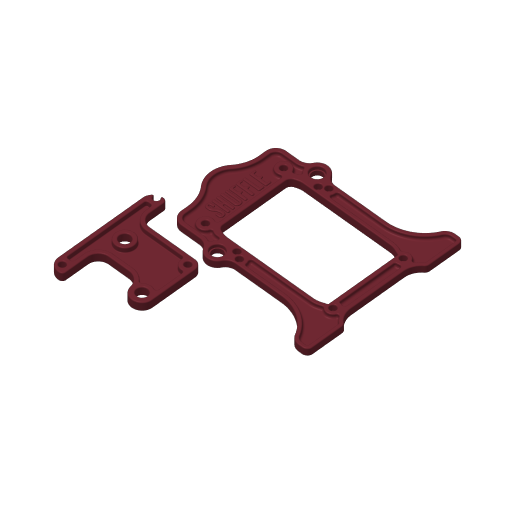
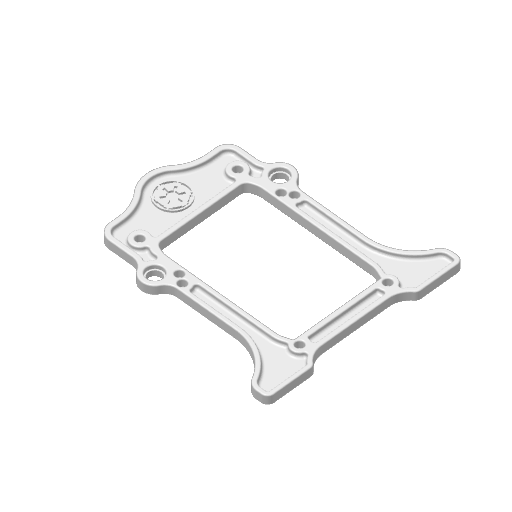
Plate 1 · Front
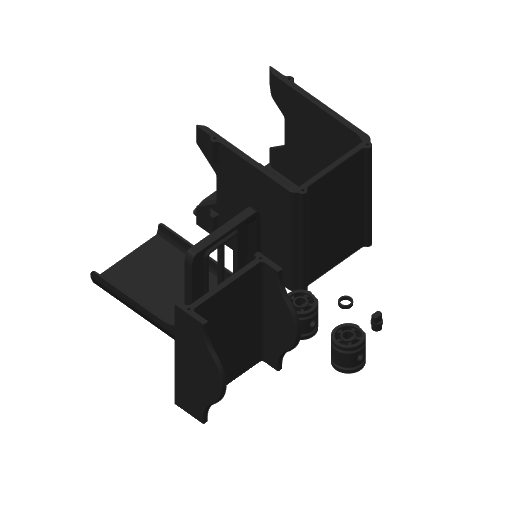
1h 29m 40 g PLA · 37 g PLA · 3 g
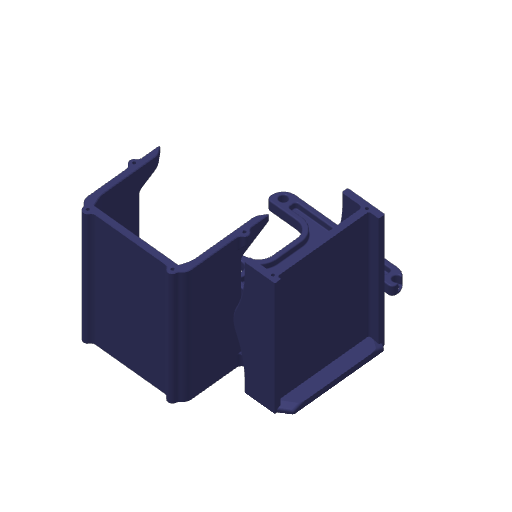
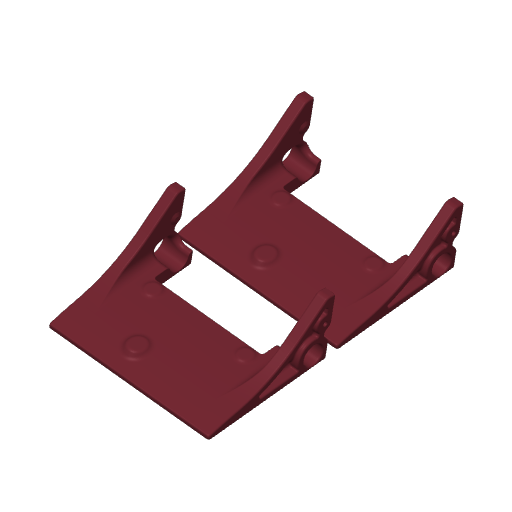
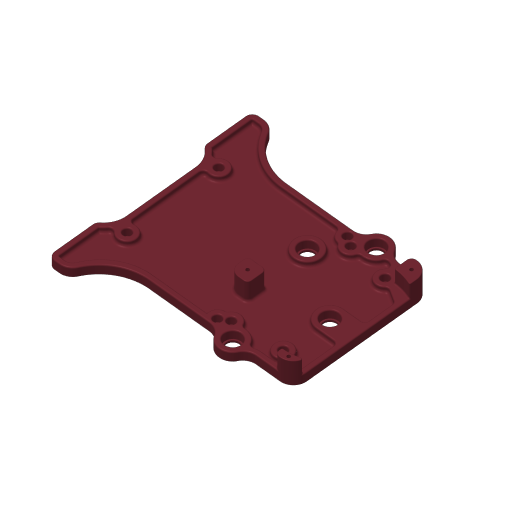
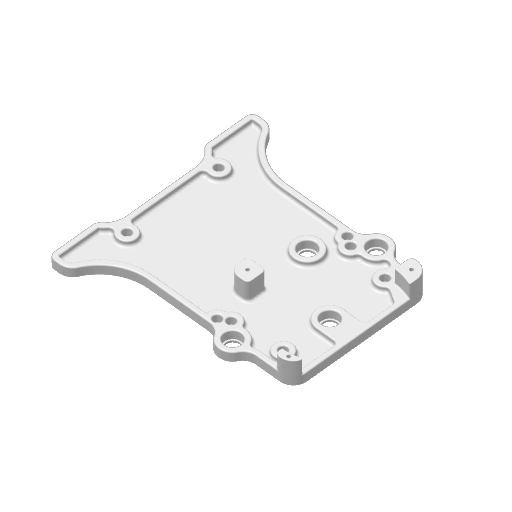
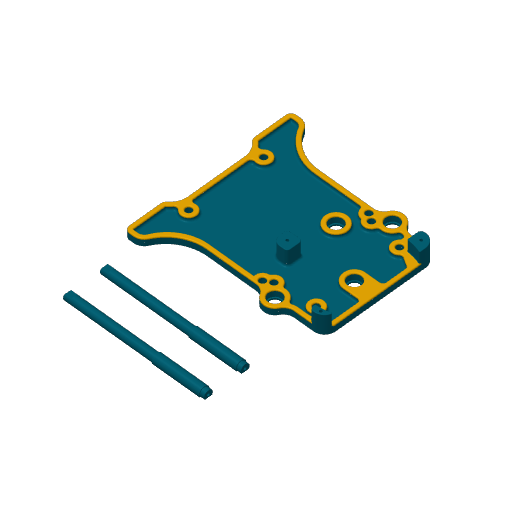
Plate 2 · Back
1h 31m 47 g PLA · 47 g
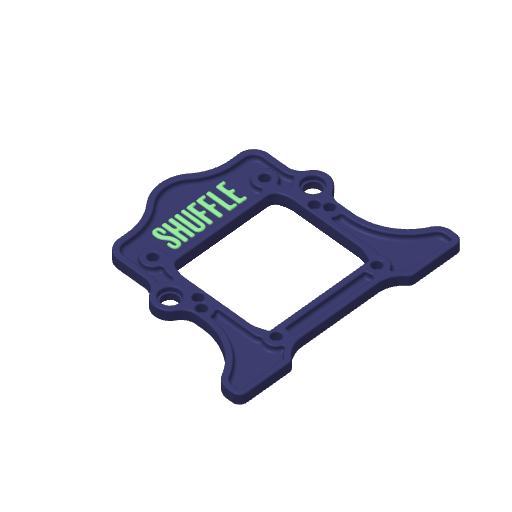
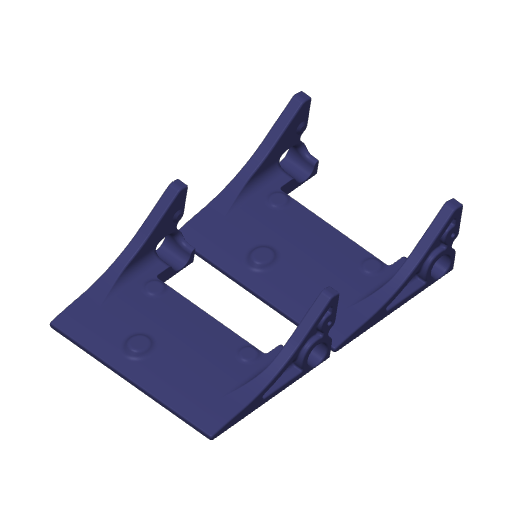
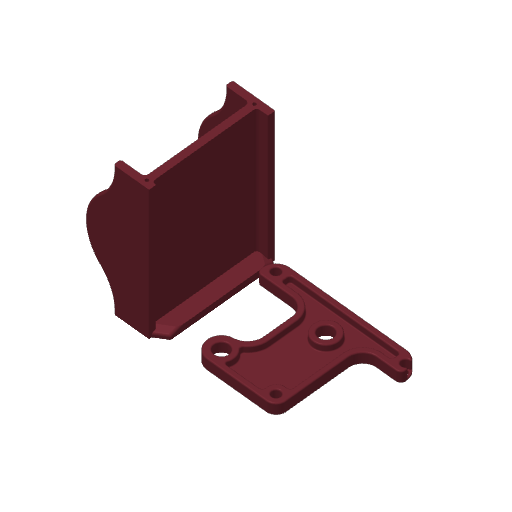
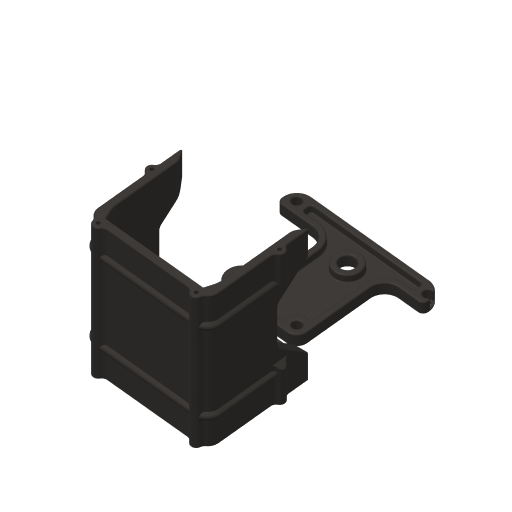
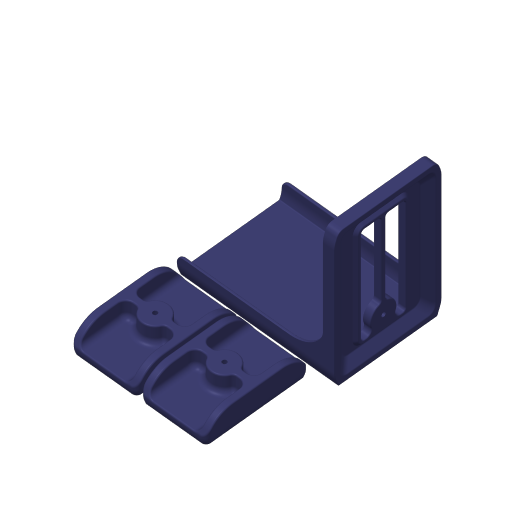
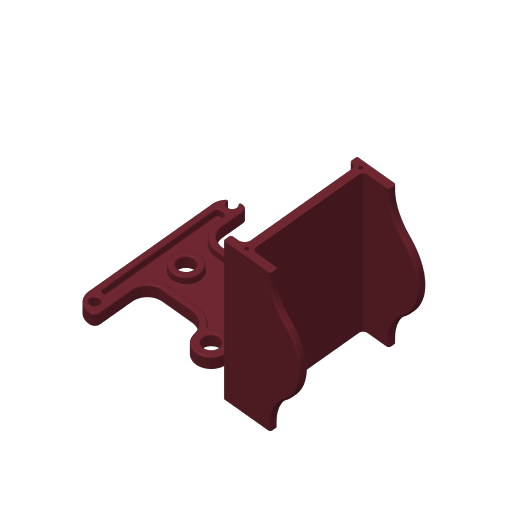
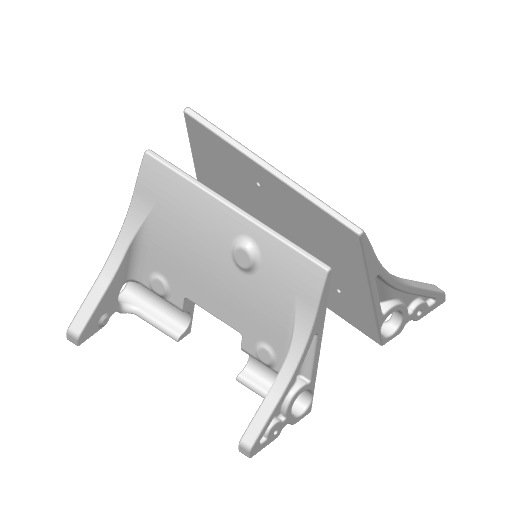
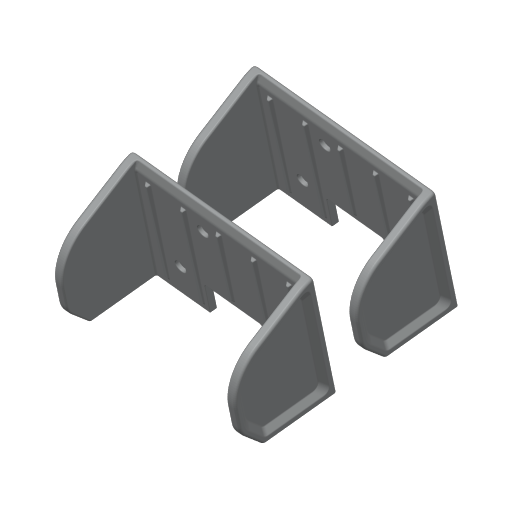
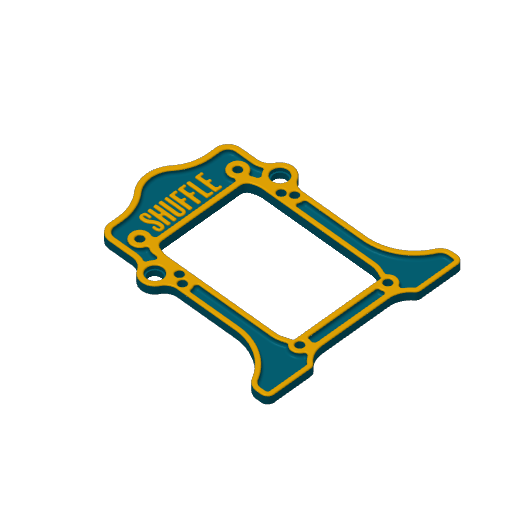
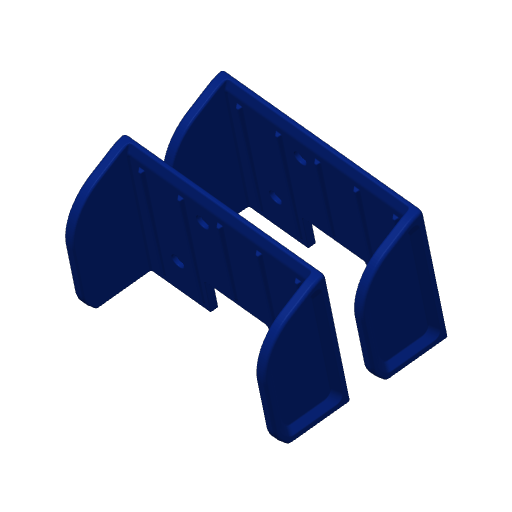
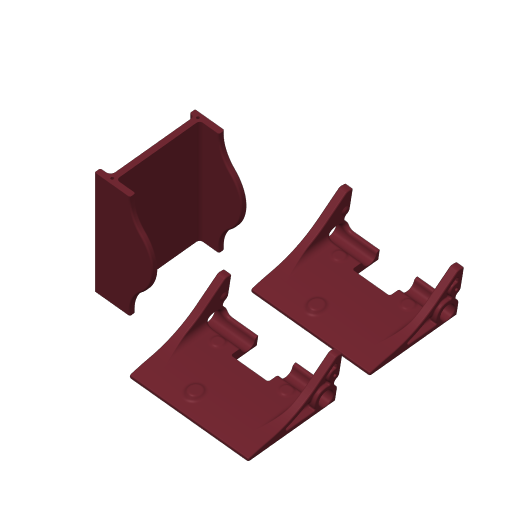
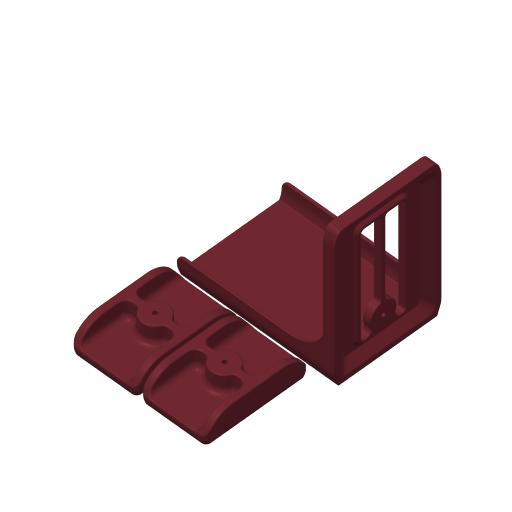
Plate 3 · CardHolder Brackets
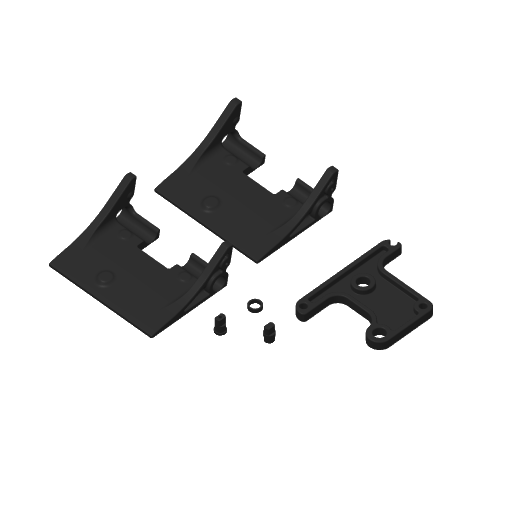
2h 1m 56 g PLA · 56 g
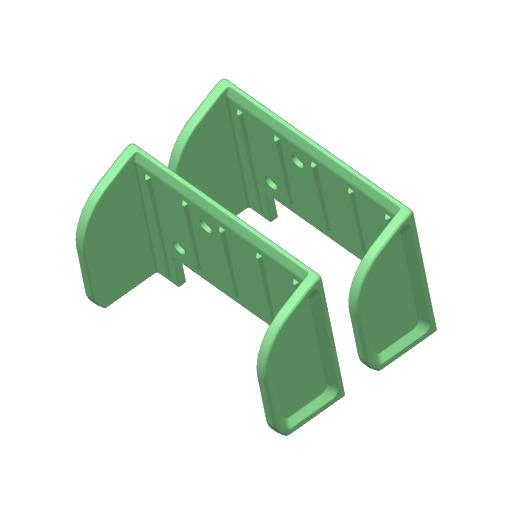
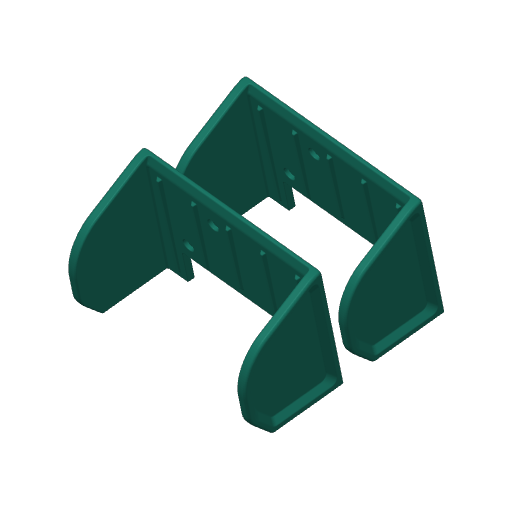
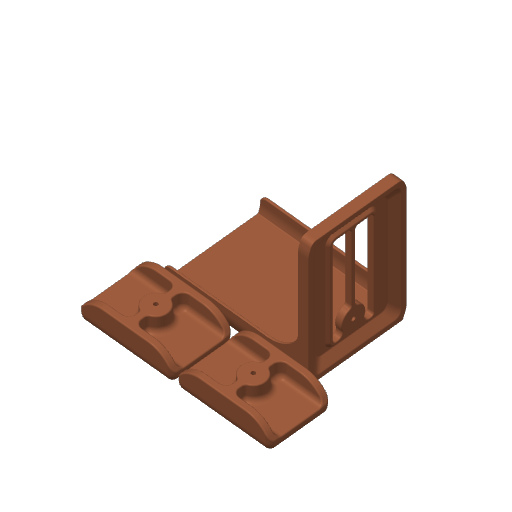
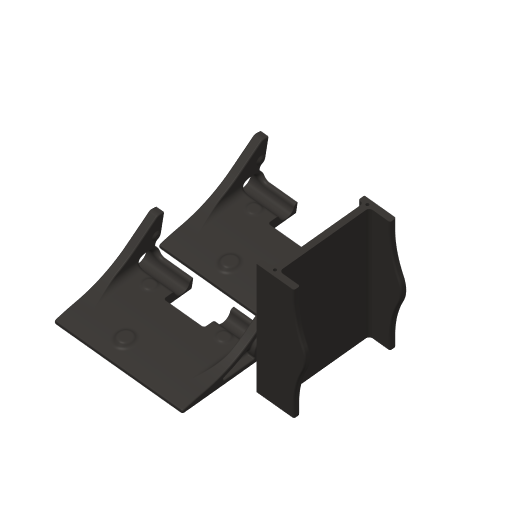
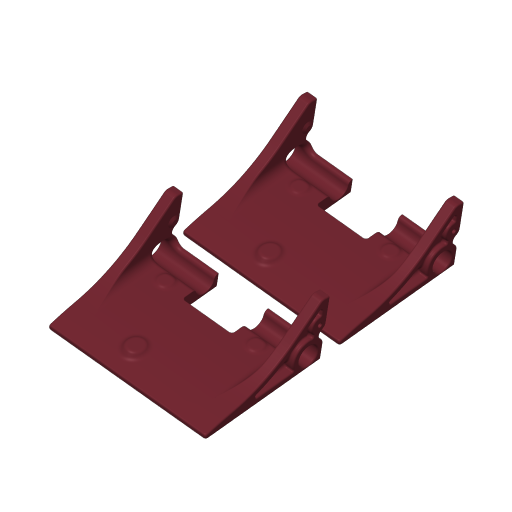
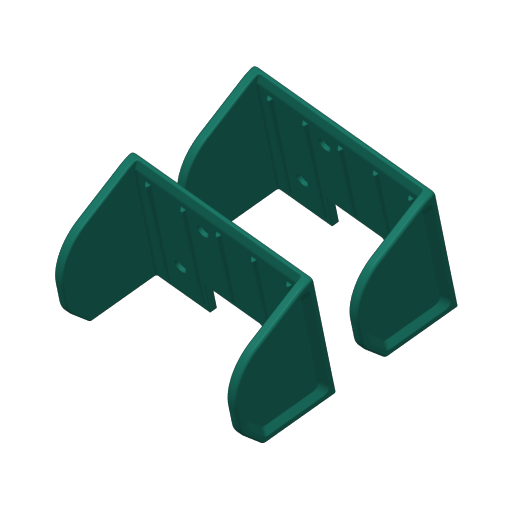
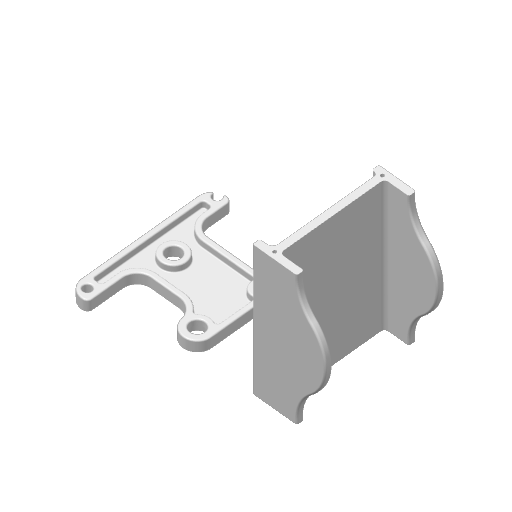
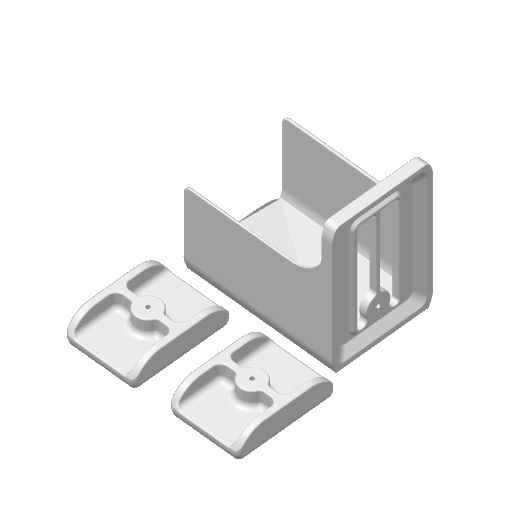
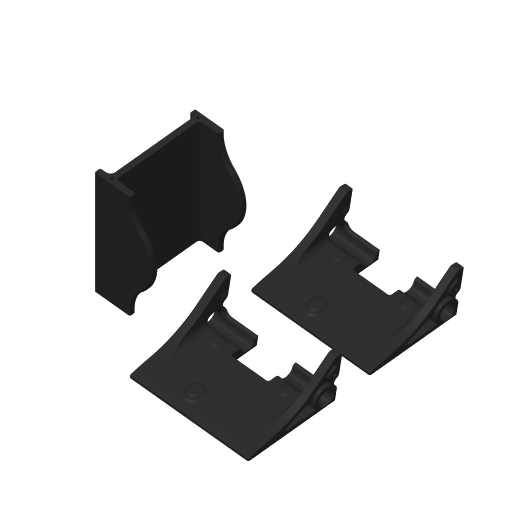
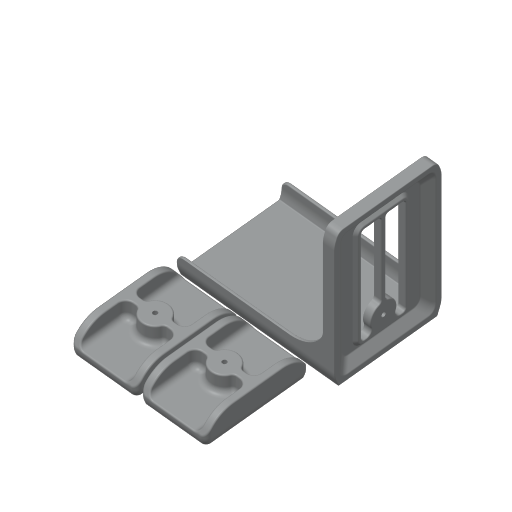
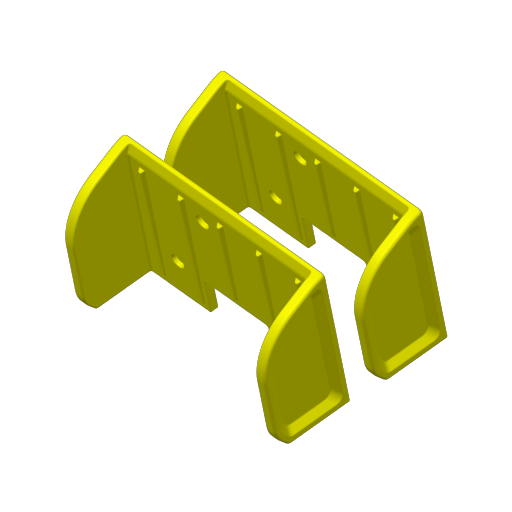
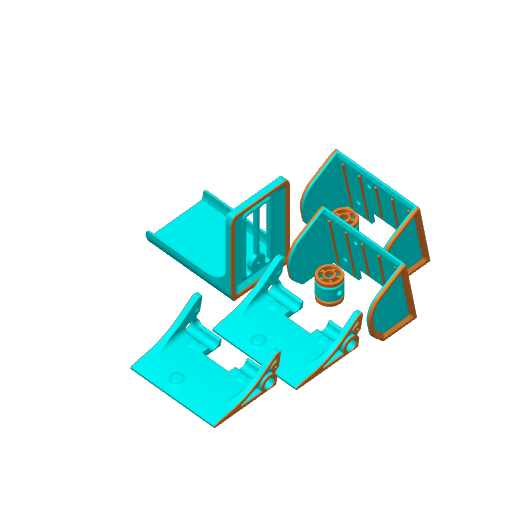
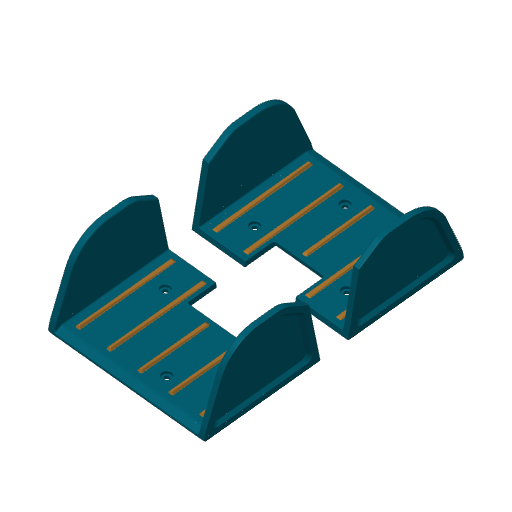
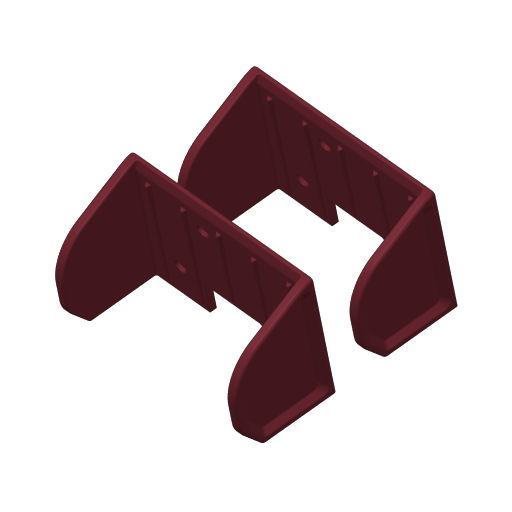
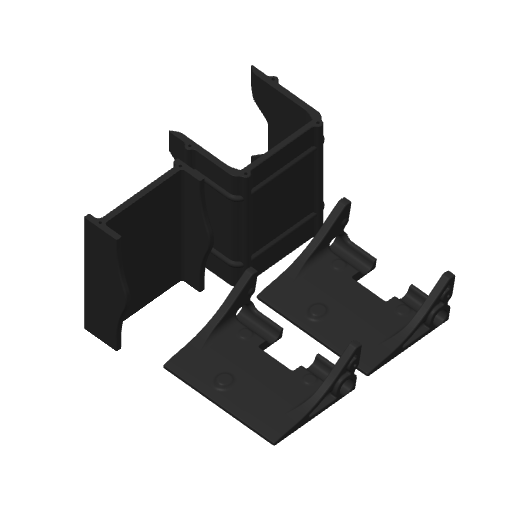
Plate 4 · Card Holders
2h 53m 76 g PLA · 76 g
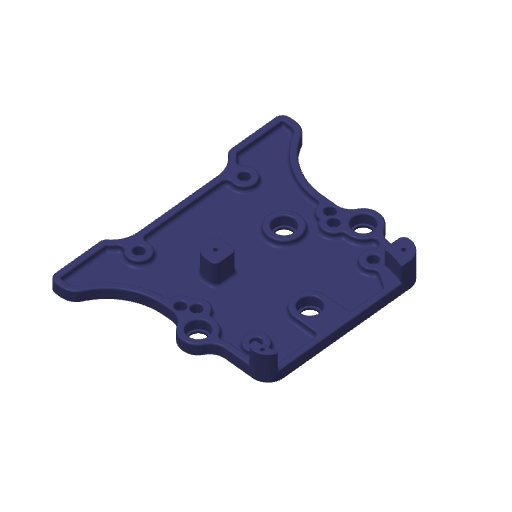
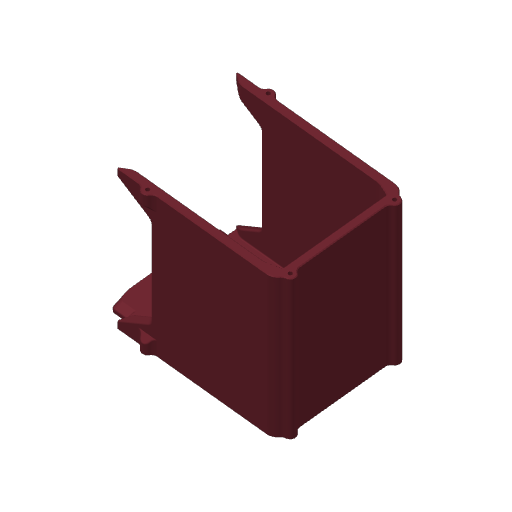
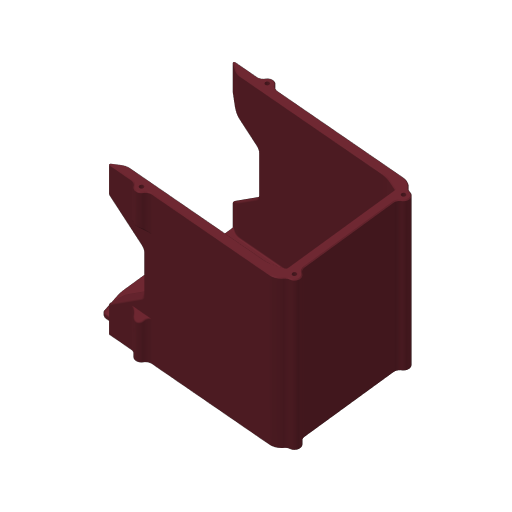
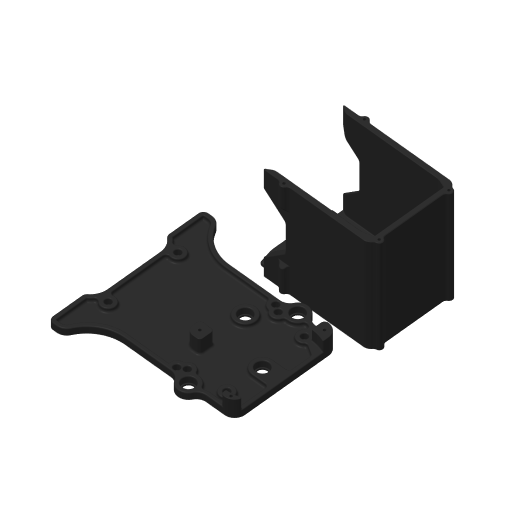
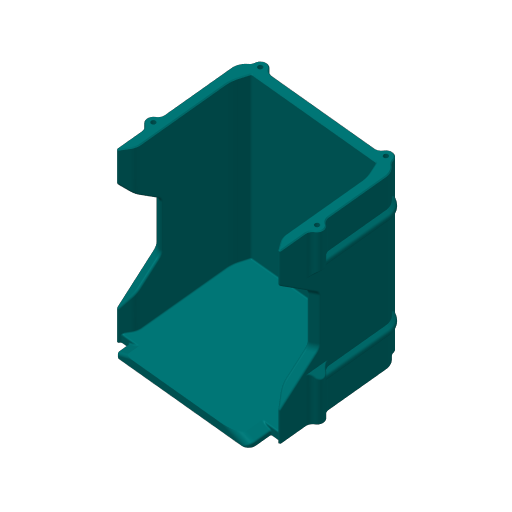
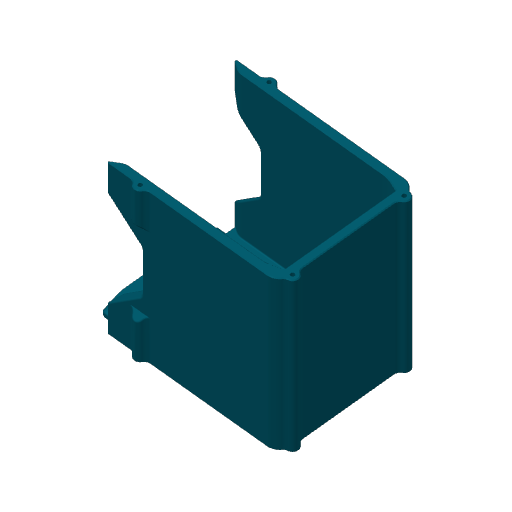
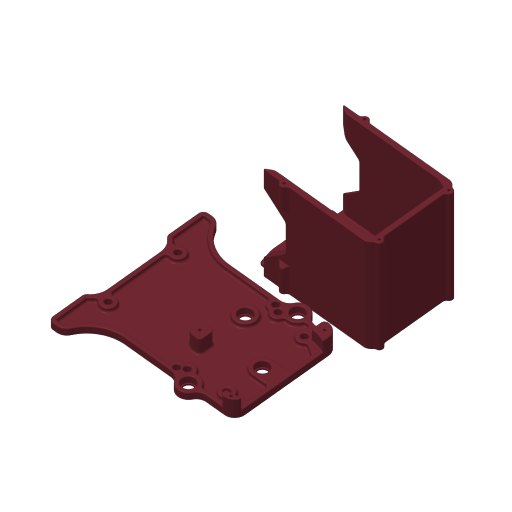
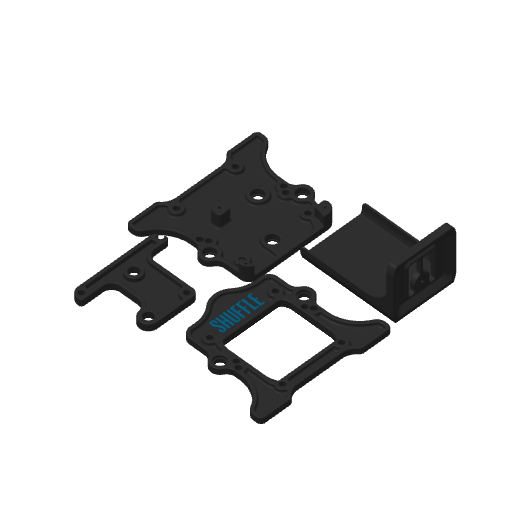
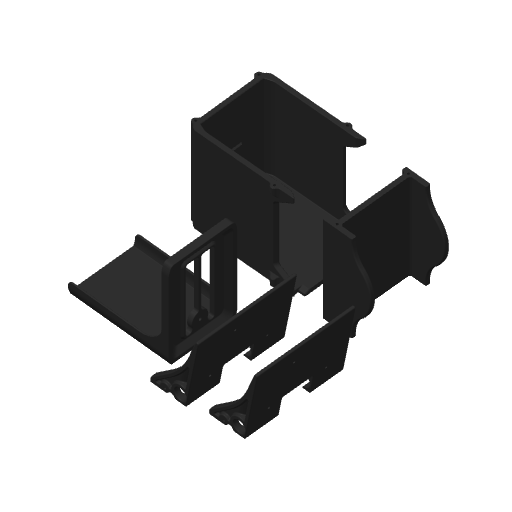
Plate 5 · Main Body
4h 39m 153 g PLA · 153 g
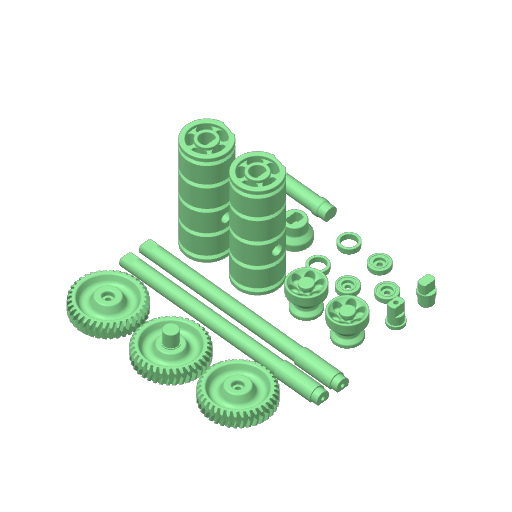
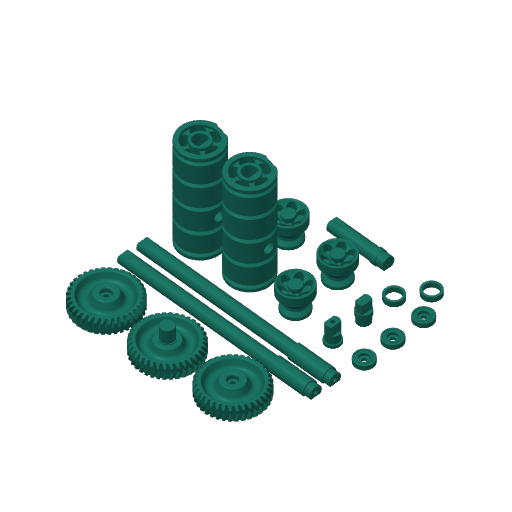
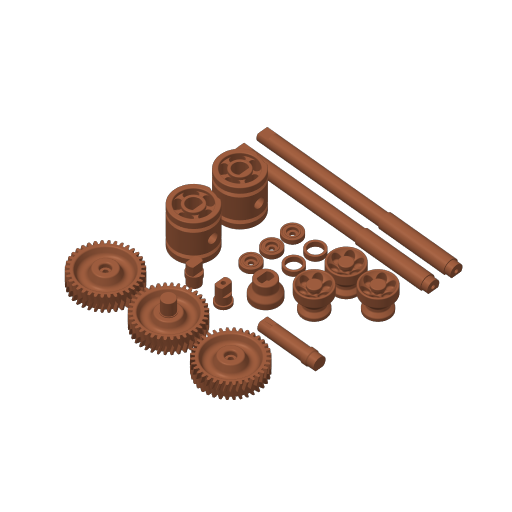
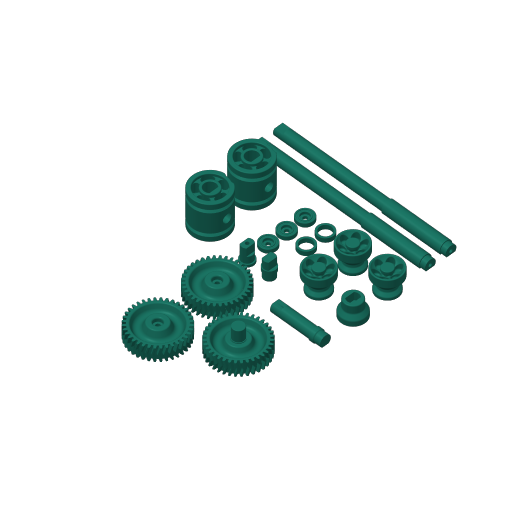
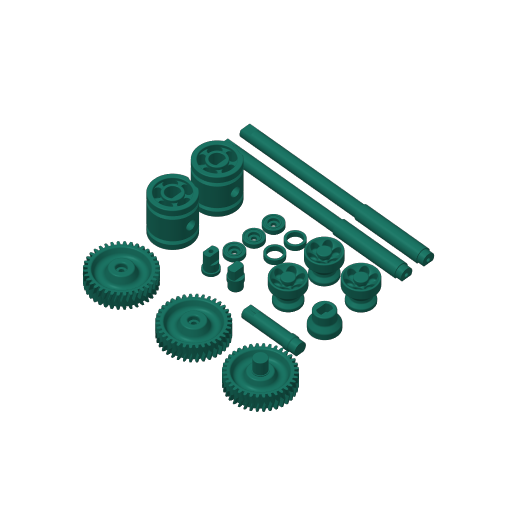
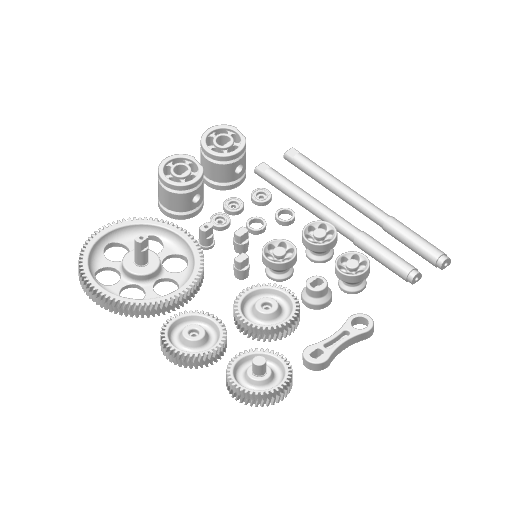
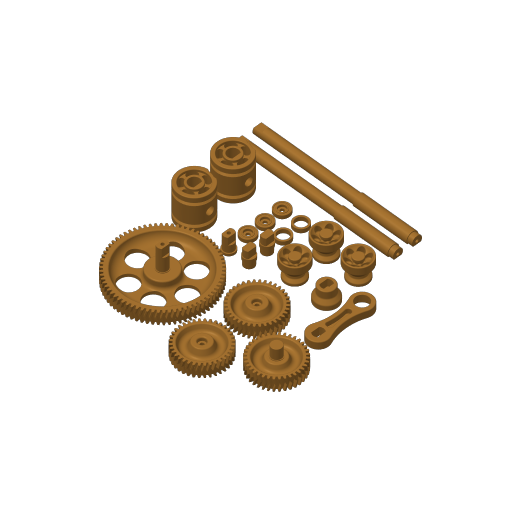
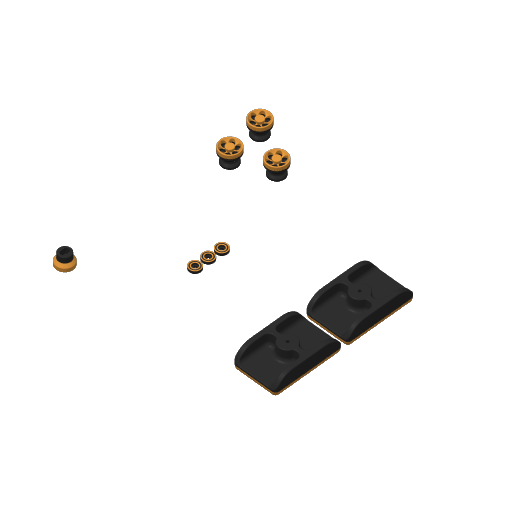
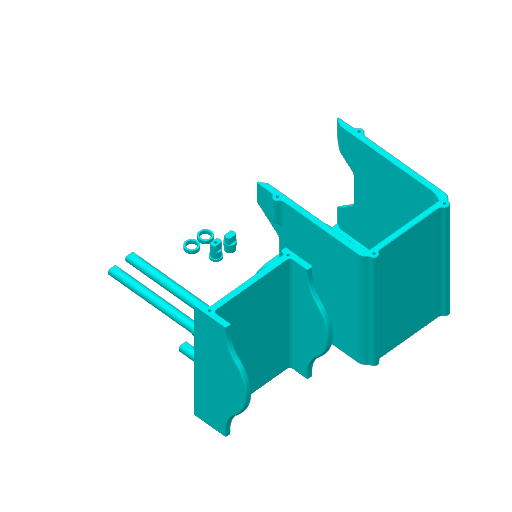
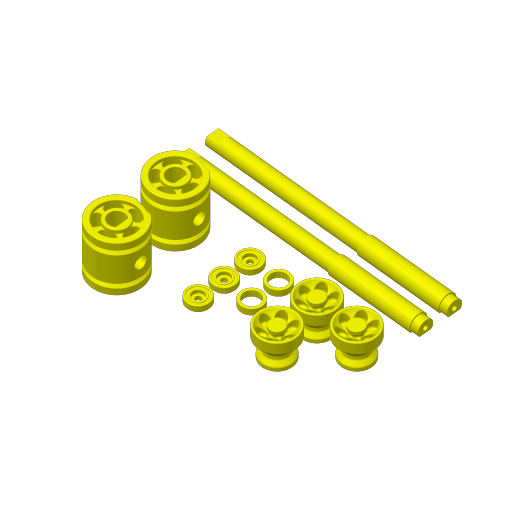
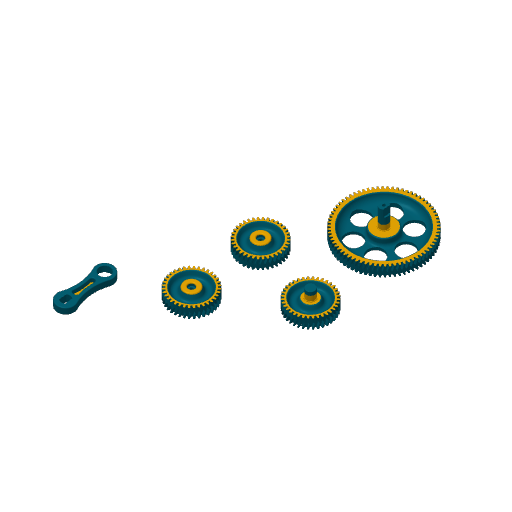
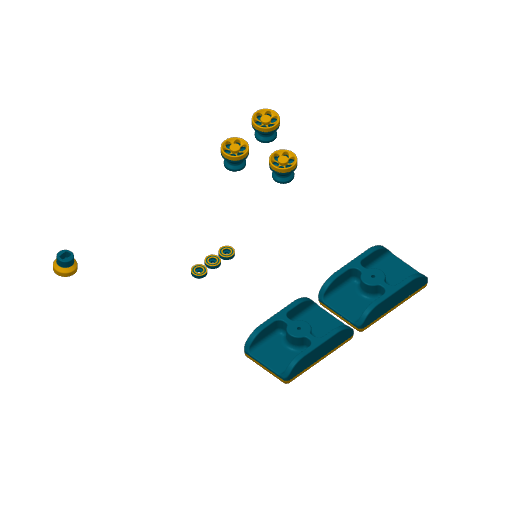
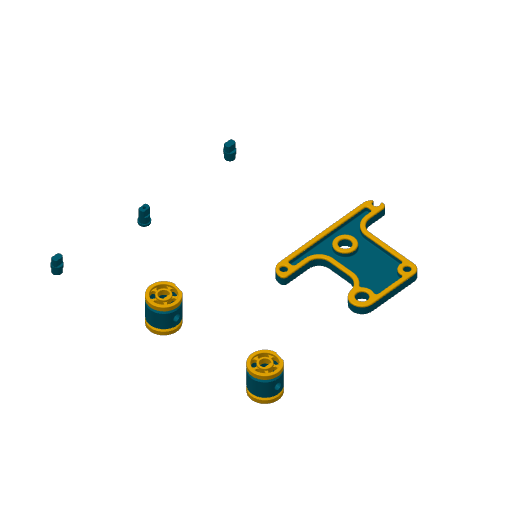
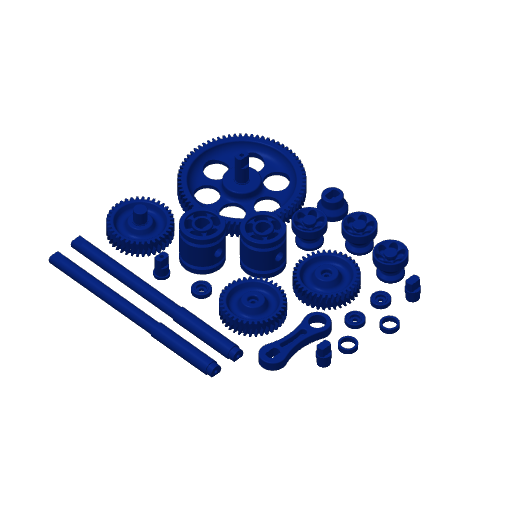
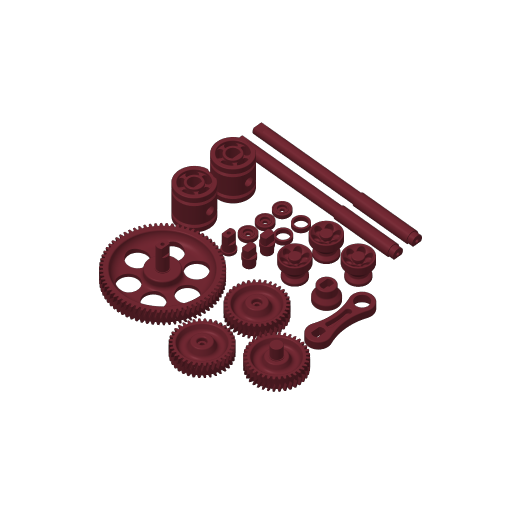
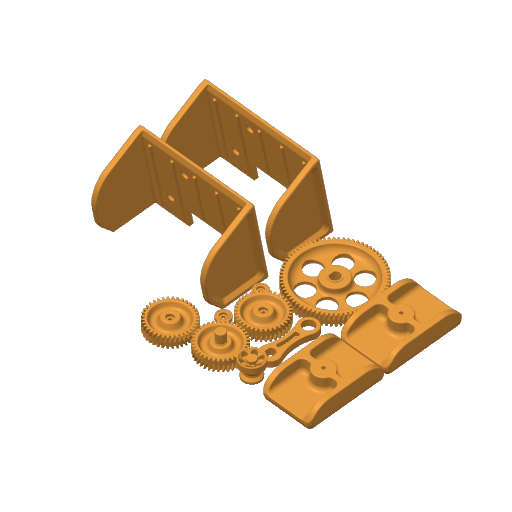
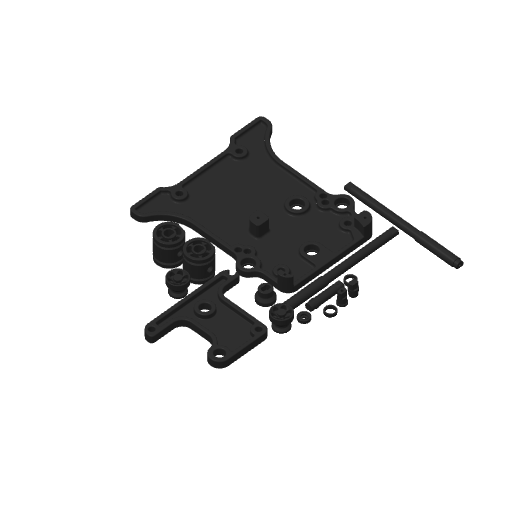
Plate 6 · Shafts, Spacers, Knobs, and End Caps
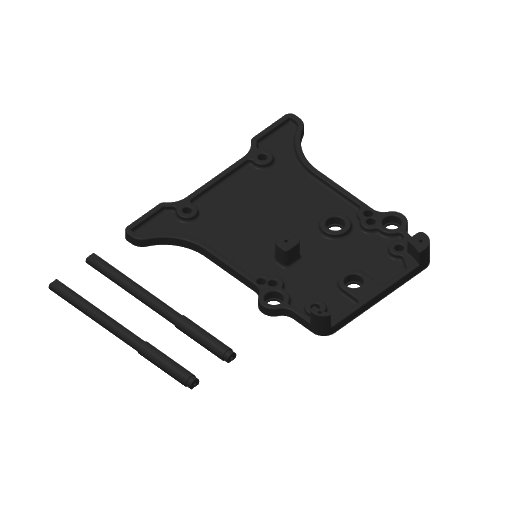
3h 48m 89 g PLA · 89 g
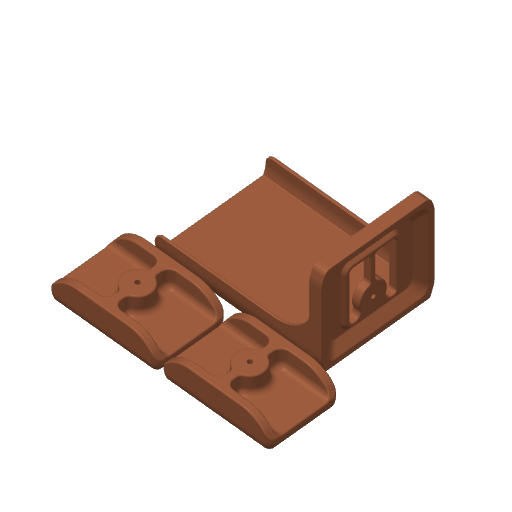
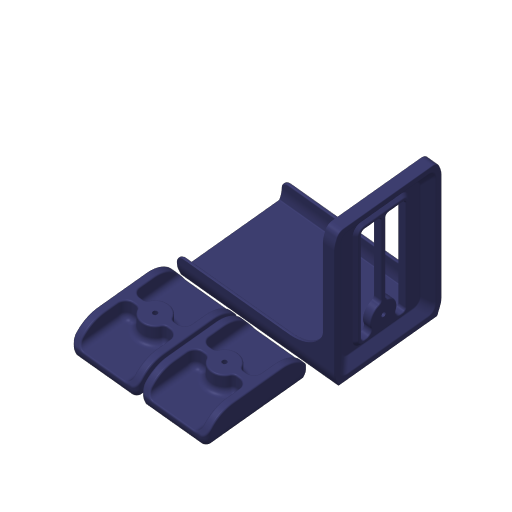
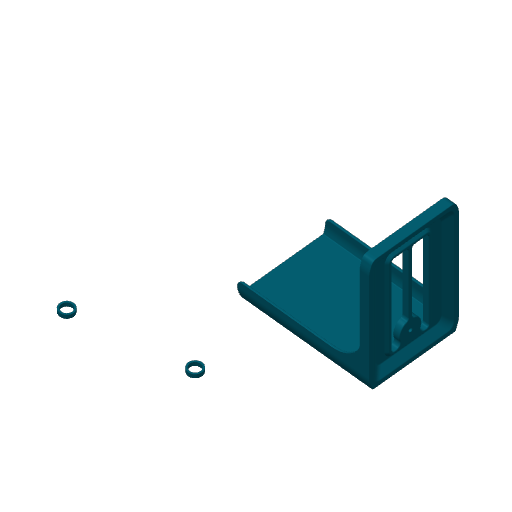
Plate 7 · Card Tray and Weights
2h 54m 115 g PLA · 115 g
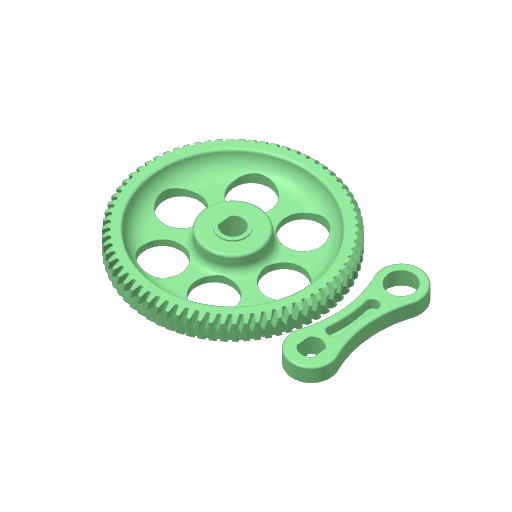
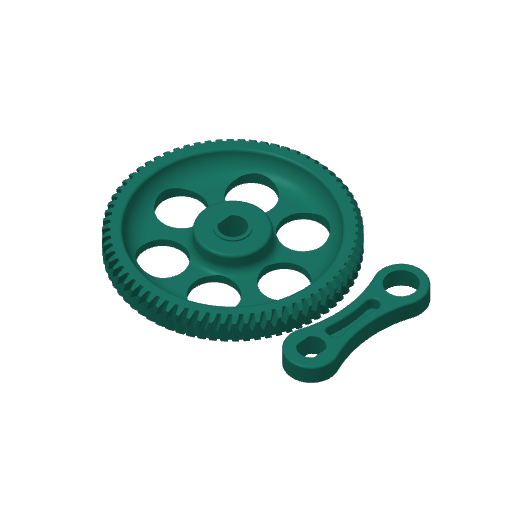
Plate 8 · Big Gear - Tight Tolerence (Choose one)
52m 19 g PLA · 19 g
Plate 9 · Big Gear - Medium Tolerence (Choose one)
52m 19 g PLA · 19 g
Plate 10 · Big Gear - Loose Tolerence (Choose one)
52m 19 g PLA · 19 g
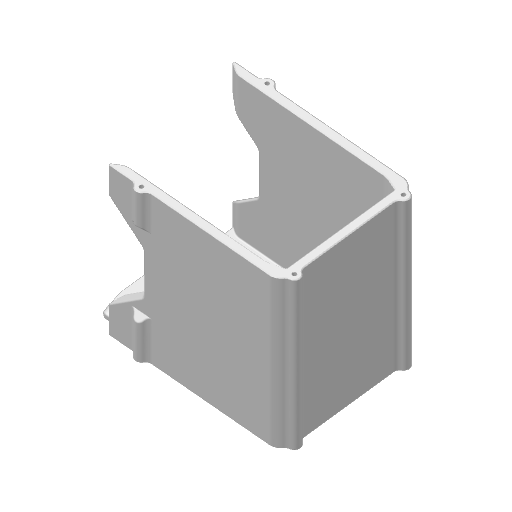
Card shuffler - Tall - Rev3
11 plates 25h 6m 725 g PLA
X1 Carbon, H2D, H2C, X1, P1P, P2S, X1E, P1S, A1, H2D Pro, H2S, X2D, A2L
Revision 2 of the card shuffler. Widens the drums and adds a little notch on the card holder to help keep it from sliding out as easily. Revision 3 of the card Shuffler. Tweaked tolerances for the bearings so they're easier to insert and work with. Gave a bevel to the edge of the gears to make them easier to insert too.
Plate Details (11)
0.4 mm nozzle, all plates
Plate 1 · Front
1h 45m 47 g PLA · 45 g PLA · 2 g
Plate 2 · Back
1h 59m 62 g PLA · 62 g
Plate 3 · CardHolder Brackets
2h 12m 59 g PLA · 59 g
Plate 4 · Card Holders
3h 2m 84 g PLA · 84 g
Plate 5 · Main Body
3h 43m 125 g PLA · 125 g
Plate 6 · Top Body & Back Plate
2h 45m 81 g PLA · 81 g
Plate 7 · Shafts, Spacers, Knobs, and End Caps
3h 46m 88 g PLA · 88 g
Plate 8 · Card Tray and Weights
3h 17m 122 g PLA · 122 g
Plate 9 · Big Gear - Tight Tolerence (Choose one)
52m 19 g PLA · 19 g
Plate 10 · Big Gear - Medium Tolerence (Choose one)
52m 19 g PLA · 19 g
Plate 11 · Big Gear - Loose Tolerence (Choose one)
52m 19 g PLA · 19 g
X1/A1/P1 - (Old/OG)
8 plates 21h 44m 671 g PLA
X1 Carbon, P1S, H2C, A1, X1, P1P, H2S, P2S, H2D, H2D Pro, X1E, X2D, A2L
(This Print profile is now outdated, but left for preservation, for those that might need it) Some parts like the shafts and the card weights are set to have 100% infill
Plate Details (8)
0.4 mm nozzle, all plates
Plate 1 · Ends
3h 18m 108 g PLA · 106 g PLA · 2 g
Plate 2 · CardHolders
2h 56m 81 g PLA · 81 g
Plate 3 · Body and CardHolderBrackets
6h 29m 215 g PLA · 215 g
Plate 4 · Card Tray and Card Weights
2h 52m 121 g PLA · 121 g
Plate 5 · Shafts, Spacers, Knobs, and End Caps
2h 54m 68 g PLA · 68 g
Plate 6 · Big Gear - Tight Tolerence (Choose one)
1h 5m 26 g PLA · 26 g
Plate 7 · Big Gear - Medium Tolerence (Choose one)
1h 5m 26 g PLA · 26 g
Plate 8 · Big Gear - Loose Tolerence (Choose one)
1h 5m 26 g PLA · 26 g
A1 Mini - (Old/OG)
10 plates 24h 50m 667 g PLA
A1 mini, H2C, A1, P1P, H2S, X1 Carbon, P2S, P1S, H2D Pro, X1E, H2D, X1, X2D, A2L
(This Print profile is now outdated, but left for preservation, for those that might need it) Some parts like the shafts and the card weights are set to have 100% infill
Plate Details (10)
0.4 mm nozzle, all plates
Plate 1 · Ends - Front
1h 32m 40 g PLA · 38 g PLA · 2 g
Plate 2 · Ends - Back
1h 38m 49 g PLA · 49 g
Plate 3 · Body and Gear Bracket
3h 36m 111 g PLA · 111 g
Plate 4 · CardHolders and Body
4h 28m 122 g PLA · 122 g
Plate 5 · Shafts, Spacers, Knobs, and End Caps
3h 11m 68 g PLA · 68 g
Plate 6 · Card Holders
3h 32m 81 g PLA · 81 g
Plate 7 · Card Trays and Card Weights
3h 22m 121 g PLA · 121 g
Plate 8 · Big Gear - Tight Tolerence (Choose one)
1h 10m 25 g PLA · 25 g
Plate 9 · Big Gear - Medium Tolerence (Choose one)
1h 10m 25 g PLA · 25 g
Plate 10 · Big Gear - Loose Tolerence (Choose one)
1h 11m 25 g PLA · 25 g
Tall - A1/P1/X1 - (Old/OG)
9 plates 25h 8m 736 g PLA
X1 Carbon, X1E, X1, H2D Pro, P1S, A1, H2D, H2C, H2S, P2S, P1P, X2D, A2L
(This Print profile is now outdated, but left for preservation, for those that might need it)
Plate Details (9)
0.4 mm nozzle, all plates
Plate 1 · Front End and Gear Bracket
2h 18m 65 g PLA · 63 g PLA · 2 g
Plate 2 · Back End and Card Bay
5h 47m 192 g PLA · 192 g
Plate 3 · Top and Card Holder Brackets
4h 30m 128 g PLA · 128 g
Plate 4 · CardHolders
3h 7m 89 g PLA · 89 g
Plate 5 · Gears, Shafts, Spacers, Knobs, and End Caps
2h 54m 68 g PLA · 68 g
Plate 6 · Card Tray and Card Weights
3h 17m 116 g PLA · 116 g
Plate 7 · Big Gear - Tight Tolerence (Choose one)
1h 5m 26 g PLA · 26 g
Plate 8 · Big Gear - Medium Tolerence (Choose one)
1h 5m 26 g PLA · 26 g
Plate 9 · Big Gear - Loose Tolerence (Choose one)
1h 5m 26 g PLA · 26 g
Tall - A1 Mini - (Old/OG)
11 plates 28h 21m 735 g PLA
A1 mini, H2D, X1 Carbon, A1, H2S, H2C, P1P, X1E, P2S, P1S, X1, H2D Pro, X2D, A2L
(This Print profile is now outdated, but left for preservation, for those that might need it)
Plate Details (11)
0.4 mm nozzle, all plates
Plate 1 · Front End and Gear Bracket
1h 48m 46 g PLA · 44 g PLA · 2 g
Plate 2 · Back End and Card Bay
2h 6m 62 g PLA · 62 g
Plate 3 · Top and Card Holder Brackets
2h 35m 65 g PLA · 65 g
Plate 4 · CardHolders
4h 26m 131 g PLA · 131 g
Plate 5 · Gears, Shafts, Spacers, Knobs, and End Caps
3h 16m 83 g PLA · 83 g
Plate 6 · Card Tray and Card Weights
3h 11m 68 g PLA · 68 g
Plate 7
3h 32m 89 g PLA · 89 g
Plate 8
3h 55m 116 g PLA · 116 g
Plate 9 · Big Gear - Tight Tolerence (Choose one)
1h 10m 25 g PLA · 25 g
Plate 10 · Big Gear - Medium Tolerence (Choose one)
1h 10m 25 g PLA · 25 g
Plate 11 · Big Gear - Loose Tolerence (Choose one)
1h 10m 25 g PLA · 25 g
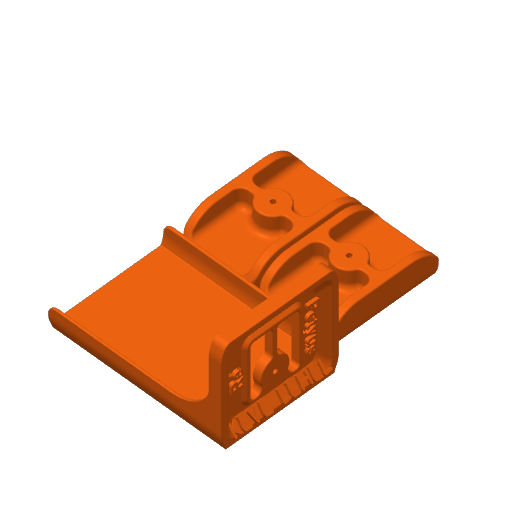
Larger Card Tray/Weight For MTG EDH Decks
8 plates 27h 59m 578 g PLA
A1 mini, X1, P2S, H2C, H2D, H2D Pro, X1E, P1S, P1P, A1, H2S, X1 Carbon, X2D, A2L
Made some adjustments to the size of the tray and weights to fit MTG decks and better fit the weight tray to the top. Changed some supports to better print the screw holes on the wings. Also added adaptive layer height for a smooth print.
Plate Details (8)
0.4 mm nozzle, all plates
Plate 1
1h 32m 38 g PLA · 38 g
Plate 2
1h 58m 57 g PLA · 57 g
Plate 3
4h 3m 64 g PLA · 64 g
Plate 4
2h 49m 64 g PLA · 64 g
Plate 5
4h 9m 107 g PLA · 107 g
Plate 6
4h 42m 71 g PLA · 71 g
Plate 7
3h 42m 74 g PLA · 74 g
Plate 8
5h 3m 103 g PLA · 103 g
TALL 3 colors (AMS), 0.2mm layer, 3 walls, 10% infill
6 plates 25h 50m 685 g PLA
X1 Carbon, P2S, H2S, A1, H2D Pro, X1E, P1P, H2C, X1, H2D, P1S, X2D, A2L
Not much changed with the designers TALL version, just changed the colors to my taste. It's here to enjoy, I love the model. Would recommend using some kind of lubricant on the gears due to friction. I added white grease and it works smoothly!
Plate Details (6)
0.4 mm nozzle, all plates
Plate 1 · Front End and Gear Bracket
2h 28m 65 g PLA · 62 g PLA · 3 g
Plate 2 · Back End and Card Bay
6h 15m 189 g PLA · 189 g
Plate 3 · Top and Card Holder Brackets
4h 54m 128 g PLA · 128 g
Plate 4 · CardHolders
3h 34m 89 g PLA · 89 g
Plate 5 · Gears, Shafts, Spacers, Knobs, and End Caps
4h 15m 93 g PLA · 93 g
Plate 6 · Card Tray and Card Weights
4h 24m 121 g PLA · 121 g
Perfect on A1 - No "Shuffle" word - Silk+ & PLA Matte
6 plates 23h 14m 622 g PLA
A1, H2D, H2S, H2C, P2S, H2D Pro, X2D, A2L
Perfect result on A1, printed in Bambu Lab PLA Silk+ Baby Blue, PLA Matte Ash Gray and PLA Matte Black. Compared to the original file: • “Shuffle” word is removed, • Bottom surface pattern: monotonic line, • Reduced outer wall speed to 50 mm/s on all Silk+ parts to improve the gloss effect of the filament, • Added Outer brim with brim width 8mm on all Silk+ parts to fix print failures, • Most parts are using Adaptive cubic infill pattern to lower a bit the filament usage and slightly diminish the print time, • Ditched one gear part which is not necessary to build the card shuffler (noticed it as a leftover when building my own even if I rechecked 3 times the instructions. The shuffler is working perfectly). I kept the 0,2mm layer and 3 walls as those are giving great results. Same for the shafts, spacers, knobs, end caps and gears where I kept the cross hatch infill pattern.
Plate Details (6)
0.4 mm nozzle, all plates
Plate 1 · Ends
3h 16m 108 g PLA · 108 g
Plate 2 · CardHolders
4h 15m 80 g PLA · 80 g
Plate 3 · Body and CardHolderBrackets
7h 4m 219 g PLA · 219 g
Plate 4 · Card Tray and Card Weights
4h 9m 116 g PLA · 116 g
Plate 5 · Shafts, Spacers, Knobs, and End Caps
1h 57m 44 g PLA · 44 g
Plate 6 · Gears
2h 34m 55 g PLA · 55 g
Dual color parts 0.2mm layer, 3 walls, 10% infill
6 plates 25h 28m 686 g PLA
P1S, P1P, X1, X1 Carbon, X1E
Plate Details (6)
0.4 mm nozzle, all plates
Plate 1 · Front End and Gear Bracket
6h 15m 135 g PLA · 135 g
Plate 2 · Back End and Card Bay
8h 29m 255 g PLA · 255 g
Plate 3 · Top and Card Holder Brackets
3h 13m 86 g PLA · 86 g
Plate 4 · CardHolders
2h 26m 75 g PLA · 75 g
Plate 5 · Gears, Shafts, Spacers, Knobs, and End Caps
1h 49m 47 g PLA · 9 g PLA · 38 g
Plate 6
3h 16m 88 g PLA · 35 g PLA · 53 g
Print profile to "MAKE IT ELECTRIC"
9 plates 21h 10m 573 g PLA
A1 mini, A1, X1, H2D Pro, X1 Carbon, H2C, P1P, H2D, H2S, X1E, P1S, P2S, X2D, A2L
Many people ask me what to print and what not to print to make it electric right away . Here is a print profile that clarifies! P.S. You will only have to print the "ELECTRIC UPGRADE" part here: https://makerworld.com/en/models/688458 ------------------------------------------ List of materials to purchase: • 1x Card Shuffler KIT • 1x TT Motor LA001 • 1x Fan speed IA002 ------------------------------------------ For assembly follow the official guide and the electrical upgrade part. The speed controller IS MANDATORY! Enjoy TheMiguelBi
Plate Details (9)
0.4 mm nozzle, all plates
Plate 1 · Body
3h 10m 93 g PLA · 93 g
Plate 2 · CardHolders
3h 24m 81 g PLA · 81 g
Plate 3 · CardHolderBrackets
1h 26m 33 g PLA · 33 g
Plate 4 · Card Tray and Card Weights
4h 29m 153 g PLA · 153 g
Plate 5 · Shafts, Spacers, Knobs, and Gears
1h 44m 31 g PLA · 31 g
Plate 6 · CardHolderBrackets
1h 26m 33 g PLA · 33 g
Plate 7 · Ends
1h 40m 49 g PLA · 49 g
Plate 8 · Ends
1h 33m 41 g PLA · 38 g PLA · 3 g
Plate 9 · Body
2h 20m 59 g PLA · 59 g
H2D, 2 Color, tall version, 0.2mm layer, 3 walls, 10% infill
3 plates 29h 46m 788 g PLA
H2D, H2D Pro, H2C, H2S
I used the print profile from @Finest_static as a baseline. And did the following changes: • Moved the parts to less build plates • Adapted the Card bay to be multi color • removed the split up side trays • copied the side trays from the original and colored it • changed the print orientation of the side trays to print like the original • replaced the big wheel with the new split up one (medium tolerance)
Plate Details (3)
0.4 mm nozzle, all plates
Plate 1 · multi color 1
8h 52m 268 g PLA · 59 g PLA · 209 g
Plate 2 · single color
5h 59m 213 g PLA · 213 g
Plate 3 · multi color 2
14h 55m 307 g PLA · 90 g PLA · 217 g
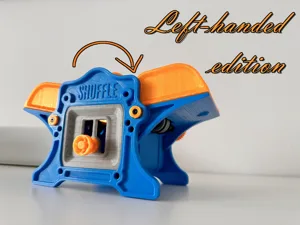
Left-handed edition !
8 plates 22h 26m 617 g PLA
A1 mini, H2D, X1 Carbon, A1, H2S, H2C, P1P, X1E, P2S, P1S, X1, H2D Pro, X2D, A2L
Left-handed edition (A1 mini and ALL Bambulab) The rotation of the crank is counterclockwise (opposite to the standard version). I gave this mixer to my nephew last week, I was surprised to hear him ask which side the crank should turn. In fact, right from the start he turned it in the opposite direction! My nephew is in fact left-handed! So this edition will satisfy all left-handed people!! Another option would be to make it electric. You can do it with this upgrade kit: https://makerworld.com/en/models/688458#profileId-721658 Please note: The left-handed version cannot be motorized with this kit. Happy printing to everyone!!
Plate Details (8)
0.4 mm nozzle, all plates
Plate 1 · End
1h 38m 49 g PLA · 49 g
Plate 2 · CardHolders
3h 21m 80 g PLA · 80 g
Plate 3 · CardHolderBrackets
2h 36m 66 g PLA · 66 g
Plate 4 · Card Tray and Card Weights
3h 21m 120 g PLA · 120 g
Plate 5 · Shafts, Spacers, Knobs, and End Caps
1h 53m 41 g PLA · 41 g
Plate 6 · Gears
2h 36m 52 g PLA · 52 g
Plate 7 · End
1h 31m 41 g PLA · 38 g PLA · 3 g
Plate 8 · End & Body
5h 30m 168 g PLA · 168 g
Tall version Multi colour 0.2mm layer, 3 walls, 10% infill
11 plates 30h 38m 777 g PLA
P1S, P1P, X1, X1 Carbon, X1E
Made a design with multicolor printing, its the tall version of the print.
Plate Details (11)
0.4 mm nozzle, all plates
Plate 1 · Front End and Gear Bracket
2h 46m 56 g PLA · 6 g PLA · 50 g
Plate 2 · Back End and Card Bay
3h 23m 131 g PLA · 131 g
Plate 3 · Top and Card Holder Brackets
2h 40m 81 g PLA · 4 g PLA · 77 g
Plate 4 · CardHolders
2h 29m 80 g PLA · 7 g PLA · 73 g
Plate 5 · Gears, Shafts, Spacers, Knobs, and End Caps
1h 39m 47 g PLA · 7 g PLA · 40 g
Plate 6
2h 58m 87 g PLA · 34 g PLA · 53 g
Plate 7
1h 40m 48 g PLA · 48 g
Plate 8
1h 51m 40 g PLA · 11 g PLA · 29 g
Plate 9
2h 1m 64 g PLA · 64 g
Plate 10
8h 46m 137 g PLA · 54 g PLA · 83 g
Plate 11
25m 6 g PLA · 6 g
0.2mm layer, 2 walls, 15% infill
5 plates 15h 54m 561 g PLA
P1S, H2C, H2S, P2S, H2D Pro, H2D, X2D, A2L
Plate Details (5)
0.4 mm nozzle, all plates
Plate 1 · Ends
2h 52m 99 g PLA · 97 g PLA · 2 g
Plate 2 · CardHolders
1h 52m 67 g PLA · 67 g
Plate 3 · Body and CardHolderBrackets
5h 11m 187 g PLA · 187 g
Plate 4 · Card Tray and Card Weights
2h 30m 117 g PLA · 117 g
Plate 5 · Shafts, Spacers, Knobs, and End Caps
3h 29m 91 g PLA · 91 g
Adjustable Height MTG
1 plate 2h 26m 63 g PLA
X1 Carbon, H2C, A1, P1P, H2S, A1 mini, P2S, P1S, H2D Pro, X1E, H2D, X1, X2D, A2L
Anpassung für die große Version da sich bei mir die Karten im Fach immer drehen. Die Version ist angepasst auf Magic the Gathering MTG für Commander Decks mit 100 Karten und jede “kleinere” Anzahl an Karten :D Modifiziertes Kartenfach, welches man in der Höhe anpassen kann. Benötigt wird ein Gewindeeinsatz M4 und eine M4x20 Senkkopfschraube. ## M4 Gewindeeinsatz* https://amzn.to/3Ghy6NS M4x20 Senkkopf* https://amzn.to/4jITWIE Bei den mit (*) gekennzeichneten Links handelt es sich um Amazon Affiliate Links. Wenn du über diese Links kaufst bekomme ich vom Verkäufer eine Provision. Der Preis für dich ändert sich dadurch nicht. Solltest du mit dem Gedanken spielen eines der von mir verwendeten Werkzeuge zu kaufen würde es mich freuen wenn du diese Links verwendest und so meinen Kanal unterstützt. Vielen Dank!
Plate Details (1)
0.4 mm nozzle, all plates
Plate 1
2h 26m 63 g PLA · 63 g
Customized with 4 names|0.16mm layer, 3 walls, 10% infill
5 plates 29h 42m 646 g PLA
A1, H2C, H2D, P2S, H2S, H2D Pro, X2D, A2L
Printed on A1 using filaments: Blue PLA from Bambu and Orange PLA from Sunlu. Customized with 4 texts in Bambu studio the side, and also the tray ;) So you can modify/customize to your names .
Plate Details (5)
0.4 mm nozzle, all plates
Plate 1 · Ends (w. Custom Text)
4h 56m 115 g PLA · 112 g PLA · 3 g
Plate 2 · CardHolders
4h 27m 84 g PLA · 84 g
Plate 3 · Body and CardHolderBrackets
10h 1m 232 g PLA · 232 g
Plate 4 · Card Tray and Card Weights
5h 119 g PLA · 119 g
Plate 5 · Shafts, Spacers, Knobs, End Caps & Gears
5h 18m 96 g PLA · 96 g
0.2mm layer, 3 walls, 10% infill - no AMS
6 plates 21h 31m 692 g PLA
X1 Carbon, H2D, A1, H2S, H2C, P1P, X1E, P2S, P1S, X1, H2D Pro, X2D, A2L
Tall shuffler without the AMS requirement if you dont have one, or would prefer to paint, otherwise unchanged
Plate Details (6)
0.4 mm nozzle, all plates
Plate 1 · Front End and Gear Bracket
1h 56m 63 g PLA · 63 g
Plate 2 · Back End and Card Bay
5h 2m 192 g PLA · 192 g
Plate 3 · Top and Card Holder Brackets
4h 14m 130 g PLA · 130 g
Plate 4 · CardHolders
3h 7m 90 g PLA · 90 g
Plate 5 · Gears, Shafts, Spacers, Knobs, and End Caps
3h 55m 94 g PLA · 94 g
Plate 6 · Card Tray and Card Weights
3h 17m 123 g PLA · 123 g
NO AMS, SW-Empire,0.2mm layer, 3 walls, 10% infill
1 plate 1h 40m 43 g PLA
A1, X1, P2S, H2C, H2D, H2D Pro, X1E, P1S, P1P, A1 mini, H2S, X1 Carbon, X2D, A2L
NO AMS Logo de l'empire dans Star Wars Bien faire une pause au début de la couche 24 Continuer le reste de l'impression du modèle de manière traditionnel
Plate Details (1)
0.4 mm nozzle, all plates
Plate 1 · For the Empire
1h 40m 43 g PLA · 43 g
Cardshuffler Speed, 3 Plates
3 plates 17h 23m 613 g PLA
A1, H2C, H2S, P2S, H2D Pro, H2D, X2D, A2L
Plate Details (3)
0.4 mm nozzle, all plates
Plate 1 · Ends
4h 2m 147 g PLA · 145 g PLA · 2 g
Plate 2 · Body and CardHolderBrackets
6h 8m 221 g PLA · 221 g
Plate 3 · Shafts, Spacers, Knobs, and End Caps
7h 14m 245 g PLA · 245 g
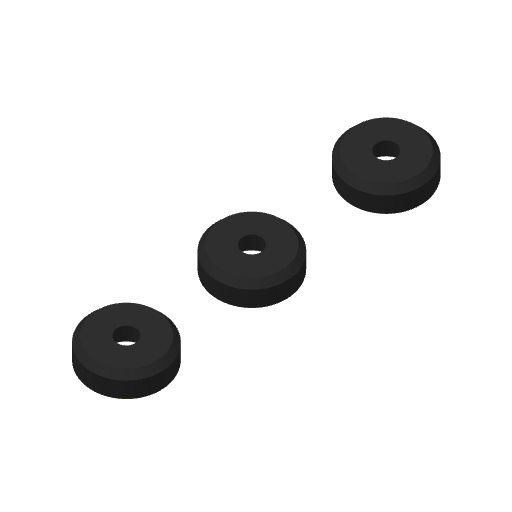
TPU O-Rings
2 plates 53m 5 g TPU
A1, P1S, H2C, A1 mini, X1 Carbon, X1, P1P, H2S, P2S, H2D, H2D Pro, X1E, X2D, A2L
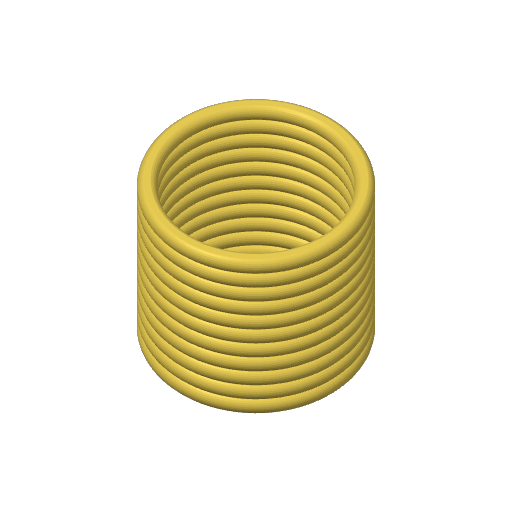
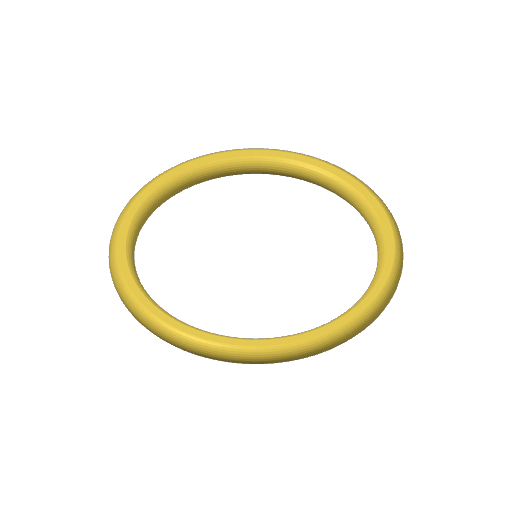
Set of 11 TPU Orings for Card Shuffler, stacked on eachother. If there are issues, there's also single piece included
Plate Details (2)
0.4 mm nozzle, all plates
Plate 1 · O-Ring 11pcs
43m 4 g TPU · 4 g
Plate 2 · O-Ring 1pcs
11m 1 g TPU · 1 g
X1/A1/P1 - Version 2/16/2025 - with 2 colors
7 plates 21h 31m 690 g PLA
P1S, P1P, X1, X1 Carbon, X1E
I used the basic model for X1/A1/P1 and updated it to the 2 color version. I've added the medium gauge variant to the normal plate, since this is recommended by the owner and fits perfectly in my case. But the other 2 variants are still there on optional plates.
Plate Details (7)
0.4 mm nozzle, all plates
Plate 1 · Back Plate, Drums, Shafts, Spacer, Bracket, Card Tray
4h 17m 148 g PLA · 148 g
Plate 2 · Card Holders, Gears, Crank Arm
4h 50m 129 g PLA · 129 g
Plate 3 · Housing
6h 24m 227 g PLA · 227 g
Plate 4 · Card Weights, End Caps, Handles
2h 24m 91 g PLA · 55 g PLA · 36 g
Plate 5 · Front Plate
1h 29m 45 g PLA · 37 g PLA · 8 g
Plate 6 · Big Gear - Tight Tolerence (Choose one)
1h 3m 25 g PLA · 25 g
Plate 7 · Big Gear - Loose Tolerence (Choose one)
1h 4m 25 g PLA · 25 g
Dual color w/ trim, new main parts, old rollers, 4 plates
4 plates 25h 3m 682 g PLA
P1S, A1, X1, H2D Pro, X1 Carbon, H2C, P1P, H2D, H2S, X1E, P2S, X2D, A2L
This has the new Main Card Bay and Card Tray with the ridge in it to keep the card tray in. Has original models Large Gear and Large Gear Peg and Handle. Solid color Knobs and Card Weights. 4 print plates.
Plate Details (4)
0.4 mm nozzle, all plates
Plate 1 · Front End and Gear Bracket
8h 40m 205 g PLA · 205 g
Plate 2 · Back End and Card Bay
10h 19m 309 g PLA · 309 g
Plate 3 · Top and Card Holder Brackets
4h 16m 121 g PLA · 121 g
Plate 4 · CardHolders
1h 49m 47 g PLA · 9 g PLA · 38 g
Assembled for painting (Not printable)
1 plate 64h 9m 1,388 g PLA
X1 Carbon, A1, X1, H2D Pro, H2C, P1P, H2D, H2S, X1E, P1S, P2S, X2D, A2L
I struggled a lot to find the right colors for this model so I created this assembly to have an easy click-and-color solution to simplify the design process. It is not intended for printing! I only used the main parts that are directly visible.
Plate Details (1)
0.4 mm nozzle, all plates
Plate 1 · Big Gear - Medium Tolerence (Choose one)
64h 9m 1,388 g PLA · 692 g PLA · 286 g PLA · 410 g
0.2mm layer, 3 walls, 10% infill
12 plates 41h 4m 978 g PLA
A1
V2 print for people with AMS trying to decrease print time as much as possible. You have to choose the big gear plate ( Tight medium or loose tolerance , i used medium) and Option #1 or #2 for the card holder for short or long print time.
Plate Details (12)
0.4 mm nozzle, all plates
Plate 1 · Roller
2h 33m 52 g PLA · 46 g PLA · 6 g
Plate 2 · Card Tray, Main and Top Body
6h 53m 237 g PLA · 237 g
Plate 3 · End Cap
14m 3 g PLA · 2 g PLA · 1 g
Plate 4 · Back End
2h 64 g PLA · 58 g PLA · 6 g
Plate 5 · Front & Back Plate
2h 29m 69 g PLA · 57 g PLA · 12 g
Plate 6 · Weights
2h 18m 76 g PLA · 53 g PLA · 23 g
Plate 7 · Shafts, Spacers, Knobs and Gears
2h 19m 42 g PLA · 42 g
Plate 8 · Card Hold. + Brakets (Option #1 4h45)
4h 46m 137 g PLA · 133 g PLA · 4 g
Plate 9 · Card Hold. + Brakets (Option #2 13h30)
14h 21m 241 g PLA · 149 g PLA · 92 g
Plate 10 · Big Gear - Tight Tolerence (Choose one)
1h 4m 19 g PLA · 19 g
Plate 11 · Big Gear - Medium Tolerence (Choose one)
1h 3m 19 g PLA · 19 g
Plate 12 · Big Gear - Loose Tolerence (Choose one)
1h 3m 19 g PLA · 19 g
As sliced by the designer. Your printer, filament, and settings may change these numbers.
Designer's Description

[Update]

There's an official motorized version/upgrade available now! Check it out at HERE . There's print profiles and instructions provided so if you want to upgrade your existing card shuffler. I tweaked a number of the tolerances throughout on the base model though, so I recommend printing it from scratch.

Yes! There's an update to the base model too. I updated the print profiles here for those that want the hand crank version still. I mainly tweaked the tolerances of the bearing openings so it's easier to insert them. I also added a bevel on the gears to make them easier to insert and they look a tad nicer too. Lastly, I opened the slits for the cards a little, to hopefully help with feeding issues where the cards might be a little bent and gave a little more tolerance around the rollers and the card trays/bay

[Introduction]

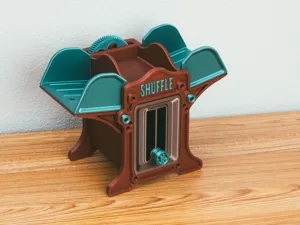
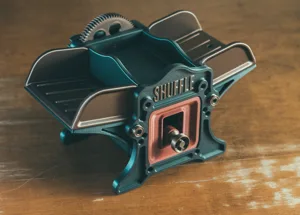
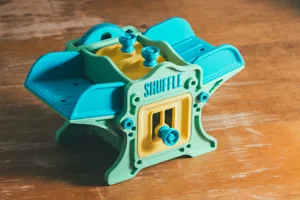
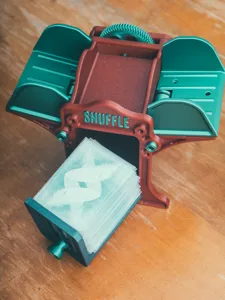
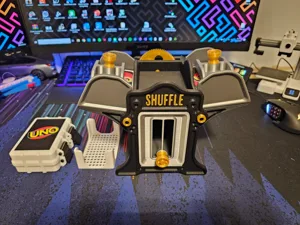
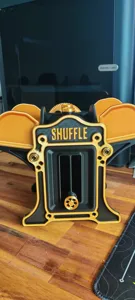
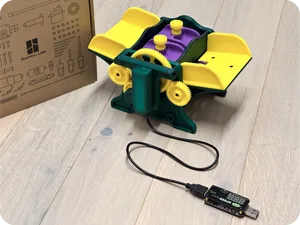
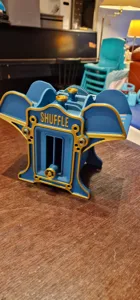
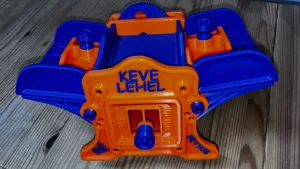
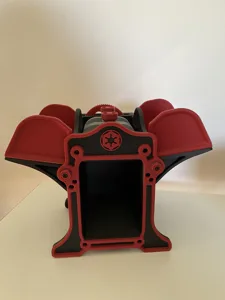
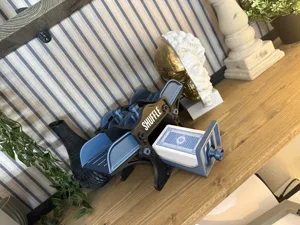
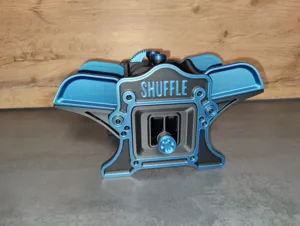
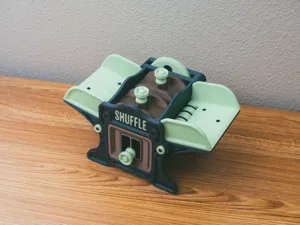
I haven't been to keen on the card shufflers available commercially, and feel most of the ones designed for 3d printing don't really elevate themselves to a consumer level product. Thus, this card shuffler was born. I wanted something stylistic, and not just functional. Inspired by old printing presses, with those cast iron frames. Although, it looks a bit like a boiler too, I'd say.

Sized for standard playing cards. (64x89mm + plus sleeves, or there abouts, is the max size card it'll shuffle). I sized the standard version to be able to shuffle a full skip-bo deck, which is 160 cards. It can do about 80 sleeved cards, in testing. The tall version can accommodate about 120 sleeved cards, 140 is about the maximum it can handle.

It's been running smoothly for me, especially since upgrading to O-rings. The grip on them is much better than the original TPU rollers. There are occasional jams that happen, when the cards don't fall right. I think as long as you aren't going too slow and keep a good pace, usually it's fine. Sometimes it helps to shift the whole thing back and fort slightly to shake the cards loose and get them to settle.

[Hardware Required]

(Full disclosure, I am part of the Bambu Affiliate Program. All Bambu store links are affiliate links. I earn a small commission from these links without any added cost to you. These links help to support me so I can bring more content for free!)

Featured Filaments

Bambu PLA Metallic Iron Gray

Bambu PLA Metallic Copper Brown

Bambu PETG-CF Brick Red

Bambu PLA Galaxy Nebula

Bambu PLA Glow Green

Bambu PLA Metallic Copper Brown

Bambu Matte Grass Green

Bambu Marine Blue

Bambu Lemon Yellow

Tall Version:

Bambu PLA Sparkle Crimson Red

Bambu PLA Metallic Oxide Green

Bambu PLA Galaxy Nebula

Notes about Printing

I highly recommend using a smooth PEI bed. ( It's not required, and you can absolutely print the whole thing on your bed of choice. I just highly recommend the Smooth PEI bed for PLA because it holds well, and for smaller parts with a thin profile on the bed, it tends to hold much better. Like the spacers I use in step 4.)

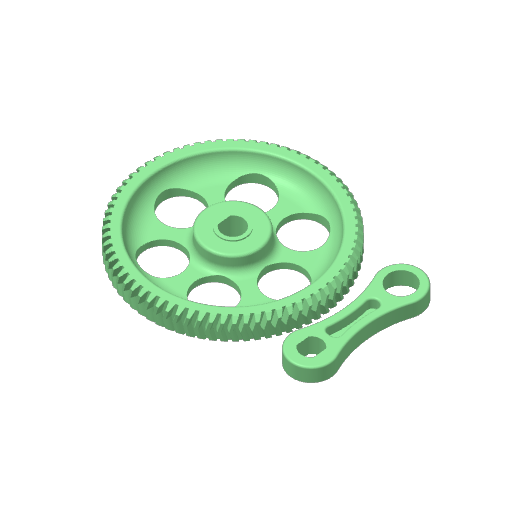
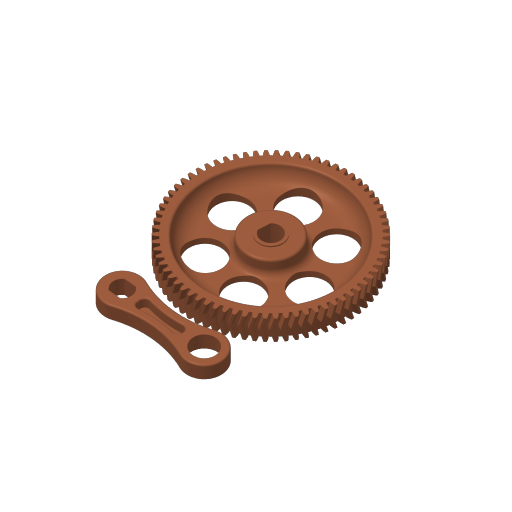
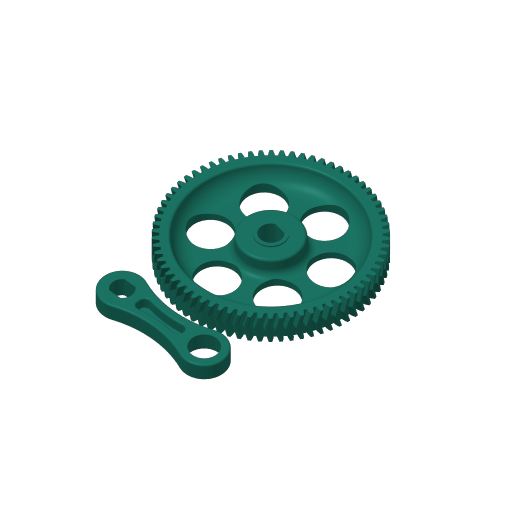
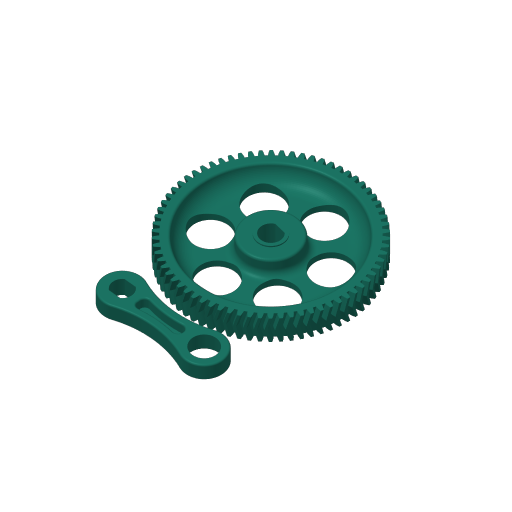
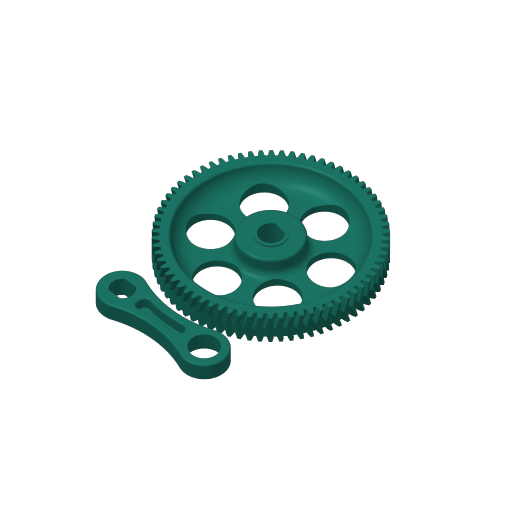
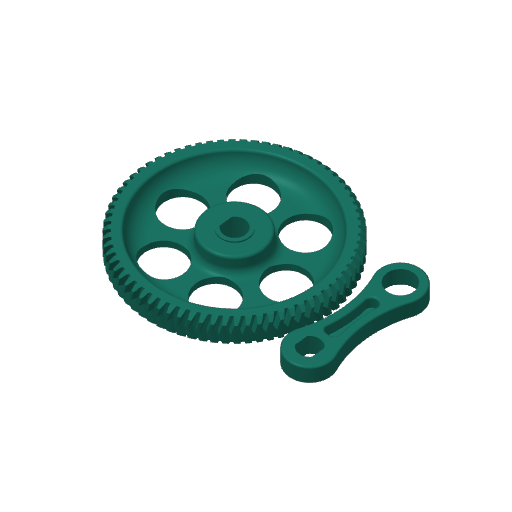
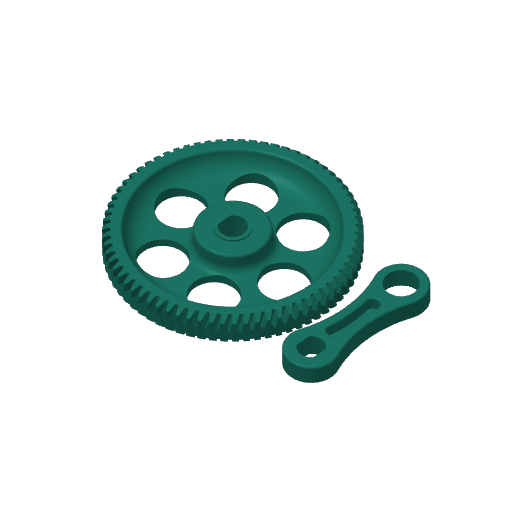
Since I changed how the main gear was assembled, there's been a few people reporting fit issues. The tolerances were tuned for my Bambu setup, but I realize differences can affect those tolerances, and so with that I've made 3 options for tolerances! There's a tight, medium, and loose. I'd recommend printing the Medium option, and seeing how it goes from there. I opted to give the tolerance on the gear and crank arm itself, so you can pick the tightest option for each one. I numbed them, so if you print a couple out you can keep track of which one is which.

Hardware Required :

(Full disclosure, I am part of the Amazon Affiliate Program. All amazon links are affiliate links. I earn a small commission from these links without any added cost to you. These links help to support me so I can bring more content for free!

I utilize Bambu's self tapping screws for this project, which I highly recommend. However, I'll provide some alternatives for screws you can purchase from amazon for those that would prefer)

  • 36x M2.6x8mm Self Tapping Screws (Bambu's BT2.6x8mm self tapping screws) (I recommend the Bambu screws , although something like this from Amazon US I've tested and will work.)
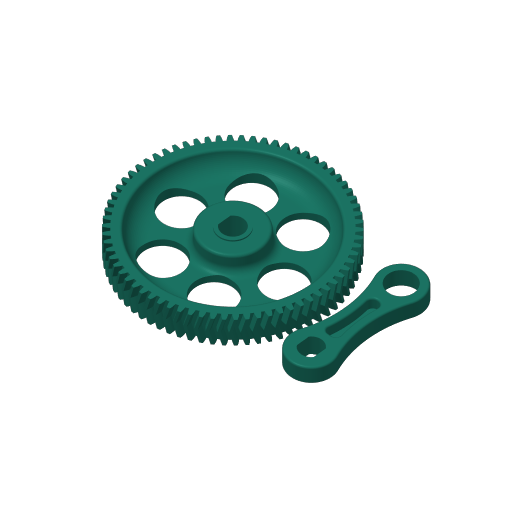
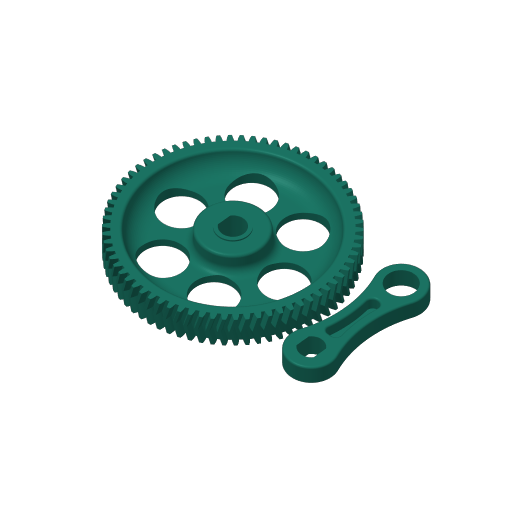
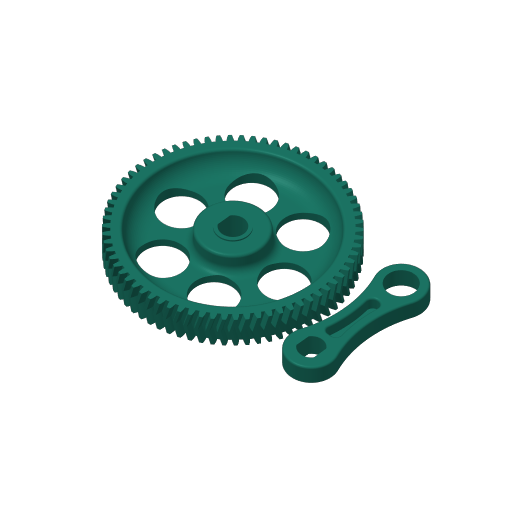
  • 9x MR128ZZ Ball Bearings (inner = 8mm, outer 12mm, height = 3.5mm, such as this one from Amazon US , or from the Bambu US store )
  • 10 O-Rings OD 24x2.5mm (From the Bambu US Store , or from Amazon US )

[Assembly]

Step1: Screw the end plates on.

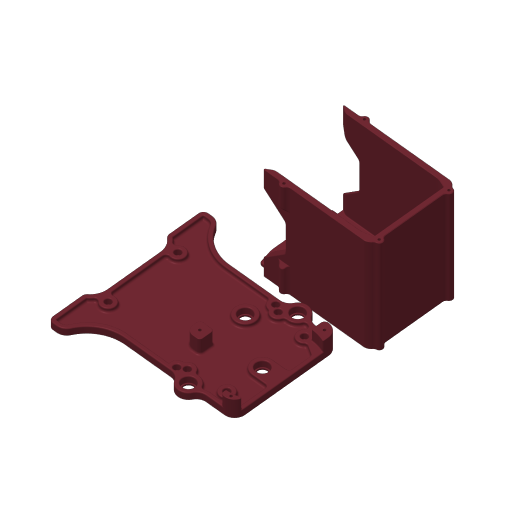
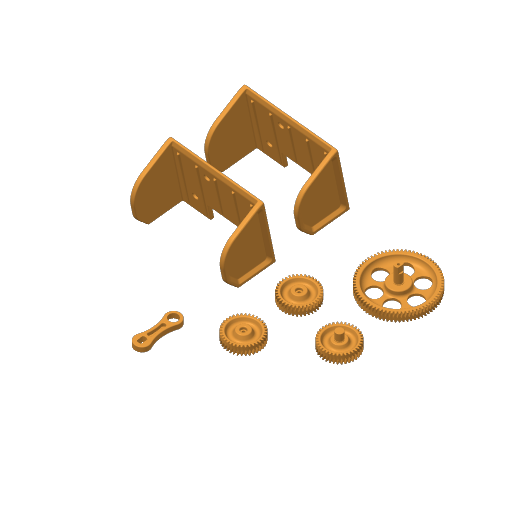
Step2: Assemble the two side card holders, then slot them in and screw them into the main body.

Step3:

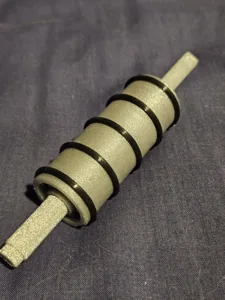
  • Install the o-rings onto the two drums.
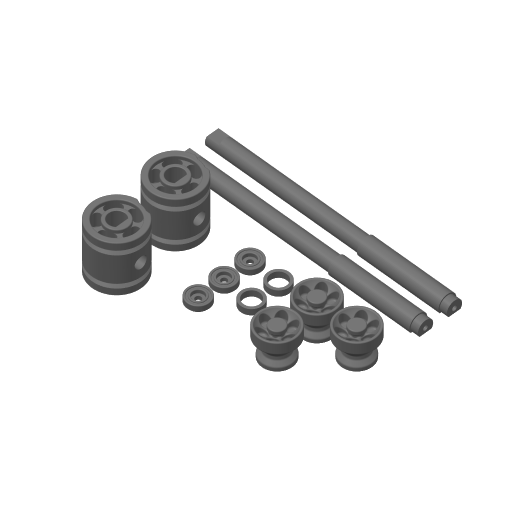
  • Install the bearing on the end of the shaft and then screw the end cap into place to keep it secure.
  • Insert the drum into place, and then insert the shaft through the drum and the main body. Install the set screw to set the drum into place.

(Caution: Do not overtighten! Loosen screw a little of bearings bind)

Step4:

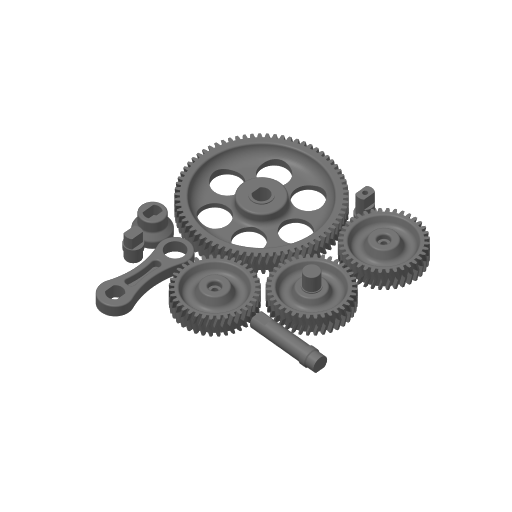
  • Insert the bearings onto the shafts, followed by the spacer and then the gear. Make sure the bearing is fully seated.
  • Make sure the gears are orientated right. The Arrow pattern on the gear should point in the direction of travel. Inward!
  • Screw the gears into place.

(Caution: Do not overtighten! Loosen screw a little if gears bind)

Step5:

  • The Tricky part
  • For each gear there is a gear peg and the bearing. Insert the bearing into the end plate, and insert the gear peg into the gear. Make sure the gears are fully seated.
  • I insert the small gear and then the large one. With the large one I try and angle it in a little, and use a little force to jam it into place.
  • You'll want to try and rotate the pads so the flat ends are opposite each other before installing the large gear.

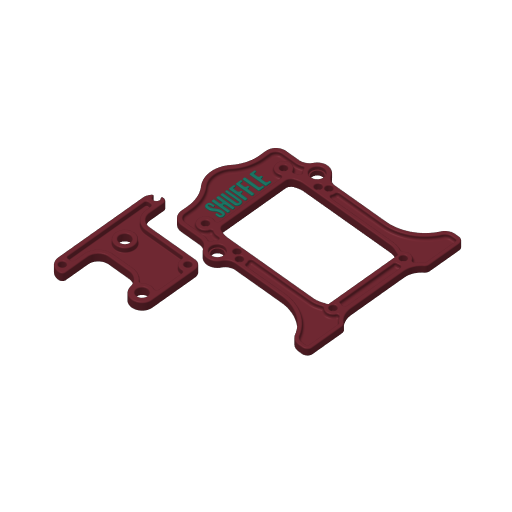
Step6: Insert the bearings into the gear bracket and make sure they are fully seated. Screw the bracket into place.

Step7:

  • Insert the bearing into the crank arm, and then sandwich it between the peg and knob, and secure it with a screw.
  • Screw the crank arm onto the large gear's shaft with an end cap to help keep it secured.
  • Shuffle some cards!
card shuffler shuffler shuffle card games board gamesb shuffle cards industrial cast iron inspired printing press
Faraway box art Faraway 2023 Lift the Lid
Cover Colors

Main colors from the cover art. Find matching filament, or tap swatches to narrow.

Matching filament

Submitted via BGG Geeklist
Jul 10, 2025 by ds679

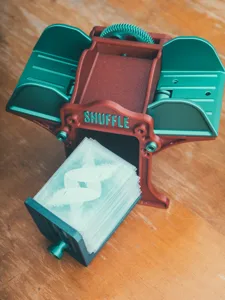
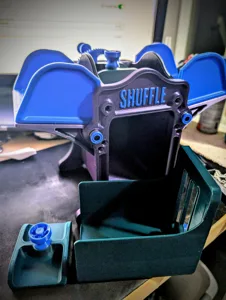
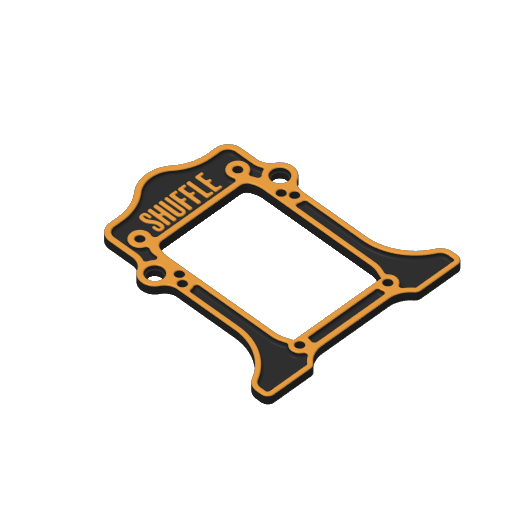
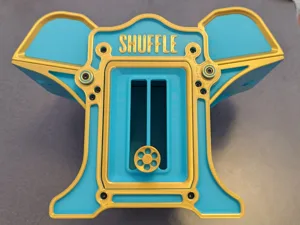
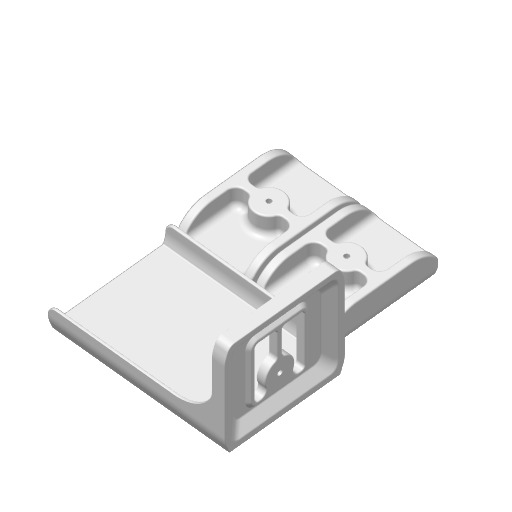
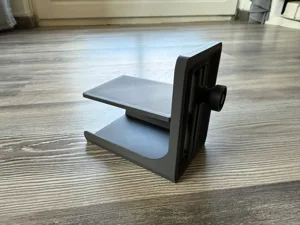
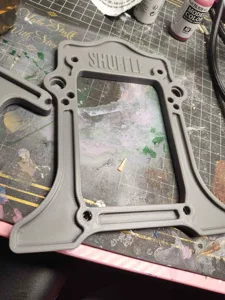
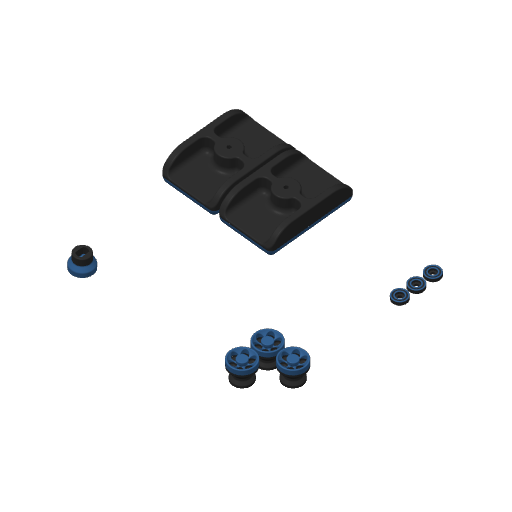
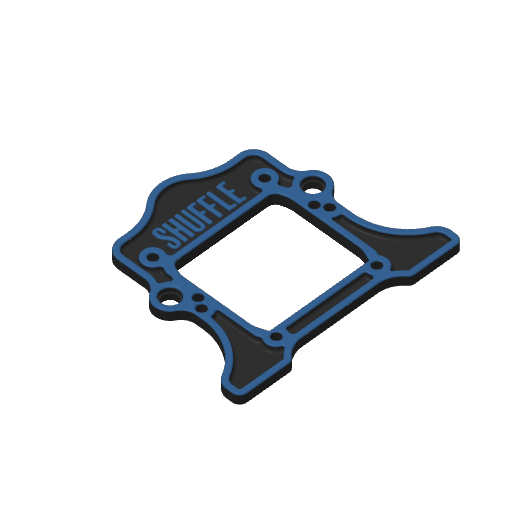
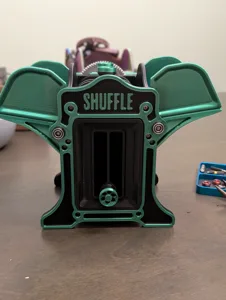
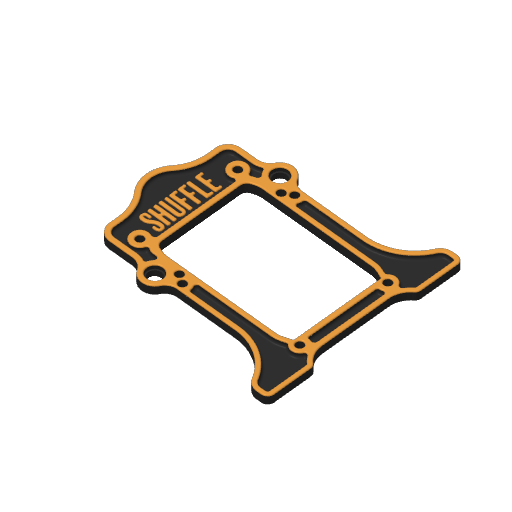
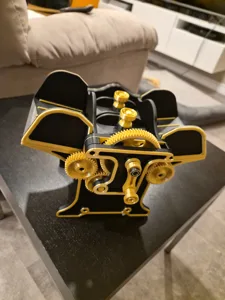
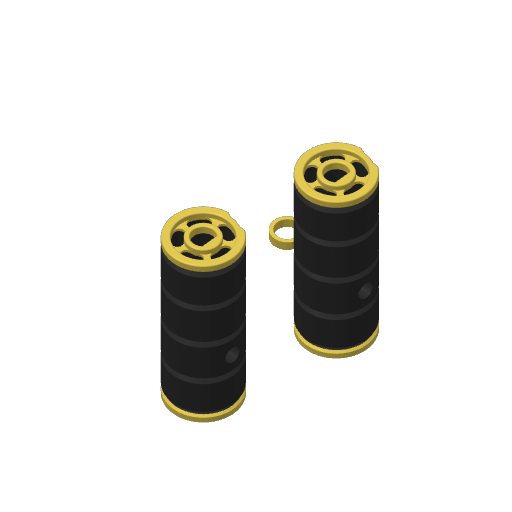
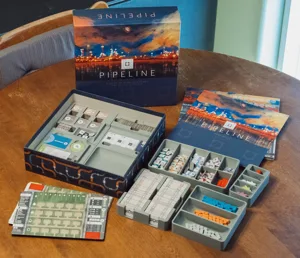
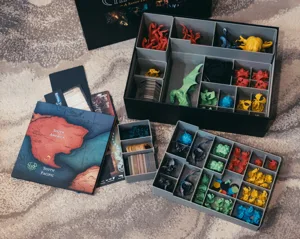
This is an insert to help the Bambu Shuffler made by @josh-3D