Table Talk
Nothing here yet. Love this design? Say so - the designer might see it.
Log in to join the conversation.
Box – Magnetic Open & Lock
Tokens & Resources
Free
Plan Your Print
Sign in
to track this print from Want to Printed.
About 90 g of filament
From the designer's print profile
Print Profile (6) 120mm x 80mm A1 / A1 mini / H2D print by layer 3h 30m 107 g PLA
120mm x 80mm A1 / A1 mini / H2D print by layer
1 plate
3h 30m
107 g PLA
P1S, H2D, A1 mini, A1, H2D Pro, H2S, P2S, H2C, X2D, A2L
• 0.16mm layer
• print by layer
• 3 walls
• 15% infill
Plate Details (1)
0.4 mm nozzle, all plates
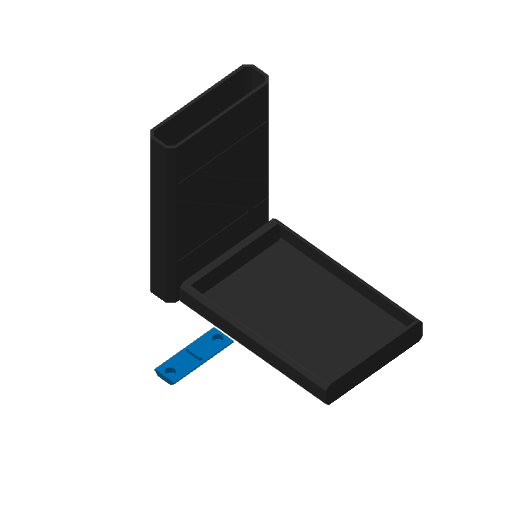
Plate 1
3h 30m
107 g
PLA · 92 g
PLA · 15 g
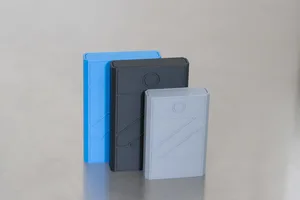
95mm x 65mm, 0.16mm layer, 3 walls, 15% infill
1 plate
1h 46m
62 g PLA
P1S, P1P, X1, X1 Carbon, X1E
• 0.16mm layer
• print by object
• 3 walls
• 15% infill
Plate Details (1)
0.4 mm nozzle, all plates
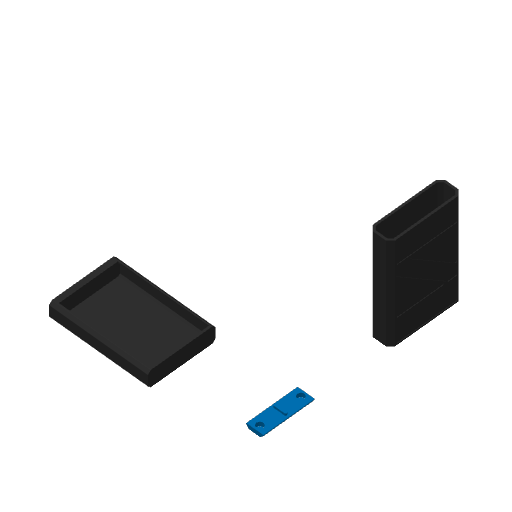
Plate 1
1h 46m
62 g
PLA · 59 g
PLA · 3 g
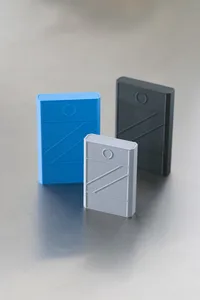
95mm x 65mm A1 / A1 mini / H2D
1 plate
2h 54m
80 g PLA
P1S, A1, A1 mini, H2D, H2D Pro, H2S, P2S, H2C, X2D, A2L
• 0.16mm layer
• print by layer
• 3 walls
• 15% infill
Plate Details (1)
0.4 mm nozzle, all plates
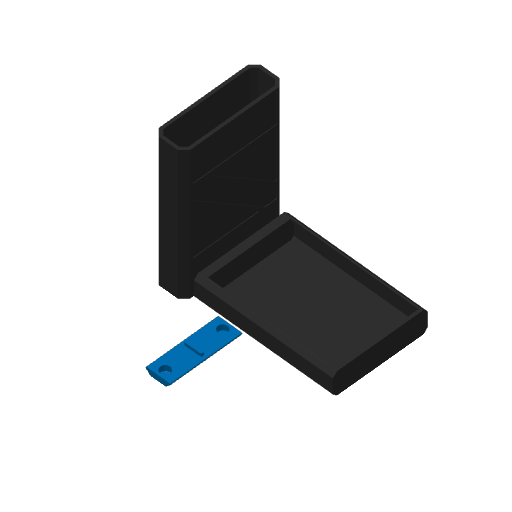
Plate 1
2h 54m
80 g
PLA · 65 g
PLA · 15 g
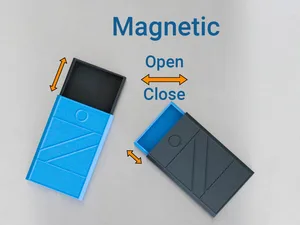
120mm x 80mm, 0.16mm layer, 3 walls, 15% infill
1 plate
2h 21m
90 g PLA
P1S, P1P, X1, X1 Carbon, X1E
• 0.16mm layer
• print by object
• 3 walls
• 15% infill
Plate Details (1)
0.4 mm nozzle, all plates
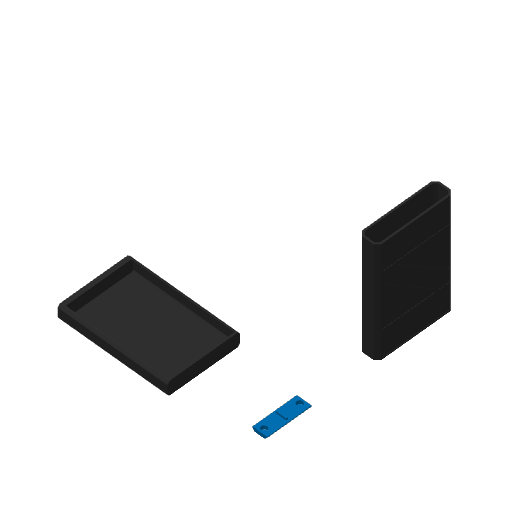
Plate 1
2h 21m
90 g
PLA · 87 g
PLA · 3 g
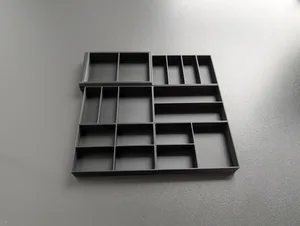
Inserts with dividers for 95mm x 65mm box
1 plate
1h 28m
67 g PLA
P1S, A1, H2D Pro, X1 Carbon, P1P, X1E, H2D, X1, A1 mini, H2S, P2S, H2C, X2D, A2L
Plate Details (1)
0.4 mm nozzle, all plates
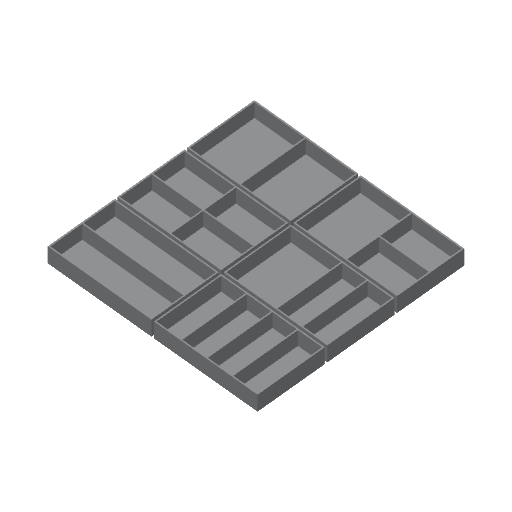
Plate 1
1h 28m
67 g
PLA · 67 g
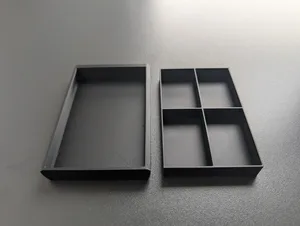
Inserts with dividers for 120mm x 80mm box
1 plate
2h 4m
101 g PLA
P1S, P1P, H2D, X1E, A1, X1, H2D Pro, X1 Carbon, H2S, P2S, H2C, X2D, A2L
Plate Details (1)
0.4 mm nozzle, all plates
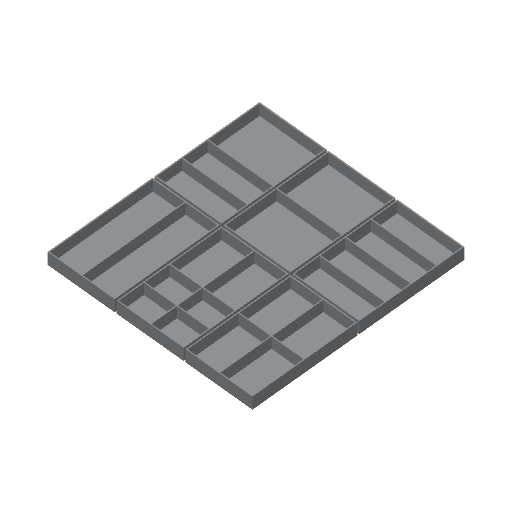
Plate 1
2h 4m
101 g
PLA · 101 g
As sliced by the designer. Your printer, filament, and settings may change these numbers.
Designer's Description
Snap-Open Magnetic Box – Auto Open & Lock
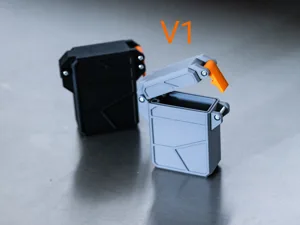
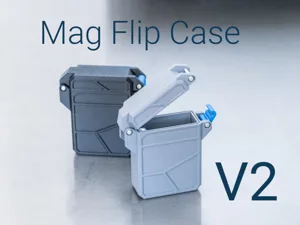
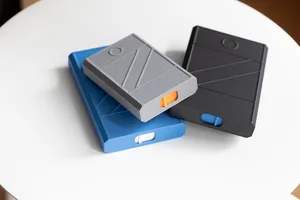
Built-in magnetic closure system and an auto-opening mechanism . When closed, magnets securely hold the tray shut. With a slide of the release switch, the tray pops open automatically thanks to the magnets.
🛠️ Assembly
🧲 Step 1: Installing the Magnets
- Magnets : 6 in total 6mm x 3mm
- Polarity matters : Ensure magnets are installed so they attract when the case is closed and push when you wanna open it
- Tip: Let two magnets naturally snap together, then mark one side with a marker
- Add a drop of super glue (CA glue).
- ## 🔄 Step 2: Installing the Sliding Switch
- The sliding switch locks and releases tray
- Its easiest inserted from underneath - Step1
- Tilt the switch at an angle - Step 2
- Once aligned, press it gently from above until you hear or feel a soft click. I used a pen to press down the slider
- Slide the switch back and forth to confirm smooth motion and latch release.
- ##
✅ Final Test:
- Put the tray into the case until the magnets click into place.
- Slide the release switch.
- The tray should pop open smoothly.