Table Talk
Nothing here yet. Love this design? Say so - the designer might see it.
Log in to join the conversation.
two tiered organiser · modular print
Organizers
Free
Plan Your Print
Sign in
to track this print from Want to Printed.
About 163 g of filament
From the designer's print profile
Print Profile (2) 0.2mm layer, 2 walls, 15% infill 3h 48m 163 g PLA
0.2mm layer, 2 walls, 15% infill
3 plates
3h 48m
163 g PLA
X1 Carbon, P1S, P1P, X1, X1E, A1, H2D, H2D Pro, H2S, P2S, H2C, X2D, A2L
• 0.20mm layer height
• 15% cubic infill
• seam on the back
• supports needed on the pillars
Plate Details (3)
0.4 mm nozzle, all plates
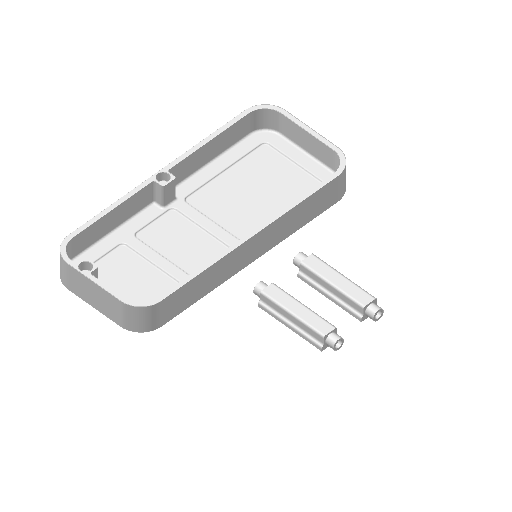
Plate 1 · base and pillars
2h 14m
98 g
PLA · 98 g
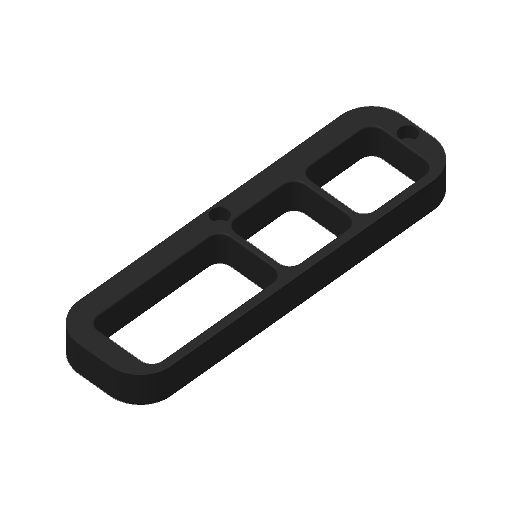
Plate 2 · top
1h 10m
50 g
PLA · 50 g
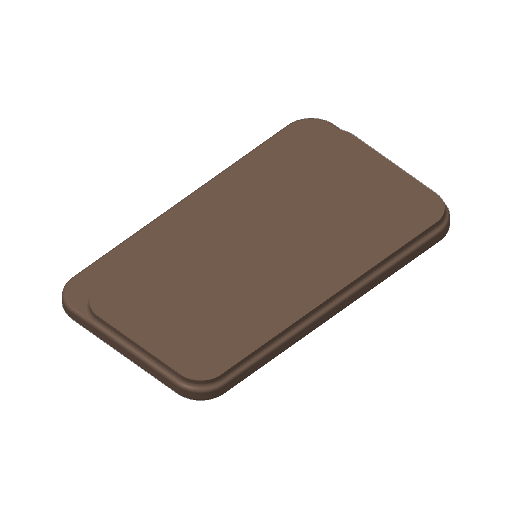
Plate 3 · shelf
24m
15 g
PLA · 15 g
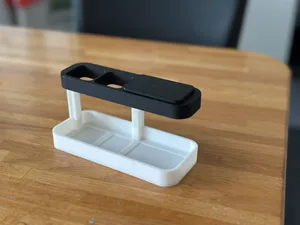
0.2mm layer, 2 walls, 15% infill (95% Scale for A1 Mini)
3 plates
2h 51m
84 g PLA
A1 mini, P1S, P1P, X1, X1 Carbon, X1E, A1, H2D, H2D Pro, H2S, P2S, H2C, X2D, A2L
Print Settings:
• Layer Height: 0.2mm for a smooth and balanced finish. (Would recommend switching to 0.16 though)
• Walls: 2 walls for adequate strength without increasing print time.
• Infill: 15% infill, providing a solid structure while keeping the print lightweight.
• Scale: 95% Scale to fit on the A1 Mini plate
These settings worked well for me, but feel free to adjust depending on your preferences or specific printer setup!
Plate Details (3)
0.4 mm nozzle, all plates
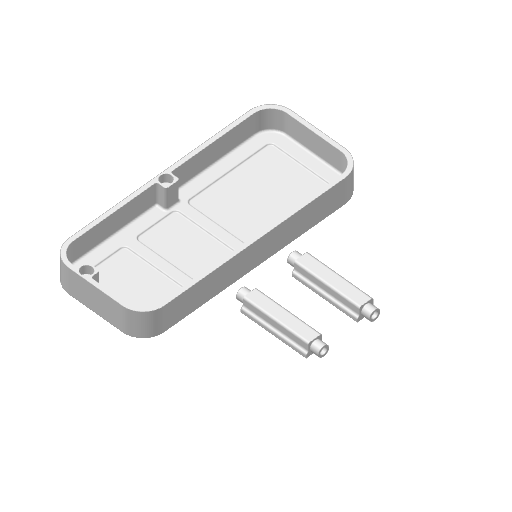
Plate 1 · base and pillars
1h 35m
51 g
PLA · 51 g
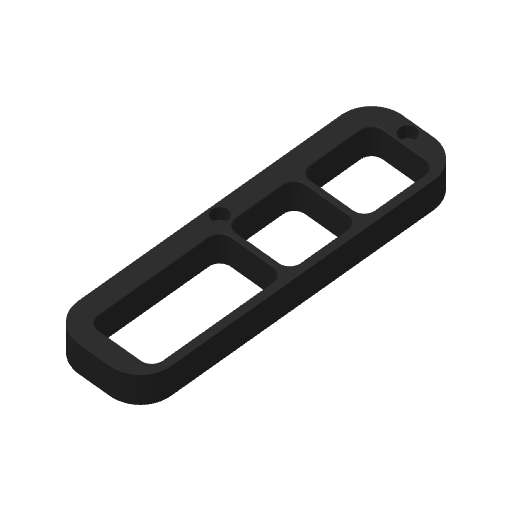
Plate 2 · top
57m
25 g
PLA · 25 g
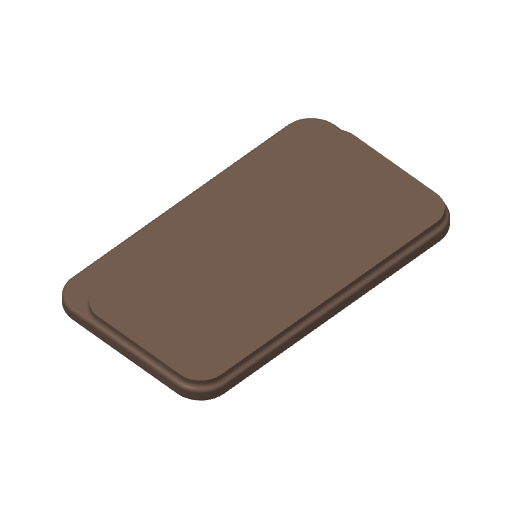
Plate 3 · shelf
19m
8 g
PLA · 8 g
As sliced by the designer. Your printer, filament, and settings may change these numbers.
Designer's Description
tiered organiser
modular print with optional magnets to lock into position
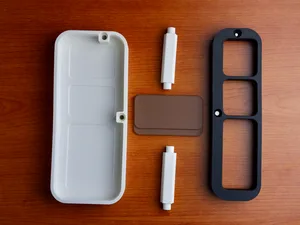
this is a modular print that consists of the following components:
- base (use of 2x 6mmx3mm magnets optional)
- top (use of 2x 6mmx3mm magnets optional)
- pillar x2 (use of 4x 6mmx3mm magnets optional)
- shelf
If you choose to, you'll need 8 6x3mm magnets to achieve the same result as shown in the pictures, as well as some drops of super glue to ensure they really stay in their position and don't get pulled away from the slot.
Alternatively you can use only glue to fix the pillars in place
notes
- please make sure that you are very mindful of the polarities of the magnet when assembling and gluing in their spots as you want to make sure that each section attracts and not repels the one that will sit above/below
- components are designed with small tolerances to ensure a perfect tight fit , so make sure that you have your machine calibrated and filament dry so that you don't run into any tolerance issues
- the pillars require supports, please make sure that you completely remove and if needed sand any excess left behind to ensure that it fits
- this is a revision of my v1 · desk organiser with japanese influence
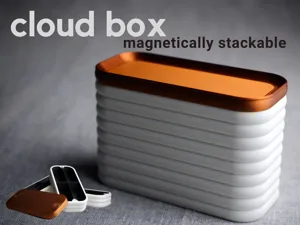
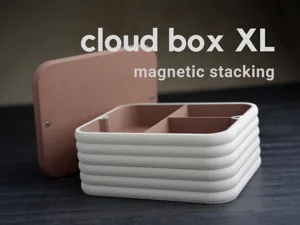
photos show printed in matte white pla, matte black pla and matte dark brown pla
- 0.20mm layer height
- 15% cubic infill
- seam on the back
- supports needed on the pillars
commercial licence membership available on my
note: all photos uploaded are of the actual printed model, taken inside a lightbox or in home studio